 EN
 IT Italiano
 ES Español
 FR Français
 DE Deutsch
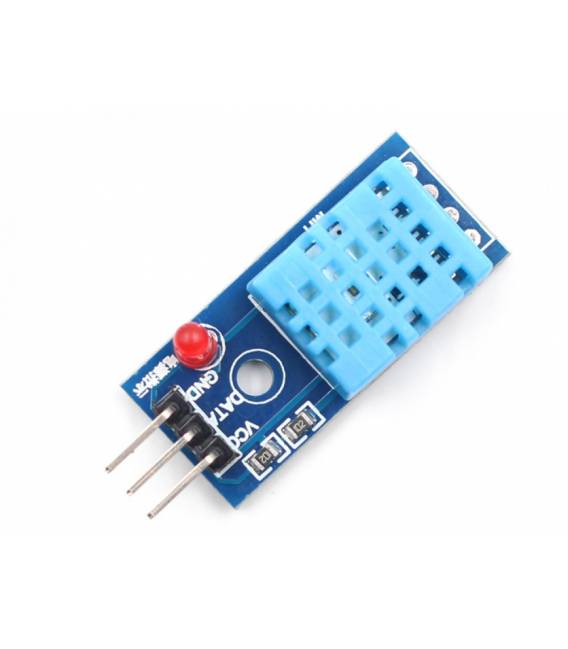
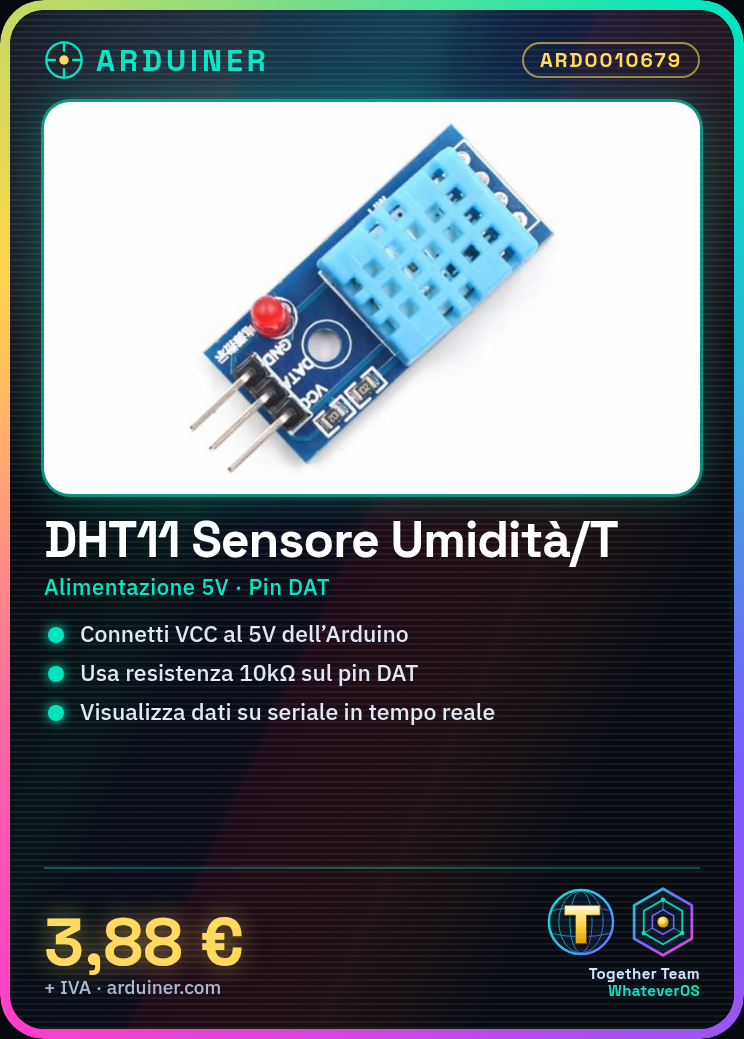
Description
Tutorial: How to Use DHT11 Module
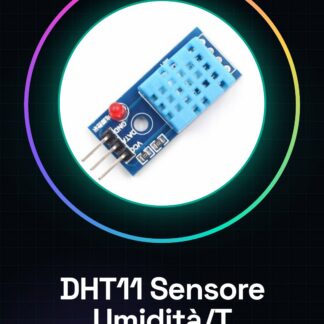
The DHT11 Module is ideal for measuring humidity and temperature in domestic and industrial environments. Useful for beginners and intermediate makers.
What you need
- DHT11 Module
- Arduino
- Power Cable
- 10kΩ Resistor
- Connection Cable
Steps
- 1. Prepare the DHT11 module, the Arduino, and the necessary cables.
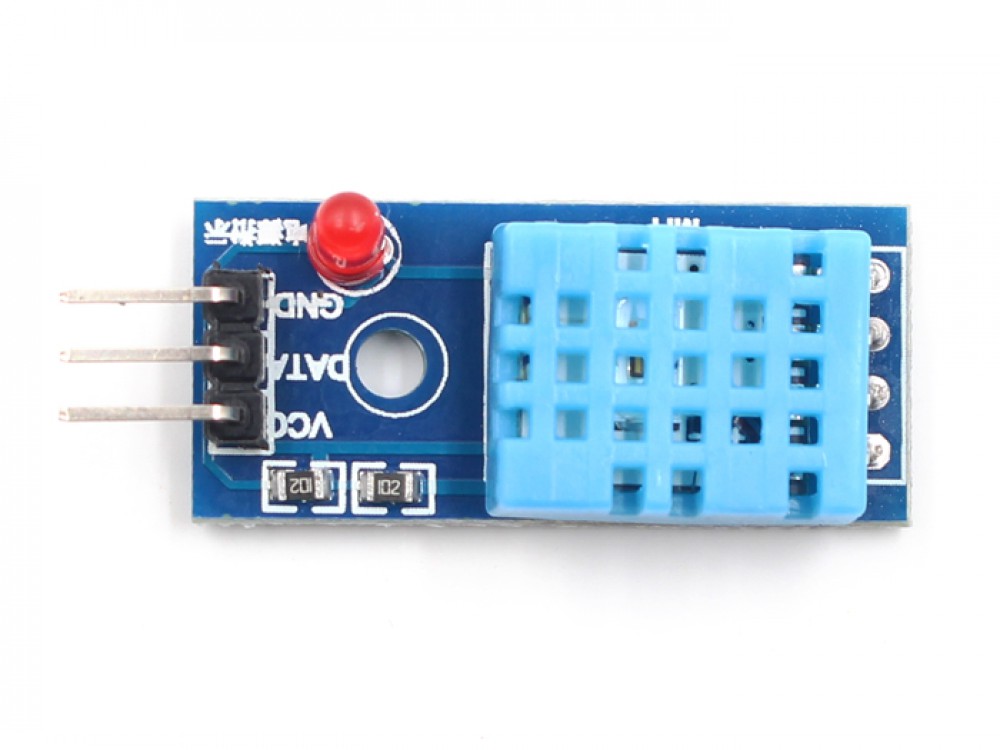
- 2. Connect the VCC pin of the module to the 5V of the Arduino.
- 3. Connect the GND pin of the module to the GND of the Arduino.
- 4. Connect the DAT pin of the module to a digital pin of the Arduino (e.g., pin 2).
- 5. Connect a 10kΩ resistor between the DAT pin of the module and the 5V of the Arduino.
- 6. Load the provided source code.
- 7. Check the datasheet to ensure the DAT pin is correct.
- 8. Test the module with a sample program.
Example code
```void setup() { Serial.begin(9600); dht.begin();}void loop() { float h = dht.readHumidity(); float t = dht.readTemperature(); Serial.print("Umidità: "); Serial.print(h); Serial.print("%"); Serial.print("tTemperatura: "); Serial.print(t); Serial.println("°C"); delay(2000);}```Mini project
Create a simple humidity and temperature monitor. Connect the DHT11 module to an LCD display to show real-time data.
Common mistakes
- Connect the DAT pin directly to the 5V of the Arduino without a resistor.
- Forget to initialize the DHT11 module in the code.
- Use an analog pin instead of a digital pin.
- Forget to check the DAT pin on the datasheet.
Recommended accessories
- LCD Display 16×2
- Battery holder
- 220Ω resistor for the display
Frequently asked questions
Does the module only work with Arduino?
No, it works with any compatible microcontroller.
Which pins of the DHT11 module to use?
Use only the DAT pin.
Is the DHT11 module accurate?
Accuracy depends on the datasheet, check the specifications.
Can I use a different power supply than 5V?
Check the datasheet for minimum and maximum power supply.
Reviews
There are no reviews yet.