 EN
 IT Italiano
 ES Español
 FR Français
 DE Deutsch
Description
What it is
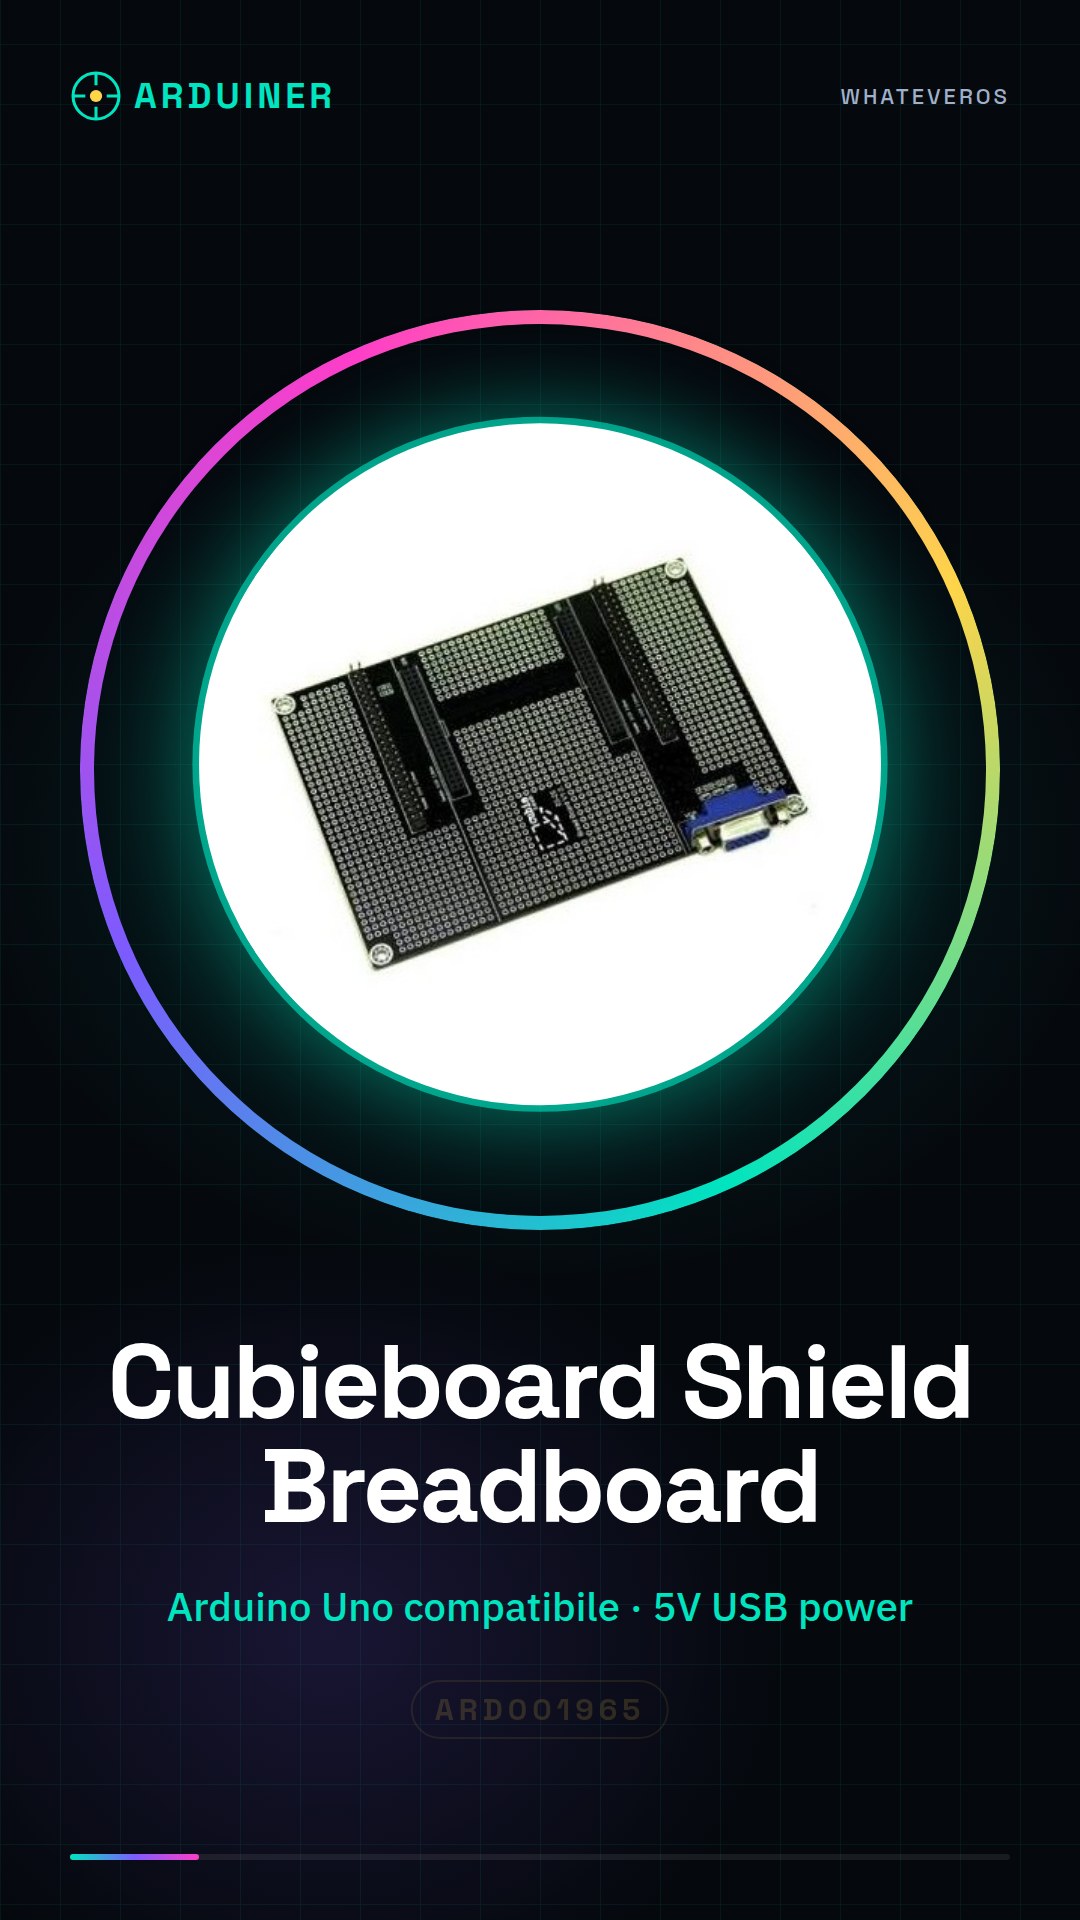
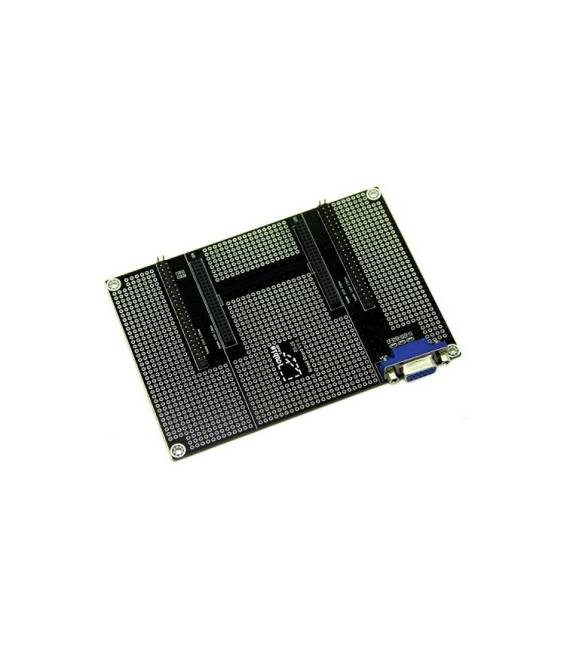
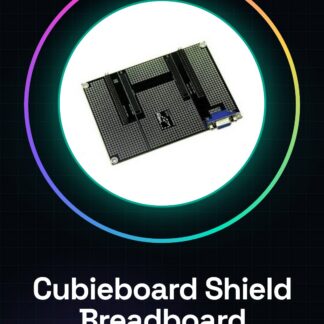
The Cubieboard Shield Breadboard is an electronic prototyping module that allows makers and developers to quickly create experimental circuits on a breadboard. This shield provides a solid foundation for testing and developing projects based on Arduino or other microcontrollers.
Features
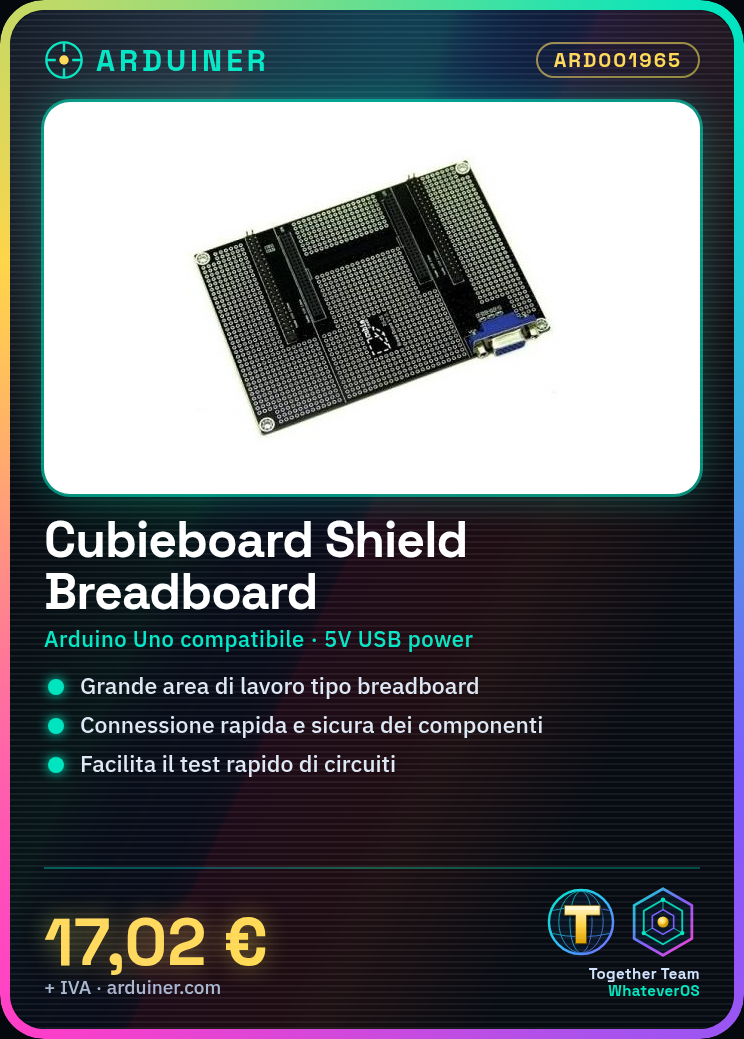
- Prototyping board with large breadboard-like workspace
- Ease of quick and secure component connection
What it is for
Mounted on the Cubieboard, this shield is ideal for projects that require the rapid prototyping of electronic circuits. It is suitable for both beginners and experts, offering a flexible platform for the implementation of various types of electronic components.
Tutorial: How to use Cubieboard Shield Breadboard
The Cubieboard Shield Breadboard is a useful prototyping base for electronic projects, ideal for beginners and makers who want to explore projects based on Arduino or other microcontrollers. With a large breadboard-style work area, it facilitates quick and secure connections of components.
What you need
- Cubieboard Shield Breadboard
- Arduino Uno or compatible
- USB connection for power supply
Steps
- Connect the Arduino to the Cubieboard Shield using the specific connectors on the back of the shield.
- Check that the power supply voltage is adequate (5V) and connect the Cubieboard to the power supply or computer via USB.
- Position the component to be tested on the breadboard, following the signal indications (+ and -).
- Connect the component pins to the cubieboard using jumpers, according to the project specifications.
- Verify the correct connection of components throughout the circuit.
- Open the Arduino IDE and upload a test sketch to check the functionality of the component.
- Monitor the results on the Arduino IDE serial monitor, modifying the sketch if necessary.
- Repeat the previous steps with other components or projects.
Example code
// Uno sketch di base per un led collegato al pin 13
digitalWrite(13, HIGH); // accende il LED
Mini project
Create a simple audio volume control interface using a potentiometer and an LCD display. Connect the potentiometer to the breadboard and read the values with Arduino.
Common mistakes
- Do not verify the correct voltage before powering up
- Connect components without following the datasheet specifications
- Omit the connection between Arduino ground and Cubieboard Shield ground
- Ignore the importance of pin placement on the breadboard
Recommended accessories
- Arduino Uno R3
- 16×2 LCD Display with I2C
- 10KΩ Potentiometer
- Jumper wire set
Frequently asked questions
Does the Cubieboard Shield fit all types of Arduino?
No, it is specific to Cubieboard but can be used with other similar microcontrollers.
Can I use the breadboard without the Arduino?
Yes, but you will need to provide separate power to the circuit on the breadboard.
Reviews
There are no reviews yet.