 EN
 IT Italiano
 ES Español
 FR Français
 DE Deutsch
Description
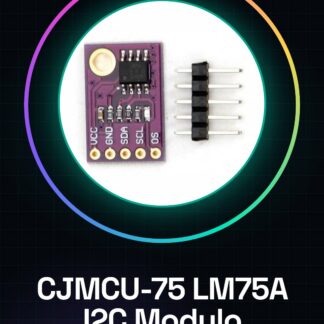
Tutorial: How to Use CJMCU-75 LM75A I2C Temperature Sensor Module
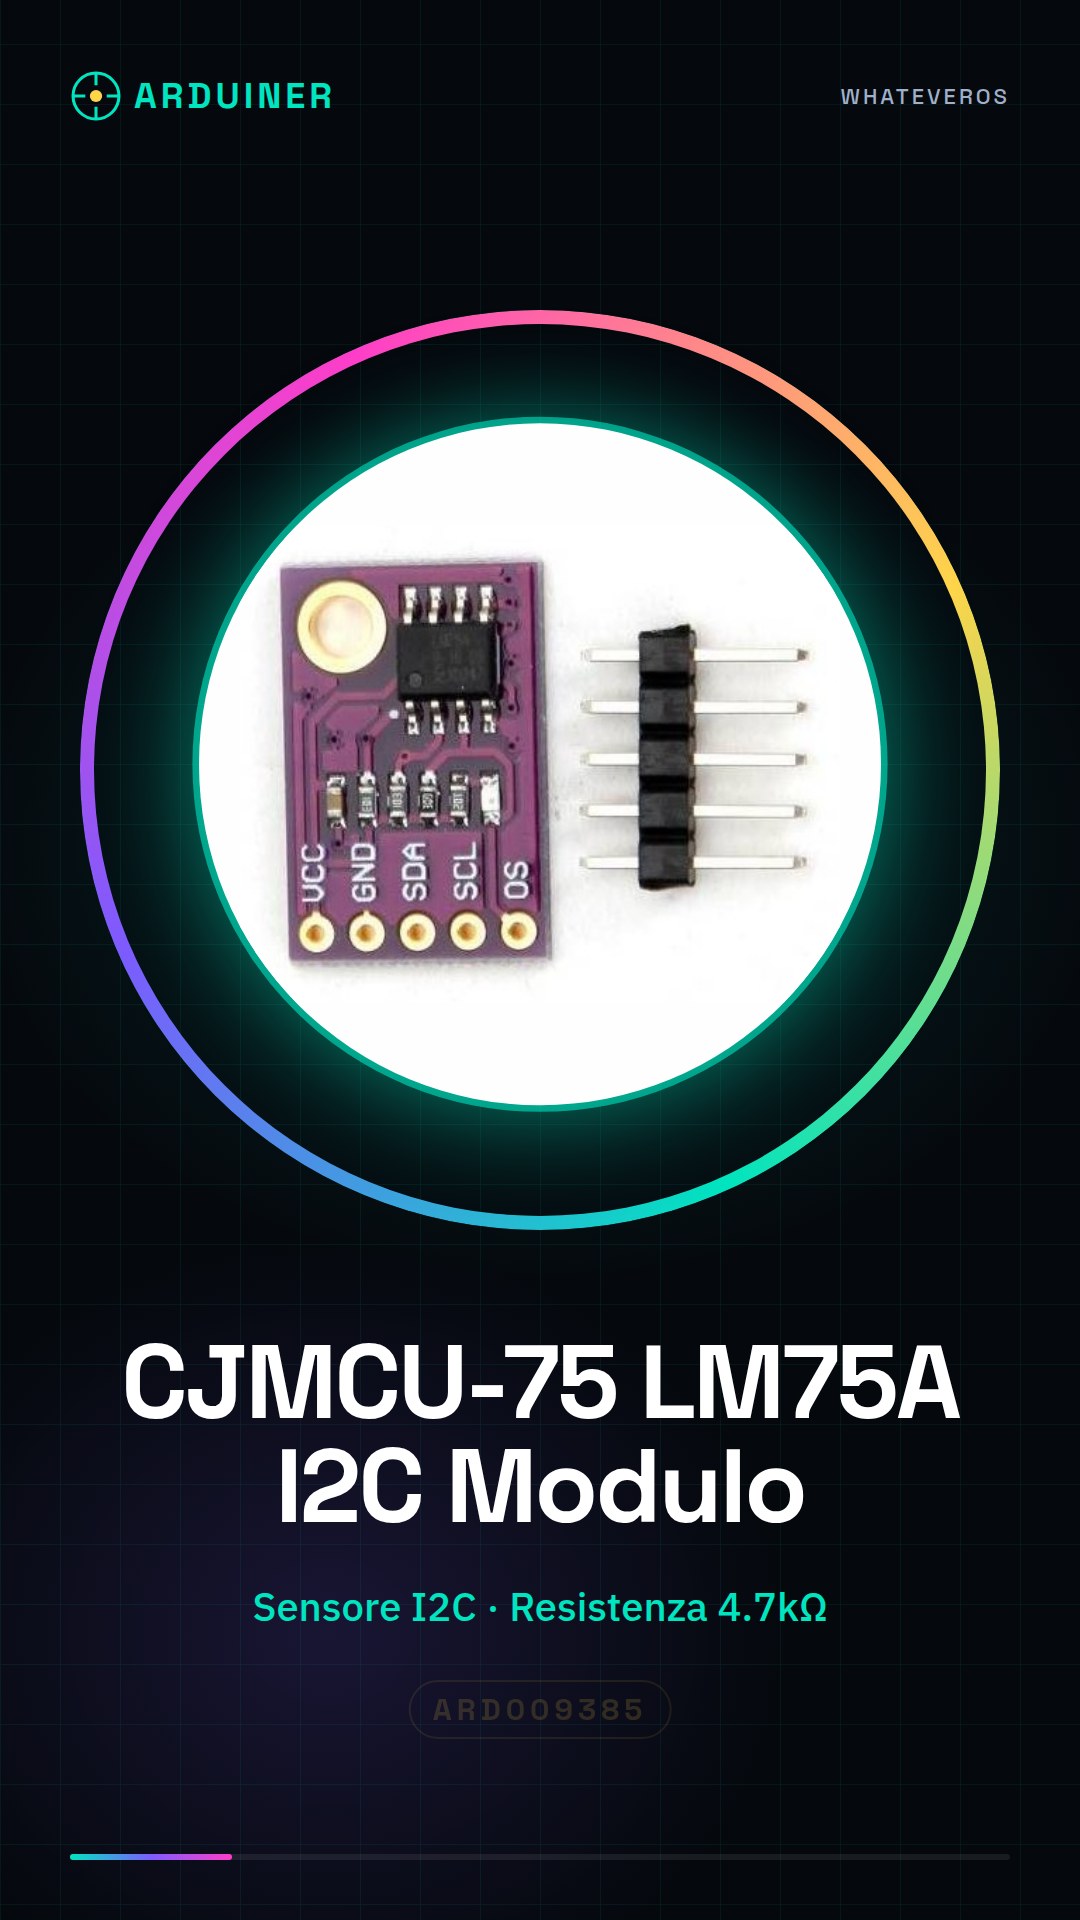
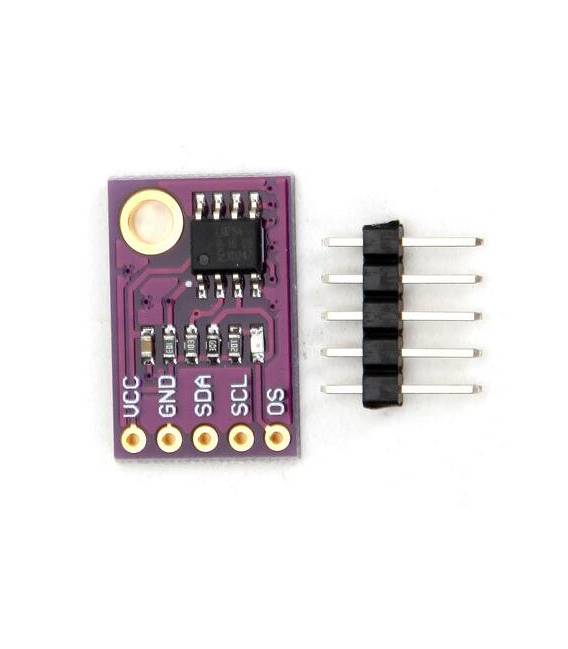
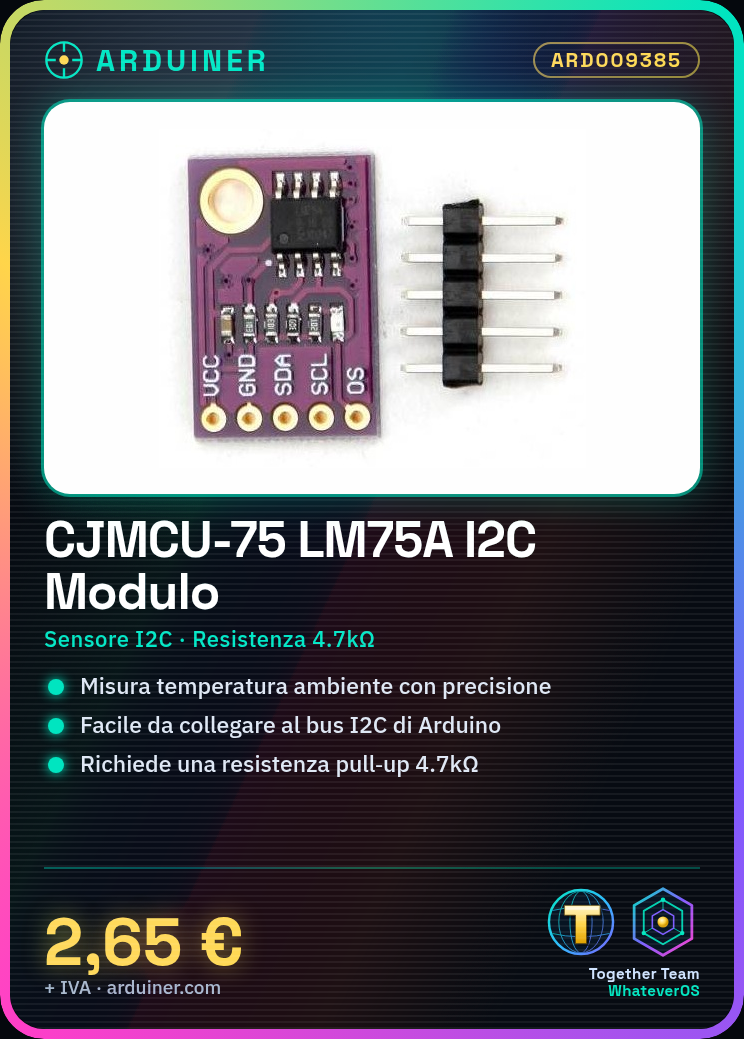
The CJMCU-75 LM75A I2C Temperature Sensor Module measures ambient temperature with precision. Useful for environmental monitoring, climate control, and thermal control projects.
What you need
- Arduino or compatible
- I2C cable
- 4.7kΩ pull-up resistor
- Multimeter
Steps
- 1. Connect the module to the Arduino I2C bus.
- 2. Attach the pull-up resistor between VCC and SCL/SDA.
- 3. Load the provided Arduino code.
- 4. Check the temperature with Serial Monitor.
- 5. Verify connections and the resistor.
- 6. Add another temperature sensor to the circuit.
- 7. Calibrate the sensor.
- 8. Save data to EEPROM.
Example code
```cpp
#include <Wire.h>
#include <LM75.h>

LM75 tempSensor;

void setup() {
  Wire.begin();
  tempSensor.begin();
}

void loop() {
  Serial.print("Temperatura: ");
  Serial.println(tempSensor.readTemperature());
  delay(1000);
}
```
Mini project
Create an overvoltage warning system for an electronic device.
Common mistakes
- Forget the pull-up resistor.
- Connect VCC to GND.
- Do not verify the I2C connection.
- Omit I2C driver installation.
Recommended accessories
- Arduino Nano
- LCD 16×2 Display
- LiPo Battery
- 10kΩ Resistor
Frequently asked questions
How can I check the temperature?
Use Serial Monitor to display the temperature.
Why should I use a pull-up resistor?
Avoid I2C communication issues.
Can I use this module with a Raspberry Pi?
Yes, but you may need to install a specific driver.
Reviews
There are no reviews yet.