 EN
 IT Italiano
 ES Español
 FR Français
 DE Deutsch
Description
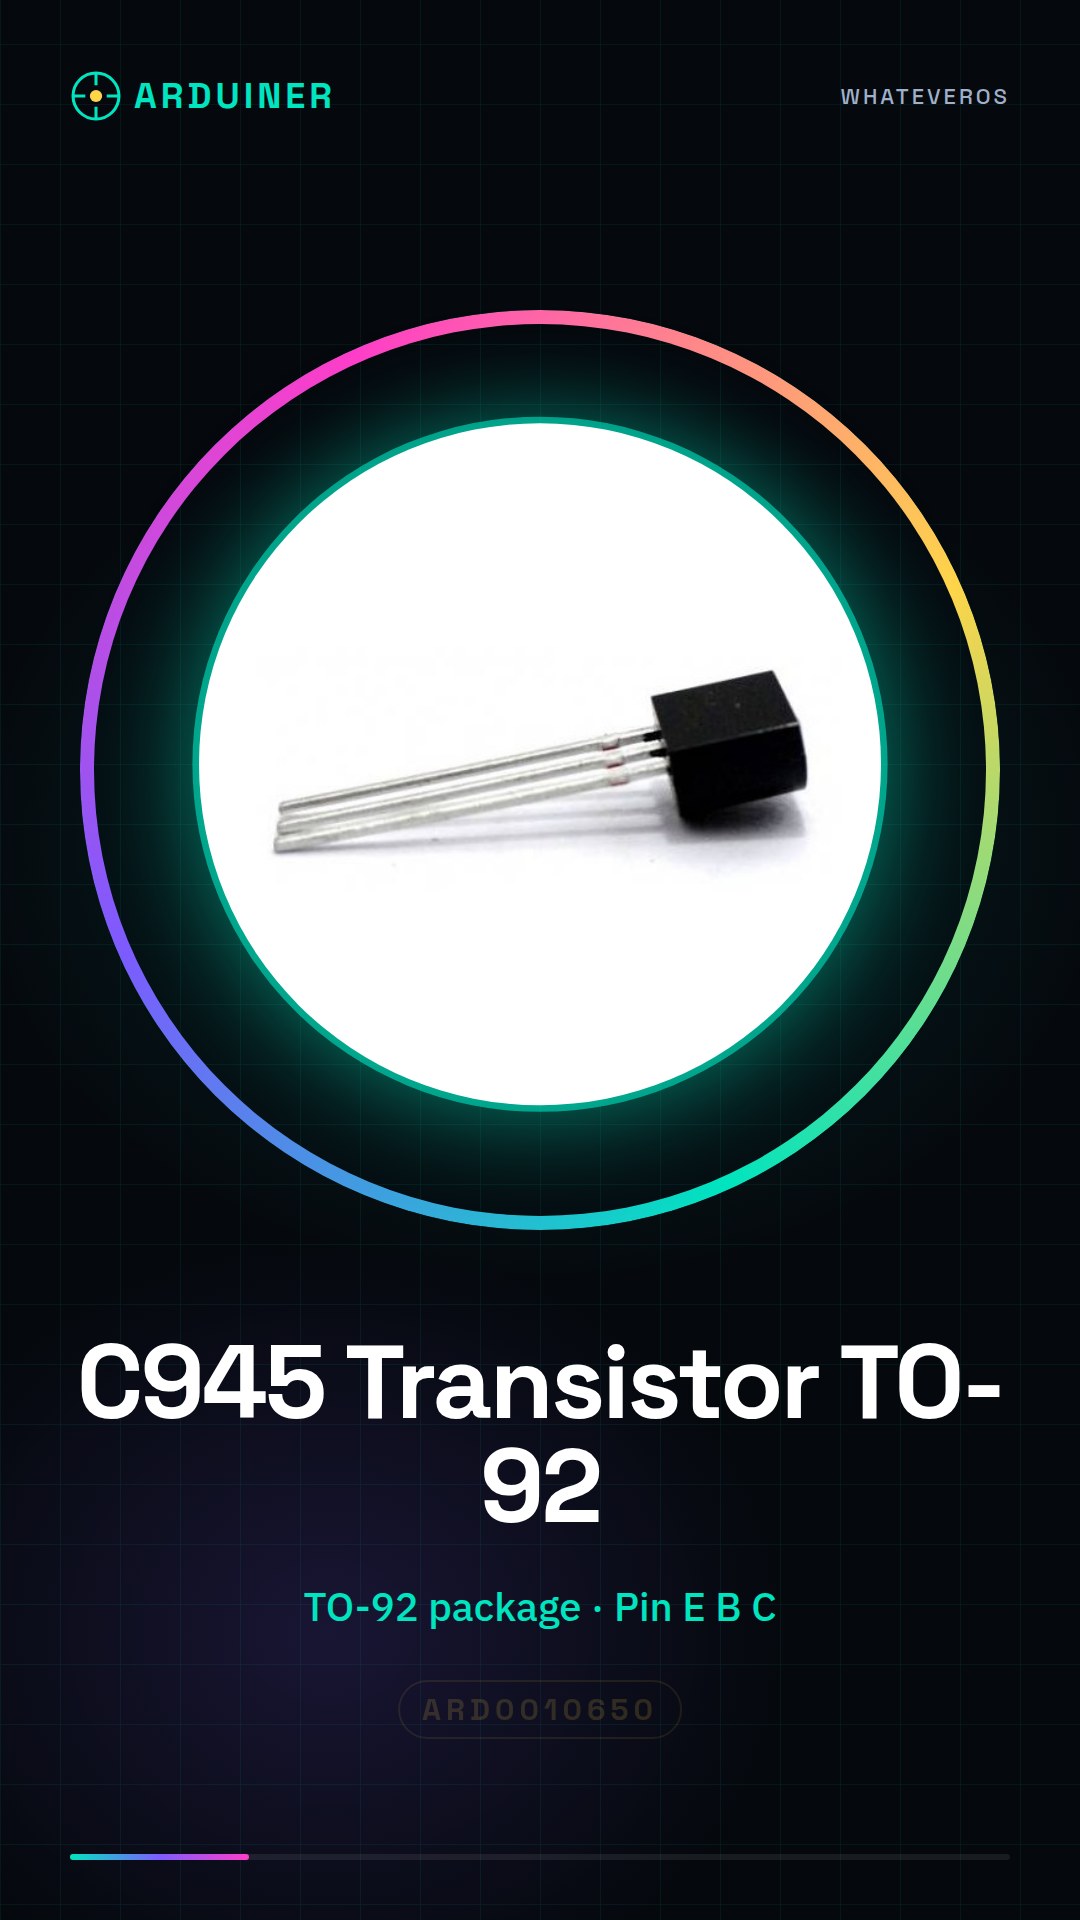
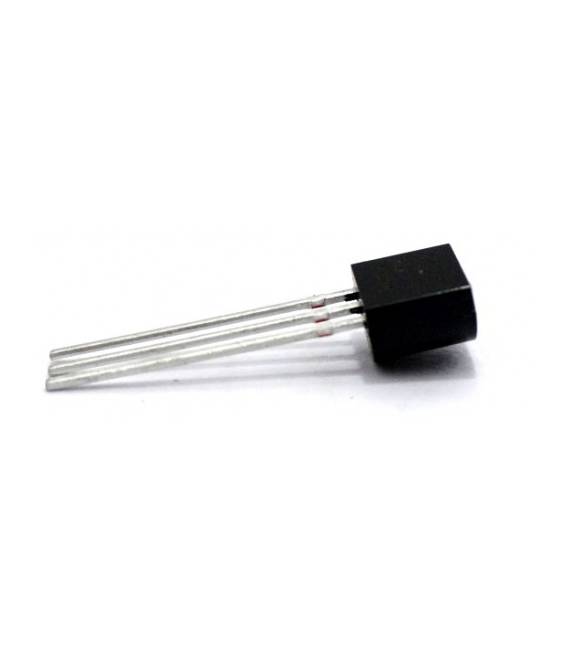
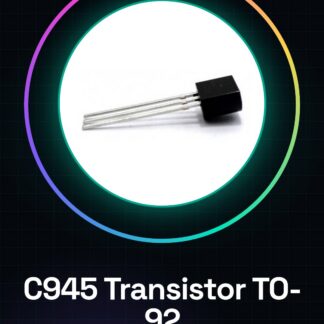
C945 Transistor TO-92 IC Integrated Circuits
Tutorial: How to Use C945 Transistor TO-92
The C945 TO-92 transistor is a fundamental component for electronic projects that require signal amplification or switching. It is ideal for beginners and intermediate makers.
What you need
- Arduino Uno
- Breadboard
- Jumper wires
Steps
- Check the specifications of the C945 transistor on the datasheet.
- Connect the breadboard to the PC via Arduino Uno.
- Identify the pins of the transistor: E (emitter), B (base), and C (collector).
- Place the transistor on the breadboard, respecting the polarity.
- Connect a jumper wire between the digital output of the Arduino and the base of the transistor.
- Add a resistor between the base and ground to limit the current.
- Connect a light bulb or LED to the collector and ground of the breadboard.
- Load an Arduino sketch that controls the brightness of the LED.
Example code
void setup() {
  pinMode(2, OUTPUT);
}

void loop() {
  digitalWrite(2, HIGH);
  delay(500);
  digitalWrite(2, LOW);
  delay(500);
}
Mini project
Create a simple dimmer to control the brightness of a light bulb using the C945 transistor.
Common mistakes
- Incorrect pin connection of the transistor
- Omission of the resistor between the base and ground
- Use of a current higher than the transistor’s capacity
Recommended accessories
- Variable resistors
- Large breadboard
- Arduino Nano
- LEDs of various colors
Frequently asked questions
What is the purpose of the E pin?
The E pin (emitter) serves as the input for the signal that needs to be amplified or switched.
How do you connect a transistor to a battery?
Connect the battery’s ground to the transistor’s collector and the other end to the base, adding a resistor to limit the current.
Reviews
There are no reviews yet.