 EN
 IT Italiano
 ES Español
 FR Français
 DE Deutsch
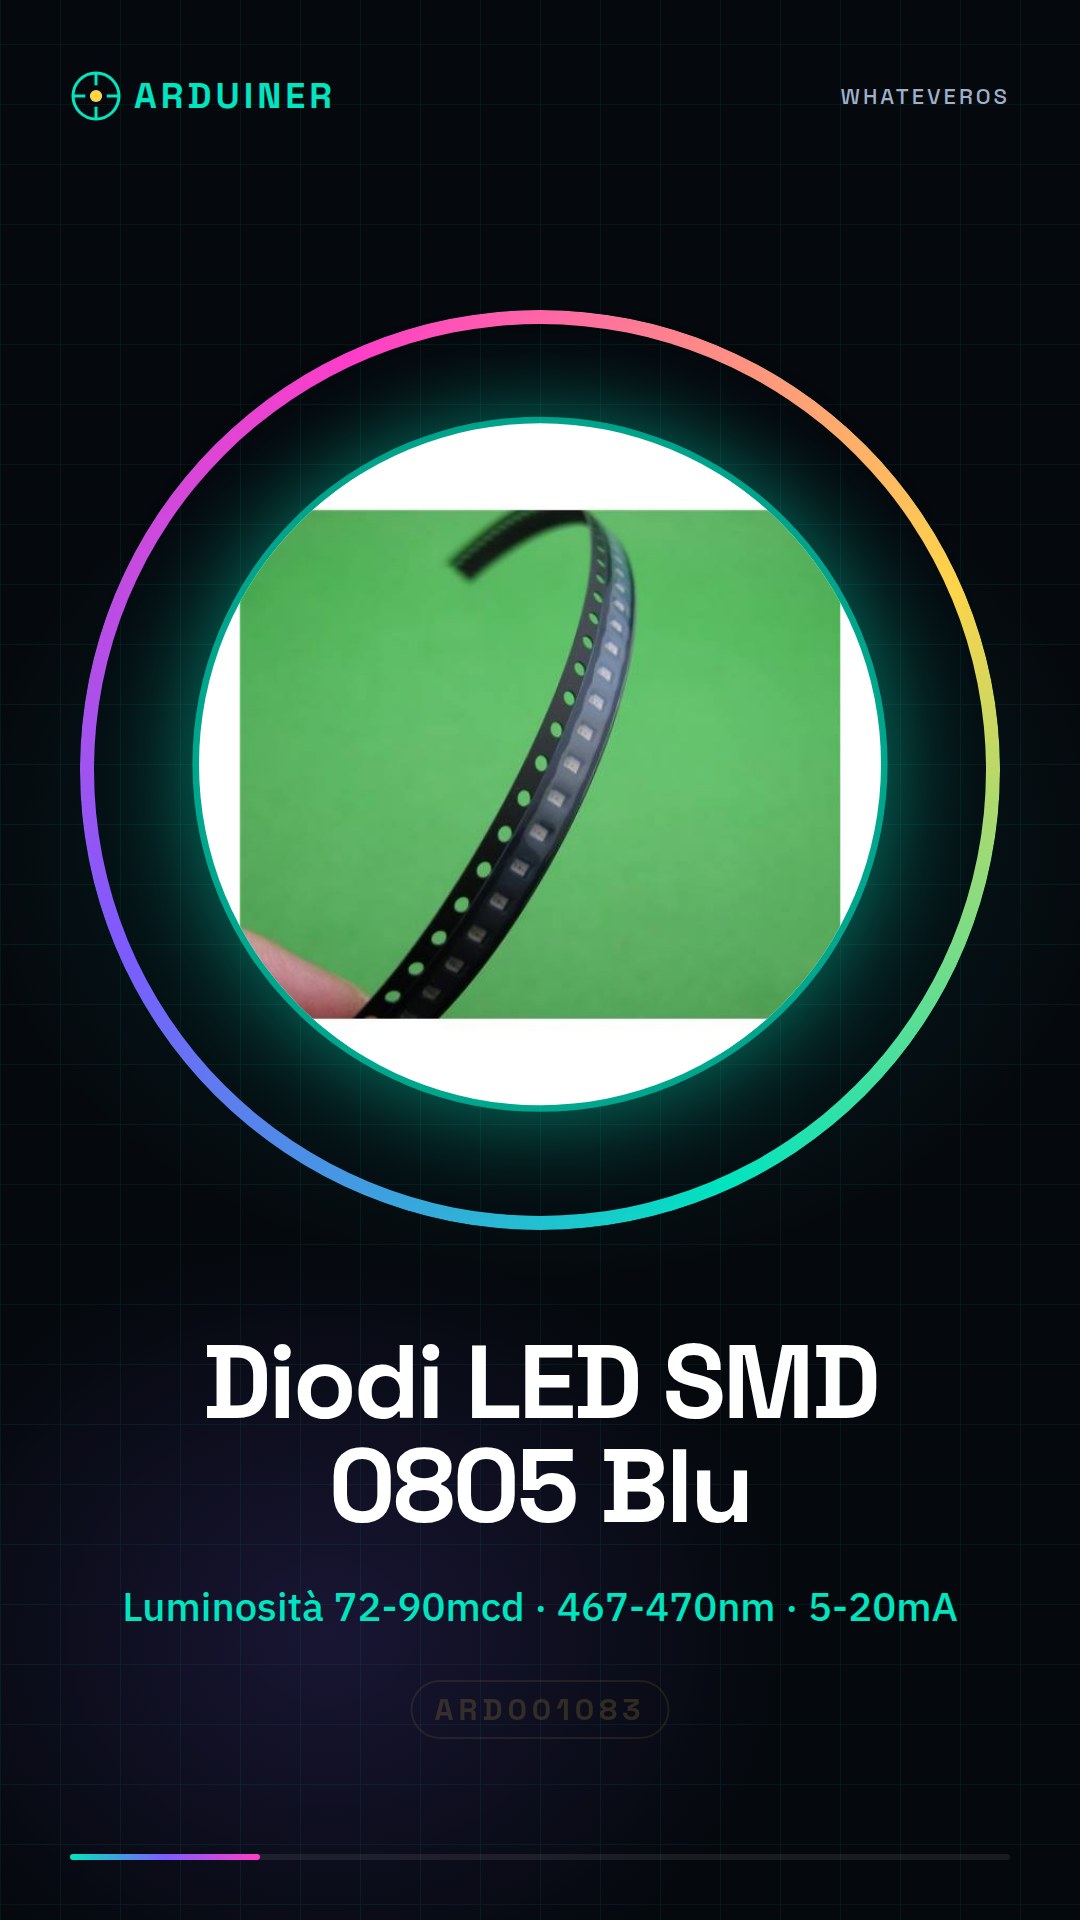
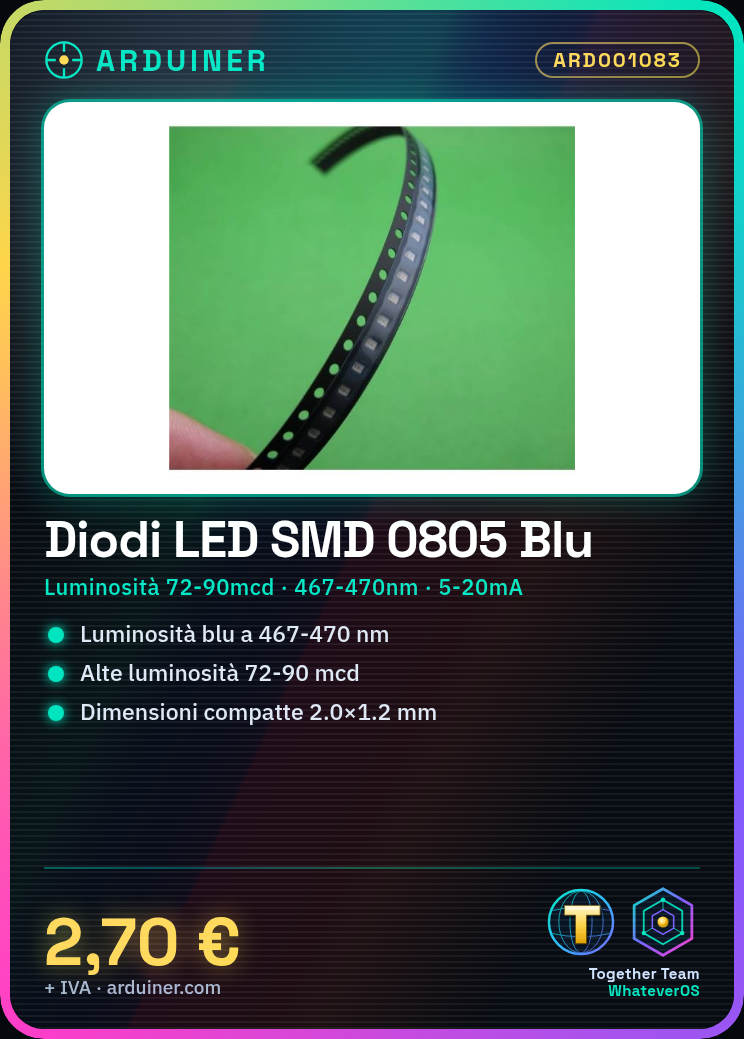
Description
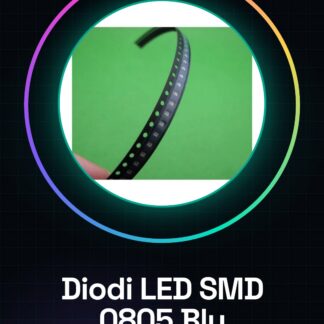
Enhance your electronic projects with the BlueSkyBrite 20 LED Kit, featuring high-brightness blue SMD LEDs. Ideal for 3D printers and drones, these LEDs offer superior illumination. Key Features: – High brightness: 72-90MCD – Wavelength: 467-470NM – Voltage: 2.8-3.0V – Current: 5-20mA – Dimensions: 2.0×1.2mm – Beam angle: 120° Installation Tutorial: Follow our step-by-step guide to install these LEDs in your projects. What you’ll need: – Arduino Uno – Perforated board – Soldering iron – Soldering clips – Multimeter Steps: 1. Identify LED polarity. 2. Prepare and solder the SMD board. 3. Test connections with a multimeter. 4. Connect to Arduino and test. Example code provided. Create a blue indicator display for your drone or 3D printer. Avoid common errors: polarity issues, incorrect resistor use, excess solder, direct 5V connection. Recommended accessories: variable resistors, perforated board, soldering kit, multimeter.
Full description (Italian original)
The full description is shown below in Italian while the English translation is being completed.
Specifiche: 0805 SMD LED colore: blu Imballaggio: nastro Quantità: 3000PCS / disco Luminosità: 72-90MCD Lunghezza d’onda: 467-470NM Tensione: 2.8-3.0V Corrente : 5-20MA Dimensioni: 2.0×1.2 (MM) Angolo del fascio: 120
Tutorial: Come usare Diodi Led SMD Blu Alta Luminosità 0805
I diodi LED SMD blu alta luminosità 0805 sono ideali per illuminazione integrata in progetti elettronici, come stampanti 3D o droni. Questo tutorial ti guiderà passo dopo passo su come installarli correttamente.
Cosa serve
- Arduino Uno
- Carta perforata SMD
- Soldi di stagno
- Pinza per soldatura
- Multimetro
Passi
- Verifica la polarità del LED: il piedino più lungo è l’Anodo (+).
- Prepara la scheda SMD pulendola e applicando un piccolo strato di pasta da soldatura.
- Colloca i LED sulla carta perforata in posizione corretta, rispettando la polarità.
- Solda delicatamente i piedini dei LED utilizzando una pinza per soldatura.
- Verifica che non ci siano corti circuito o diodi rotti con un multimetro.
- Collega l’Anodo del LED al 5V della scheda Arduino e il Catodo a GND tramite resistenza (verifica valore sul datasheet).
- Scrivi lo sketch per accendere il LED.
- Testa il progetto verificando che il LED si accenda.
Codice di esempio
void setup() {
  pinMode(13, OUTPUT);
}

void loop() {
  digitalWrite(13, HIGH);
}
Mini-progetto
Crea un display di indicatori blu per monitorare lo stato del tuo drone o stampante 3D.
Errori comuni
- Non rispettare la polarità dei LED
- Usare una resistenza sbagliata
- Soldatura troppo abbondante che blocca il piedino
- Connettere direttamente al 5V senza resistenza
Accessori consigliati
- Resistors variabili da 100 Ohm a 220 Ohm
- Carta perforata SMD
- Kit di soldatura per hobby
- Multimetro digitale
Domande frequenti
Qual è la temperatura di funzionamento del LED?
Verifica sul datasheet.
Quanto corrente passa attraverso il LED?
Verifica sul datasheet.
Reviews
There are no reviews yet.