 EN
 IT Italiano
 ES Español
 FR Français
 DE Deutsch
Description
What it is
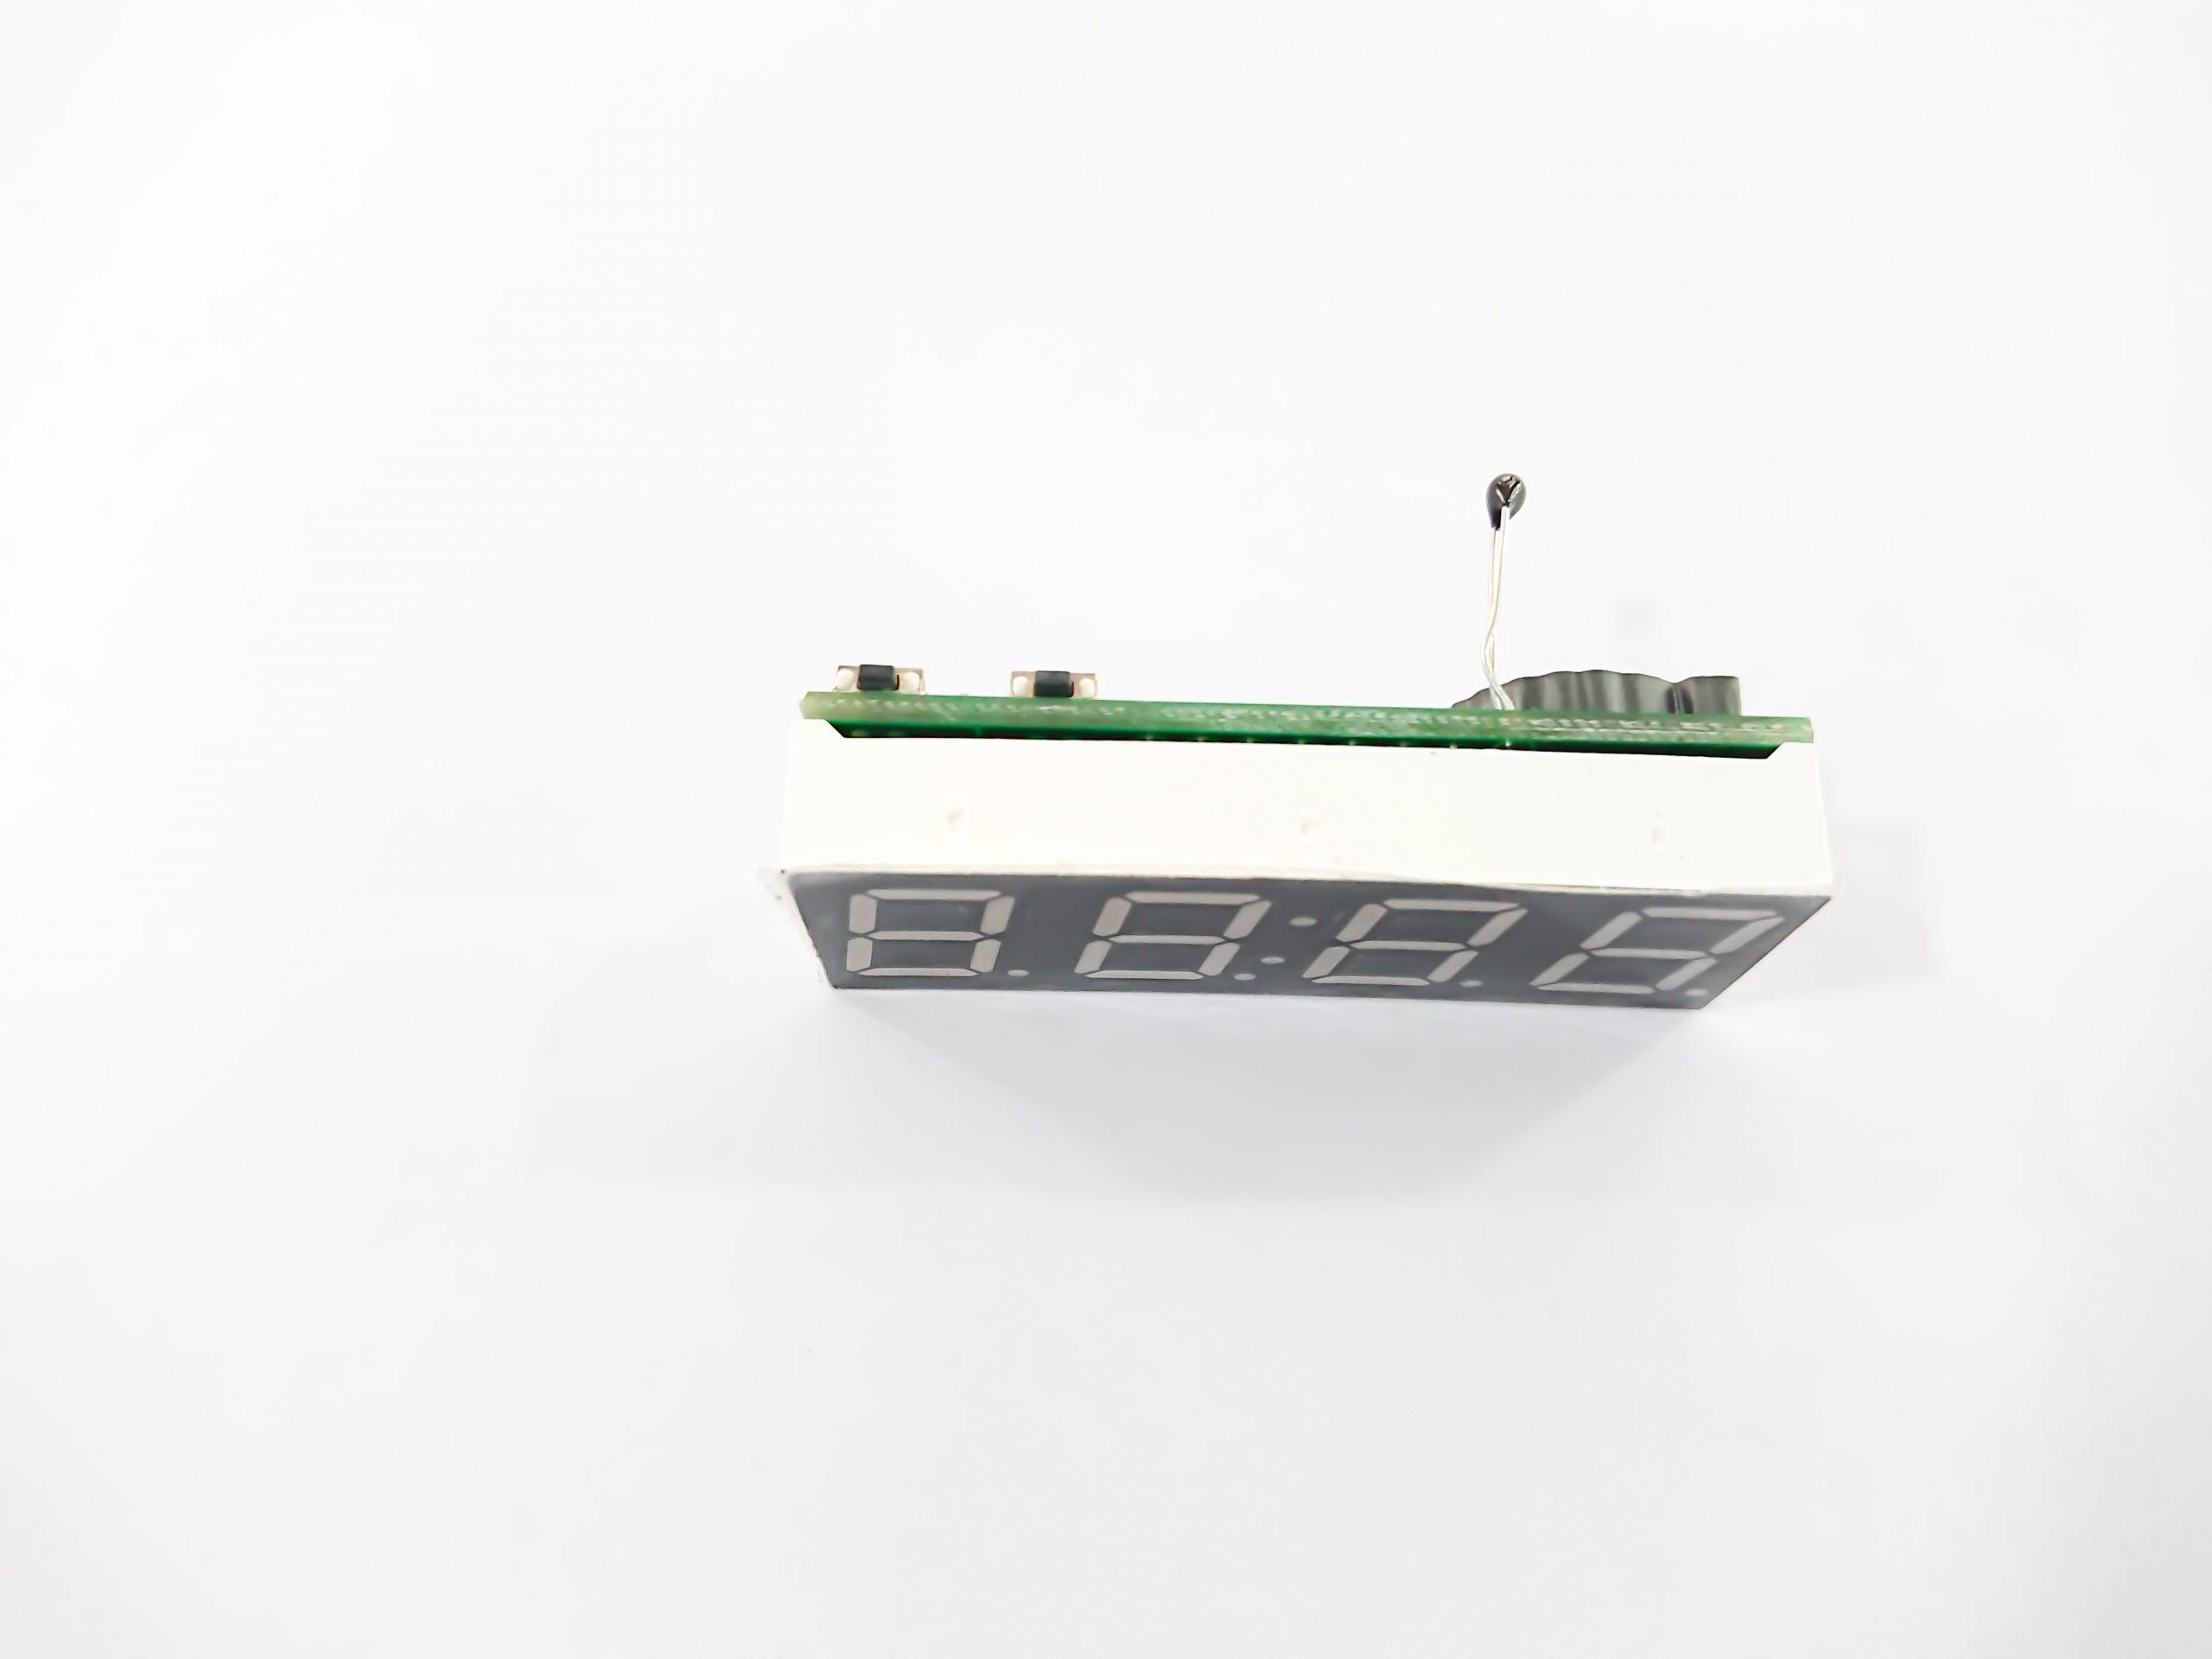
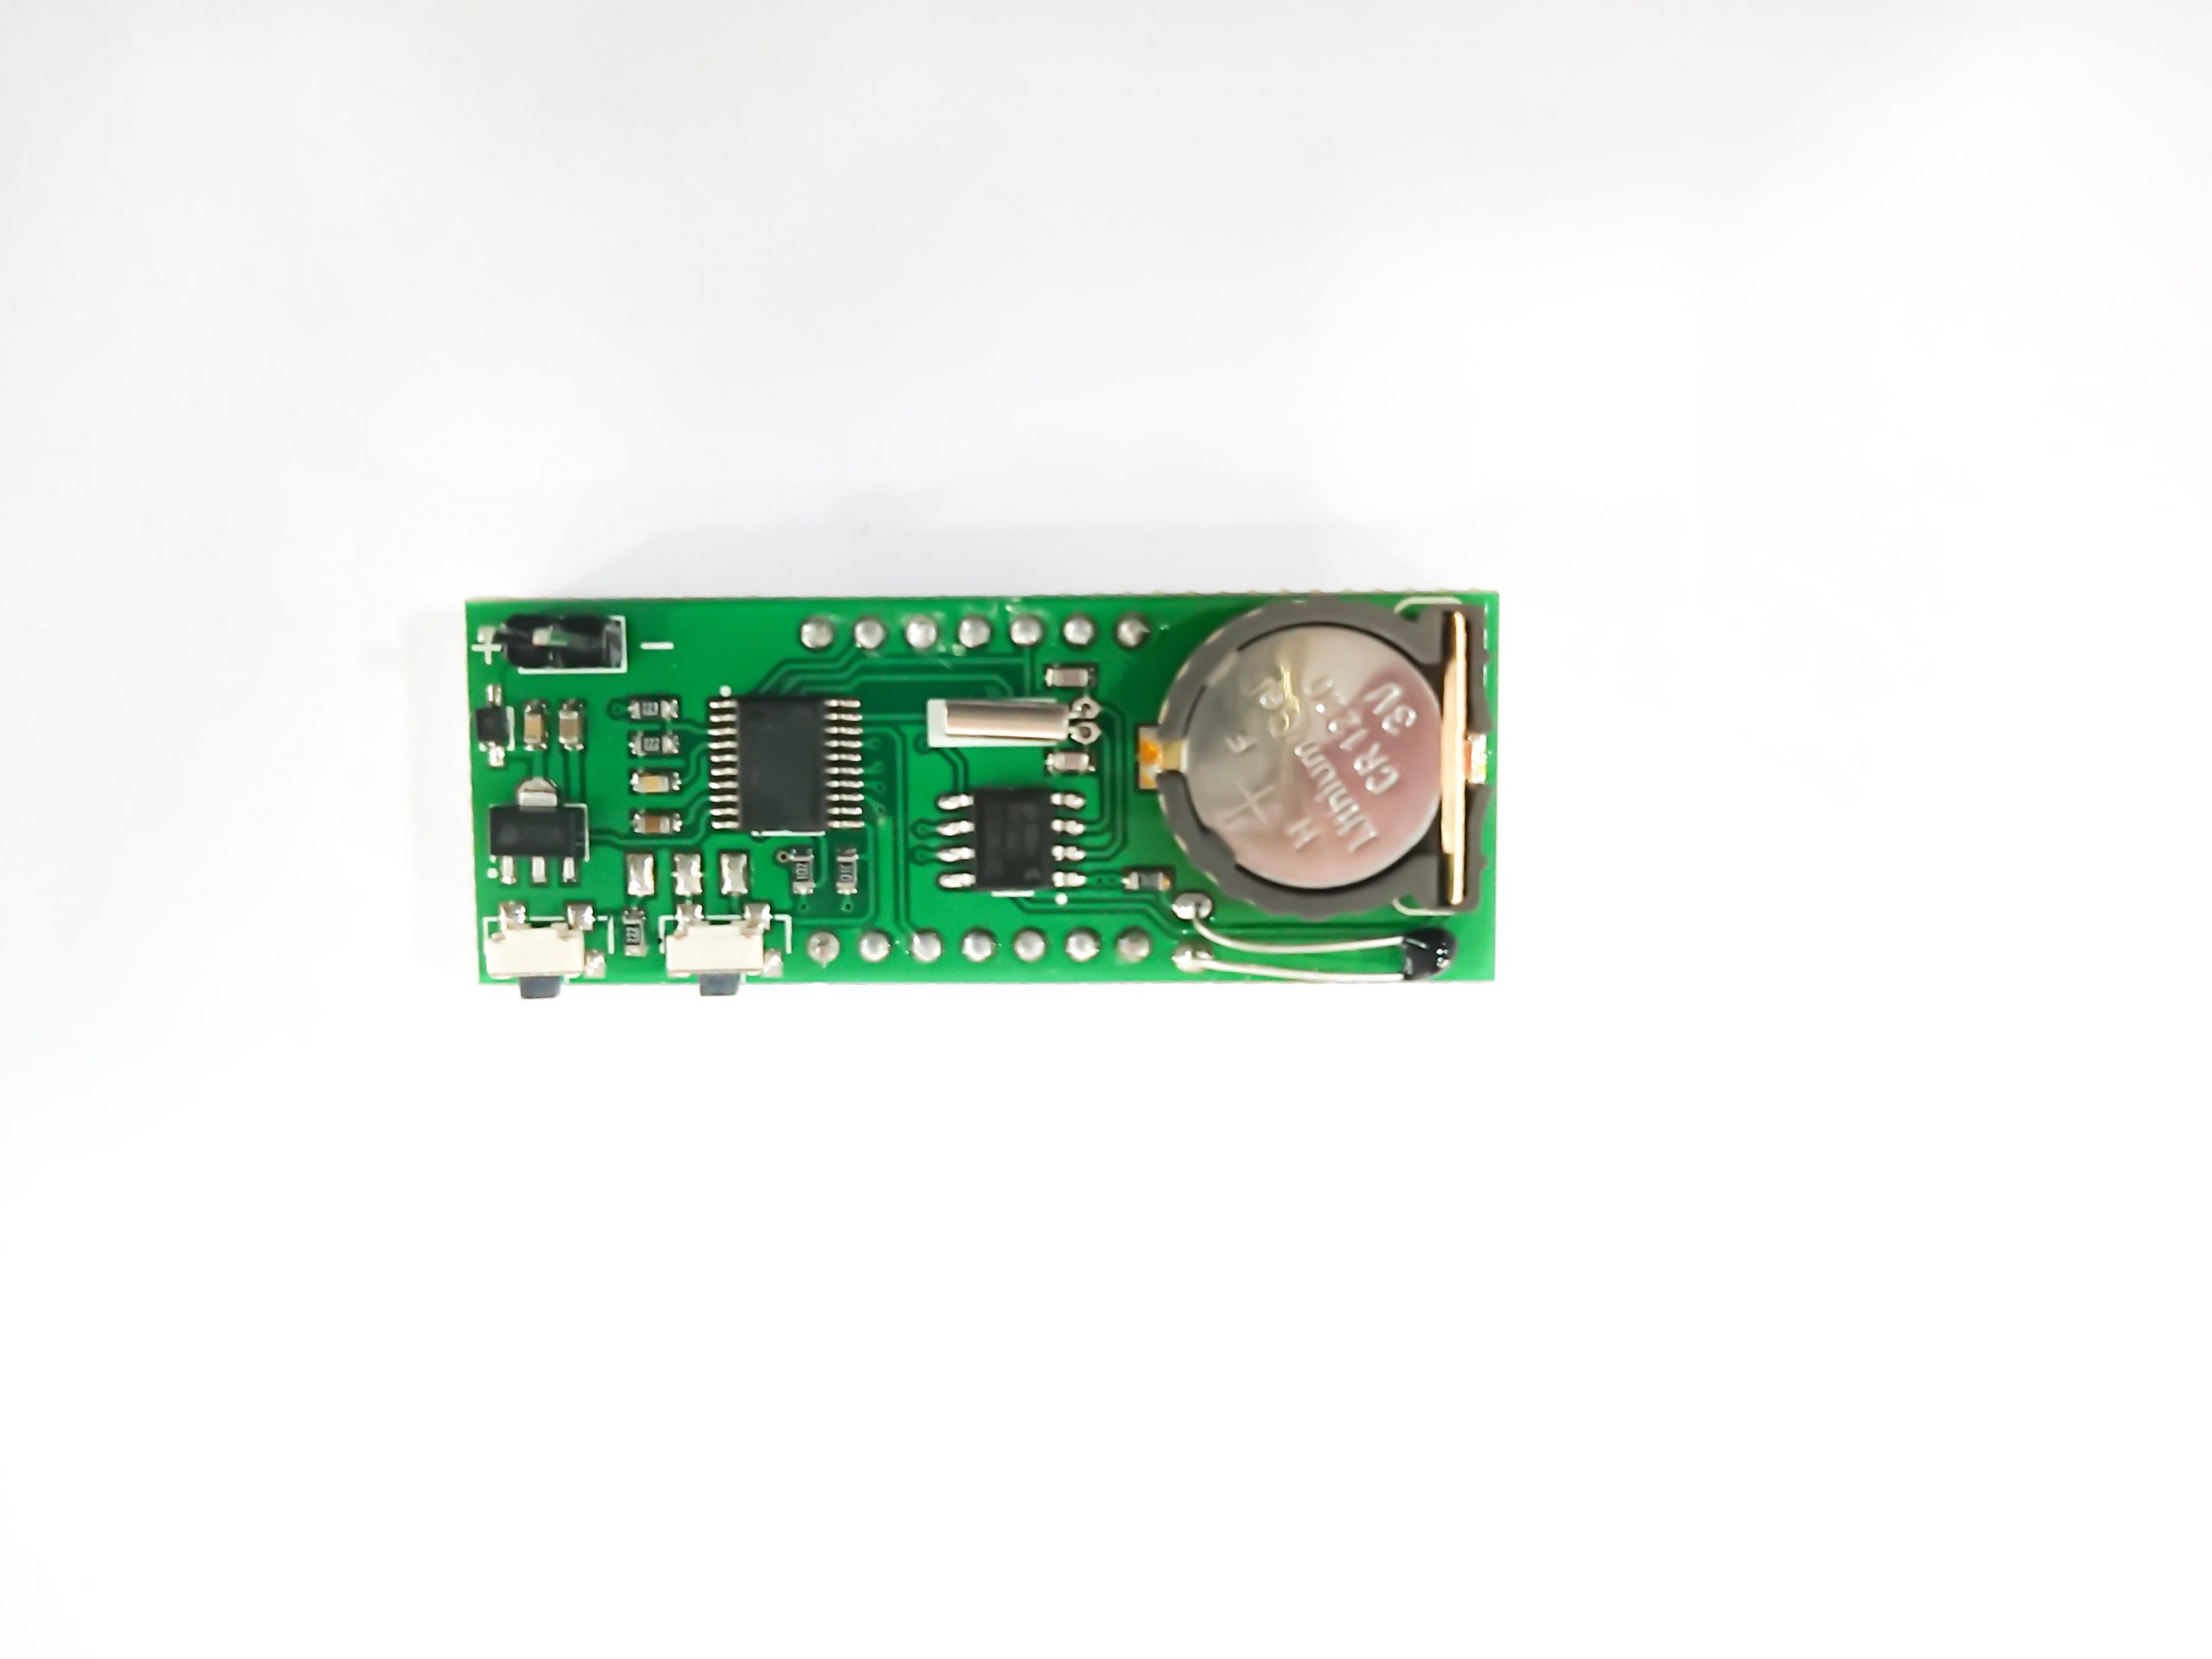
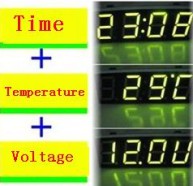
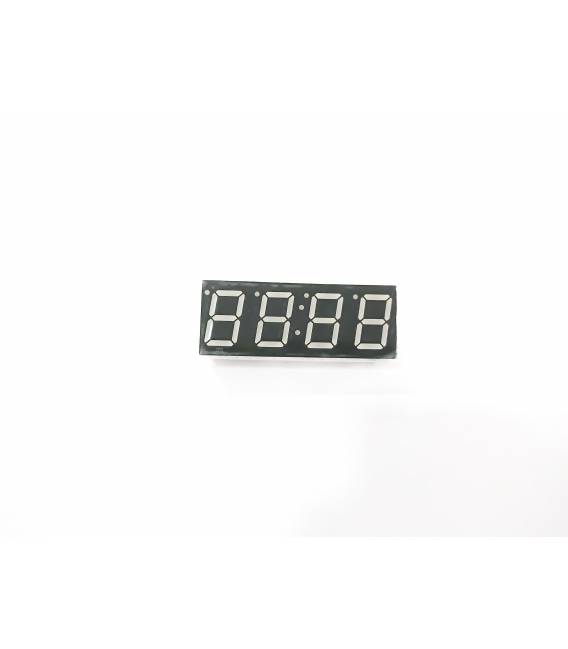
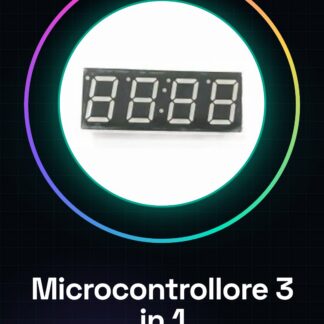
The 3-in-1 microcontroller with DS1302 chip is an electronic component that integrates clock, temperature sensor, and voltage reading functionalities. This module is designed to be used in Arduino projects.
Features
- DS1302 Chip
- Ideally suited for implementing clock, temperature sensor, and voltage functionalities in a single module
What it is for
This microcontroller is ideal for projects that require time management, ambient temperature reading, and power level monitoring. It is suitable for both beginners and intermediate makers.
Tutorial: How to use DS1302 Microcontroller
The DS1302 microcontroller is a useful component for implementing time and date functionalities in Arduino projects. Ideal for both beginners and intermediate makers, this module allows you to add a timed network and temperature readings to your project.
What you need
- Arduino Uno or similar
- USB A-MicroB cable
- External power supply (5V-12V)
- Pin jumper
Steps
- Connect the VCC, GND, and DAT pins of the DS1302 module to the corresponding pin of the Arduino.
- Check the connection of the CLK and RST pins according to the specifications in the DS1302 datasheet.
- Load the example sketch provided with this tutorial onto the Arduino.
- Open the Serial Monitor in the Arduino IDE to view the time and temperature data.
- Configure the digital clock via code or hardware interface (check the datasheet).
- Verify the correct reading of the temperature sensor connected to the DS1302 module.
- Test additional features such as voltage monitoring if available.
- Adapt the sketch to integrate time and temperature data into your project.
Example code
/*
 * Esempio base per utilizzare il modulo DS1302
 */
#include <DS1302.h>
DS1302 rtc(9, 8, 7); // definisci i pin collegati al modulo
void setup() {
  Serial.begin(9600);
}
void loop() {
  DateTime now = rtc.now();
  Serial.print(now.year(), DEC);
  Serial.print("-");
  Serial.print(now.month(), DEC);
  Serial.print("-");
  Serial.print(now.day(), DEC);
  Serial.print(", ");
  Serial.print(now.hour(), DEC);
  Serial.print(":");
  Serial.print(now.minute(), DEC);
  Serial.print(":");
  Serial.println(now.second(), DEC);
}
Mini project
Create a digital clock with time and temperature display on an LED matrix.
Common mistakes
- Incorrect pin connection of CLK and RST
- Insufficient or inadequate power supply
- Error in uploading the Arduino sketch
- Issues in reading the temperature sensor
Recommended accessories
- 8×8 LED matrix
- DS18B20 temperature sensors
- Arduino Uno R3
- USB A-MicroB cable
Frequently asked questions
Does the module work without external power supply?
Check the module’s datasheet for the supported minimum and maximum voltage.
How can I configure the clock?
Use the setDateTime() method provided by the DS1302 library, specifying the desired values.
Reviews
There are no reviews yet.