 EN
 IT Italiano
 ES Español
 FR Français
 DE Deutsch
Description
What it is
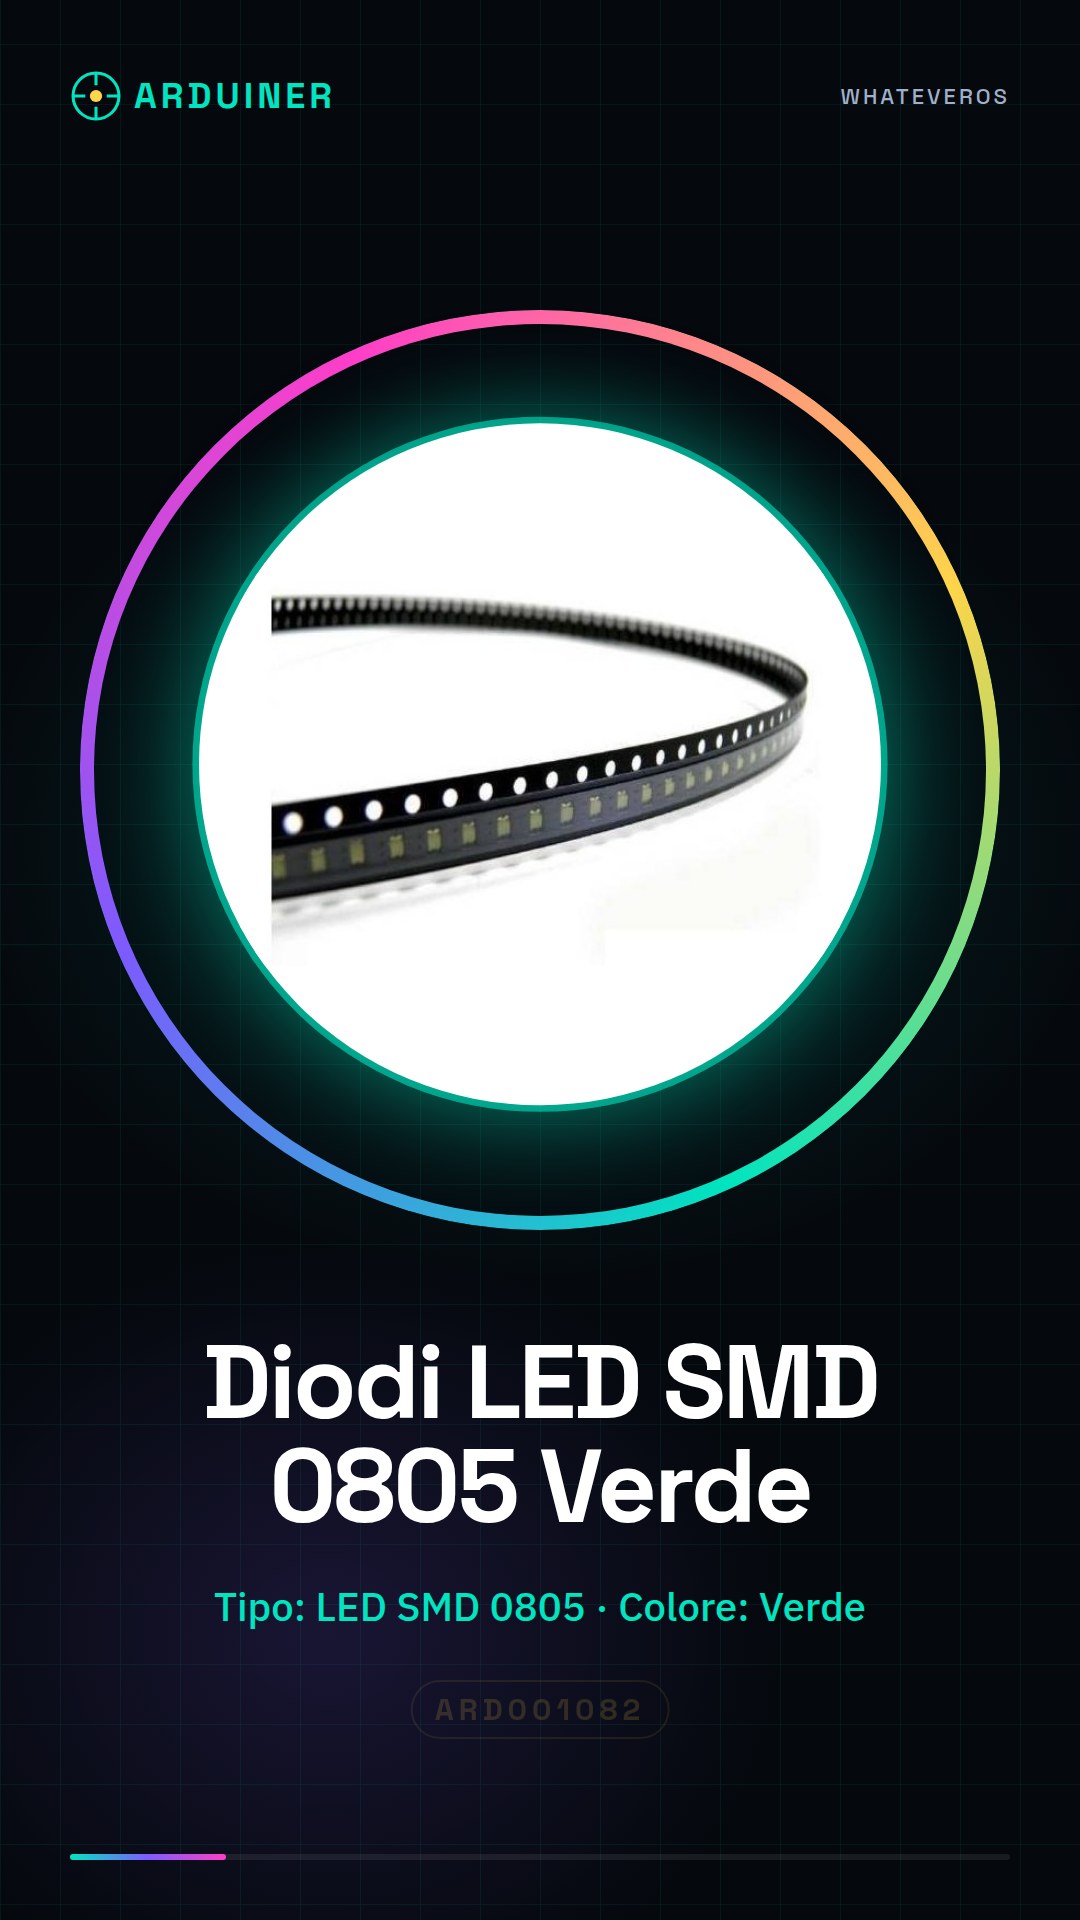
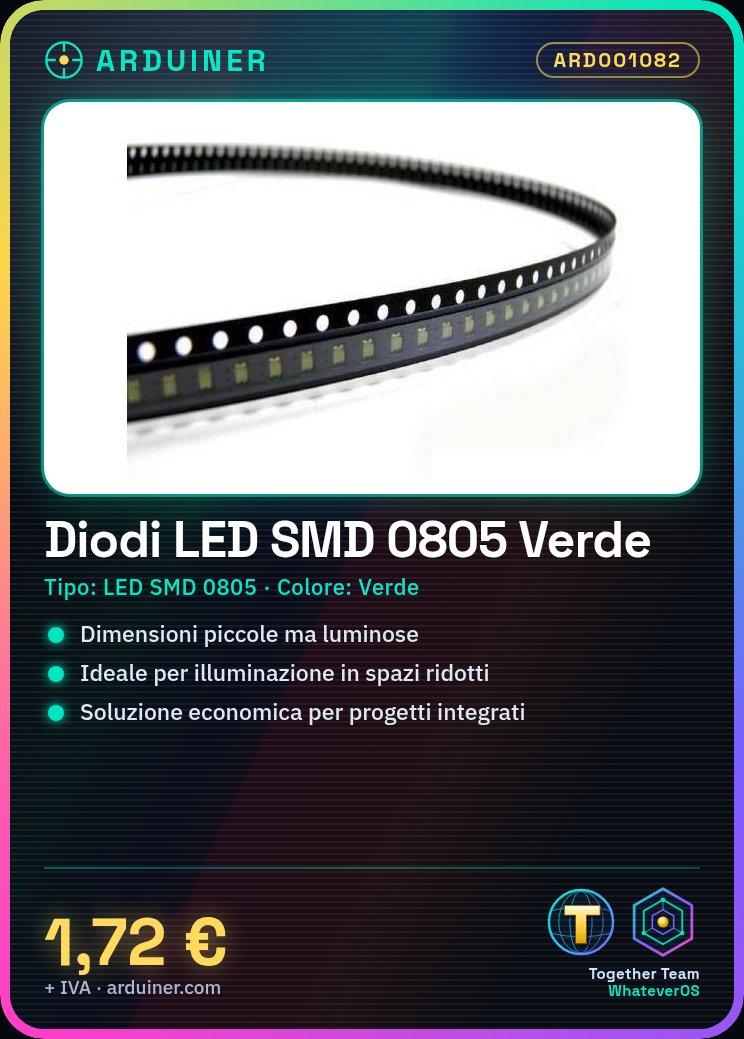
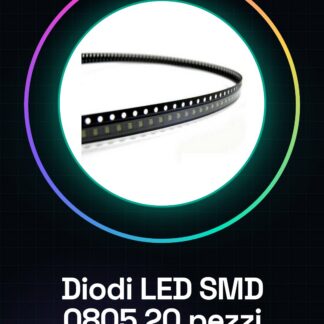
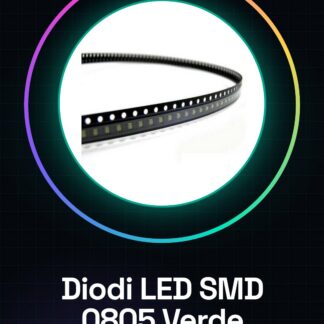
The high brightness green SMD 0805 LED diodes are small but powerful electronic components, ideal for projects that require high light intensity in a limited space. These LED diodes offer an economical and effective solution for integrated lighting in your projects.
Features
- Type: SMD 0805 LED Diodes
- Color: Green
- Brightness: High brightness (check the datasheet)
- Pack contains: 20 pieces
What it is for
The high brightness green SMD 0805 LED diodes are useful for various electronic projects, such as integrated lighting in Arduino or ESP devices, 3D printing, modeling, and creating light bars. You can connect these diodes to various digital pins on the Arduino and write a sketch that turns each LED on and off in sequence.
Tutorial: How to Use High Brightness Green SMD 0805 LED Diodes
The SMD 0805 green high-brightness LED diodes are ideal for integrated lighting in electronic projects, 3D printing, or modeling. This tutorial will guide you through the installation and configuration of your new diodes.
What you need
- Arduino Uno
- SMD Perfboard
- Soldering Pliers
- Electronic Solder
Steps
- Prepare the support: Select an appropriate perfboard to install the diodes.
- Identify the markings: Identify the polarity of the diode (cathode towards ground).
- Soldering: Position and solder each diode delicately onto the perfboard, following the desired configuration.
- Connection check: Ensure that the diodes are properly soldered without short circuits.
- Circuit connection: Connect the anode side of the diode to a digital pin on the Arduino and the cathode to GND through an appropriate resistor (check the datasheet).
- Write the sketch: Load a simple sketch to test the diodes.
- Test brightness: Turn on the LEDs with the Arduino and check that they are visible and functioning correctly.
- Repeat the process: Repeat steps 4-7 for all the other diodes.
Example code
void setup() {
  pinMode(13, OUTPUT);
}

void loop() {
  digitalWrite(13, HIGH);   // accendi il LED
  delay(1000);               // attesa di un secondo
  digitalWrite(13, LOW);    // spegni il LED
  delay(1000);               // attesa di un secondo
}
Mini project
Create a light bar with your SMD diodes. Connect several diodes to different digital pins on the Arduino and write a sketch that turns on and off each LED in sequence.
Common mistakes
- Incorrect connection between anode and cathode
- Insufficient or excessive soldering
- Incorrect resistance to limit current
Recommended accessories
- Variable resistor kit
- SMD perforated board
- Professional soldering iron
- Portable multimeter
Frequently asked questions
What is the operating voltage range for these LEDs?
Check the component datasheet.
How much power do they consume?
The maximum power that a single LED can handle is specified in the datasheet. Check the resistor used to limit current and calculate power dissipation.
Can I use these LEDs without an Arduino?
Yes, you can connect them directly to a battery or another power source, but make sure to use a resistor to limit current and protect the LED.
Reviews
There are no reviews yet.