 EN
 IT Italiano
 ES Español
 FR Français
 DE Deutsch
Description
What it is
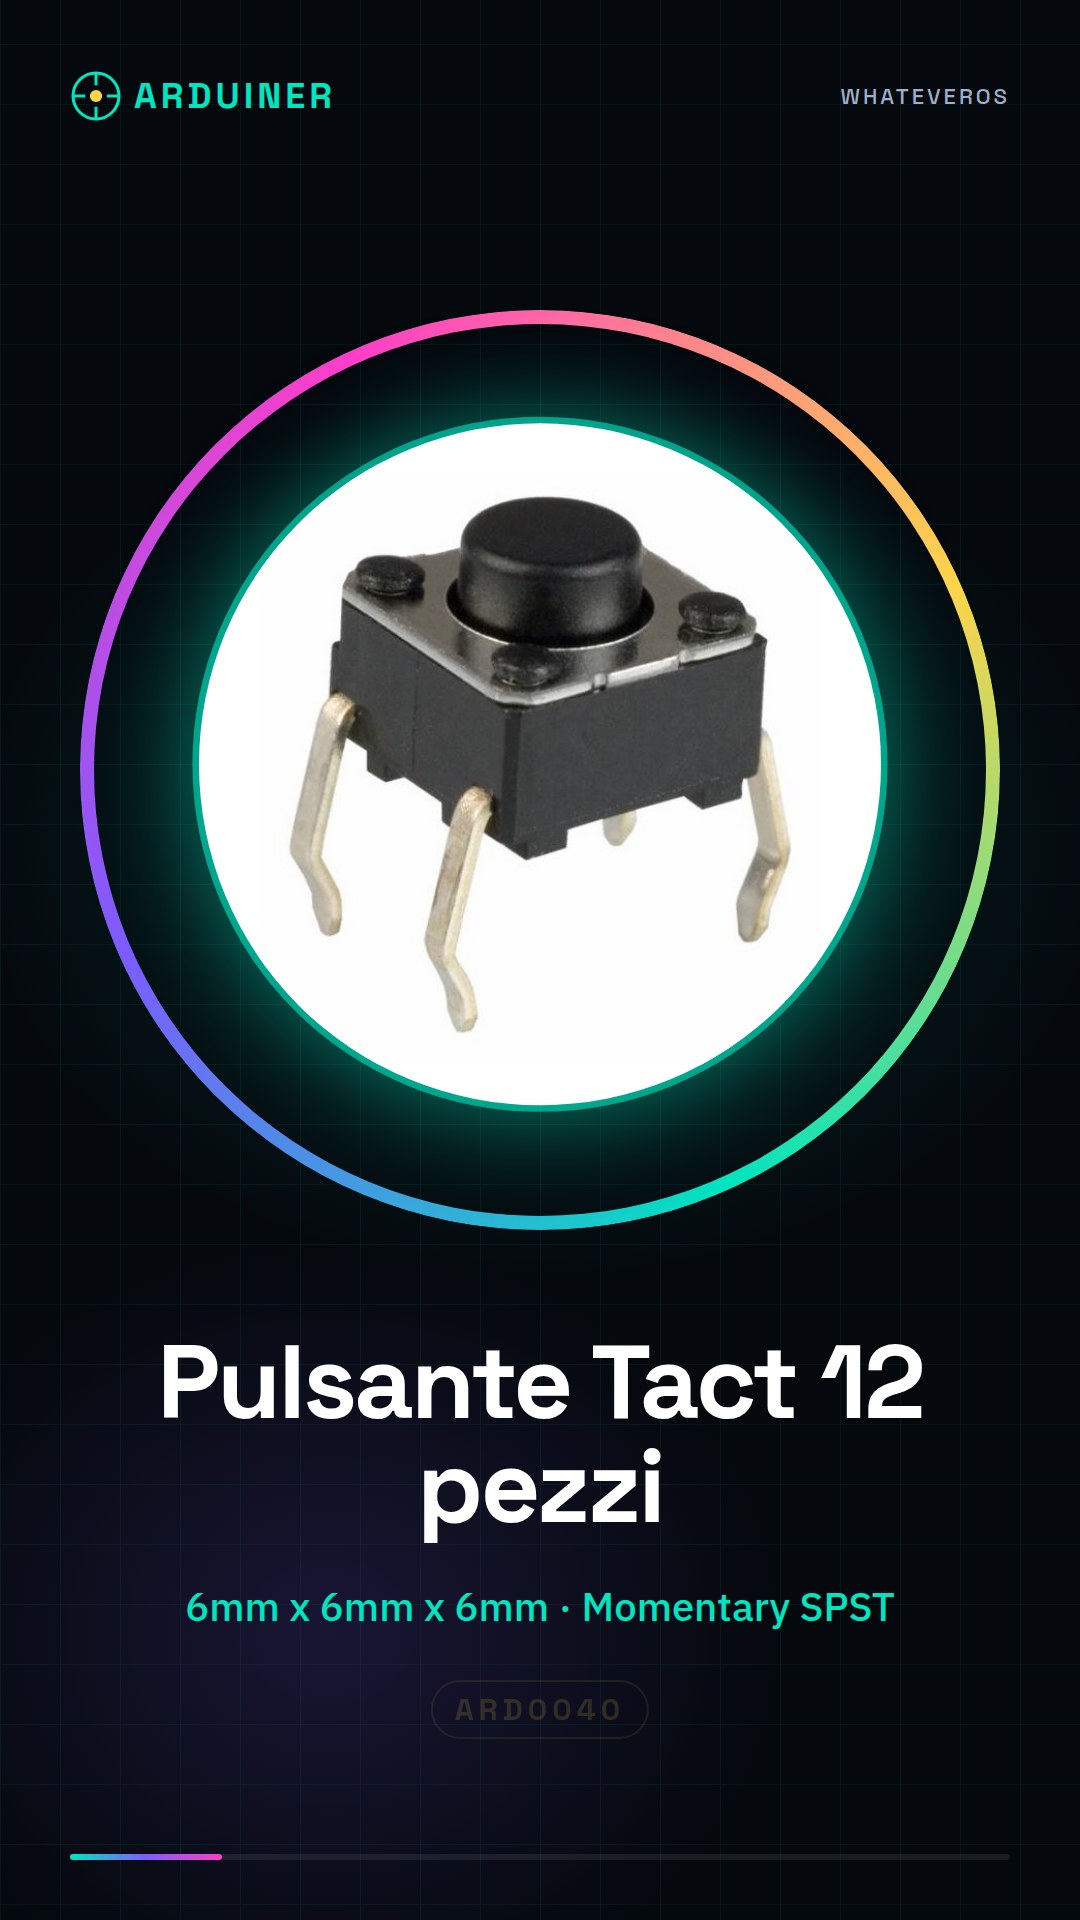
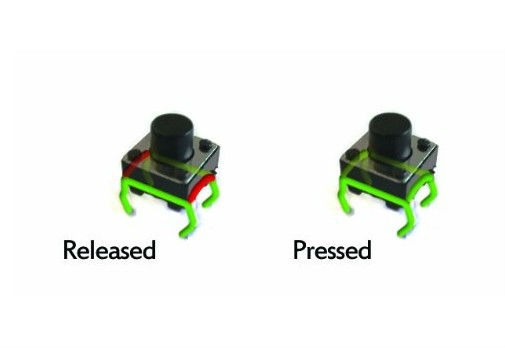
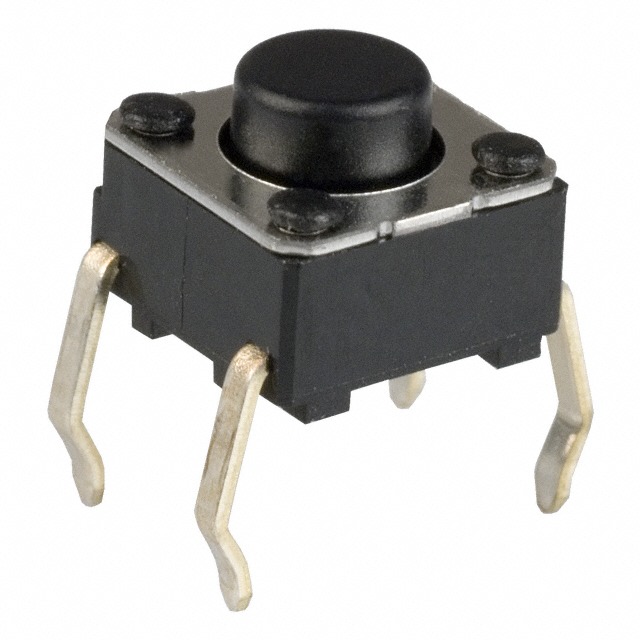
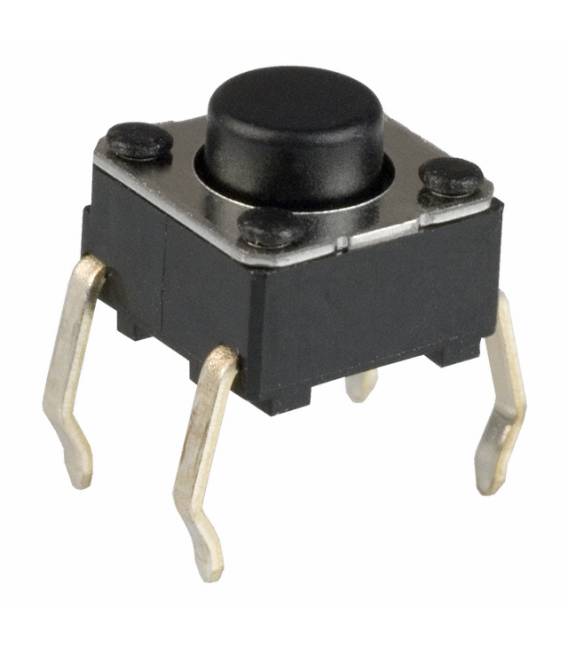
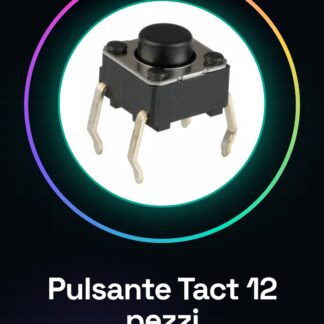
The 12 piece tactile momentary SPST push button PCB compatible with Arduino are electronic components used to interact with devices and projects. These momentary SPST buttons are ideal for implementing input functions in your electronics work.
Features
- Type: Tactile momentary SPST push button PCB
- Dimensions: 6mm x 6mm x 6mm
- Quantity: 12 pieces
- Contact Type: Momentary SPST
What it is for
Tactile buttons are used to create simple and intuitive user interfaces in Arduino projects. Examples of applications include the implementation of alarm systems that send a signal when the button is pressed, or their use in combination with WiFi or Ethernet modules to transmit data.
Tutorial: How to use Tactile Momentary SPST Push Button
Momentary tactile push buttons are fundamental components for interacting with your electronic creations. This tutorial will guide you in connecting a tactile button to an Arduino circuit, showing how to configure and use it in a simple application.
What you need
- Momentary tactile push button SPST
- Jumper wire
- Arduino board
- Breadboard (if needed)
- Laptop or computer with Arduino IDE installed
Steps
- Connect the tactile button to the breadboard. Check the datasheet for the correct placement of the contacts.
- Secure one end of the jumper wire to the center of the button and the other end to GND on the Arduino.
- Connect another jumper wire from the breadboard to the input pin of the Arduino (for example, pin 2).
- Insert the following code into your Arduino IDE to configure the pin as a digital input and read the state of the button.
- Run the program on Arduino. Every time you press the button, you should see a change in the state of the input on the Arduino serial monitor.
Example code
const int buttonPin = 2; // pin al quale è collegato il pulsante
digitalWrite(buttonPin, HIGH); //imposta come input
void setup() {
  Serial.begin(9600);
pinMode(buttonPin, INPUT);
}

void loop() {
int buttonState = digitalRead(buttonPin);
Serial.println(buttonState);
}
Mini project
Create a simple alarm system that sends a message when the button is pressed. Use a WiFi or Ethernet module to send data.
Common mistakes
- The button does not respond correctly: check the connections and pin configuration on Arduino.
- Button read error: a pull-up/pull-down resistor may be necessary.
- Self-activating button: check the solder pad or breadboard for interruptions.
- The code does not respond correctly: check the pin configuration in your sketch.
Recommended accessories
- Pull-up/pull-down resistor
- ESP8266/ESP32 WiFi module
- Breadboard
- Multicolored jumper wires
Frequently asked questions
What is the difference between a tact button and a standard button?
A tact button has smaller dimensions and is ideal for projects with limited space.
Can I use this button in other types of circuits besides Arduino?
Yes, it can be used on any circuit that requires a momentary digital input.
Reviews
There are no reviews yet.