 EN
 IT Italiano
 ES Español
 FR Français
 DE Deutsch
Description
What it is
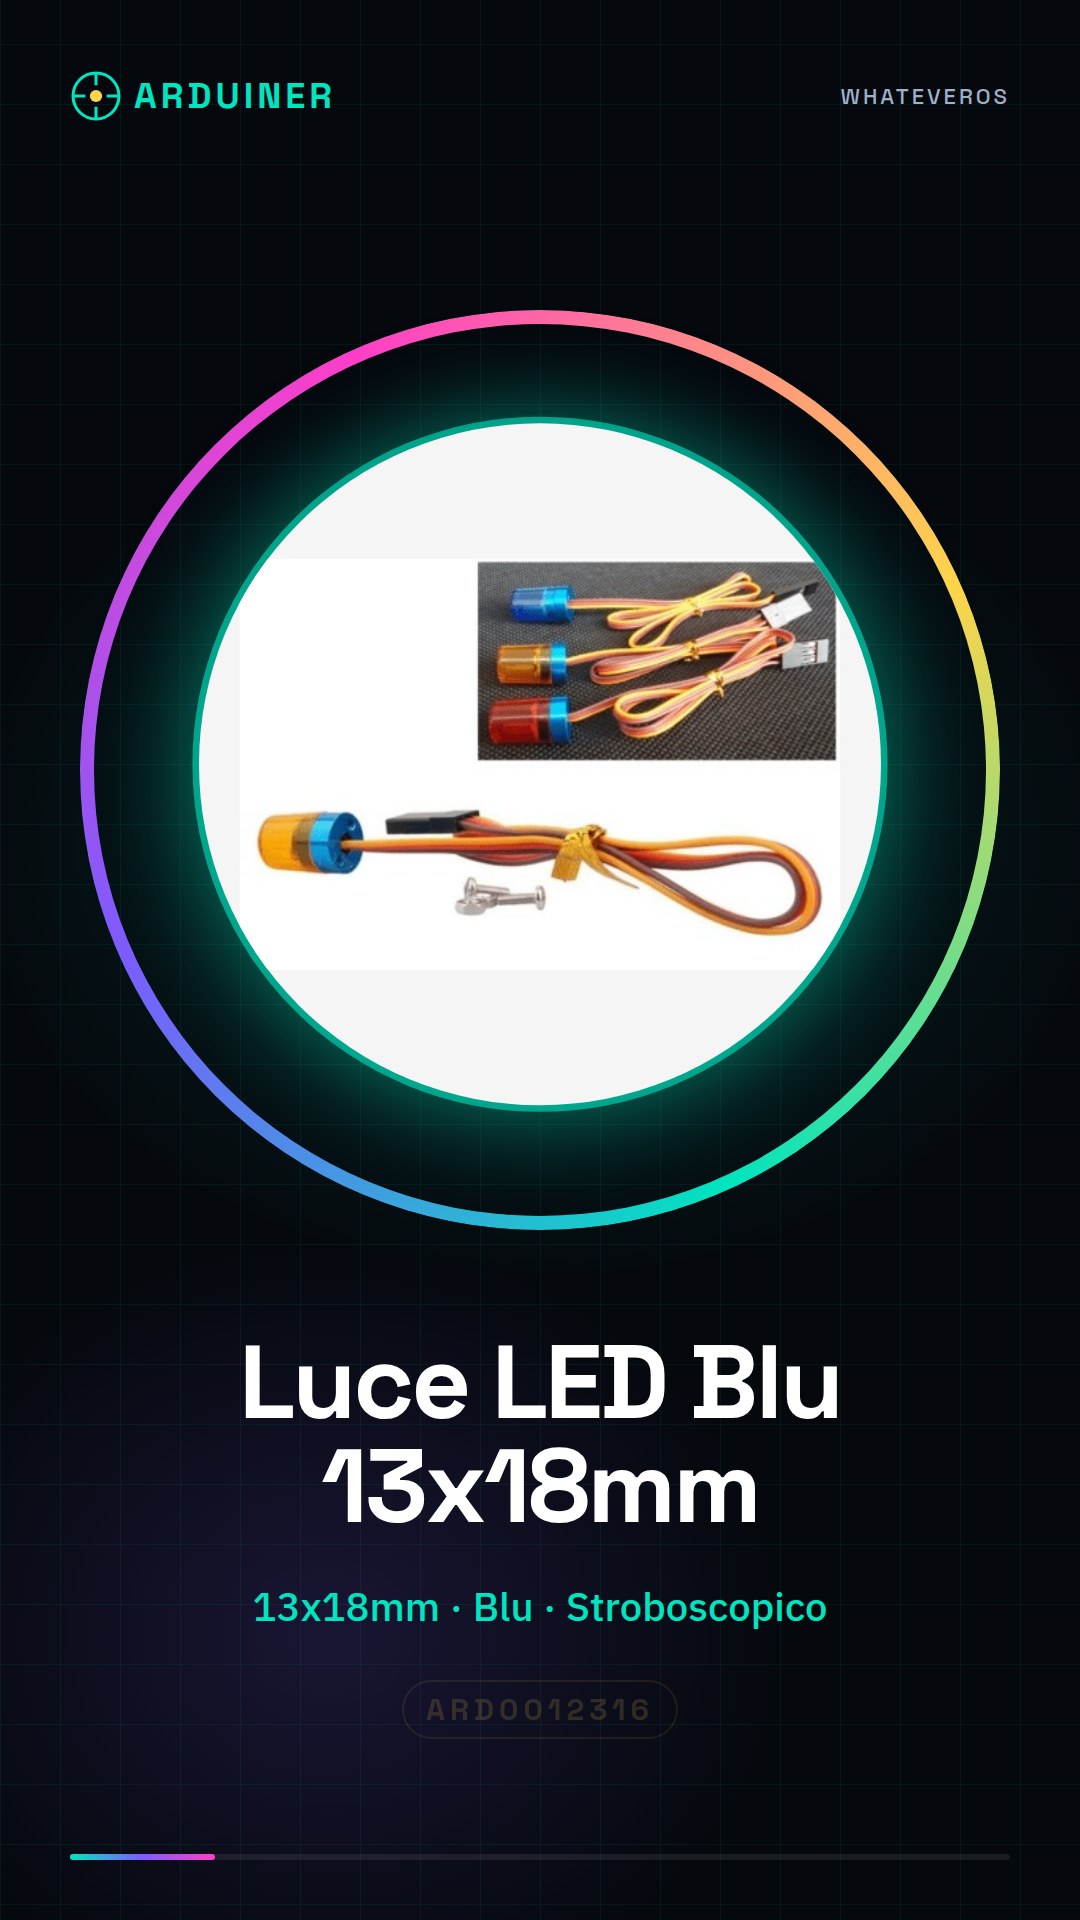
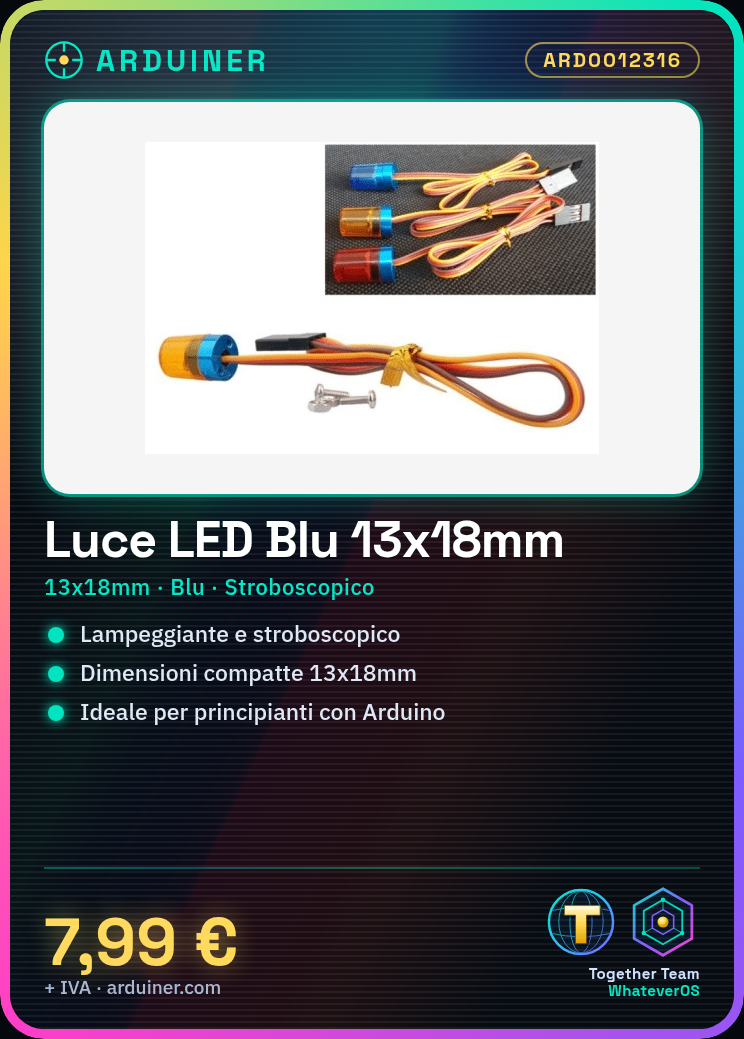
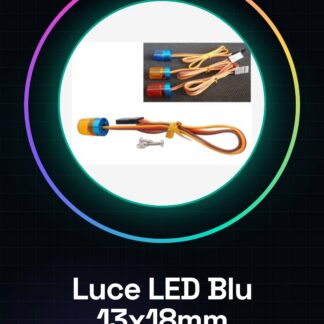
The 13x18mm blue LED with stroboscopic function is an electronic component designed to add dynamic visual effects to electronic lighting projects. This blue LED offers the ability to create flashing or stroboscopic effects, making it ideal for creative and hobby applications.
Features
- Dimensions: 13x18mm
- Color: Blue
- Function: Stroboscopic / flashing / rotating
- Suitable for beginners and Arduino project creators
What it is for
This blue LED can be used to create a stroboscopic signal that simulates an optical illusion. Connected to an Arduino, the LED flashes at a regular frequency, allowing the exploration of interactive lighting and programming concepts.
Tutorial: How to use 13x18mm blue LED with stroboscopic function
This blue LED light is ideal for projects requiring flashing or stroboscopic effects. Suitable for beginners and Arduino project makers.
What you need
- Arduino or compatible microcontroller
- Resistor (check the datasheet)
- Power supply cable
- Multimeter (optional)
Steps
- 1. Connect the LED to the microcontroller with the correct pins (check the datasheet).
- 2. Connect the resistor between the power pin and the data pin of the LED.
- 3. Load the following code onto the microcontroller.
- 4. Configure the LED data pin in the code.
- 5. Set the flashing frequency.
- 6. Load the code.
- 7. Check the current with a multimeter (if available).
- 8. Test the stroboscopic effect.
Example code
```
#include <Arduino.h>

int ledPin = 9; // Pin dell'LED

void setup() {
  pinMode(ledPin, OUTPUT);
}

void loop() {
  digitalWrite(ledPin, HIGH);
  delay(500);
  digitalWrite(ledPin, LOW);
  delay(500);
}
```
Mini project
Create a stroboscopic signal to simulate an optical illusion. When connected to an Arduino, the LED flashes at a regular frequency.
Common mistakes
- Connect the LED to the ground pin instead of GND.
- Omit the resistor.
- Set a blink frequency that is too high.
- Disconnect power before uploading code.
Recommended accessories
- 220Ω resistor
- Arduino Uno
- Multimeter
- Arduino holder
Frequently asked questions
What is the maximum current the LED can handle?
Check the datasheet.
Can I use a different power supply than the one specified?
Check the datasheet.
How can I adjust the blink frequency?
Modify the delay in the code.
Does the LED work with all microcontrollers?
Check compatibility on the datasheet.
Reviews
There are no reviews yet.