 EN
 IT Italiano
 ES Español
 FR Français
 DE Deutsch
Description
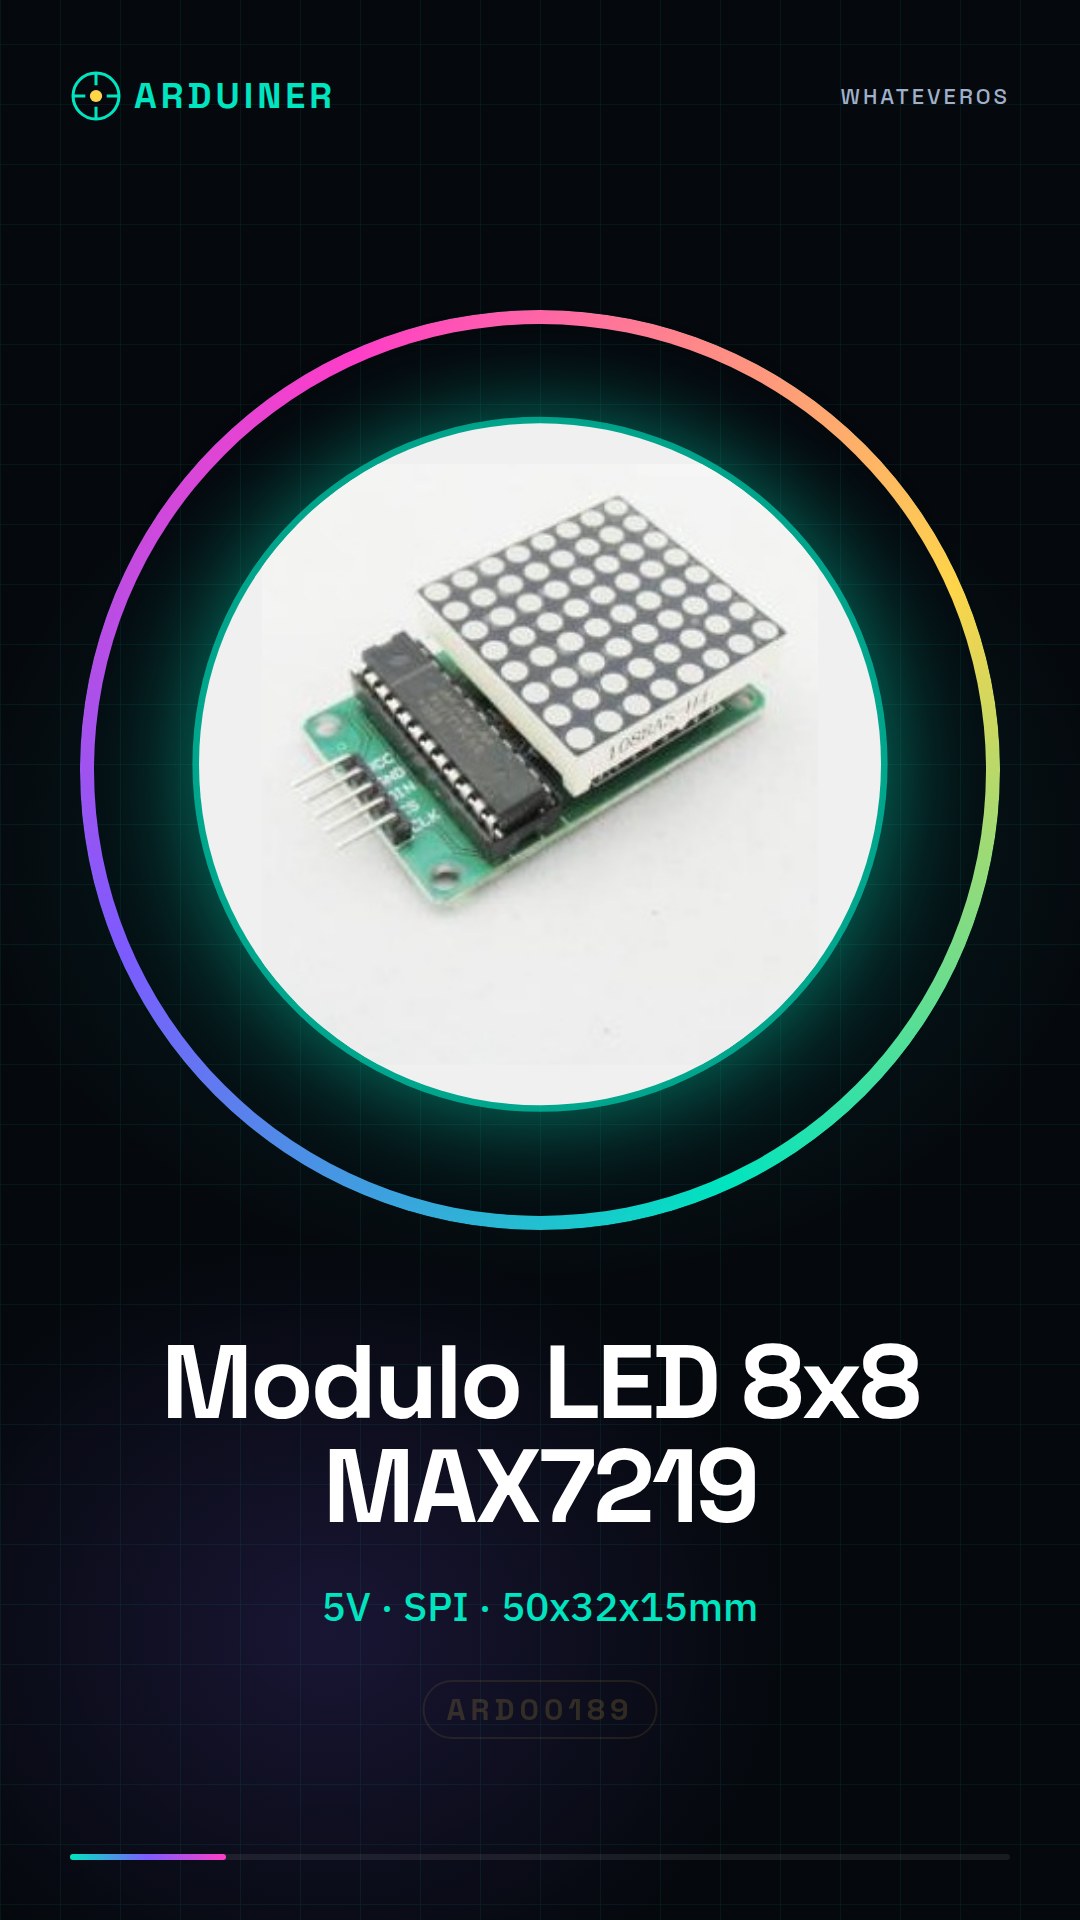
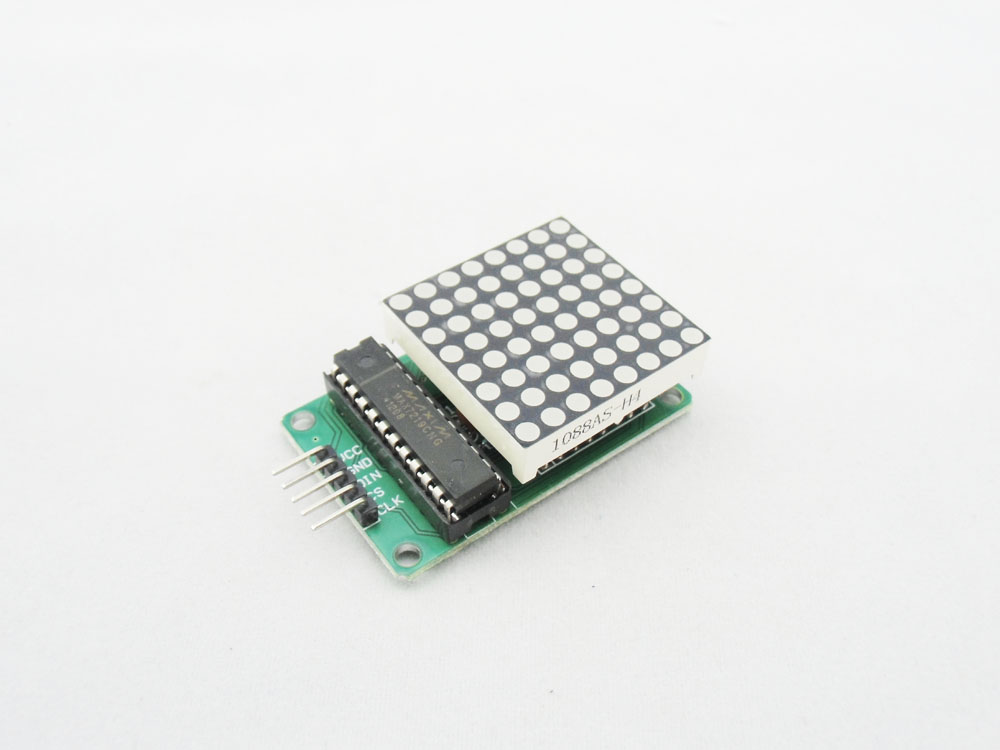
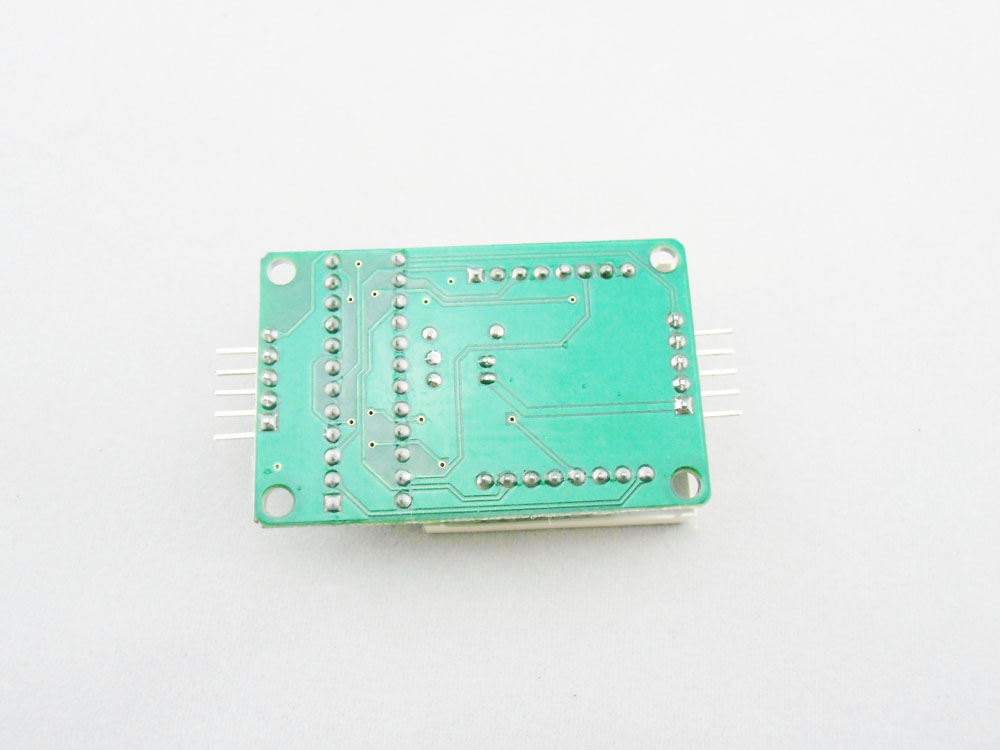
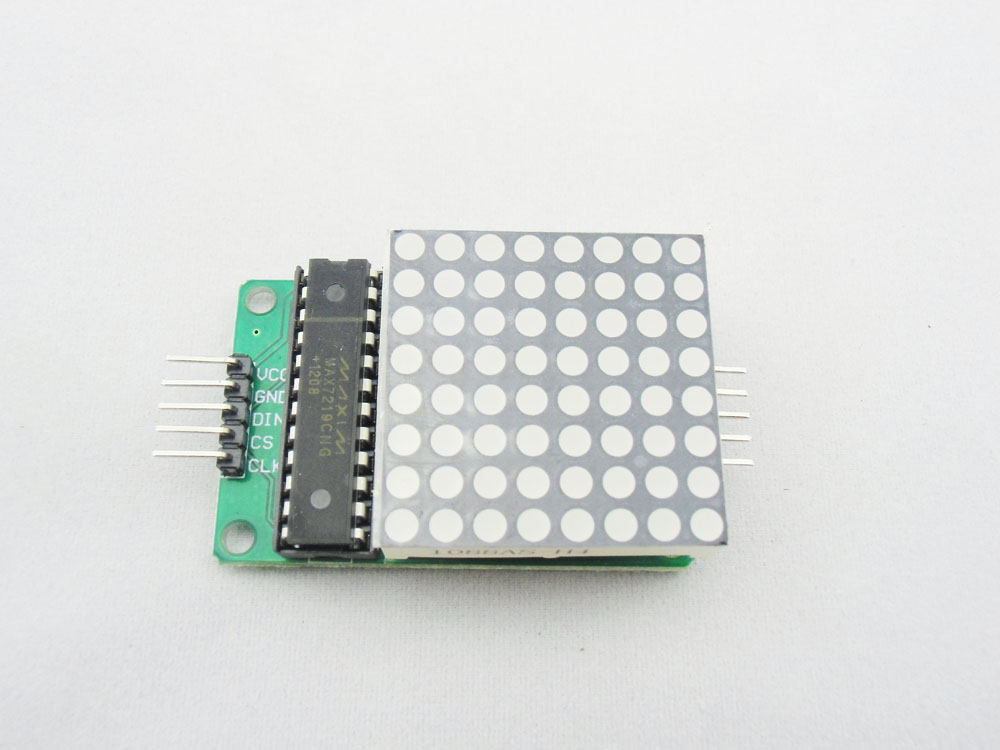
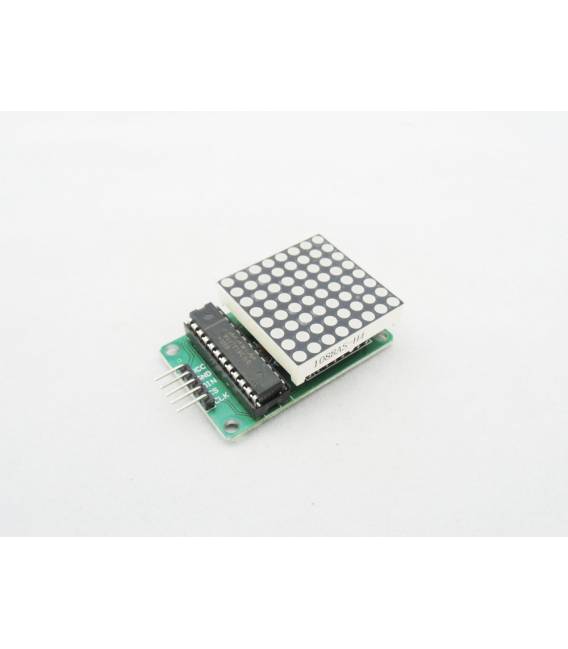
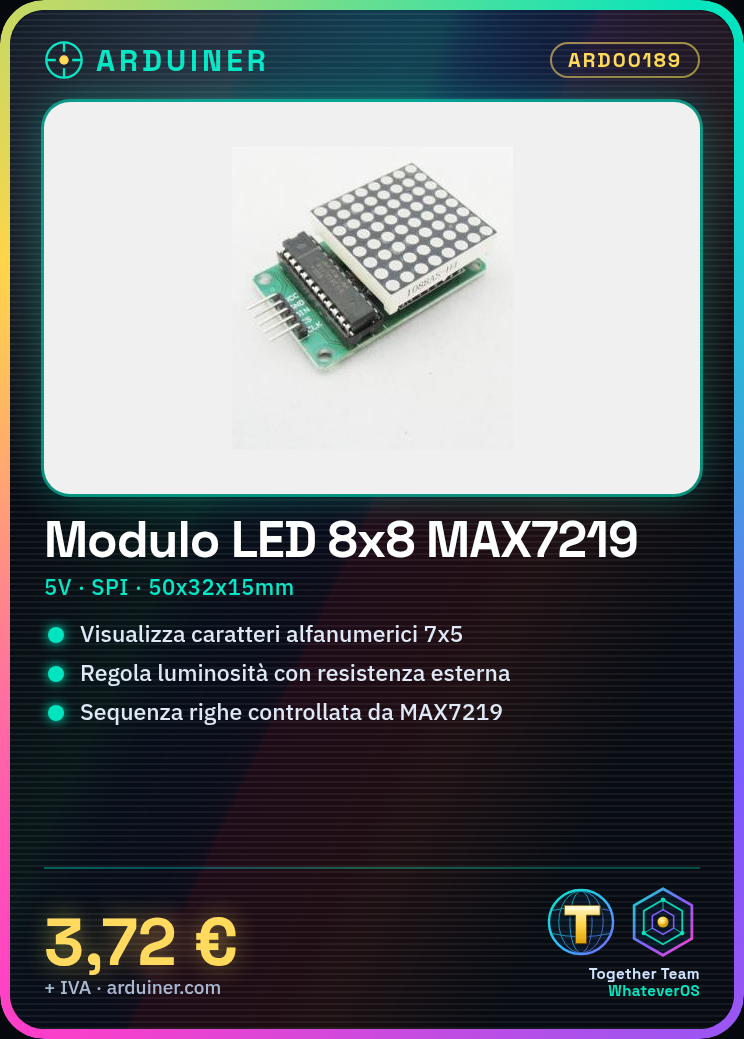
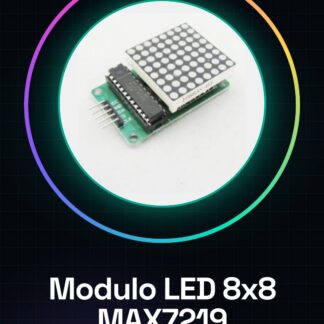
MAX7219 LED Array 8×8 Arduino Compatible Module
The module includes an 8×8 LED array that allows the display of every alphanumeric character (7×5 pixels).
The LEDs are organized in 8 rows of 8 pixels with a common cathode configuration as required by the MAXIM 7219 controller. The controller generates the current to light up each row sequentially. The controller is organized in 8 digits for 8 segments (in memory of 7-segment displays)
The current, and thus the brightness of the LEDs, can be varied by acting on an external resistor or through the use of an internal programming register.
Power supply voltage of 5V.
SPI interface.
Technical specifications:
– LED matrix display
– MAX7219 controller
– SPI interface
– The module is expandable
– Power supply voltage 5V
– Dimensions 50x32x15 mm
Connection methods:
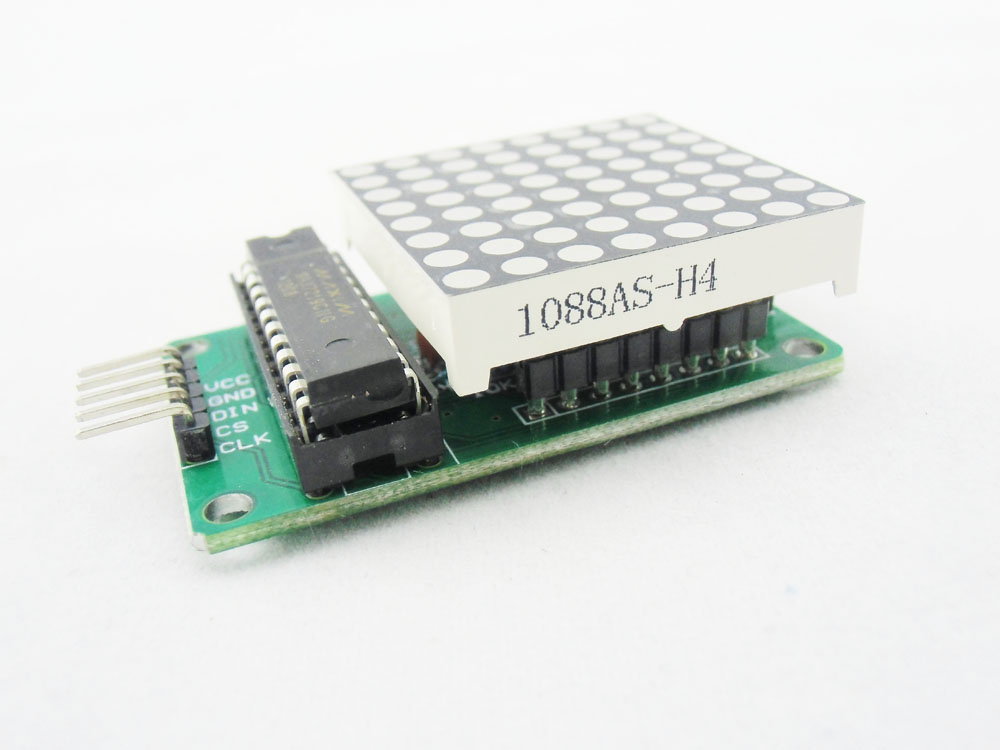
1. 4-pin connector
a. Pin-1 Power Supply Voltage
b. Pin-2 Ground
c. Pin-3 Serial Data
d. Pin-4 Enable Signal
e. Pin-5 Clock Signal
We have datasheets available for all components, if not present in the product download sheet, send us a message from the contact us module and we will publish it as soon as possible on our website.
Tutorial: How to Use MAX7219 LED Array 8×8 Module
The MAX7219 module is an electronic component that allows controlling an 8×8 LED matrix with Arduino. Ideal for beginners, it enables creating luminous displays without having to manage individual LEDs.
What you need
- Arduino Compatible
- USB A-MicroB Cable
- Arduino IDE Software Installed
Steps
- Connect the VCC and GND pins of the MAX7219 module to the corresponding power supply of the Arduino.
- Connect the DIN pin of the module to one of the digital pins of Arduino (for example, D2).
- Connect the CS pin of the module to another digital pin on the Arduino (e.g., D3).
- Connect the CLK pin of the module to a third digital pin on the Arduino (for example, D4).
- Open the Arduino IDE and install the ‘LedControl’ library.
- Include the LedControl library in the code.
- Create a new instance of the LedControl class by passing the DIN, CS, and CLK pins as parameters.
- Use methods of the object to turn individual LEDs on or off in the matrix.
Example code
LedControl lc = LedControl(2, 3, 4, 0); //inizializza il modulo con i pin DIN, CS e CLK
lc.setIntensity(0, 15); //imposta l'intensità luminosa
lc.clearDisplay(0); //svuota la matrice di LED
Mini project
Create a display that shows ‘HELLO’ in uppercase letters using the LED matrix. It takes about 30 minutes.
Common mistakes
- Do not verify the correct power supply of the MAX7219 module
- Use an incorrect number of pins for the connection with Arduino
- Omit installing the ‘LedControl’ library in Arduino IDE
Recommended accessories
- USB A-MicroB cable
- 5V power adapter
- Current limiting resistors for LEDs
- 3D printed case for the MAX7219 module
Frequently asked questions
What is the power supply voltage of the module?
Check the datasheet.
How many LEDs can a single MAX7219 module control?
8×8 = 64 LEDs
Reviews
There are no reviews yet.