 EN
 IT Italiano
 ES Español
 FR Français
 DE Deutsch
Description
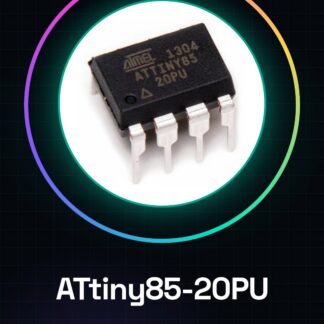
Tutorial: How to Use ATtiny85-20PU IC Integrated Circuits
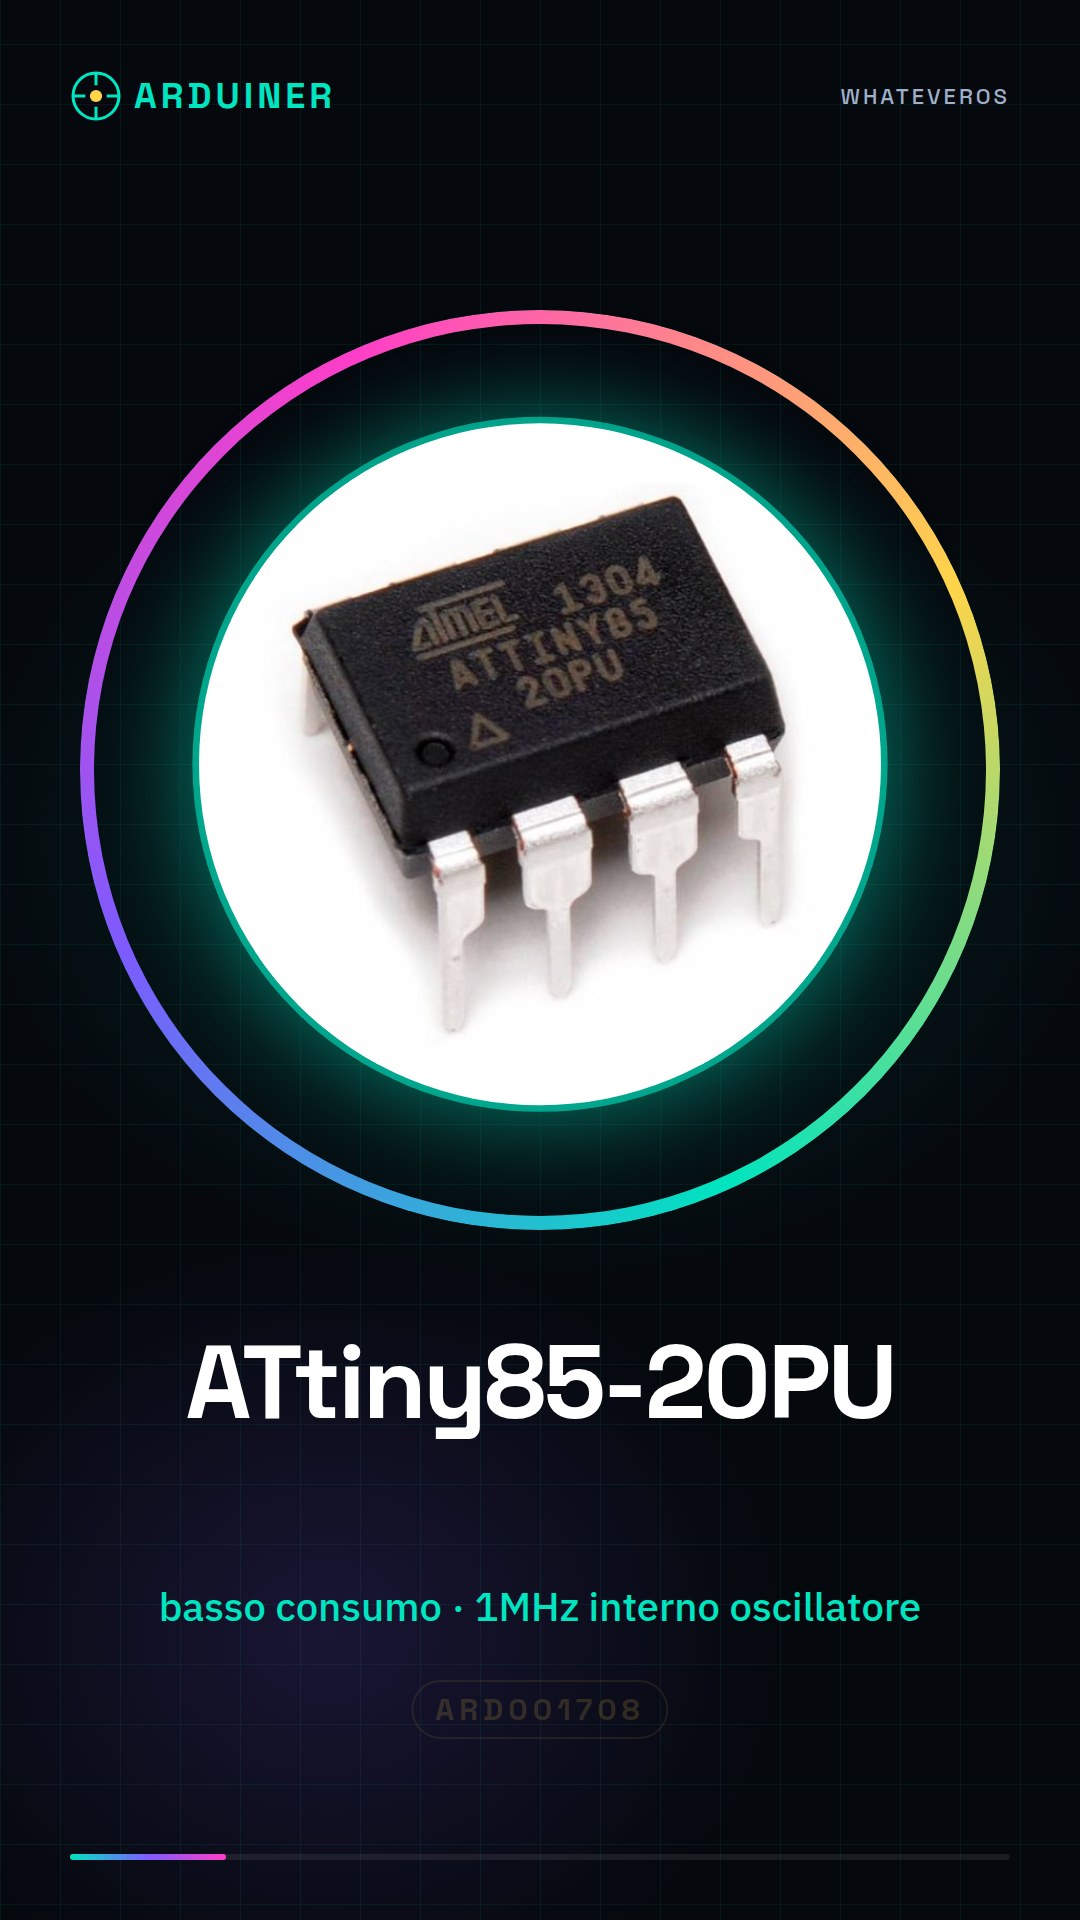
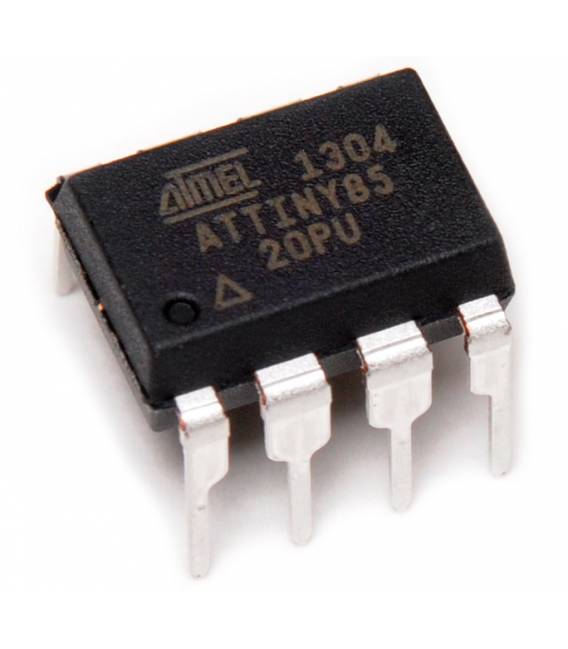
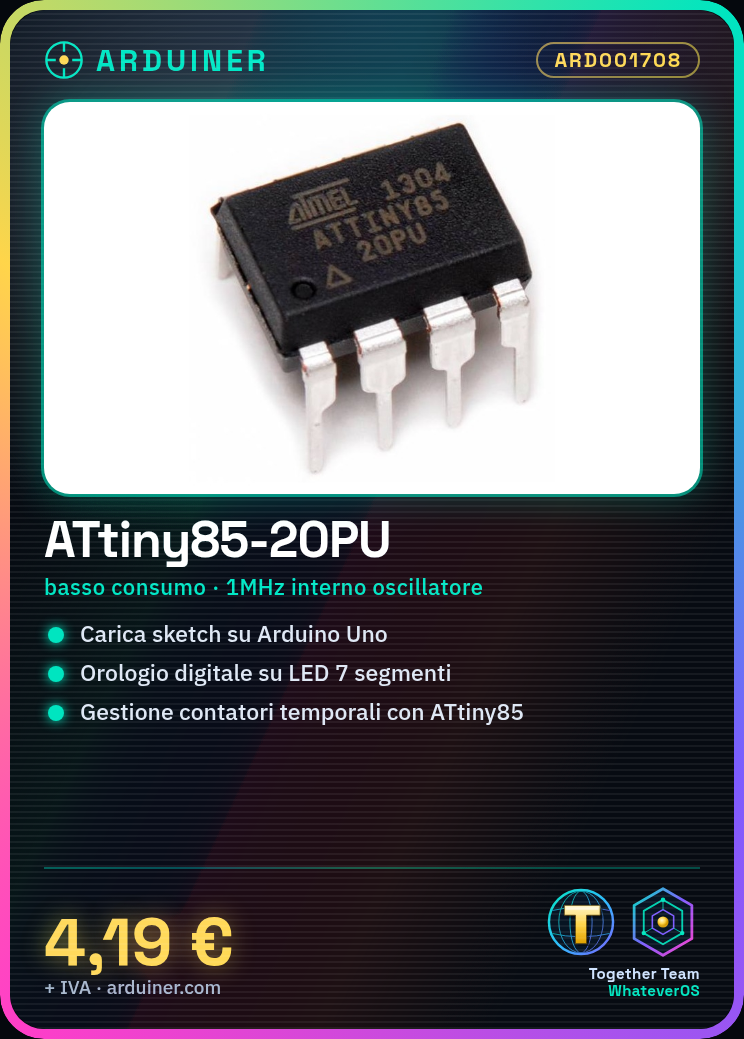
The ATtiny85-20PU is a small, low-power microcontroller ideal for Arduino projects and electronic prototypes. It is suitable for both beginners and experts looking for an economical solution.
What you need
- Arduino Uno or Compatible
- USB A-MicroB Cable
- Arduino IDE Software
Steps
- Install the Arduino IDE if it is not already installed.
- Open the menu ‘Tools > Boards > AttinyCore’
- Select ‘Attiny > ATtiny85 1MHz (internal oscillator, reset enabled)’
- Upload the ‘ArduinoISP’ sketch to Arduino Uno or compatible
- Connect the pins of the ATtiny85 microcontroller to the breadboard following the connection diagram
- Insert the chip programming instructions in the ‘Tools > Board Options’ menu
- Select the sketch to upload and send it to the ATtiny85 via Arduino Uno as programmer
Example code
void setup() { Serial.begin(9600); } void loop() { Serial.println("Hello, World!"); delay(1000); }Mini project
Create a small digital clock that displays the hour and minute on two 7-segment LEDs. Use the ATtiny85 to manage the timing counters.
Common mistakes
- Physical connection error between Arduino Uno and ATtiny85
- Incorrect frequency settings during chip fusion
- Wrong serial port selection during chip fusion
Recommended accessories
- Breadboard
- Variable resistors
- 7-segment LEDs
- Miniature relay
Frequently asked questions
How can I verify if my ATtiny85 has been loaded correctly?
Check the connection and retry the ‘ArduinoISP’ sketch. Also, check the fusion settings in the ‘Tools > Board Options’ menu.
What additional components are needed to create a project with the ATtiny85?
For small projects, you will need a breadboard, resistors, and LEDs. For more advanced features, you might need sensors or relays.
Reviews
There are no reviews yet.