 EN
 IT Italiano
 ES Español
 FR Français
 DE Deutsch
Description
What it is
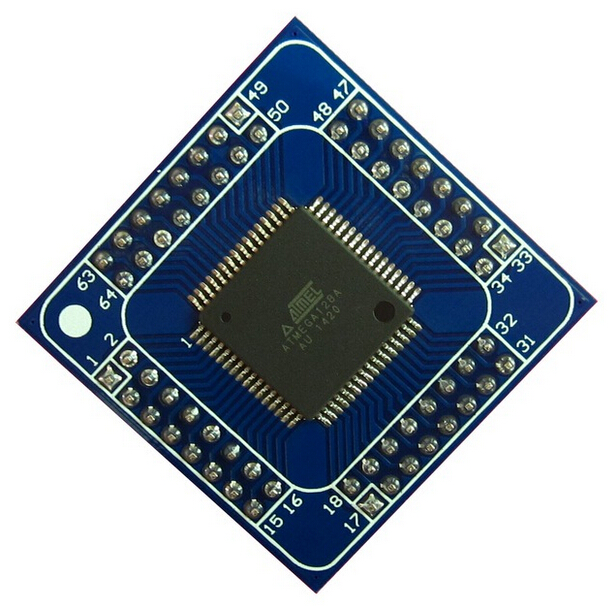
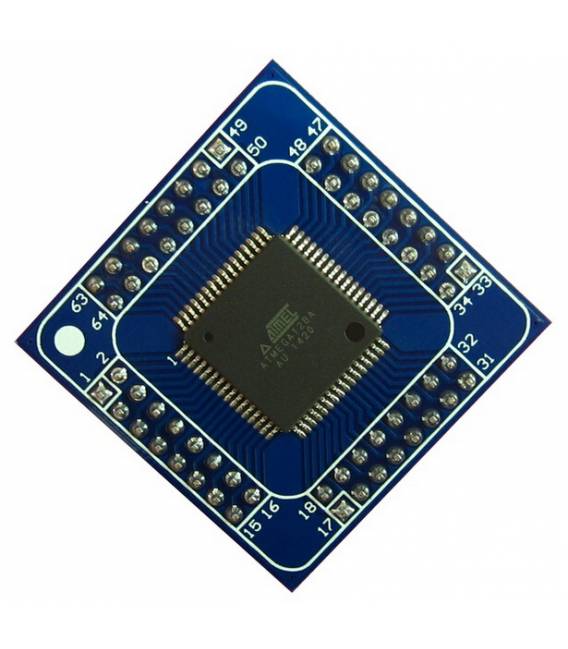
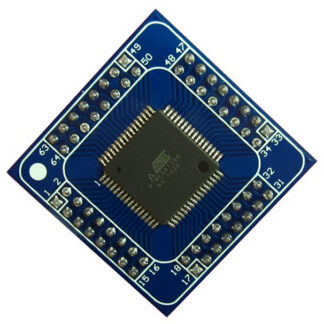
The ATMEGA128A board is a microcontroller produced by Atmel. It is a semiconductor component that can be programmed to perform specific tasks in an electronic circuit.
Features
- ATMEGA128A Microcontroller
- SKU: ARD007792
- Price: 10.03 €
What it is for
The ATMEGA128A board is versatile and can be used in a variety of electronic projects. Examples of use include creating timers, control systems, and user interfaces. The board is compatible with the Arduino platform, meaning it can be programmed using the Arduino IDE development environment.
Tutorial: How to Use ATMEGA128A Board
The ATMEGA128A board is a versatile microcontroller suitable for electronic programming projects. Suitable for beginners and intermediates.
What you need
- ATMEGA128A Board
- Arduino IDE
- USB Cable
- 10kΩ Resistor (for pull-up)
- Test Circuit (check the datasheet)
Steps
- 1. Download and install Arduino IDE (check the datasheet)
- 2. Connect the ATMEGA128A board to the computer with the USB cable
- 3. Select ‘Arduino Uno’ as the board (check the datasheet)
- 4. Select ‘ATmega168/169 @ 1 MHz’ as the programmer (check the datasheet)
- 5. Load the example sketch ‘Blink’ (check the datasheet)
- 6. Verify that the on-board LED turns on and off (check the datasheet)
- 7. Connect the 10kΩ resistor between VCC and RESET (check the datasheet)
- 8. Load the sketch ‘LED Blink with Button’ (check the datasheet)
Example code
void loop() { digitalWrite(LED_BUILTIN, HIGH); delay(1000); digitalWrite(LED_BUILTIN, LOW); delay(1000);}Mini project
Create a simple timer using the LED and a button (check the datasheet)
Common mistakes
- Forget to install Arduino IDE
- Connect the board to the computer correctly
- Select the wrong board in Arduino IDE
- Do not load the correct code
Recommended accessories
- Arduino IDE
- USB cable
- LED
- Button
Frequently asked questions
Can I use the ATMEGA128A board with Arduino IDE?
Yes, but you need to configure the board and programmer settings correctly (check the datasheet).
Which resistor to use for the pull-up?
Use a 10kΩ resistor between VCC and RESET (check the datasheet).
What sketches are available for the board?
You can use the pre-defined sketches in Arduino IDE or program the microcontroller with your own code (check the datasheet).
What are the limitations of the ATMEGA128A board?
The board has memory and speed limitations compared to more modern boards (check the datasheet).
Reviews
There are no reviews yet.