 EN
 IT Italiano
 ES Español
 FR Français
 DE Deutsch
Description
What it is
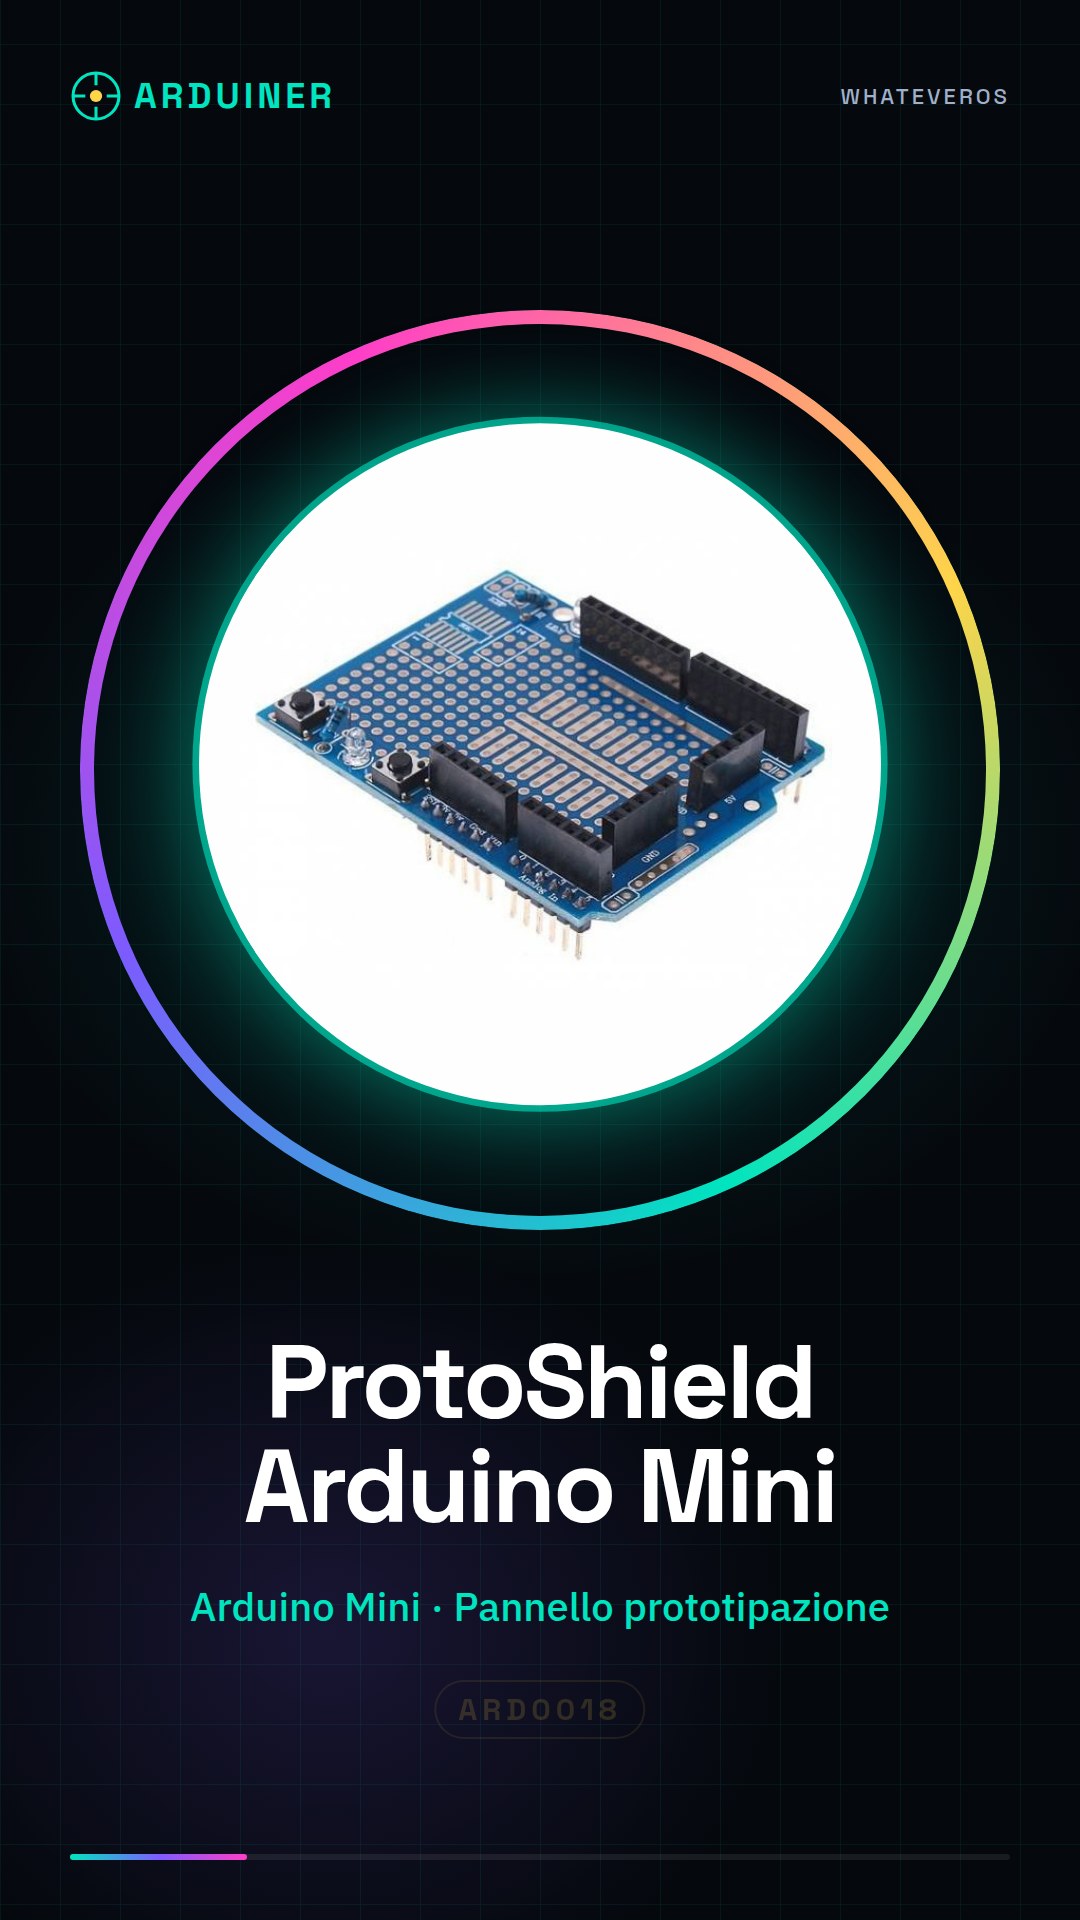
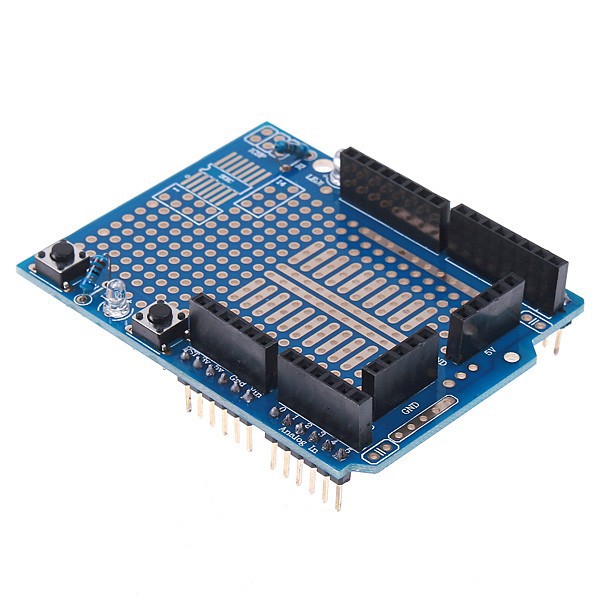
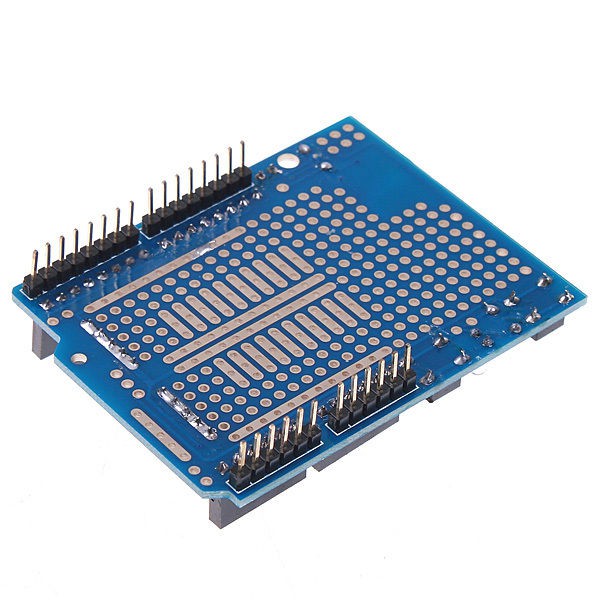
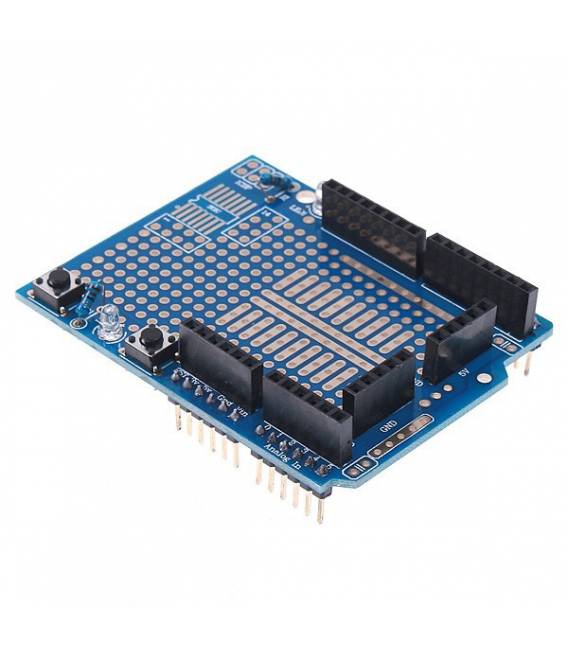
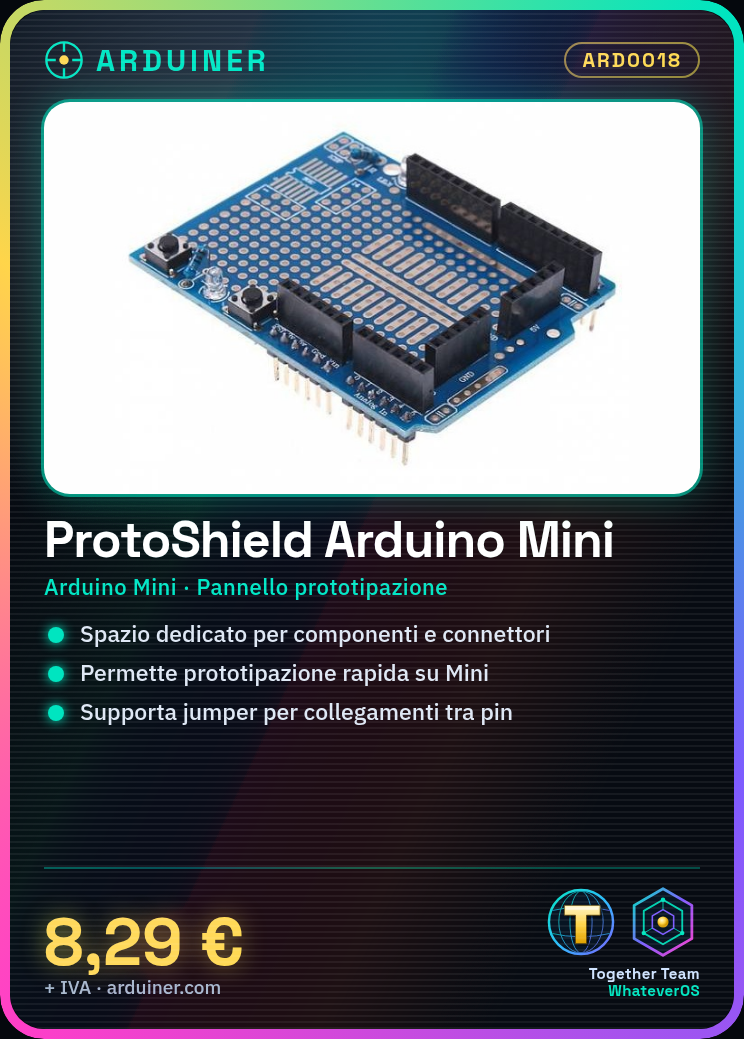
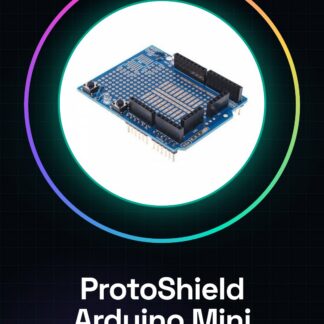
The Prototyping ProtoShield for Arduino Mini is a module designed specifically to facilitate the rapid and flexible prototyping of electronic circuits. This shield provides dedicated space for placing components and connectors, making the development and testing process easier.
Features
- Compatible with Arduino Mini
- Perforated prototyping panel
What it is for
The main uses of the Prototyping ProtoShield include creating simple circuits such as acoustic alarm circuits using sensors and additional components. It is ideal for makers who are starting out or looking for a more flexible way to explore the possibilities of electronics with Arduino.
Tutorial: How to use ProtoShield
The ProtoShield for Arduino Mini is a perfect support for the rapid and flexible prototyping of electronic circuits. Useful for beginner and intermediate makers.
What you need
- Arduino Mini
- Jumper Connector
- Electronic components to prototype
Steps
- 1. Installation: Ensure the Arduino Mini is disconnected from power.
- 2. Connection: Mount the ProtoShield on the Arduino Mini.
- 3. Check the datasheet: Verify the specifications of the ProtoShield.
- 4. Connection: Connect the pins of the ProtoShield to the corresponding pins of the Arduino Mini.
- 5. Test: Power on the Arduino Mini and verify the pins.
- 6. Prototype: Begin connecting electronic components to the ProtoShield.
- 7. Test: Verify the functionality of the circuit.
- 8. Adaptation: Modify the circuit as necessary.
Mini project
Create a simple acoustic alarm circuit using an infrared sensor and a buzzer.
Common mistakes
- Connect the GND of the ProtoShield to the GND of the Arduino without a jumper.
- Omit the pin verification before assembly.
- Connect a component to the wrong pin.
- Do not use jumpers to connect unavailable pins.
Recommended accessories
- Arduino Mini
- Infrared Sensor
- Buzzer
- Jumper Connector
Frequently asked questions
Can I use the ProtoShield with Arduino Uno?
Yes, but make sure the pins match.
How long does it take to mount a circuit?
30-45 minutes, depending on the complexity.
Can I use the ProtoShield with multiple Arduinos?
Yes, but make sure the pins match.
What components can I connect?
Any electronic component with compatible pins.
Reviews
There are no reviews yet.