 EN
 IT Italiano
 ES Español
 FR Français
 DE Deutsch
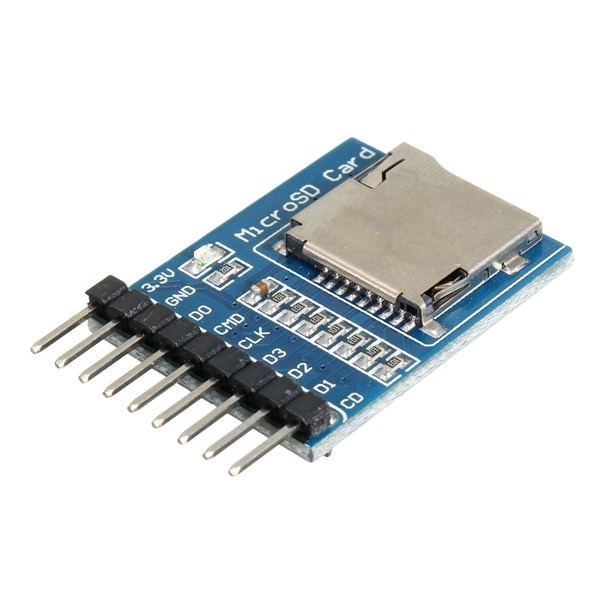
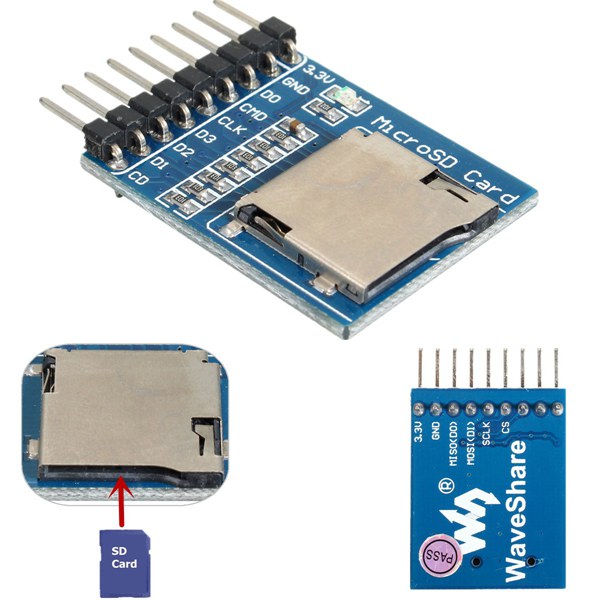
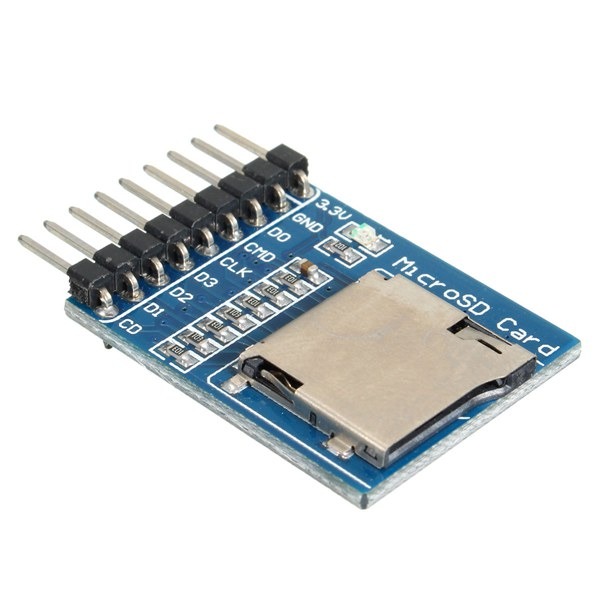
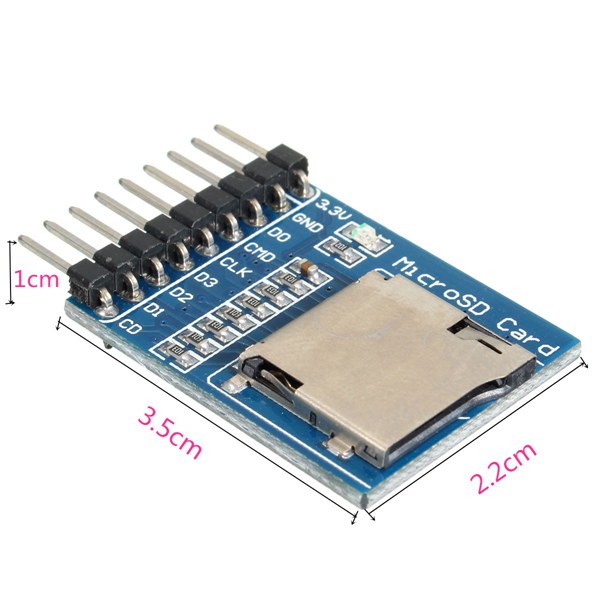
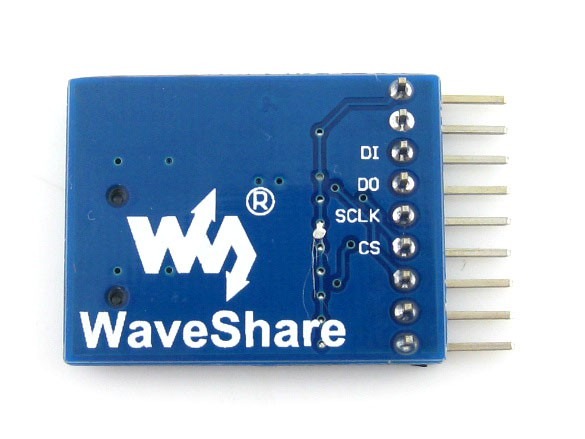
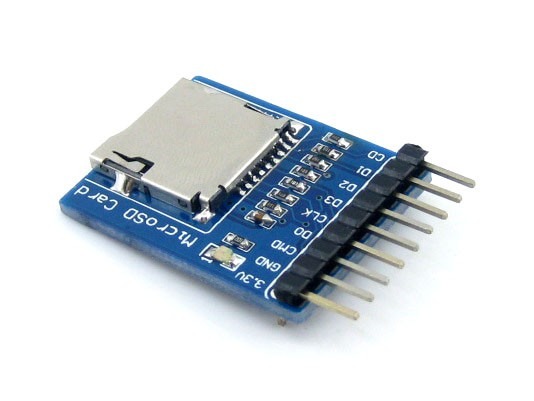
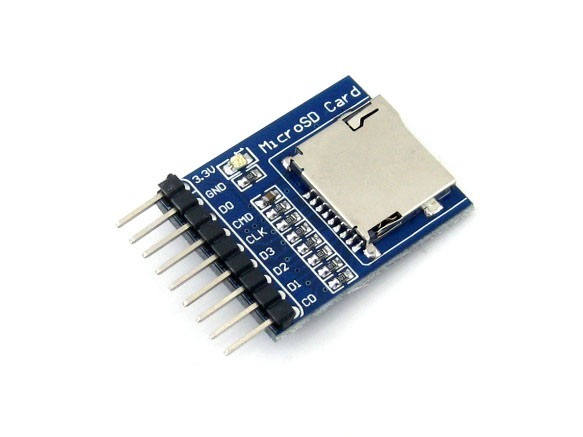
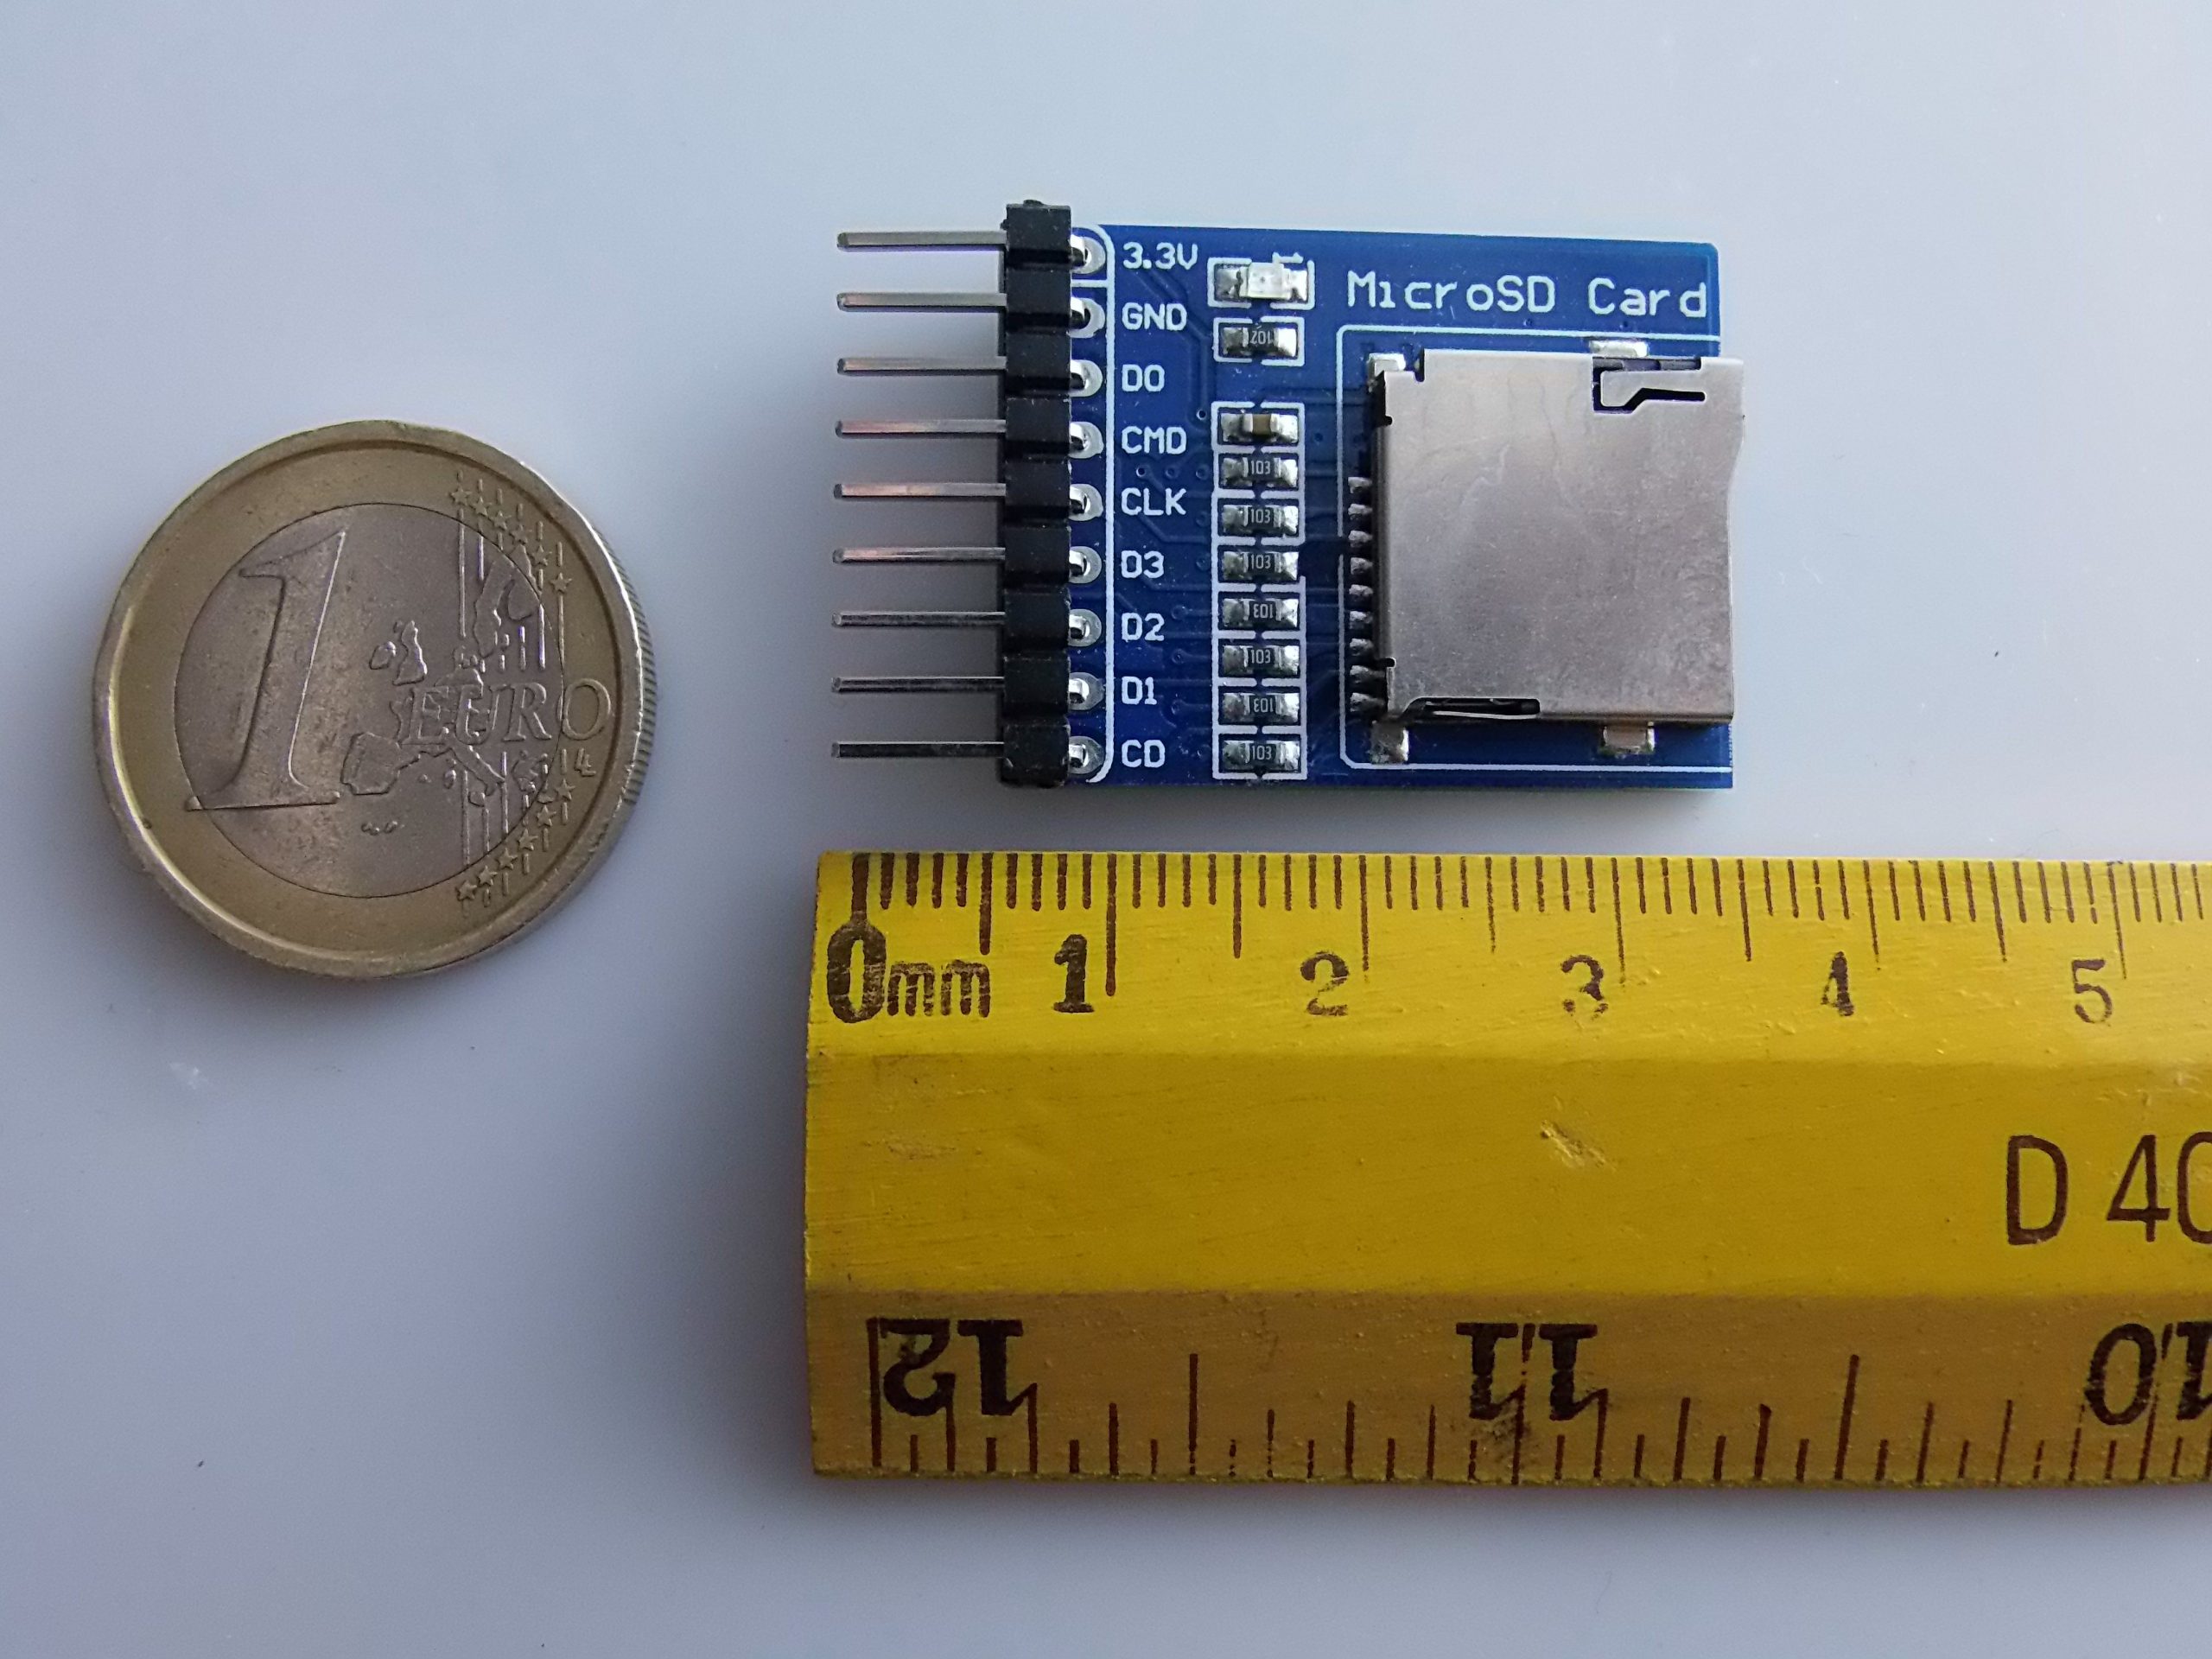
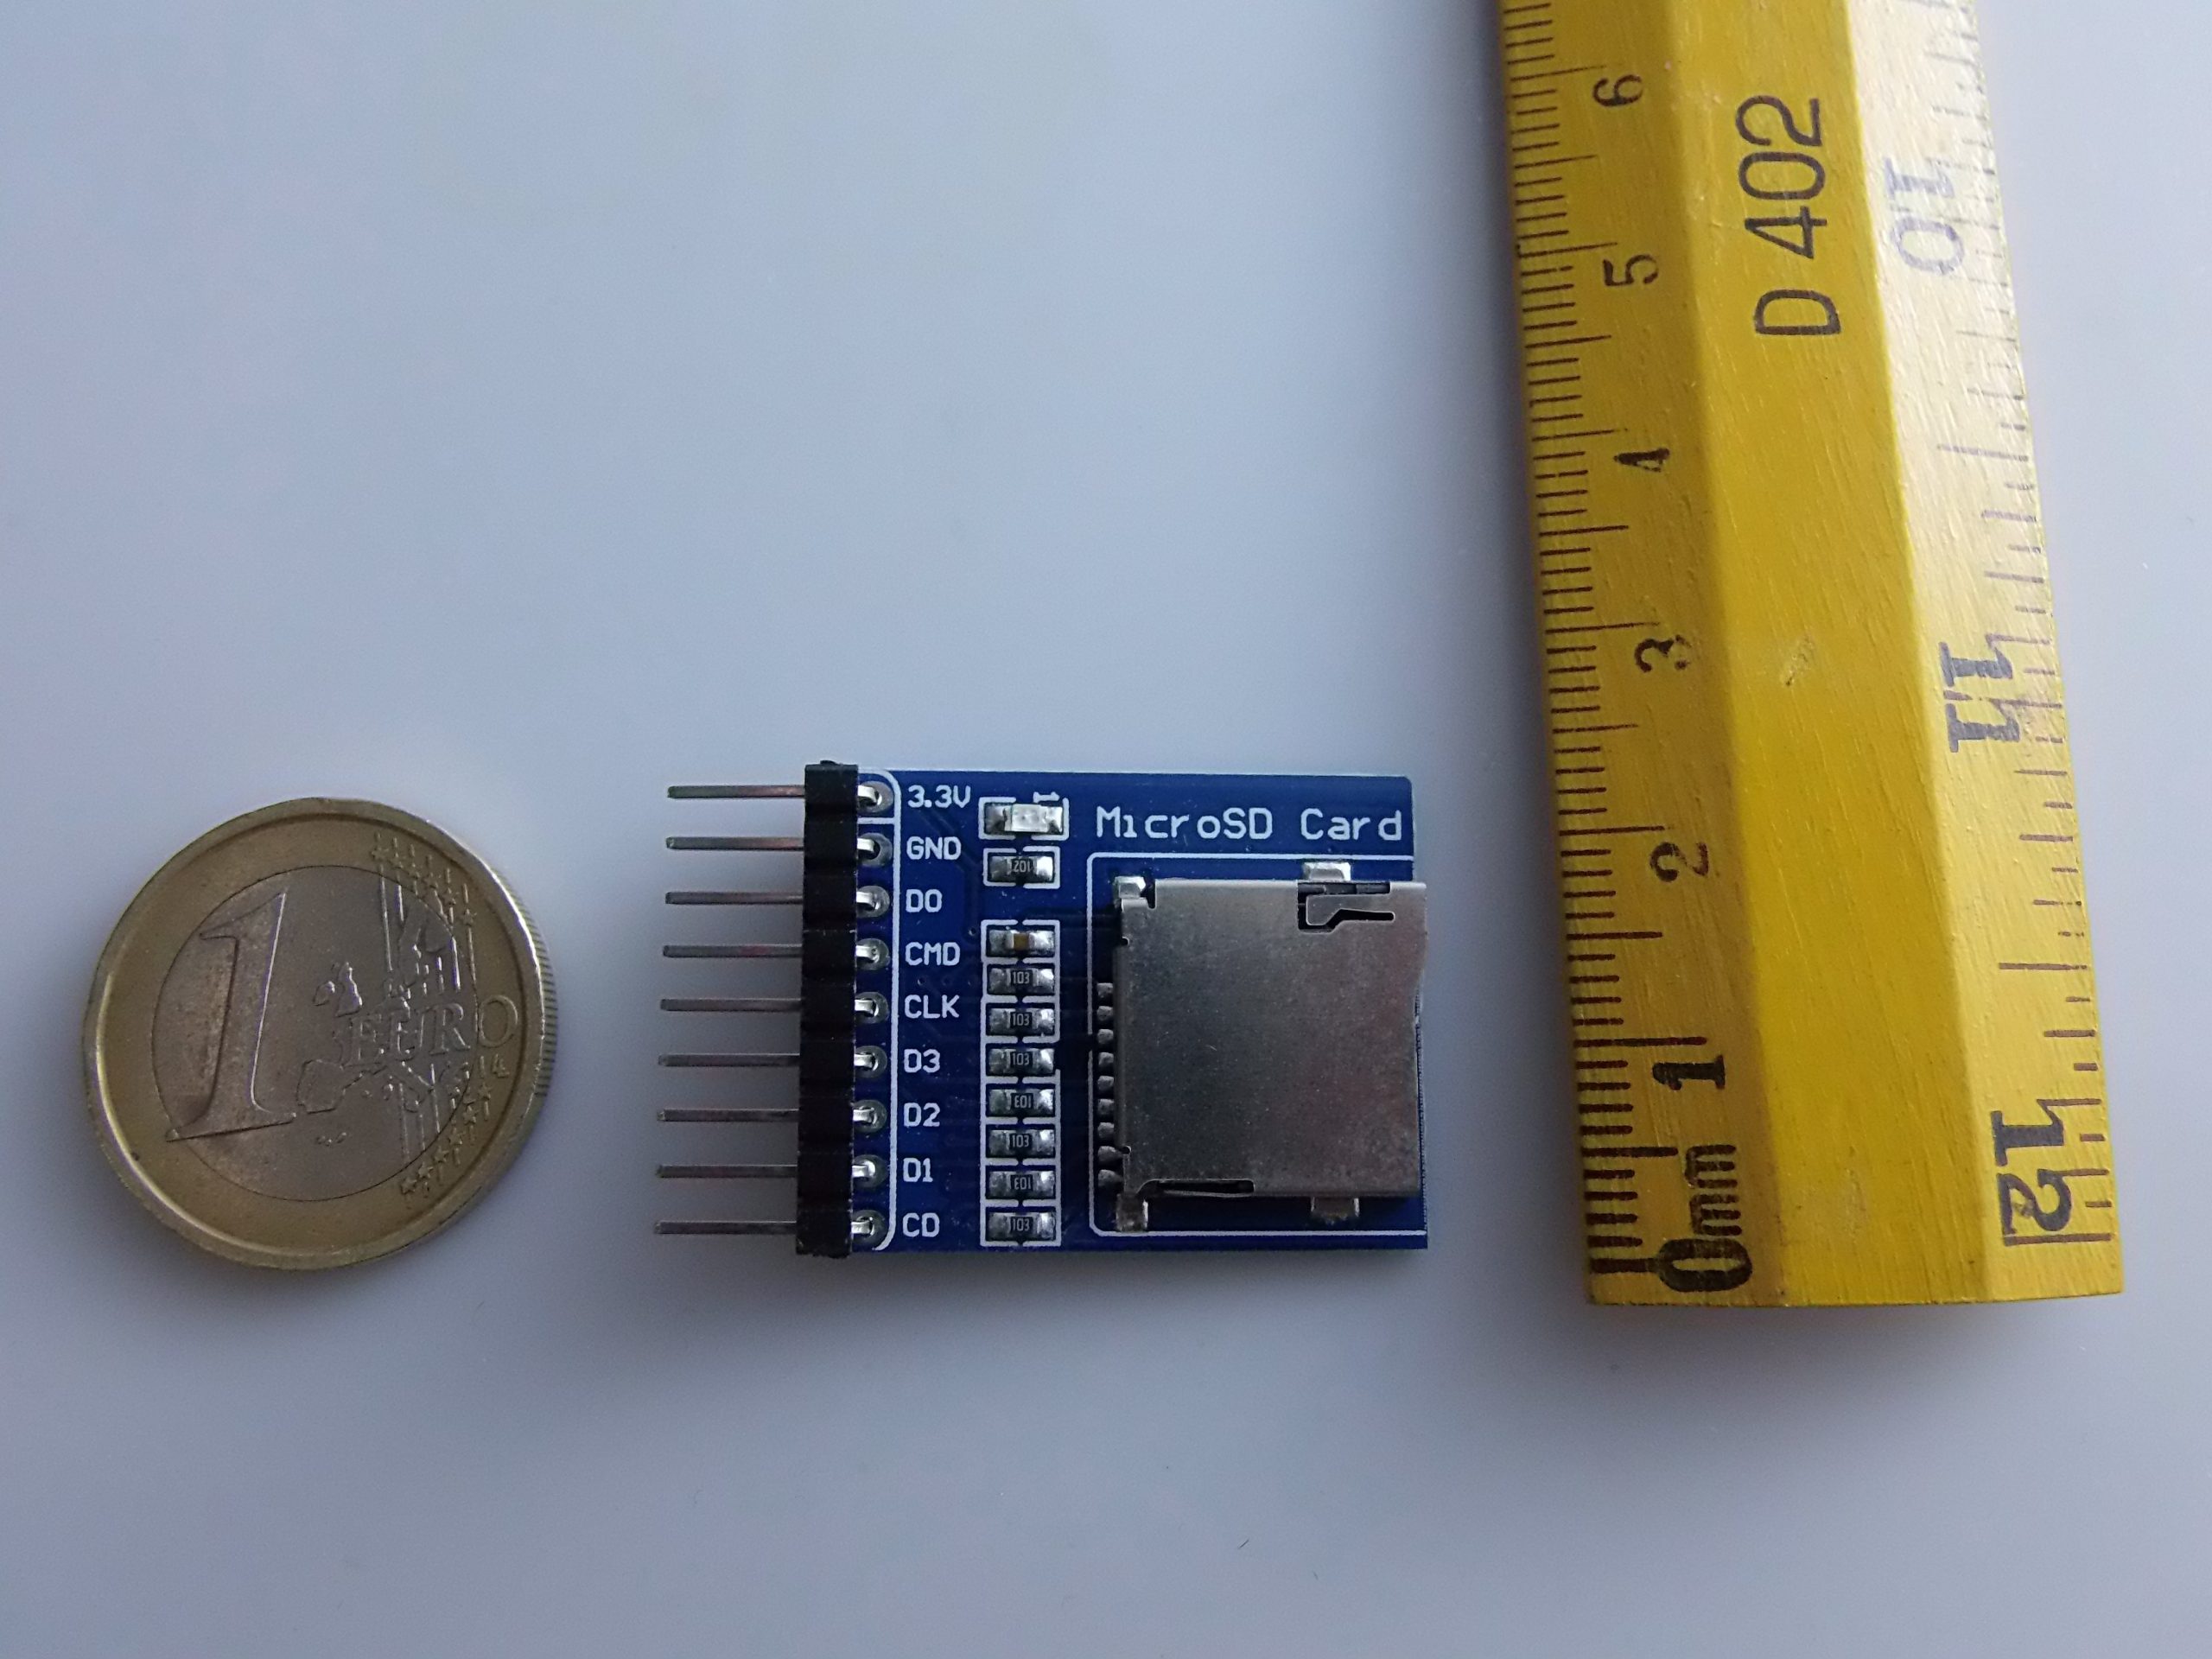
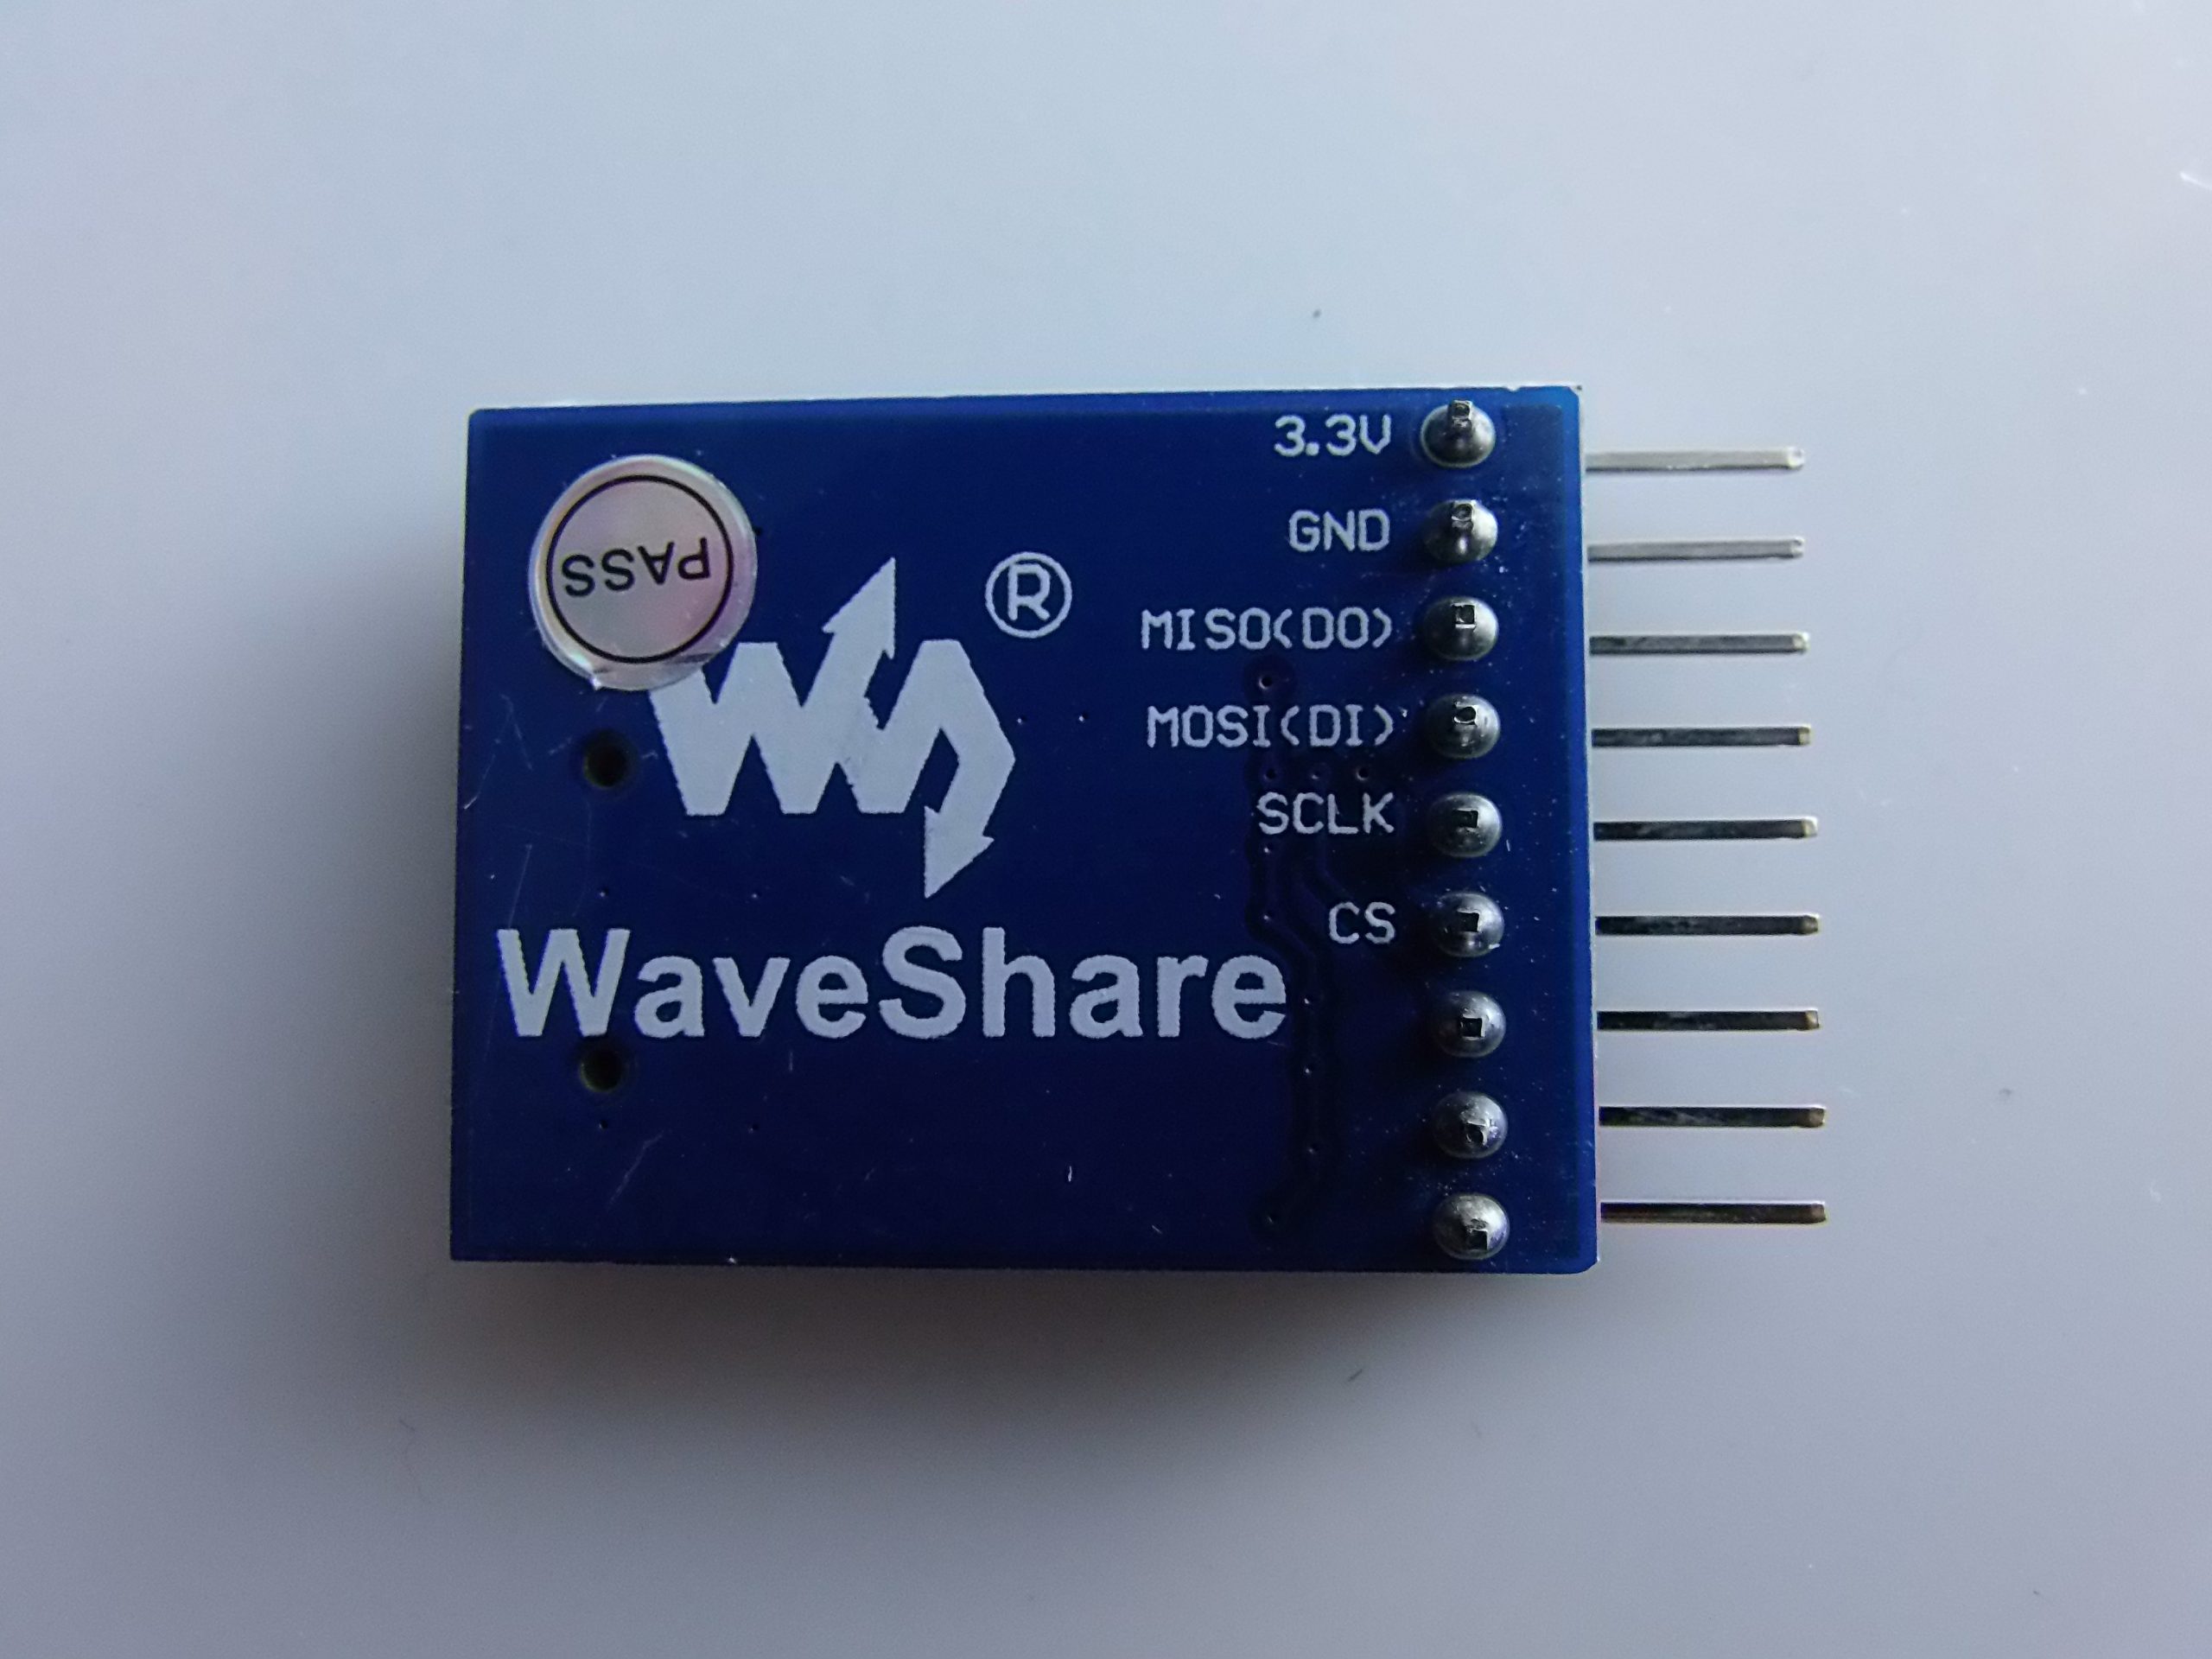
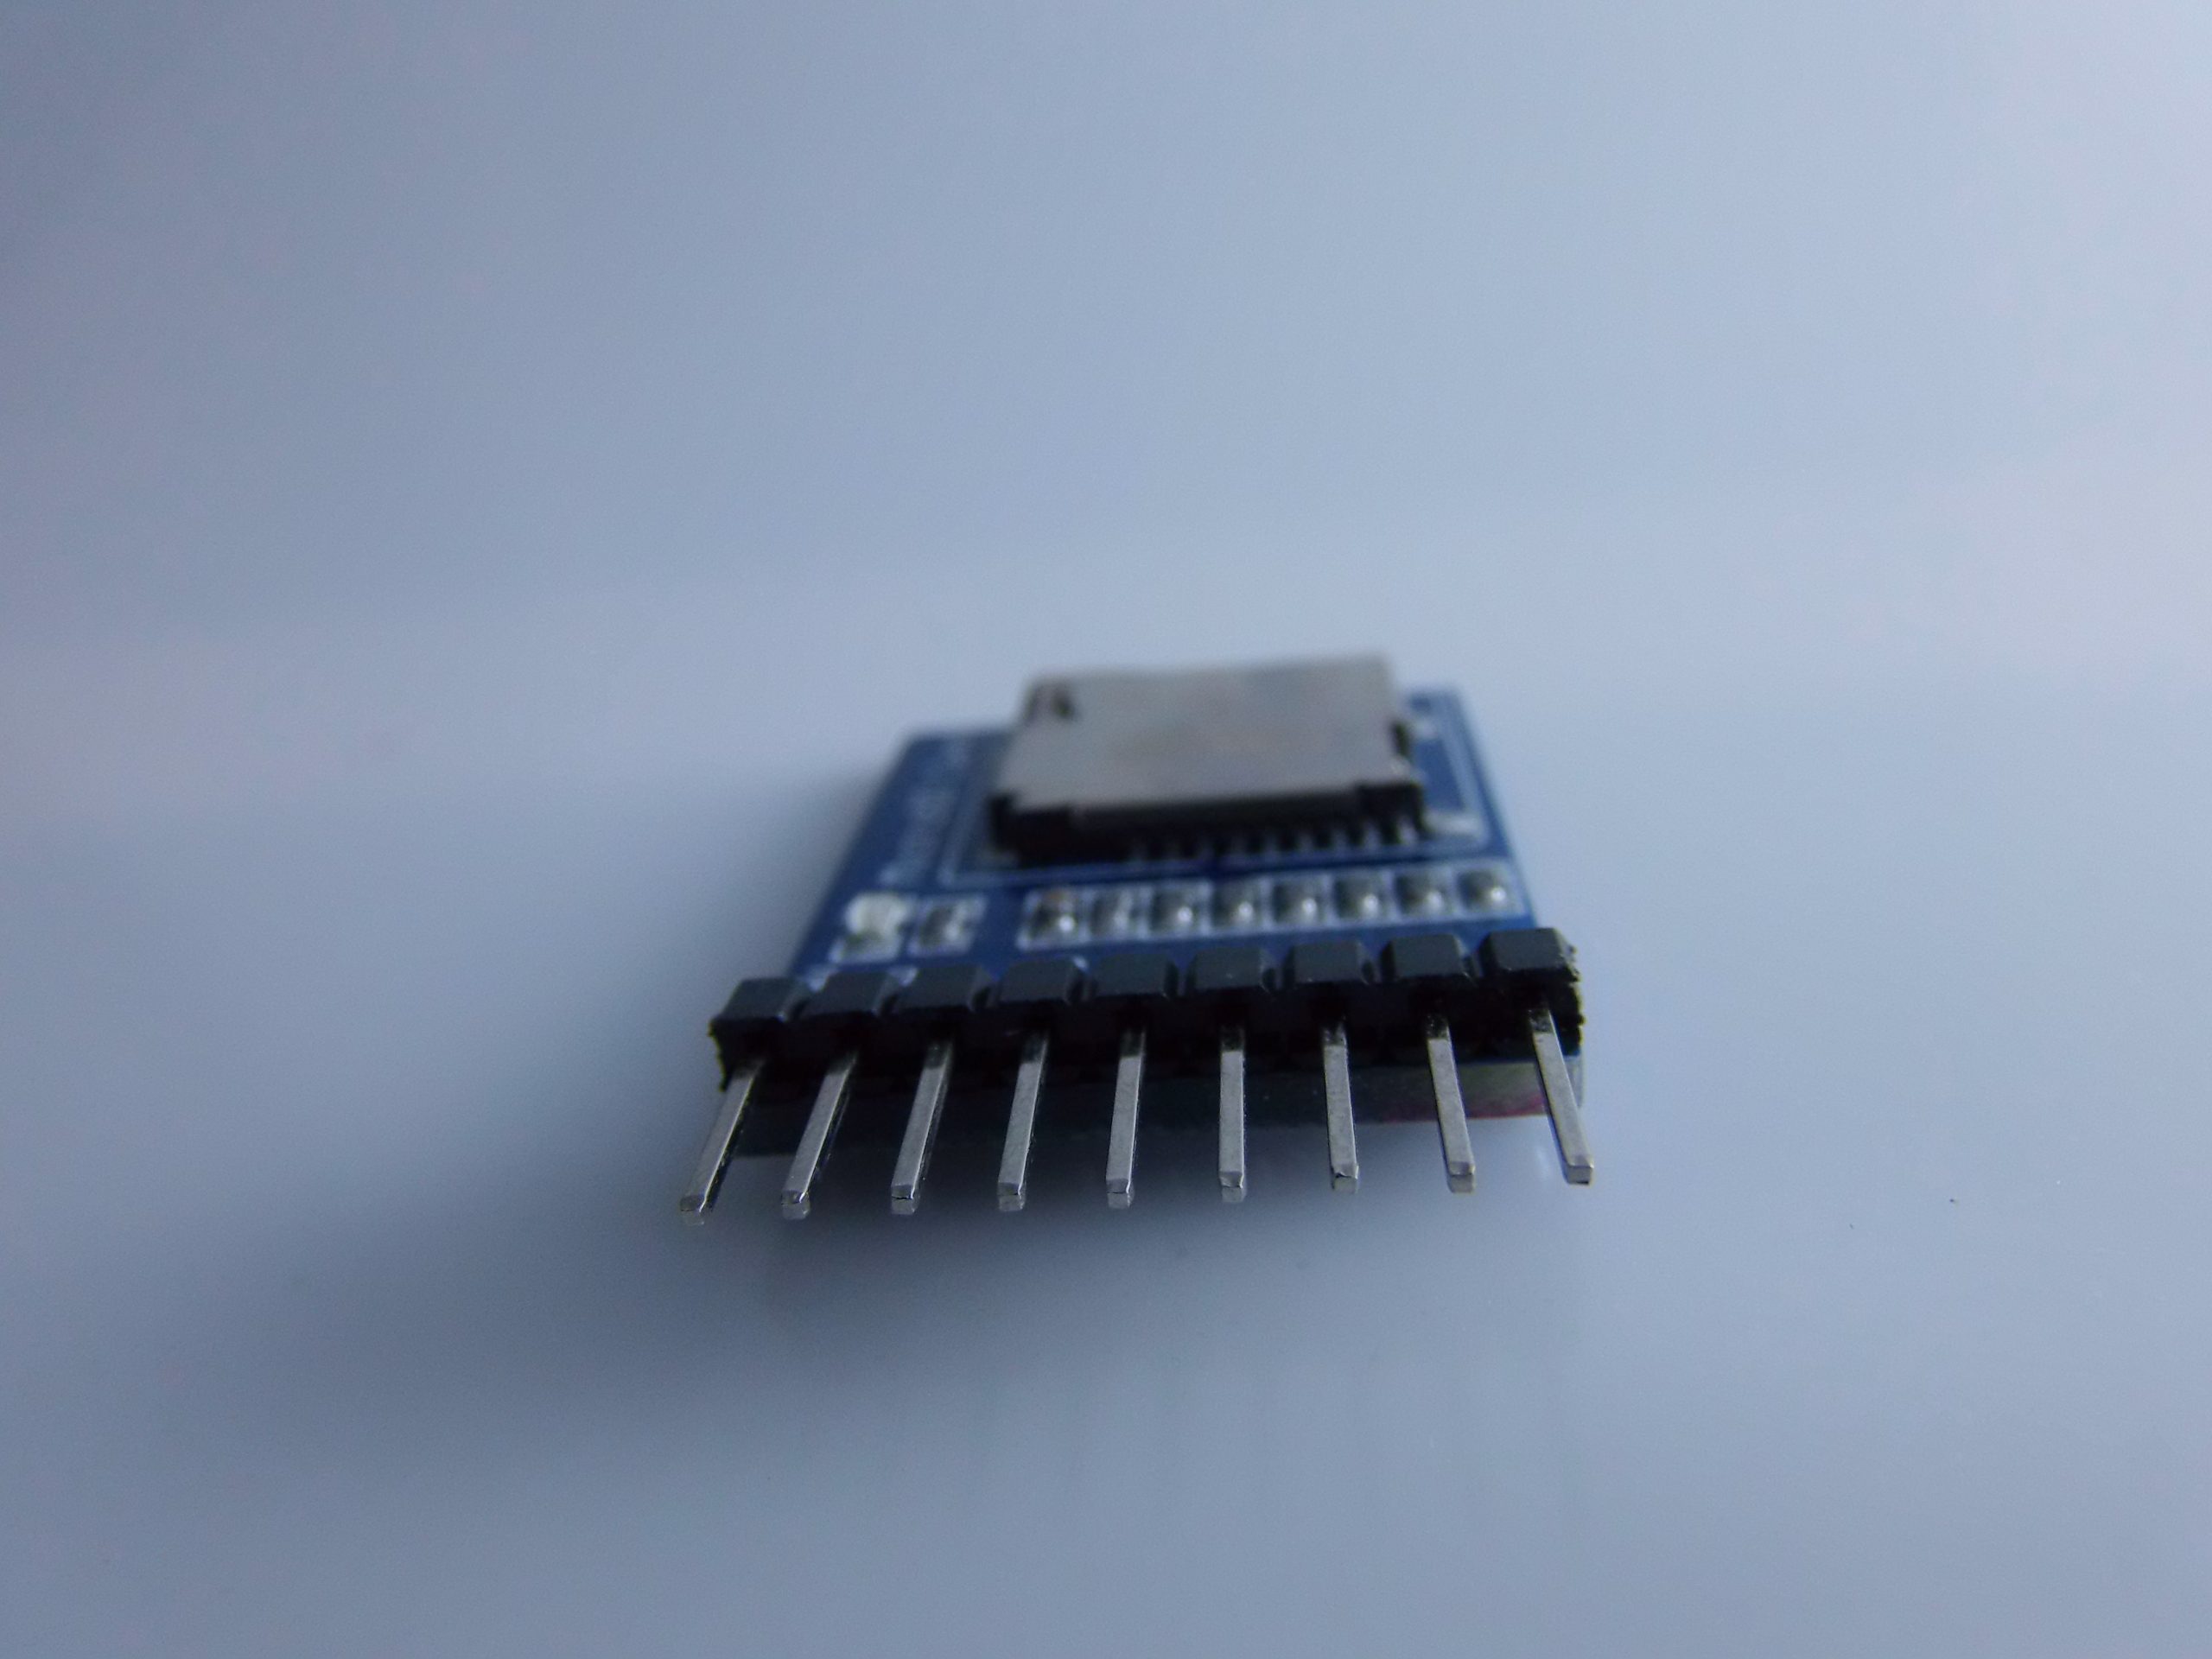
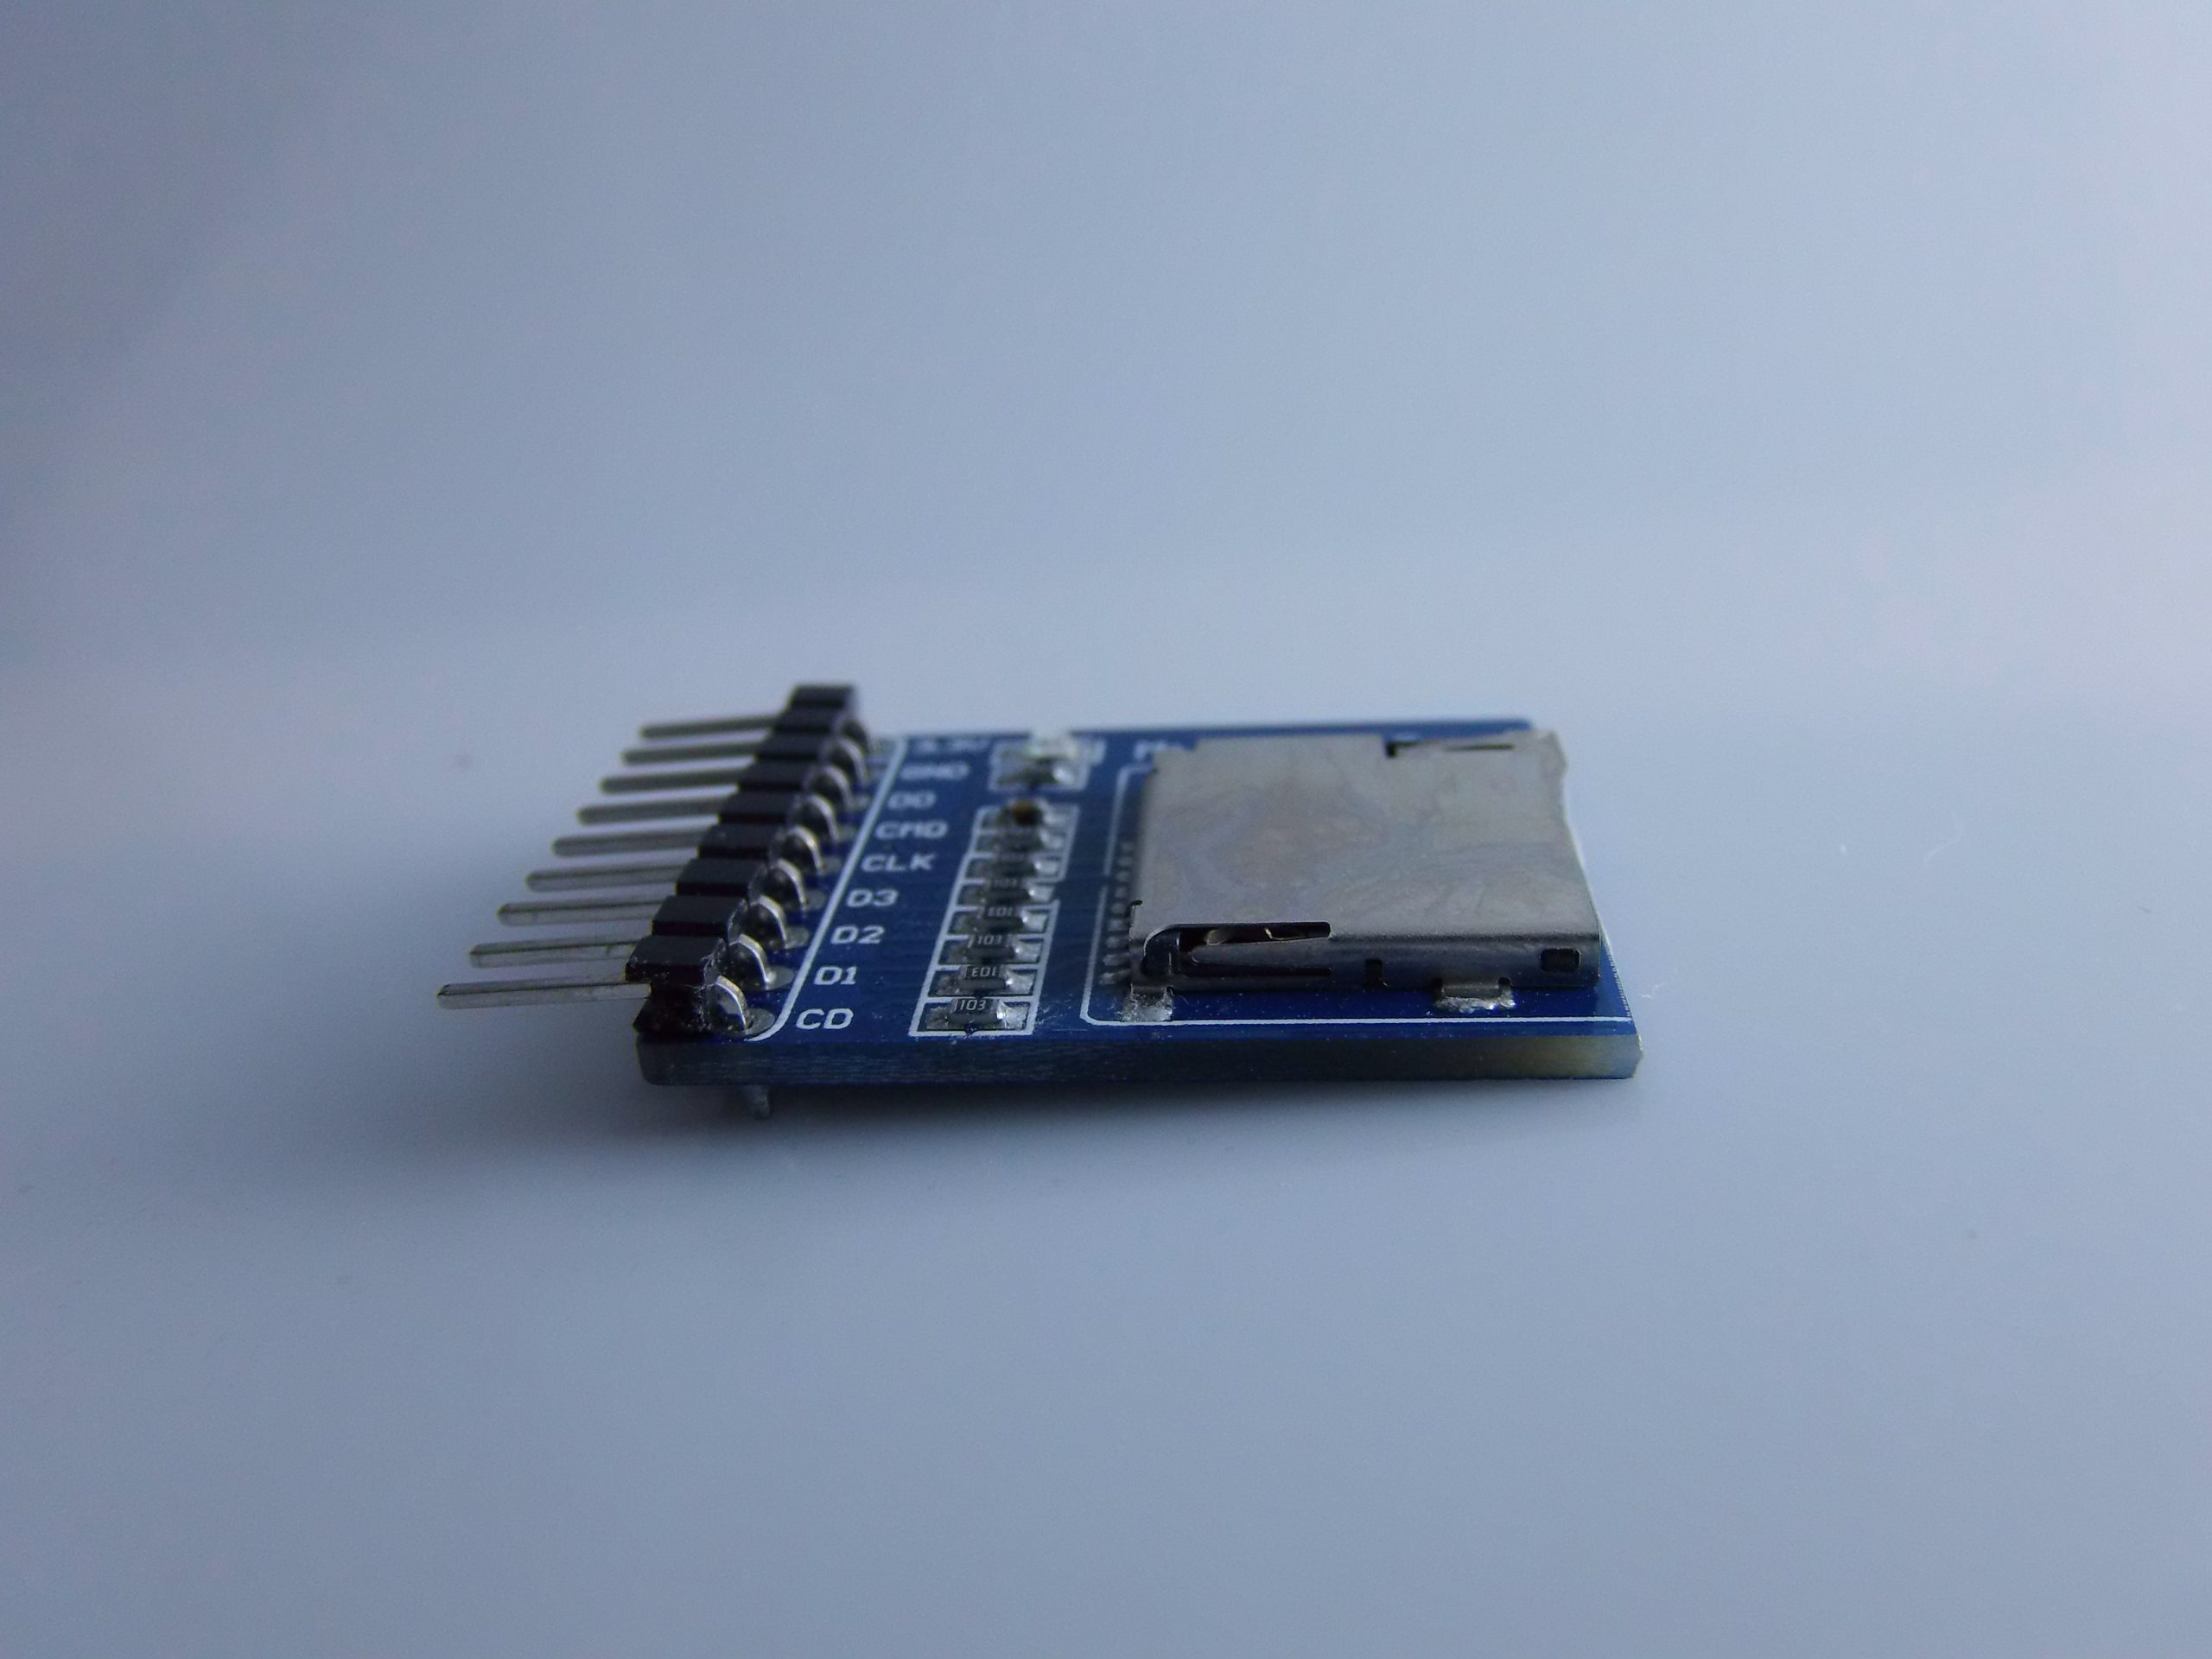
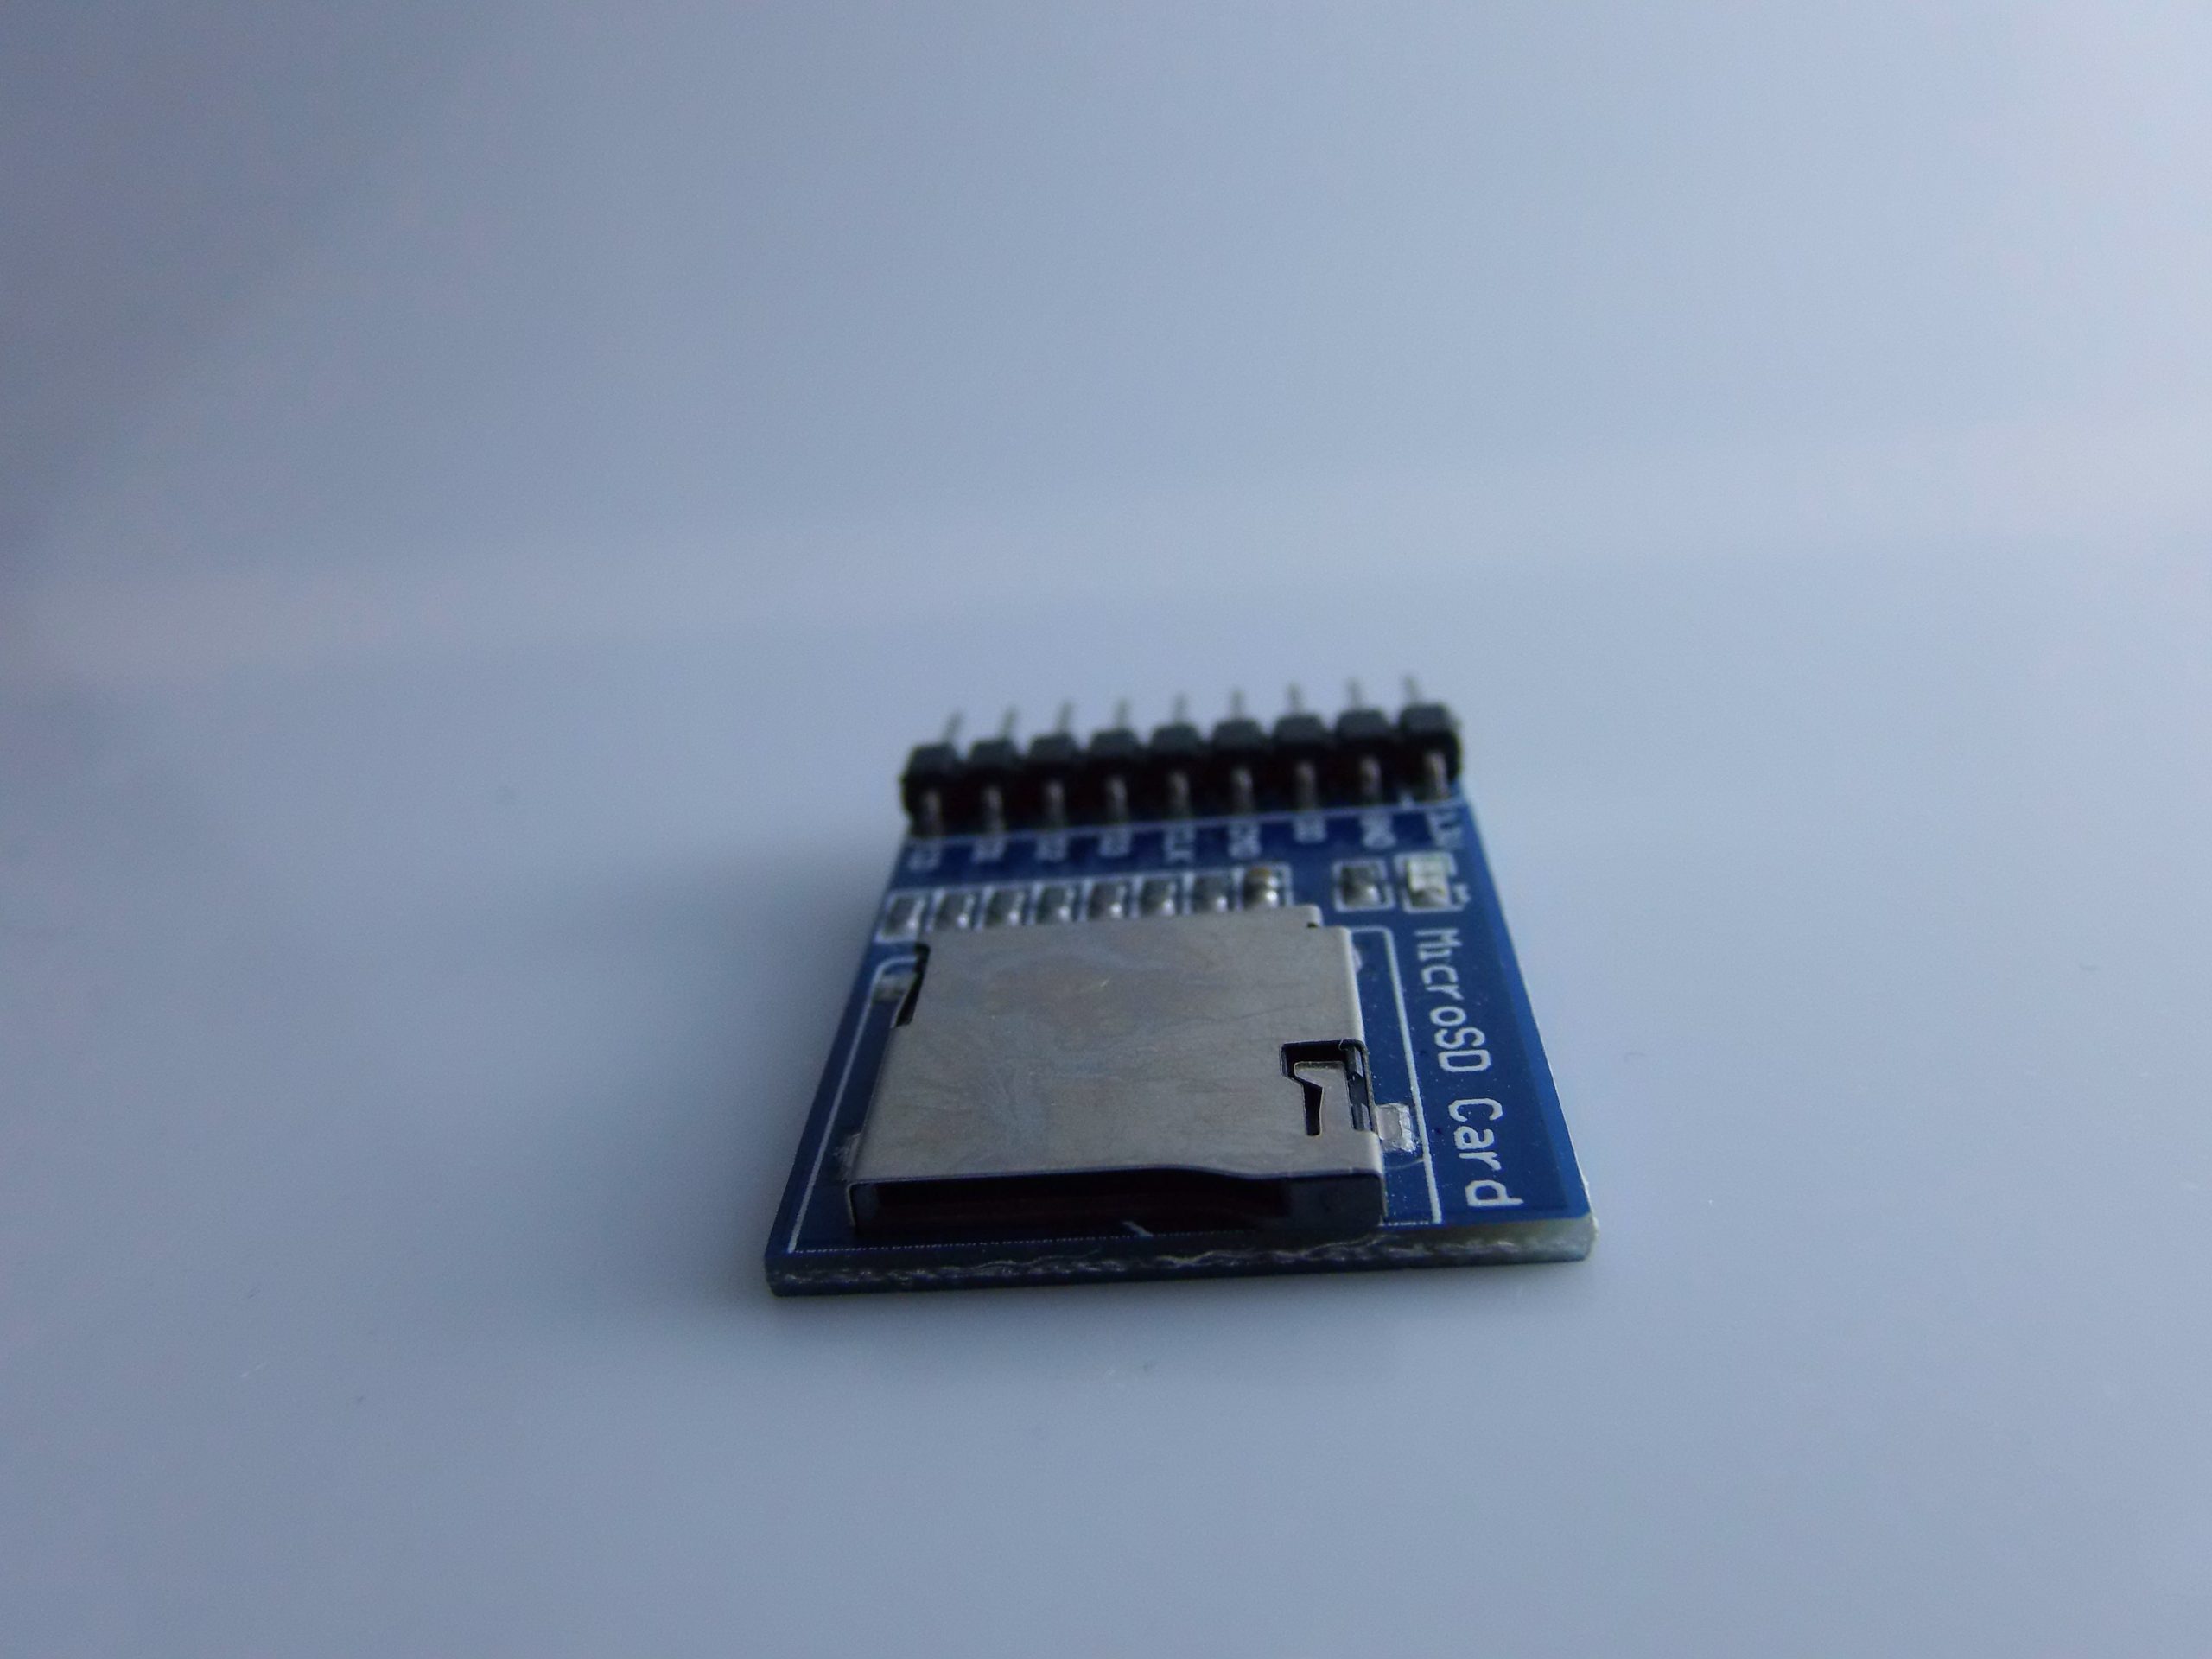
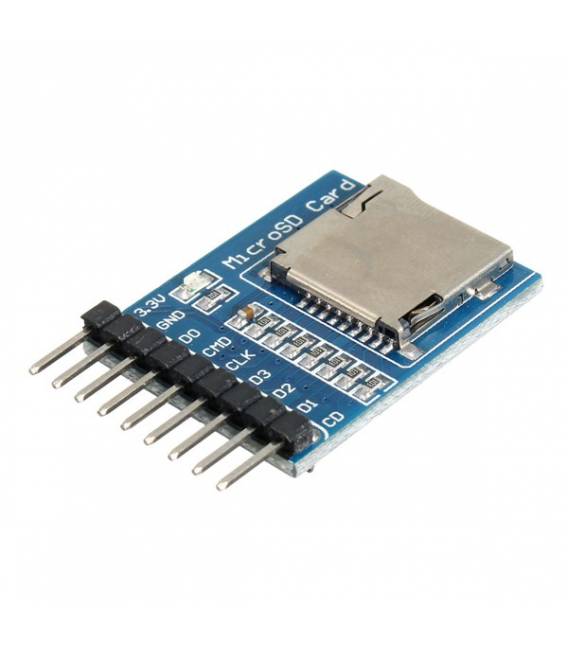
Description
KEY FEATURES:
SD modules are useful in the realm of electronic applications, in robots and other types of machinery, for storing large amounts of data involved in various electronic operations.
Data can be read and written via MCU or through your Arduino interface.
Applications can be infinite, from creating a simple mp3 player, to a datalogger capable of acquiring and saving any data you want.
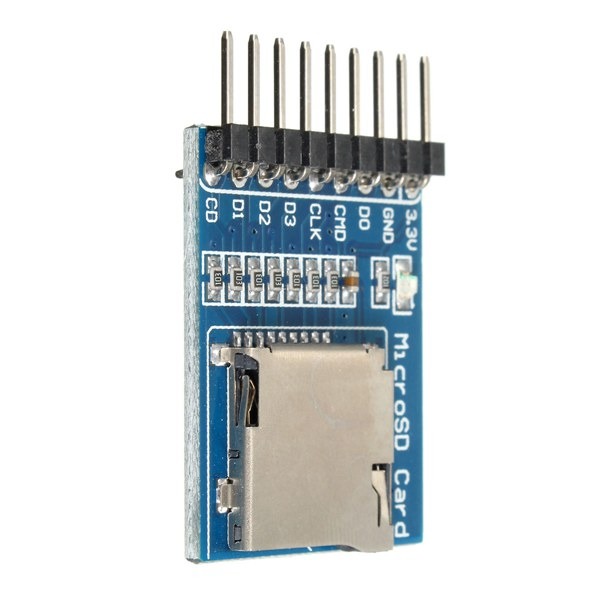
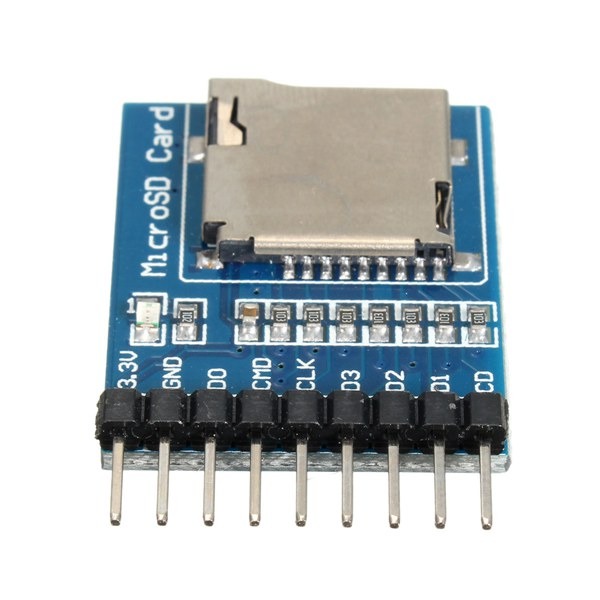
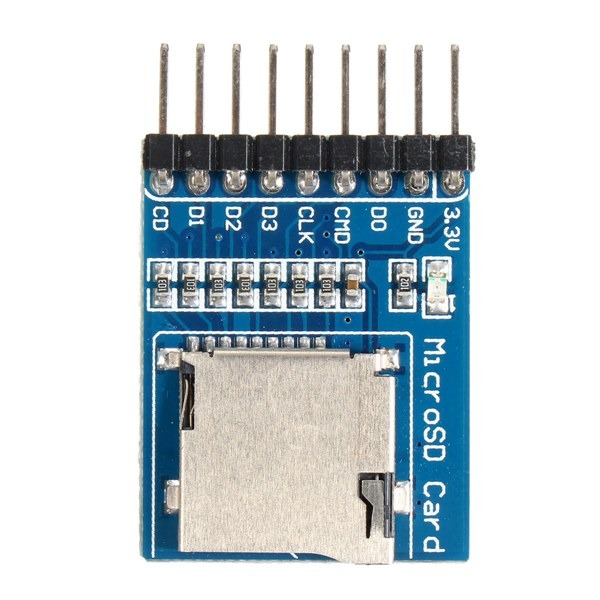
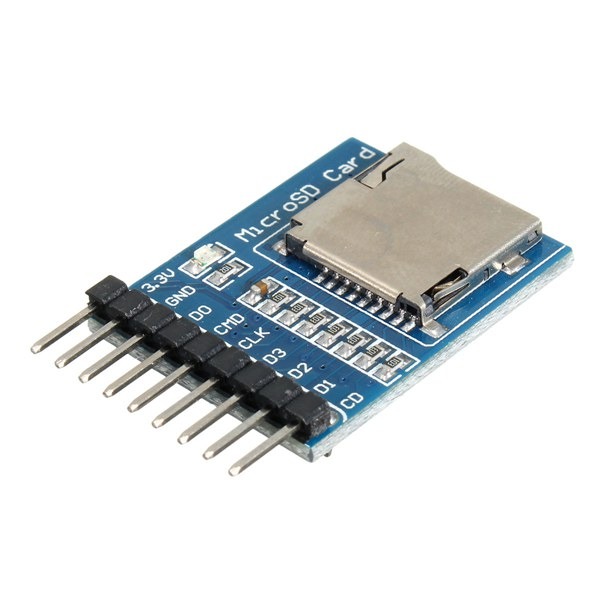
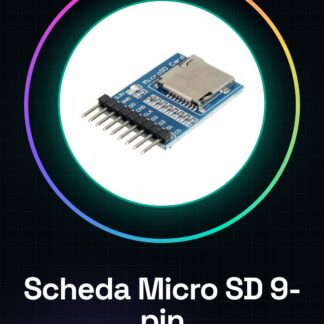
Micro SD Reader Module, Control Interface supports SDIO and SPI
Memory Expansion Micro SD Card external
MicroSD card connector, control interface
Technical specifications:
Connection strip: 2.54mm
1.3.3Vcc
2.GND
3.DO
4.CMO
5.CLK
6.D3
7.D2
8.D1
|
GENERAL |
MODEL |
MicroSD card breakout board arduino |
|
MATERIALS |
pcb |
|
|
COMPATIBILITY |
ARDUINO |
|
|
ELECTRICAL COMPONENTS |
INPUT VOLTAGE |
3,3-5 V |
|
WEIGHT AND DIMENSIONS |
PRODUCT WEIGHT |
7 g |
|
PACKAGE WEIGHT |
0.085 kg |
|
|
PRODUCT DIMENSIONS (L x W x H) |
3.5 x 2.5 x 0.1cm |
|
|
PACKAGE DIMENSIONS (L x W x H) |
5 x 3 x 1 cm |
|
|
PACKAGE CONTENTS |
PACKAGE CONTENTS |
1 x Module |
We have datasheets available for all components, if not present in the product download sheet, please send us a message through the contact us form and we will publish it as soon as possible on our website.
Tutorial: How to Use 9-Pin Micro SD Card Breakout Board for Arduino
The 9-Pin Micro SD Card Breakout Board for Arduino is perfect for saving and loading data onto Micro SD cards. Ideal for projects requiring temporary data storage, suitable for beginners and intermediate users.
What you need
- Micro SD Card
- Arduino
- Dupont Wire
- Soldering Iron (optional)
Steps
- 1. Check the datasheet for the board specifications.
- 2. Connect the board to the Arduino using Dupont wires.
- 3. Check the datasheet for the pinout.
- 4. Install the SD library in your Arduino IDE.
- 5. Write code to initialize the card.
- 6. Create a file and write data to the card.
- 7. Read data from the card.
- 8. Verify functionality.
Example code
```
#include <SD.h>

void setup() {
 Serial.begin(9600);
 if (!SD.begin(4)) {
 Serial.println("Card failed, or not present");
 return;
 }
 Serial.println("Card initialized.");
}

void loop() {
 // Your code here
}
```
Mini project
Create a temperature log using a temperature sensor and the SD card. In 30 minutes, you can record and read the data.
Common mistakes
- Connecting the board to the wrong pin.
- Omitting the installation of the SD library.
- Failing to initialize the card correctly.
- Forget to check the presence of the SD card.
Recommended accessories
- Temperature Sensor
- DuPont Connectors Wire
- Micro SD Card
- Arduino
Frequently asked questions
Which pins to use for the connection?
Check the datasheet for the correct pinout.
How to check the presence of the SD card?
Physically verify the presence of the card and check the communication with `SD.begin()`.
Which libraries are needed?
Install the SD library in your Arduino IDE.
Does the code work with all SD cards?
Verify compatibility with the SD card specification used.
Reviews
There are no reviews yet.