 EN
 IT Italiano
 ES Español
 FR Français
 DE Deutsch
Description
What it is
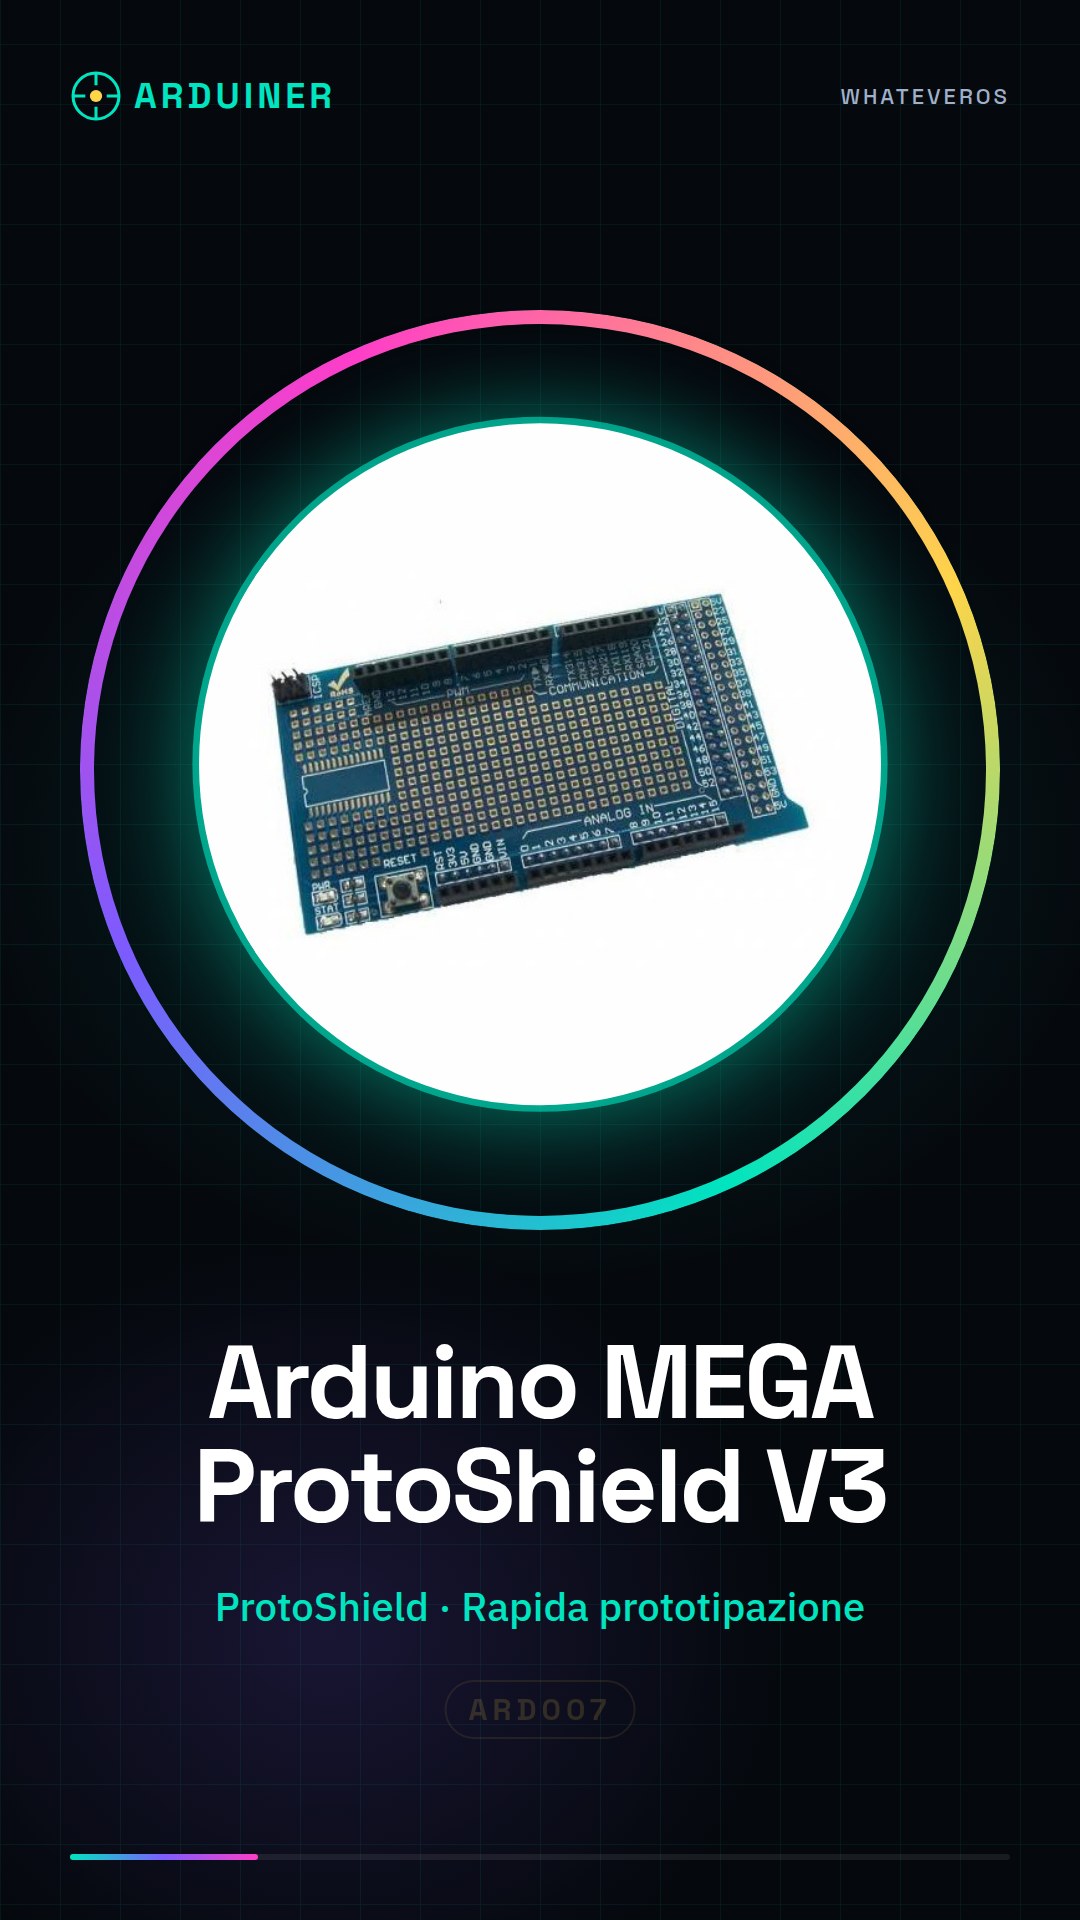
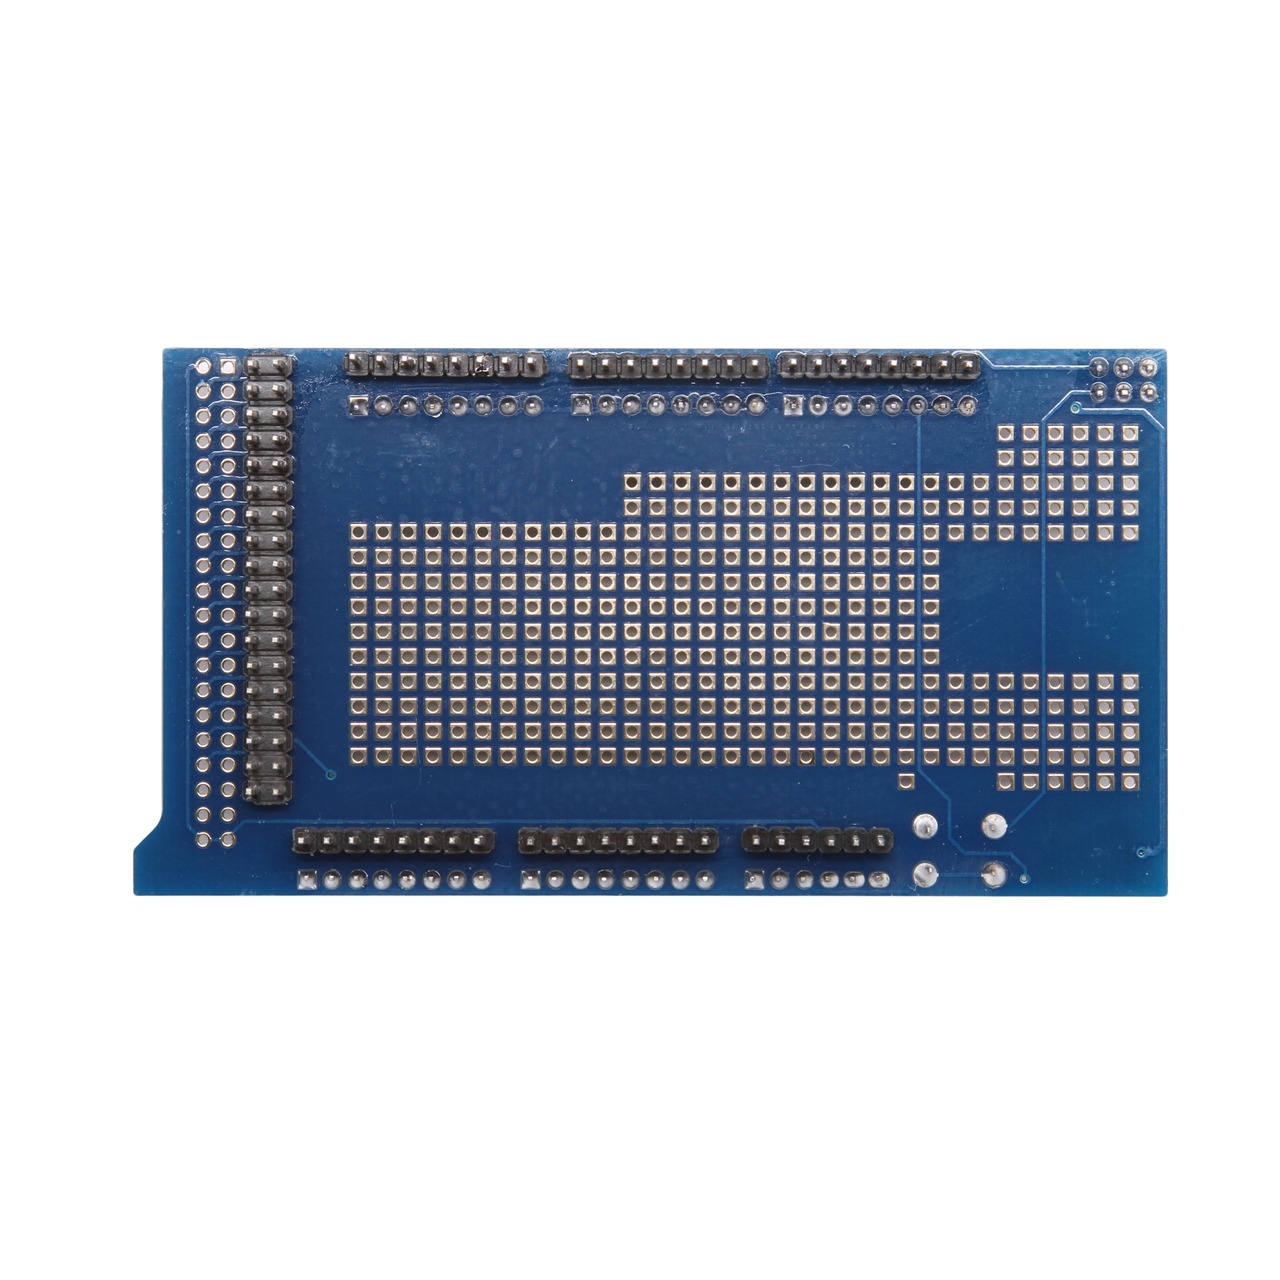
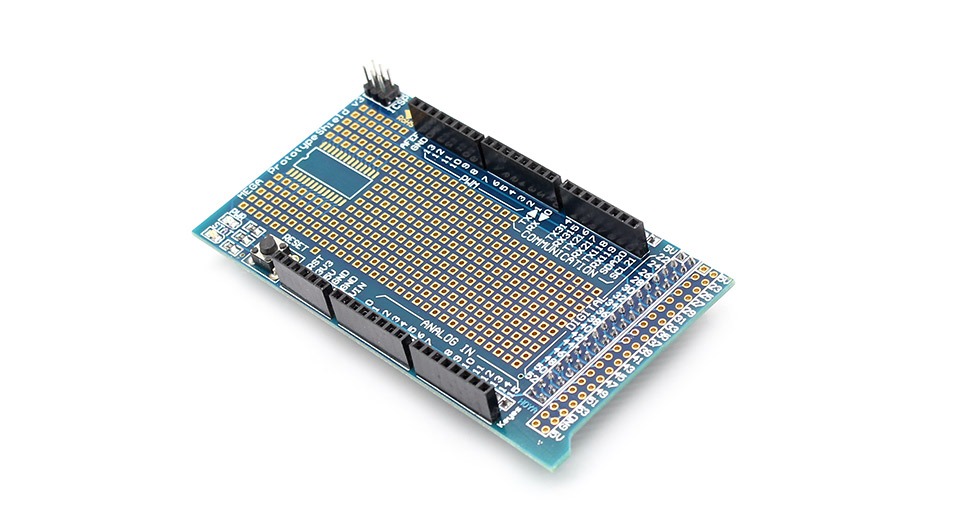
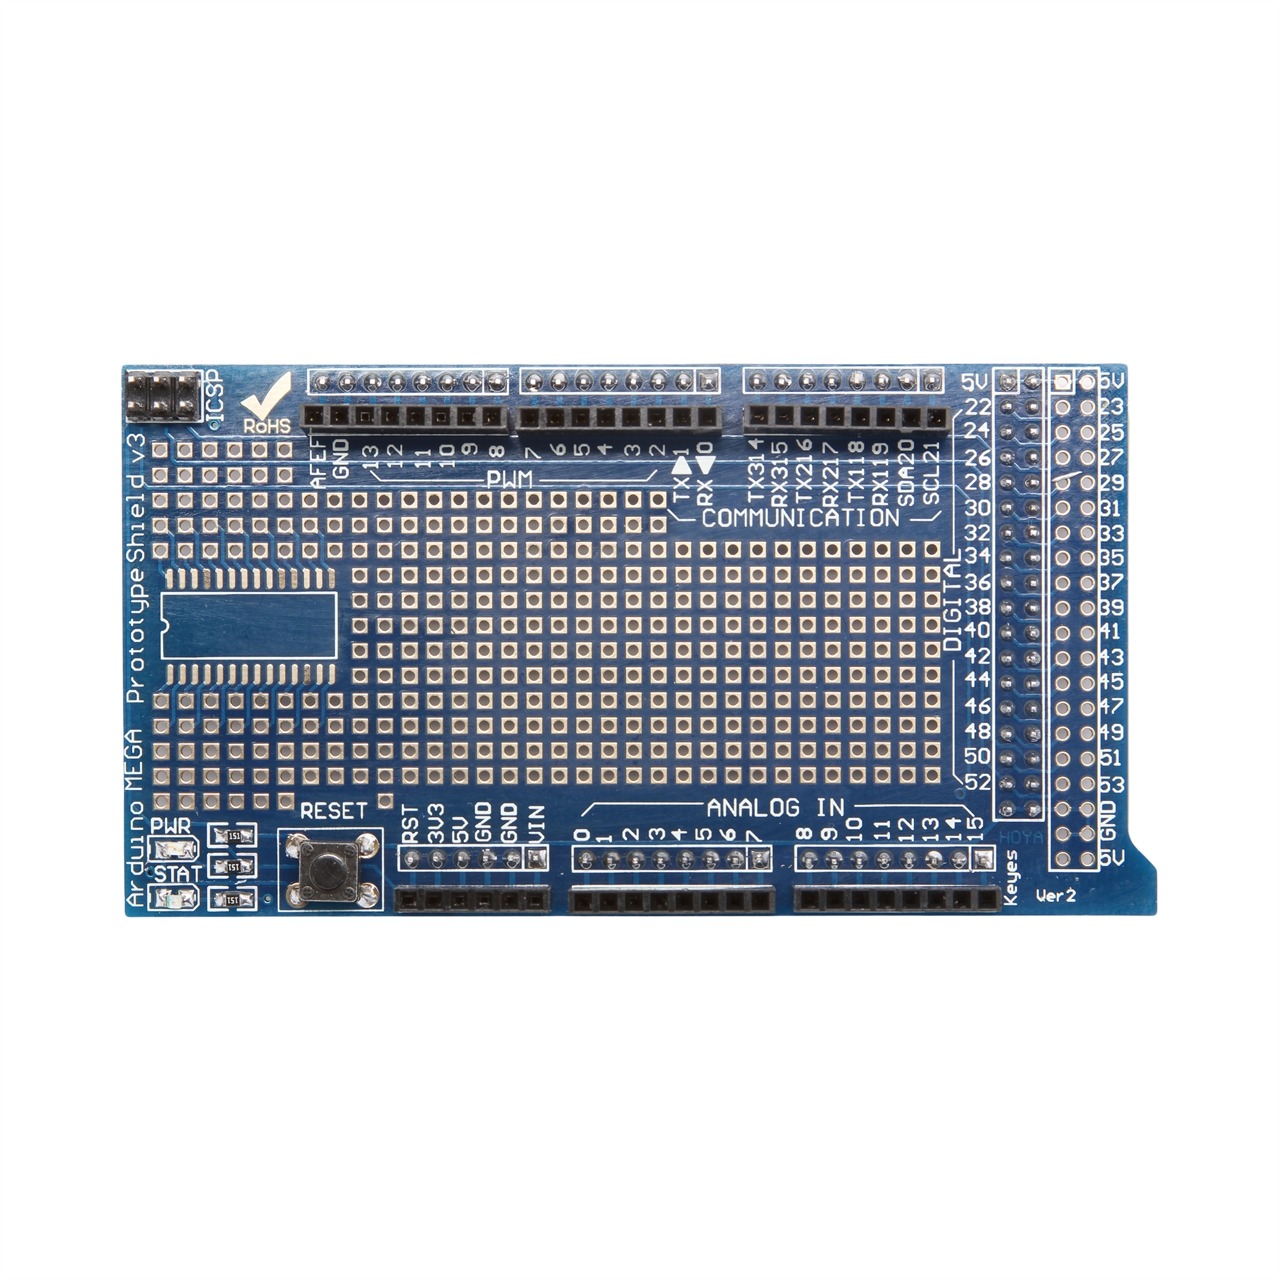
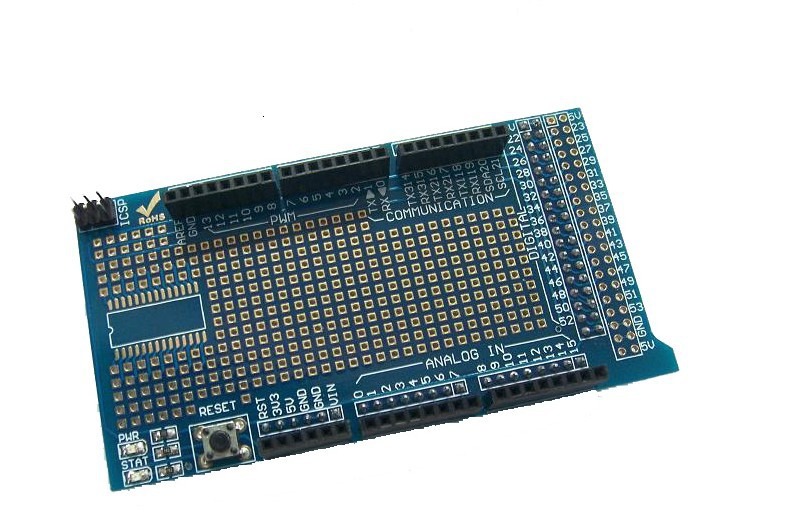
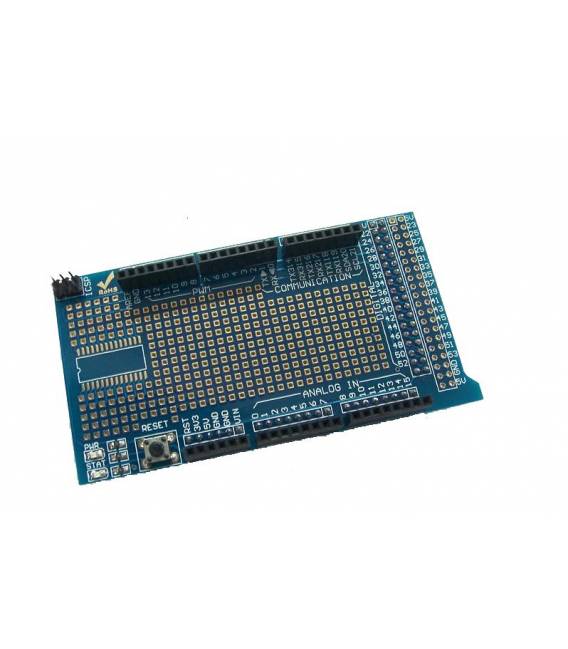
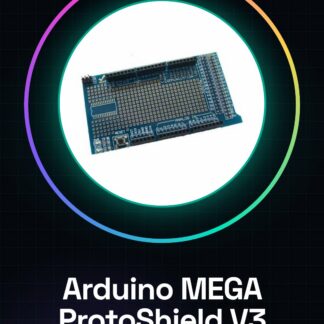
The Arduino MEGA ProtoShield V3 is an expansion board designed to facilitate prototyping and development of projects based on the Arduino Mega. This shield allows you to add components directly to its surface, making it easier to integrate sensors, relays, LEDs, and other devices.
Features
- Expansion board for Arduino MEGA
- Ideally suited for rapid prototyping
- Includes a PCB layout to facilitate assembly and testing of components
What it is for
The Arduino MEGA ProtoShield V3 is ideal for both beginners and experts, allowing you to create simple control interfaces with buttons and LEDs. You can use it for projects such as automatic controls, environmental monitoring, or any other application that requires hardware interfacing.
Tutorial: How to use Arduino MEGA ProtoShield V3
The Arduino Mega ProtoShield V3 is an expansion board ideal for prototyping and developing projects based on the Arduino Mega. This shield allows you to add electronic components directly to its surface, making it perfect for both beginners and experienced builders.
What you need
- Arduino MEGA ProtoShield V3
- Arduino MEGA 2560 or compatible
- jumper cables
Steps
- Connect the Arduino Mega to the computer via the USB cable.
- Physically connect the Mega ProtoShield to the Arduino Mega board, ensuring that all connections are secure and uninterrupted.
- Check the protoshield datasheet for the pins related to its configuration to understand which functions are exposed.
- Use jumper cables to connect the protoshield to the Arduino Mega if necessary (check the datasheet).
- Load a test sketch on the Arduino MEGA. For example, a simple program that turns on and off an LED connected to the protoshield.
- Monitor the output of your project through the Arduino IDE serial monitor to ensure everything is working correctly.
Example code
// Esempio di sketch
void setup() {
  pinMode(13, OUTPUT);
}

void loop() {
  digitalWrite(13, HIGH);   // accendi la LED collegata alla pin 13
  delay(1000);               // attendi un secondo
  digitalWrite(13, LOW);    // spegni la LED
  delay(1000);               // attendi un secondo
}
Mini project
Create a simple control interface with two buttons and an LED. When you press the first button, turn on the LED; when you press the second, turn off the LED.
Common mistakes
- Do not verify the correct pin configuration on the datasheet.
- Omission of the physical connection between Arduino Mega and ProtoShield.
- Ignore the importance of a solid connection between jumper wires and the protoshield.
- Load an inappropriate sketch for the project, causing operational errors.
Recommended accessories
- LED
- 220 ohm resistor
- Buttons
- USB cable
Frequently asked questions
What is the difference between this shield and other protoshields?
This shield is specifically designed for the Arduino Mega, offering more prototyping space compared to versions for Arduino Uno or Nano.
Can I use the protoshield with other microcontrollers?
Check the protoshield datasheet for specifications and compatibility with other microcontrollers before connecting it.
Reviews
There are no reviews yet.