 EN
 IT Italiano
 ES Español
 FR Français
 DE Deutsch
Description
What it is
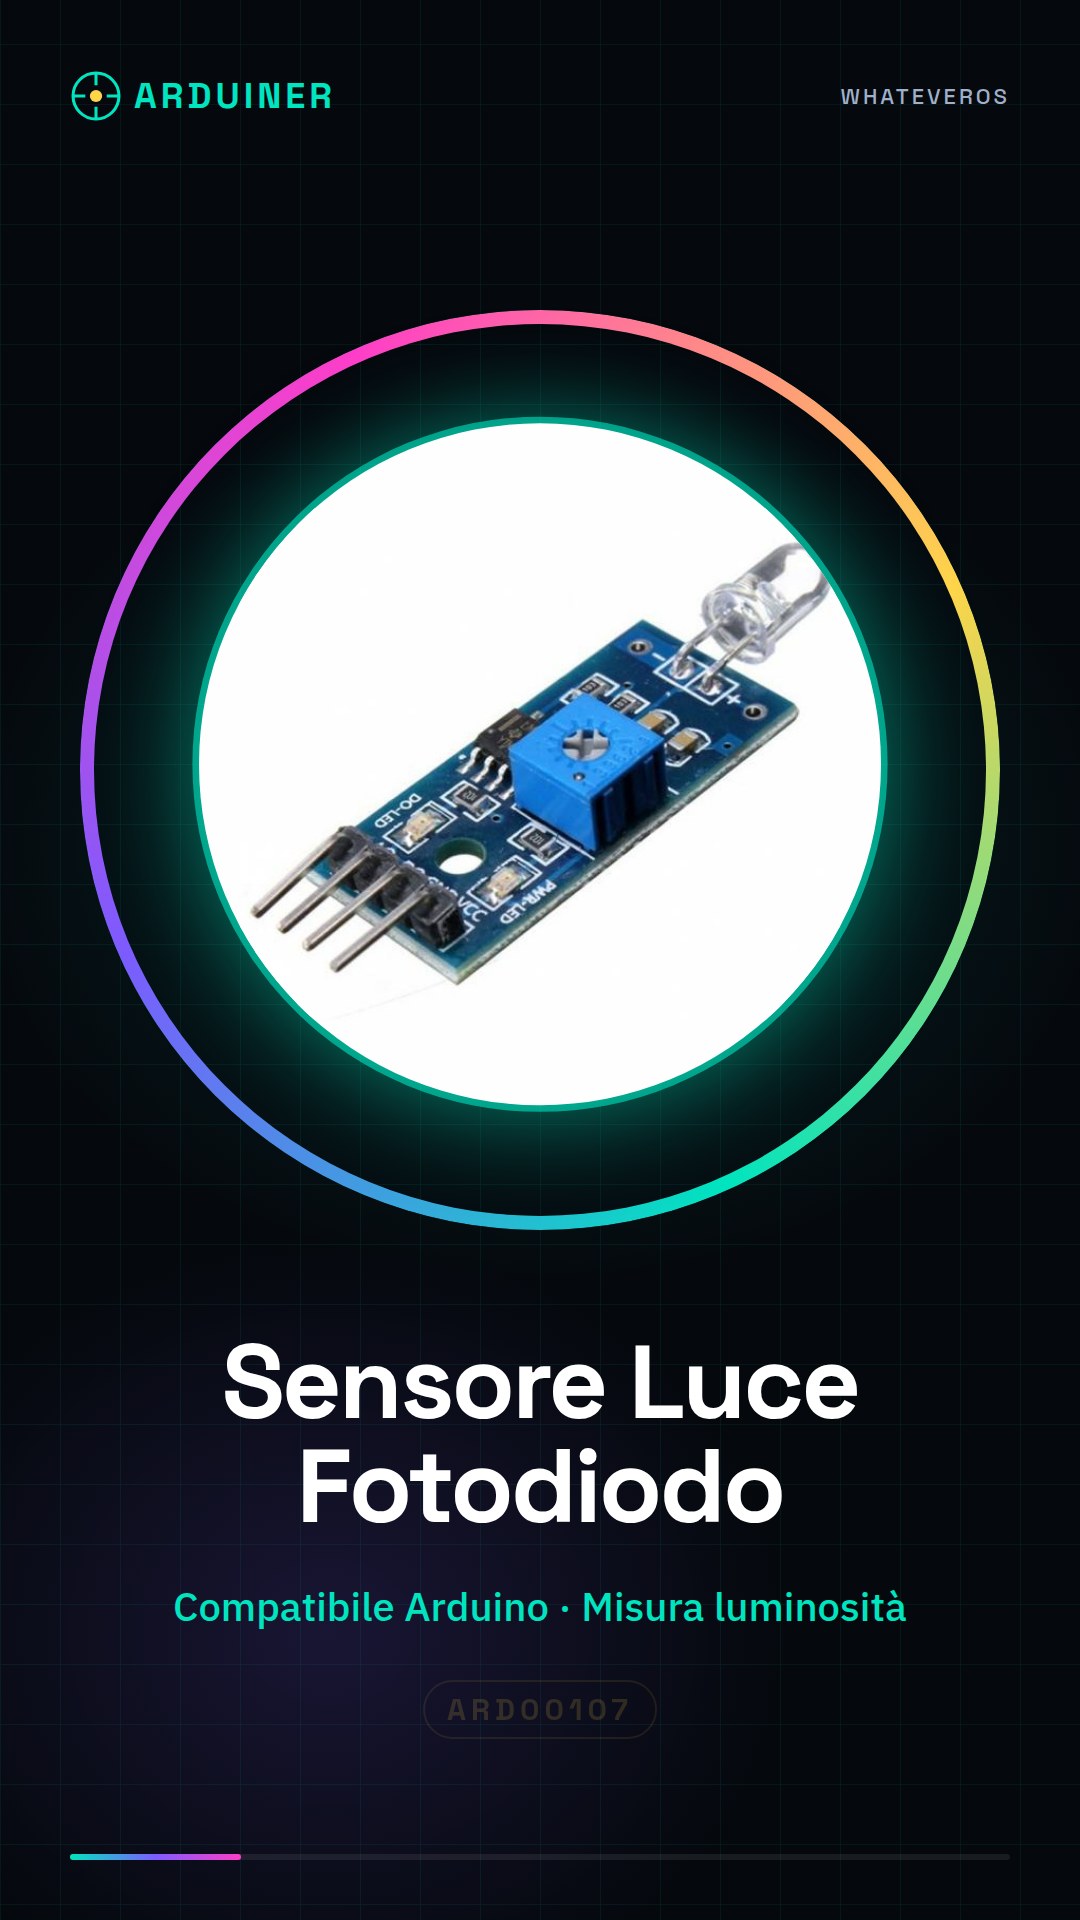
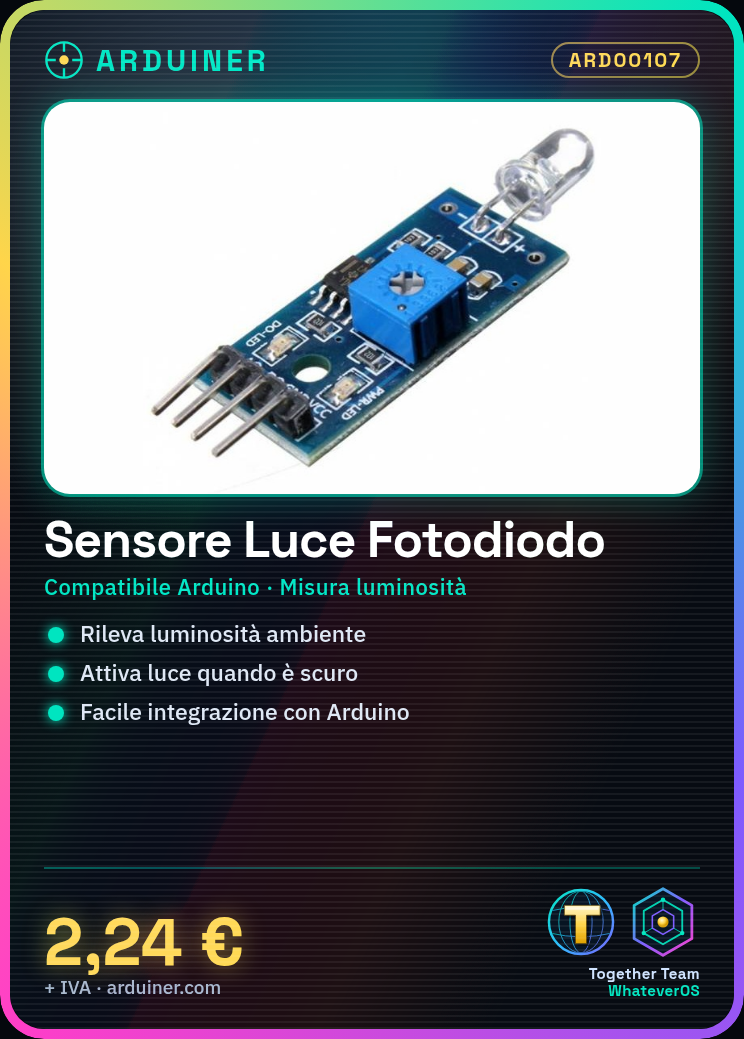
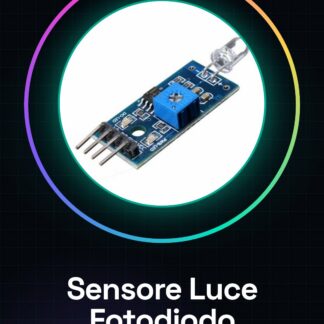
The light detection sensor module with photodiode is an essential component for any project requiring the measurement of ambient light levels. This device allows makers and students to integrate light control features into various electronic devices.
Features
- Compatible with Arduino
- Provides data on ambient light level
What it is for
Light sensor modules are ideal for projects requiring light detection, such as smart lights or home security systems. They allow lights to turn on automatically when it gets dark and can be used in conjunction with Arduino to create customized solutions.
Tutorial: How to use Light Detection Sensor Module
The light sensor module with photodiode is an essential component for any project requiring ambient light measurement. Ideal for beginners and intermediate makers, it allows the creation of smart lights or security systems.
What you need
- Arduino
- FTDI connector (optional)
- USB 5V power supply
Steps
- Connect the sensor module to the digital pin of the Arduino. Check the connection table in the product datasheet.
- Download and install the Arduino IDE on a computer connected to the Arduino via FTDI (if necessary).
- Open a new sketch in Arduino and write the example code provided below.
- Upload the sketch to the microcontroller of the sensor module.
- Get data from the sensor by reading the digital pin in the while loop of the Arduino IDE.
- Analyze the received values to understand how the sensor reacts to ambient light.
- Modify the sketch based on the project requirements (for example, turn on an LED when the light is low).
- Test and further optimize your system.
Example code
int ledPin = 13; // definisci la porta dell'LED
int lightSensor = A0; // definisci la porta del sensore di luce
void setup() {
  pinMode(ledPin, OUTPUT);
pinMode(lightSensor, INPUT);}
void loop() {
 int sensorValue = analogRead(lightSensor);
if (sensorValue < verifica sul datasheet) {digitalWrite(ledPin, HIGH);} else {digitalWrite(ledPin, LOW);}}
Mini project
Create a home security system that turns on a lamp when the light decreases.
Common mistakes
- Connect the sensor to the wrong port.
- Do not verify the sensor values under different lighting conditions.
- Ignore the datasheet specifications to calibrate the sensor correctly.
Recommended accessories
- RGB LED compatible with Arduino
- Variable resistors
- 16×2 LCD module
Frequently asked questions
How can I access the datasheet?
The datasheet is available on the manufacturer’s website or in the ‘Support’ section of our online platform.
Which digital pin should I use for the light sensor?
Check the connection table in the sensor module’s datasheet.
Reviews
There are no reviews yet.