 EN
 IT Italiano
 ES Español
 FR Français
 DE Deutsch
Description
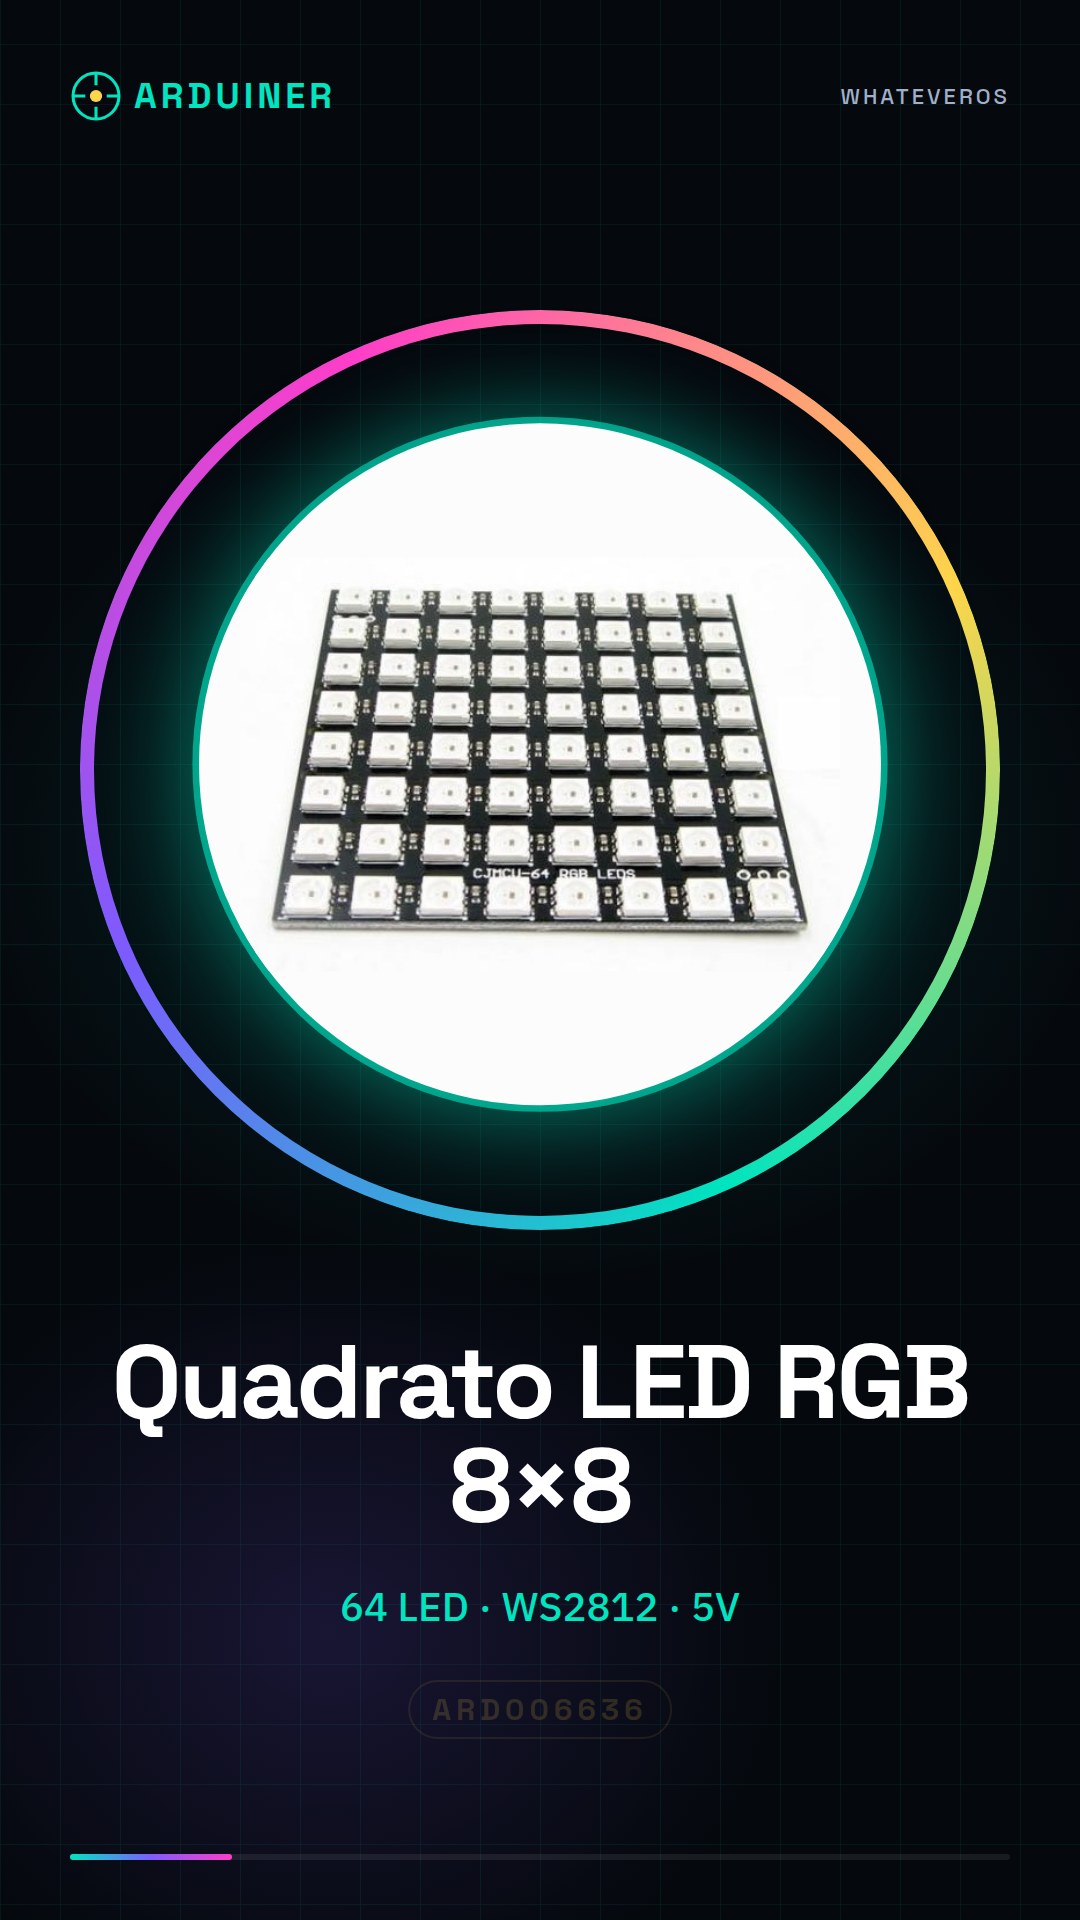
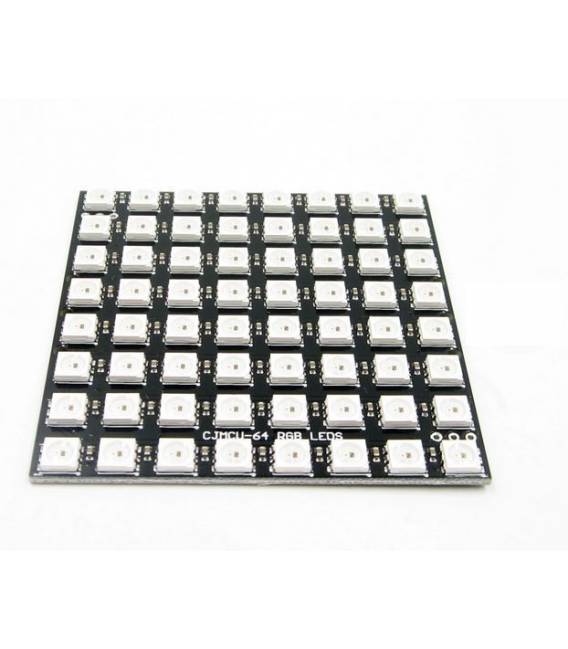
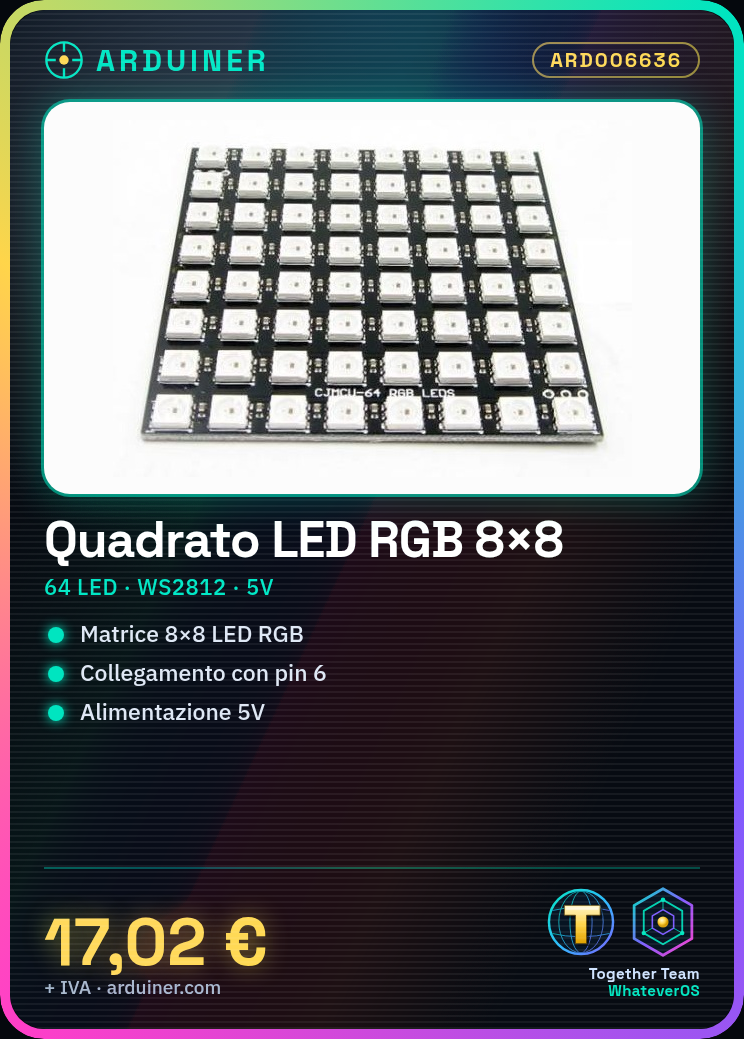
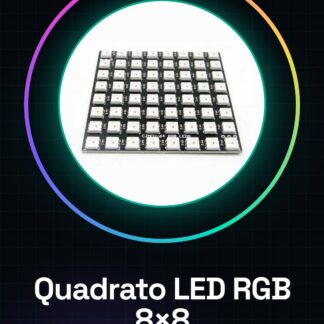
8×8 LED Matrix 64 WS2812 5050 RGB
Tutorial: How to Use 8×8 RGB LED Square
The 8×8 RGB LED Square is perfect for information display projects and creating light effects. Ideal for beginners and intermediate makers.
What you need
- Arduino or compatible microcontroller
- 5V power supply cable
- LED connector
- Adafruit NeoPixel library
Steps
- 1. Connect the 8×8 LED Square to an Arduino using the power and data pins.
- 2. Ensure your Arduino is powered correctly.
- 3. Install the Adafruit NeoPixel library.
- 4. Load the example code provided by the library.
- 5. Configure the pins and LED numbers in the code.
- 6. Modify the code to create custom light effects.
- 7. Test your project to ensure it works correctly.
- 8. Add an aesthetic design to your project.
Example code
```cpp
#include <Adafruit_NeoPixel.h>

#define PIN 6
#define NUMPIXELS 64

Adafruit_NeoPixel pixels = Adafruit_NeoPixel(NUMPIXELS, PIN, NEO_GRB + NEO_KHZ800);

void setup() {
  pixels.begin();
}

void loop() {
  for(int i = 0; i < 255; i++) {
    pixels.setPixelColor(0, pixels.Color(i, 0, 255 - i));
    pixels.show();
    delay(20);
  }
}
```
Mini project
Create a progressive color animation across the entire LED matrix.
Common mistakes
- Insufficient power supply: make sure the power supply is 5V.
- Incorrect connection: check the power and data pins.
- Library not installed: make sure you have installed the Adafruit NeoPixel library.
- Unmodified code: customize the code to create different lighting effects.
Recommended accessories
- Arduino Nano
- JST SH 3P connector
- 220 Ohm resistor
- Photocell
Frequently asked questions
How can I connect the 8×8 RGB LED Matrix to the Arduino?
Connect VCC to 5V, GND to GND, and DATA to pin 6 of your Arduino.
What is the difference between the VCC and GND pins?
VCC provides power, GND is the ground for the circuit.
Can I use an Arduino Uno?
Yes, but make sure the power supply is 5V.
What other effects can I create?
You can create animations, color effects, and more.
Reviews
There are no reviews yet.