 EN
 IT Italiano
 ES Español
 FR Français
 DE Deutsch
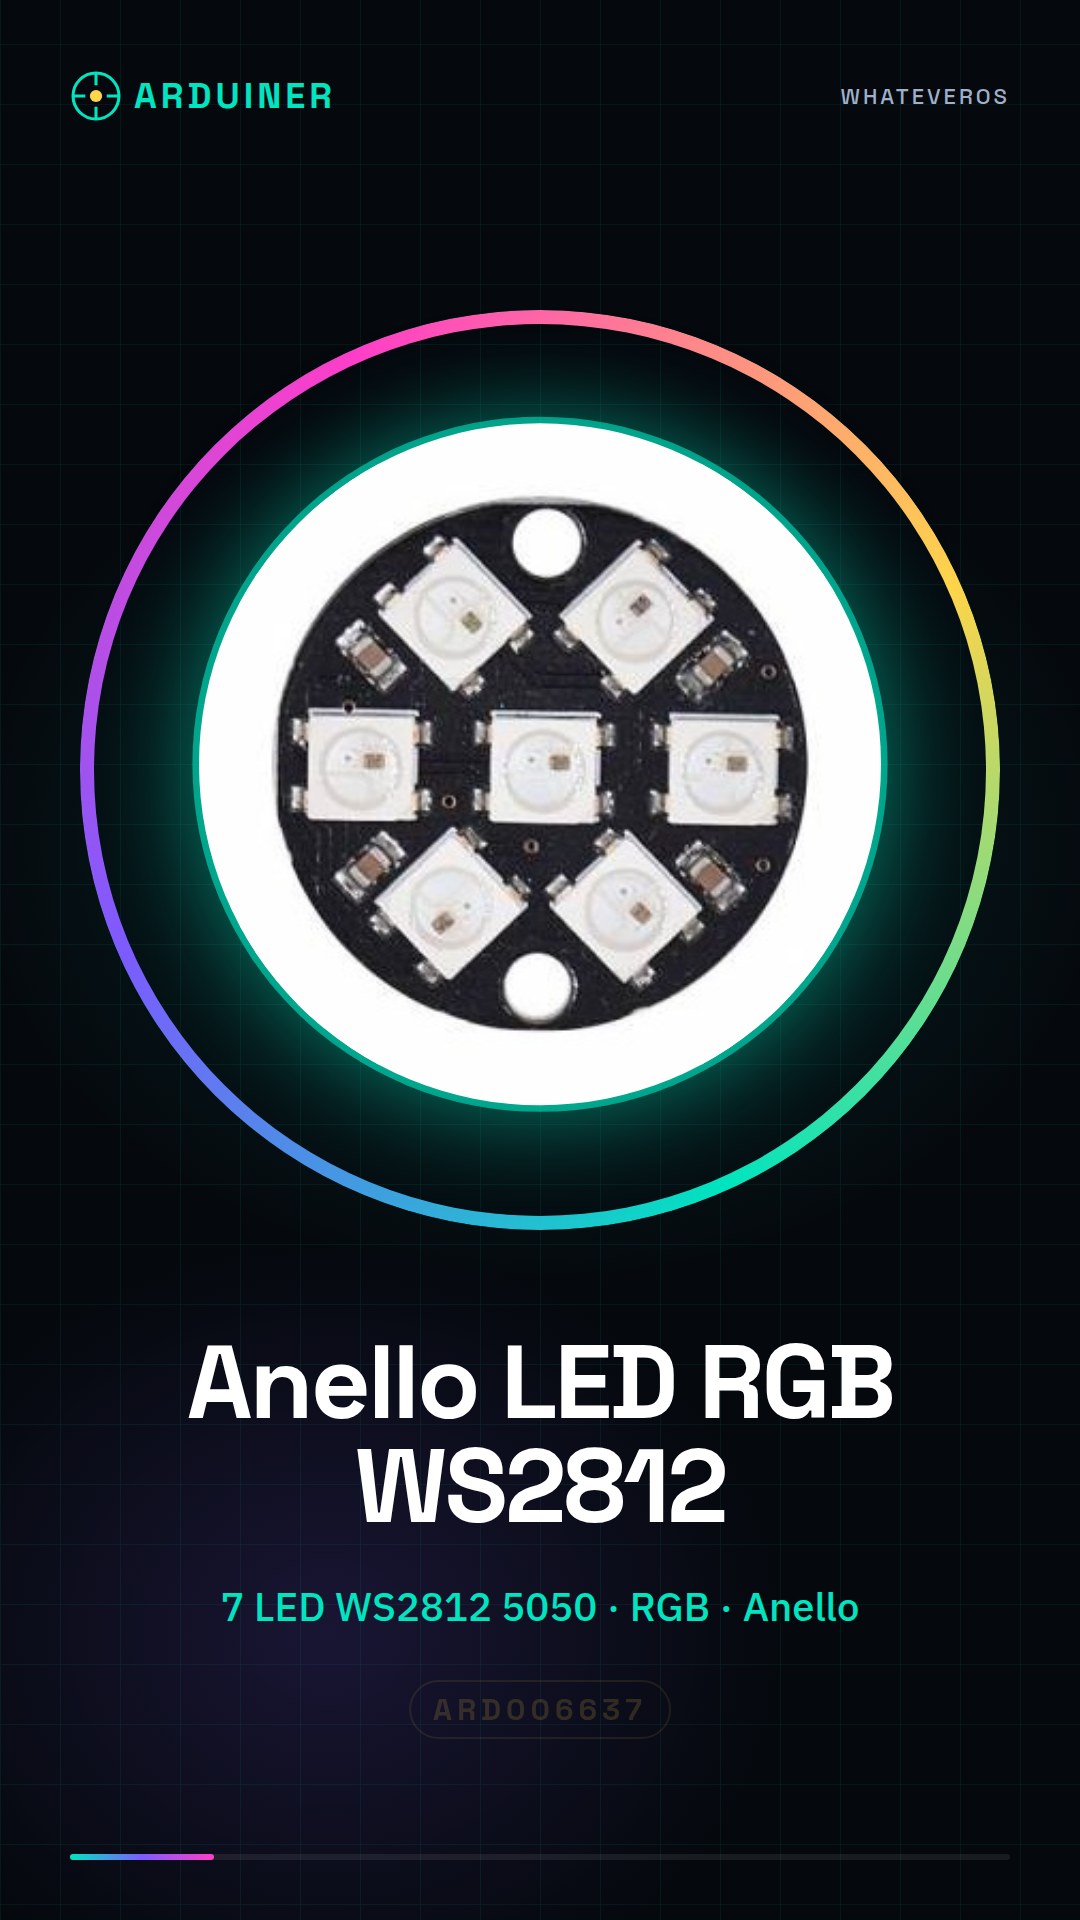
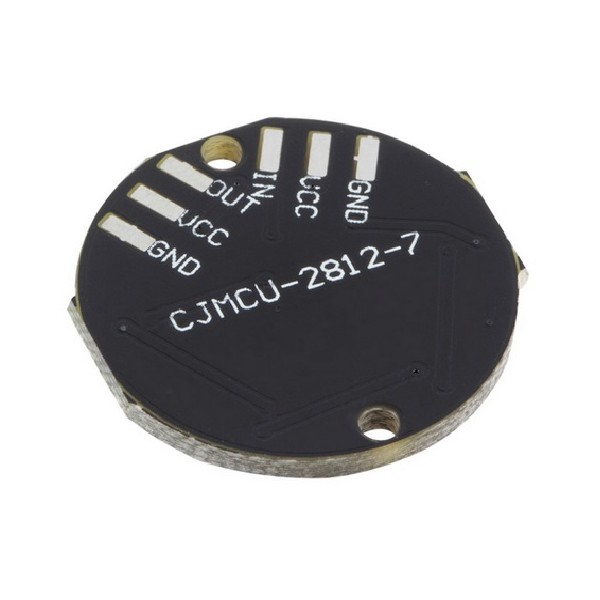
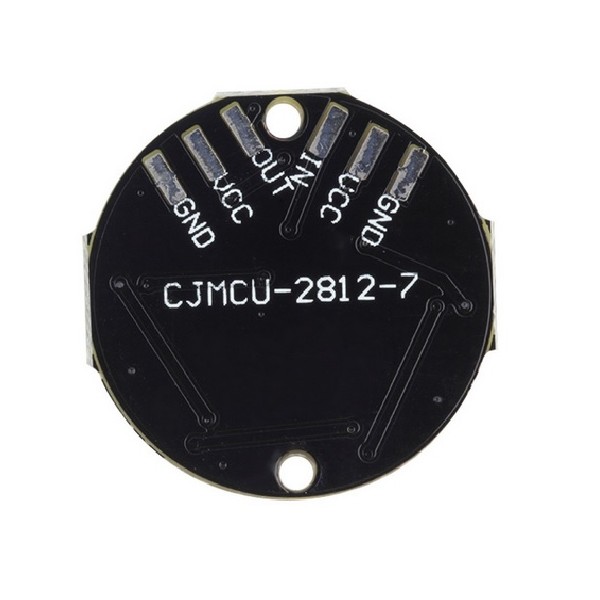
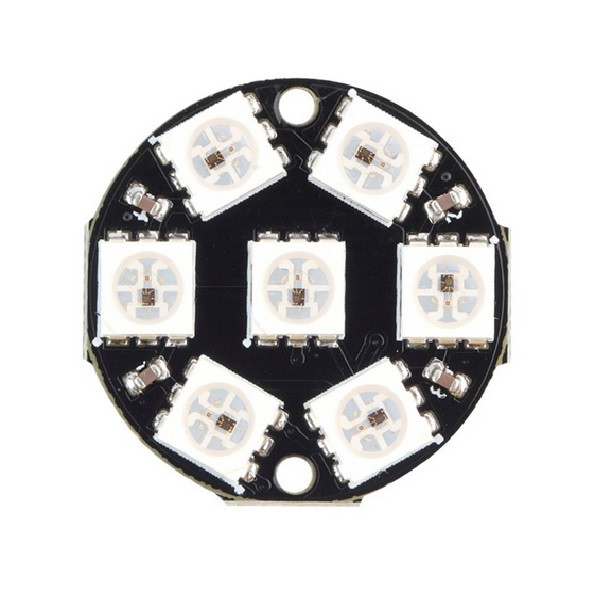
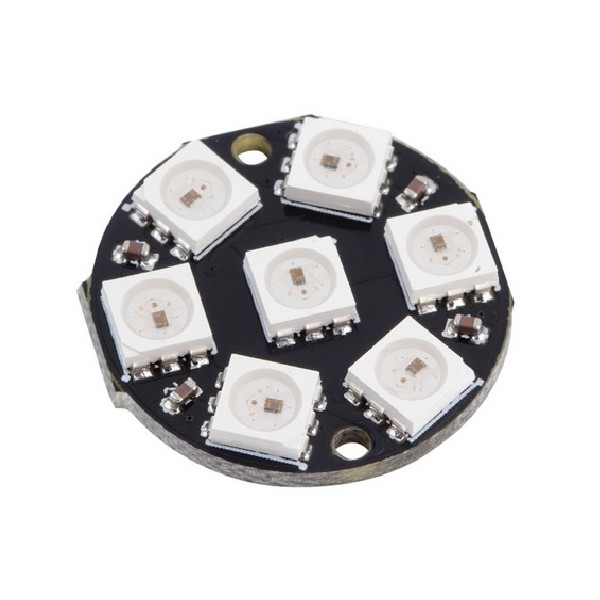
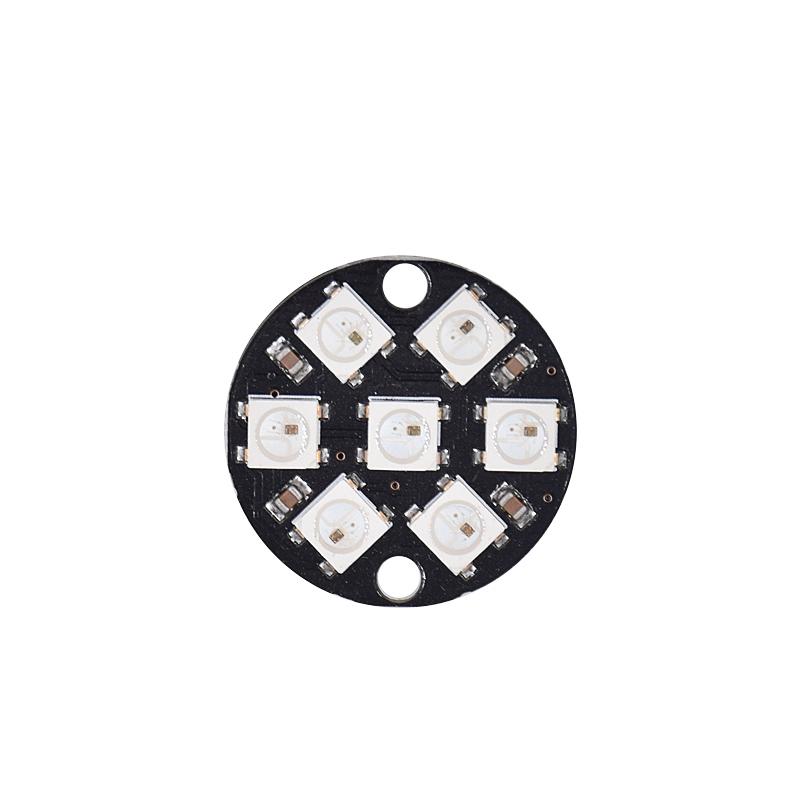
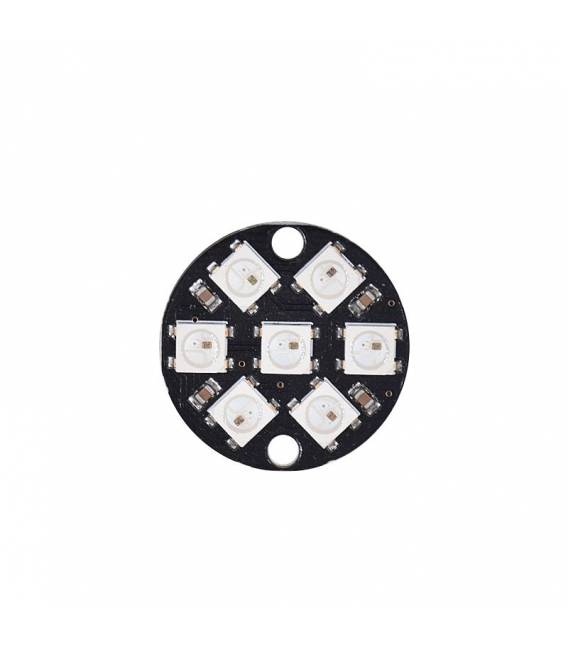
Description
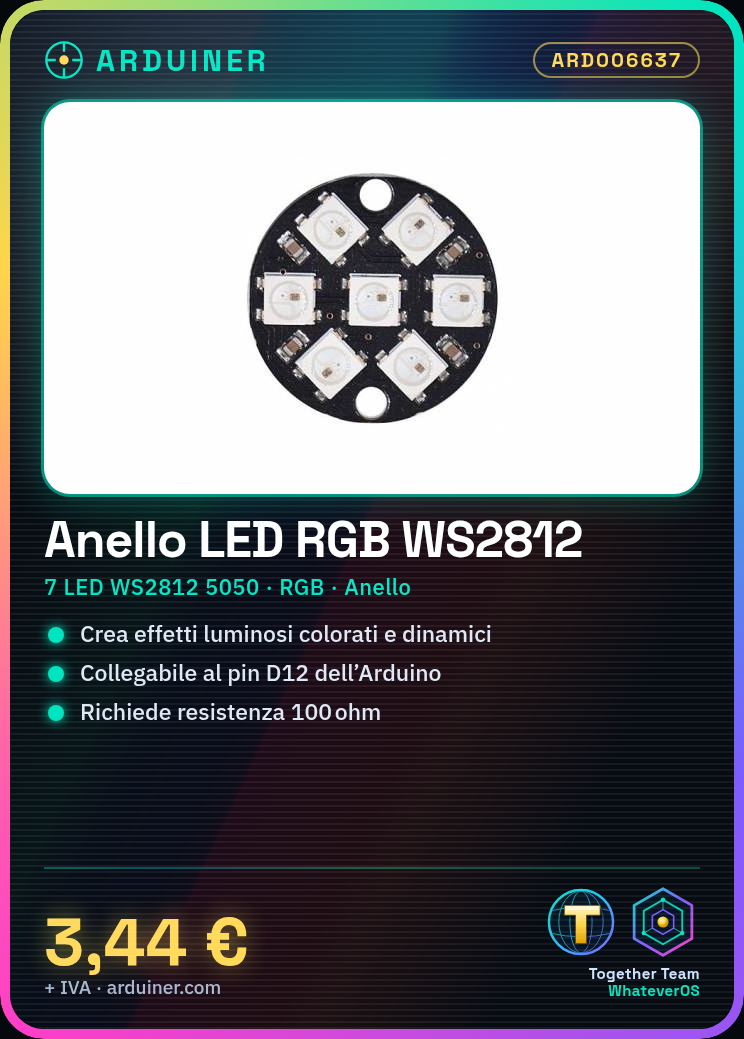
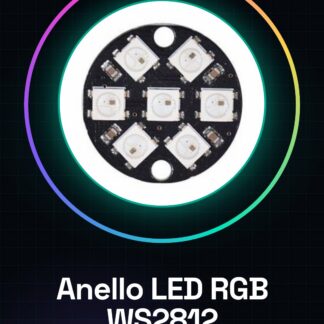
LED 7 WS2812 5050 RGB LED Ring
Tutorial: How to use LED 7 WS2812 5050 RGB LED Ring
This LED ring allows you to create colorful and dynamic lighting effects, ideal for lighting and decoration projects.
What you need
- Arduino or compatible microcontroller
- USB cable for power supply
- Arduino IDE software
- Protection resistor (100 ohm)
Steps
- 1. Download and install Arduino IDE.
- 2. Connect the LED ring to pin D12 of your Arduino.
- 3. Connect the protection resistor between pin D12 and GND.
- 4. Load the following code into the Arduino.
- 5. Check the correct power supply.
- 6. Try different lighting effects.
- 7. Connect the ring to an external power supply if necessary.
- 8. Check the datasheet for power supply specifications.
Example code
```
#include <Adafruit_NeoPixel.h>

#define PIN 12
#define NUMPIXELS 7

Adafruit_NeoPixel pixels = Adafruit_NeoPixel(NUMPIXELS, PIN, NEO_GRB + NEO_KHZ800);

void setup() {
  pixels.begin();
}

void loop() {
  pixels.setPixelColor(0, pixels.Color(255, 0, 0)); // Red
  pixels.show();
  delay(1000);
  pixels.setPixelColor(0, pixels.Color(0, 255, 0)); // Green
  pixels.show();
  delay(1000);
  pixels.setPixelColor(0, pixels.Color(0, 0, 255)); // Blue
  pixels.show();
  delay(1000);
}
```
Mini project
Create a color cycle that changes every second.
Common mistakes
- Forget to connect the power supply.
- Use the wrong pin for the LED strip.
- Do not install the correct library.
- Forget to add a current-limiting resistor.
Recommended accessories
- Arduino Uno
- 100 ohm protection resistor
- 5V power supply
- USB cable
Frequently asked questions
How to connect correctly?
Connect the LED ring to pin D12 and the protection resistor between D12 and GND.
What are the power supply specifications?
Check the datasheet.
Why does the code not work?
Make sure you have installed the Adafruit_NeoPixel library.
Can I use a different power supply?
Check the datasheet for power supply specifications.
Reviews
There are no reviews yet.