 EN
 IT Italiano
 ES Español
 FR Français
 DE Deutsch
Description
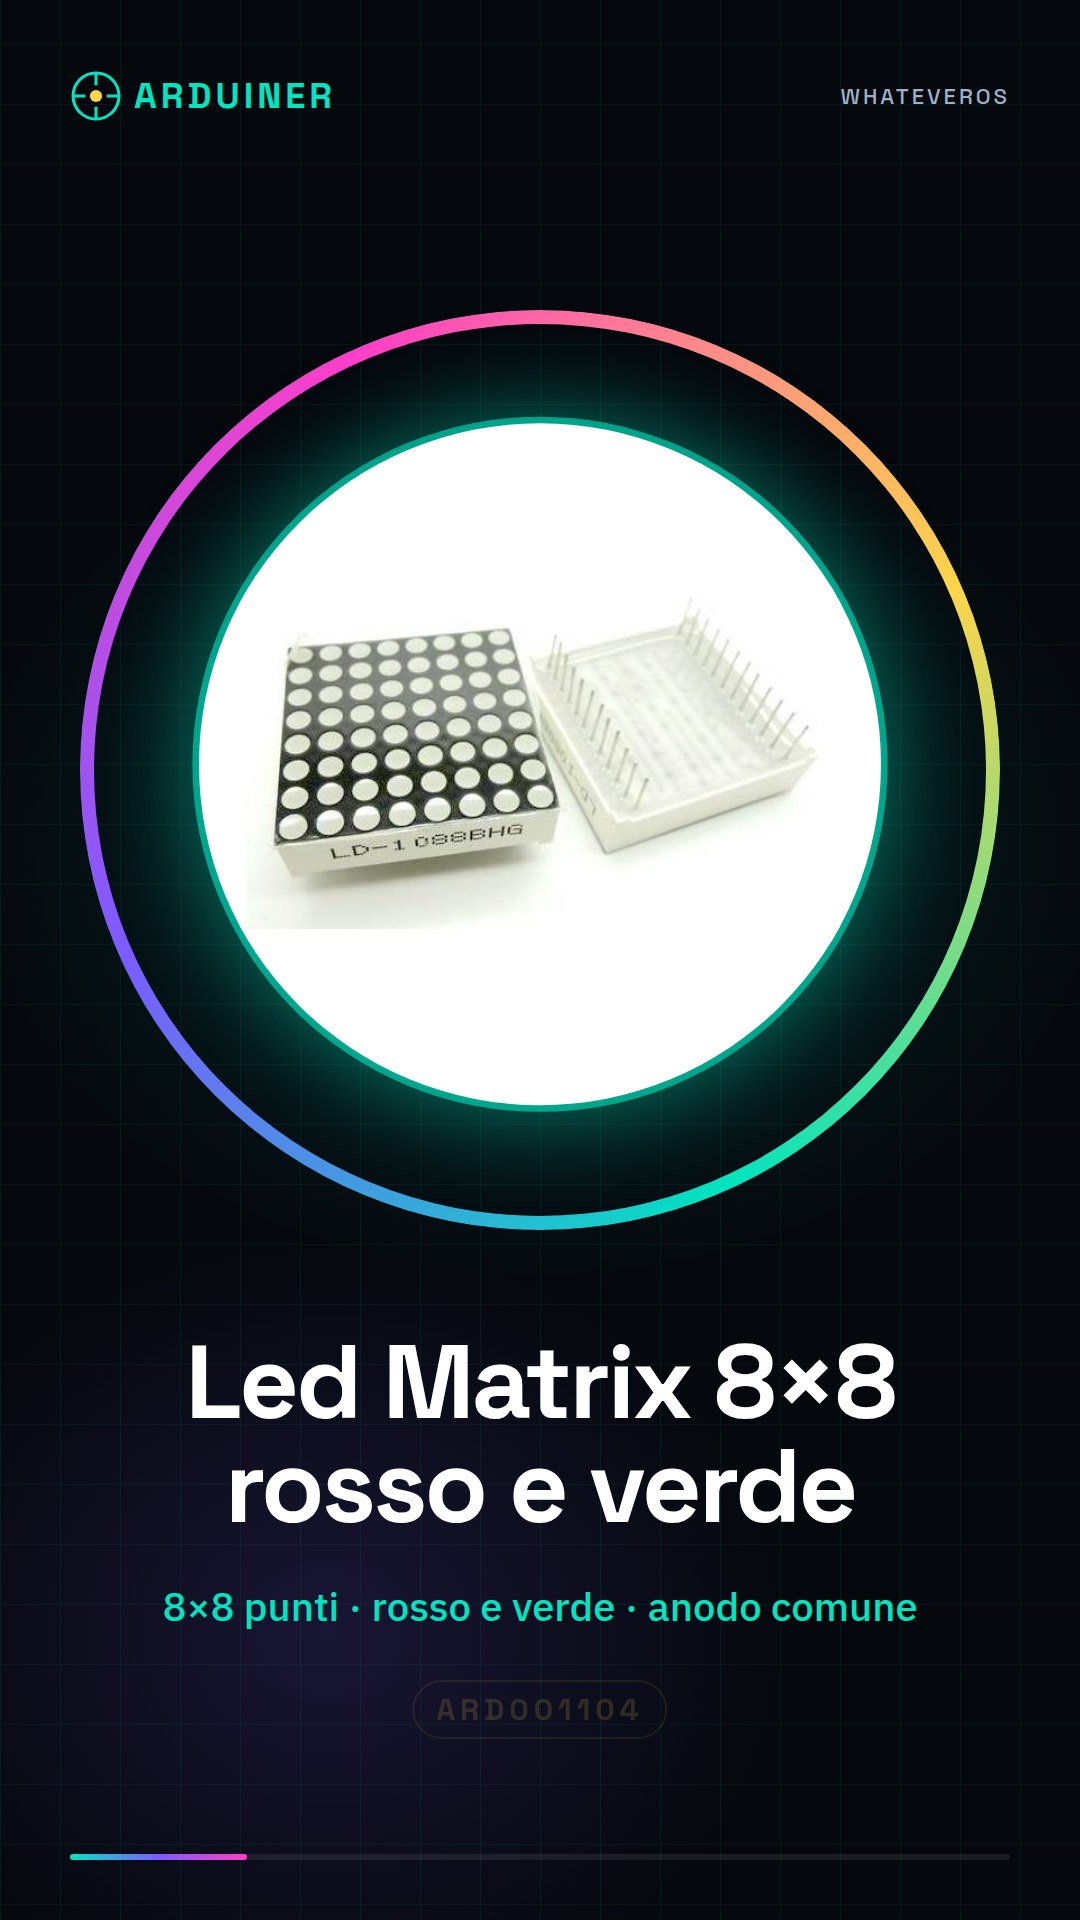
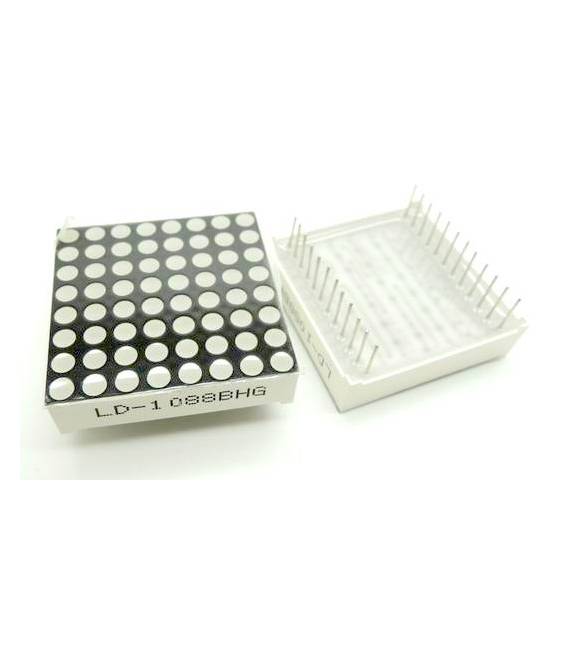
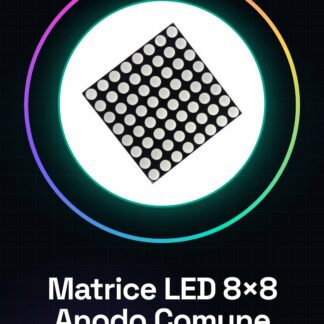
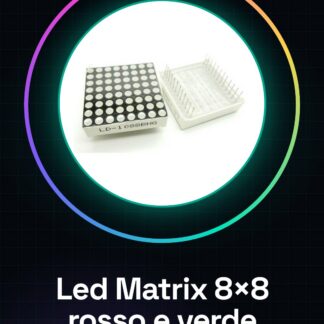
3 MM red and green (common anode), 24 feet 8 * 8 red and green points
Tutorial: How to use Red and Green 8×8 LED Matrix
The red and green 8×8 LED matrix is an ideal component for displaying messages or simple drawings. It is suitable for creative lighting projects, digital displays, and games.
What you need
- Arduino Uno
- Dupont cable
- Breadboard
Steps
- Connect the 8×8 LED matrix to the breadboard using Dupont cables from the Arduino side.
- Check the datasheet for the pin positions of the LED matrix to connect them correctly to the Arduino.
- Write an Arduino sketch that turns on and off individual LEDs in the LED matrix following a desired pattern.
- Upload the sketch to the Arduino and test its functionality.
Example code
void setup() {
  pinMode(2, OUTPUT);
}

void loop() {
  digitalWrite(2, HIGH);   // Accende l'LED collegato al pin 2
  delay(1000);              // Attende un secondo
  digitalWrite(2, LOW);    // Spegne l'LED collegato al pin 2
  delay(1000);              // Attende un secondo
}
Mini project
Create a small scene with the LED matrix that displays the characters ‘HELLO’
Common mistakes
- Incorrect pin connection
- Syntax error in the Arduino sketch
- Insufficient power supply
Recommended accessories
- Arduino Uno R3
- USB cable for Arduino
- 400-point breadboard
Frequently asked questions
How can I change the display color?
The LED matrix has two colors, red and green. Change the pins connected to the LEDs of each color in your sketch.
What is the minimum supply voltage for this component?
Check the datasheet for the correct value.

Reviews
There are no reviews yet.