 EN
 IT Italiano
 ES Español
 FR Français
 DE Deutsch
Description
What it is
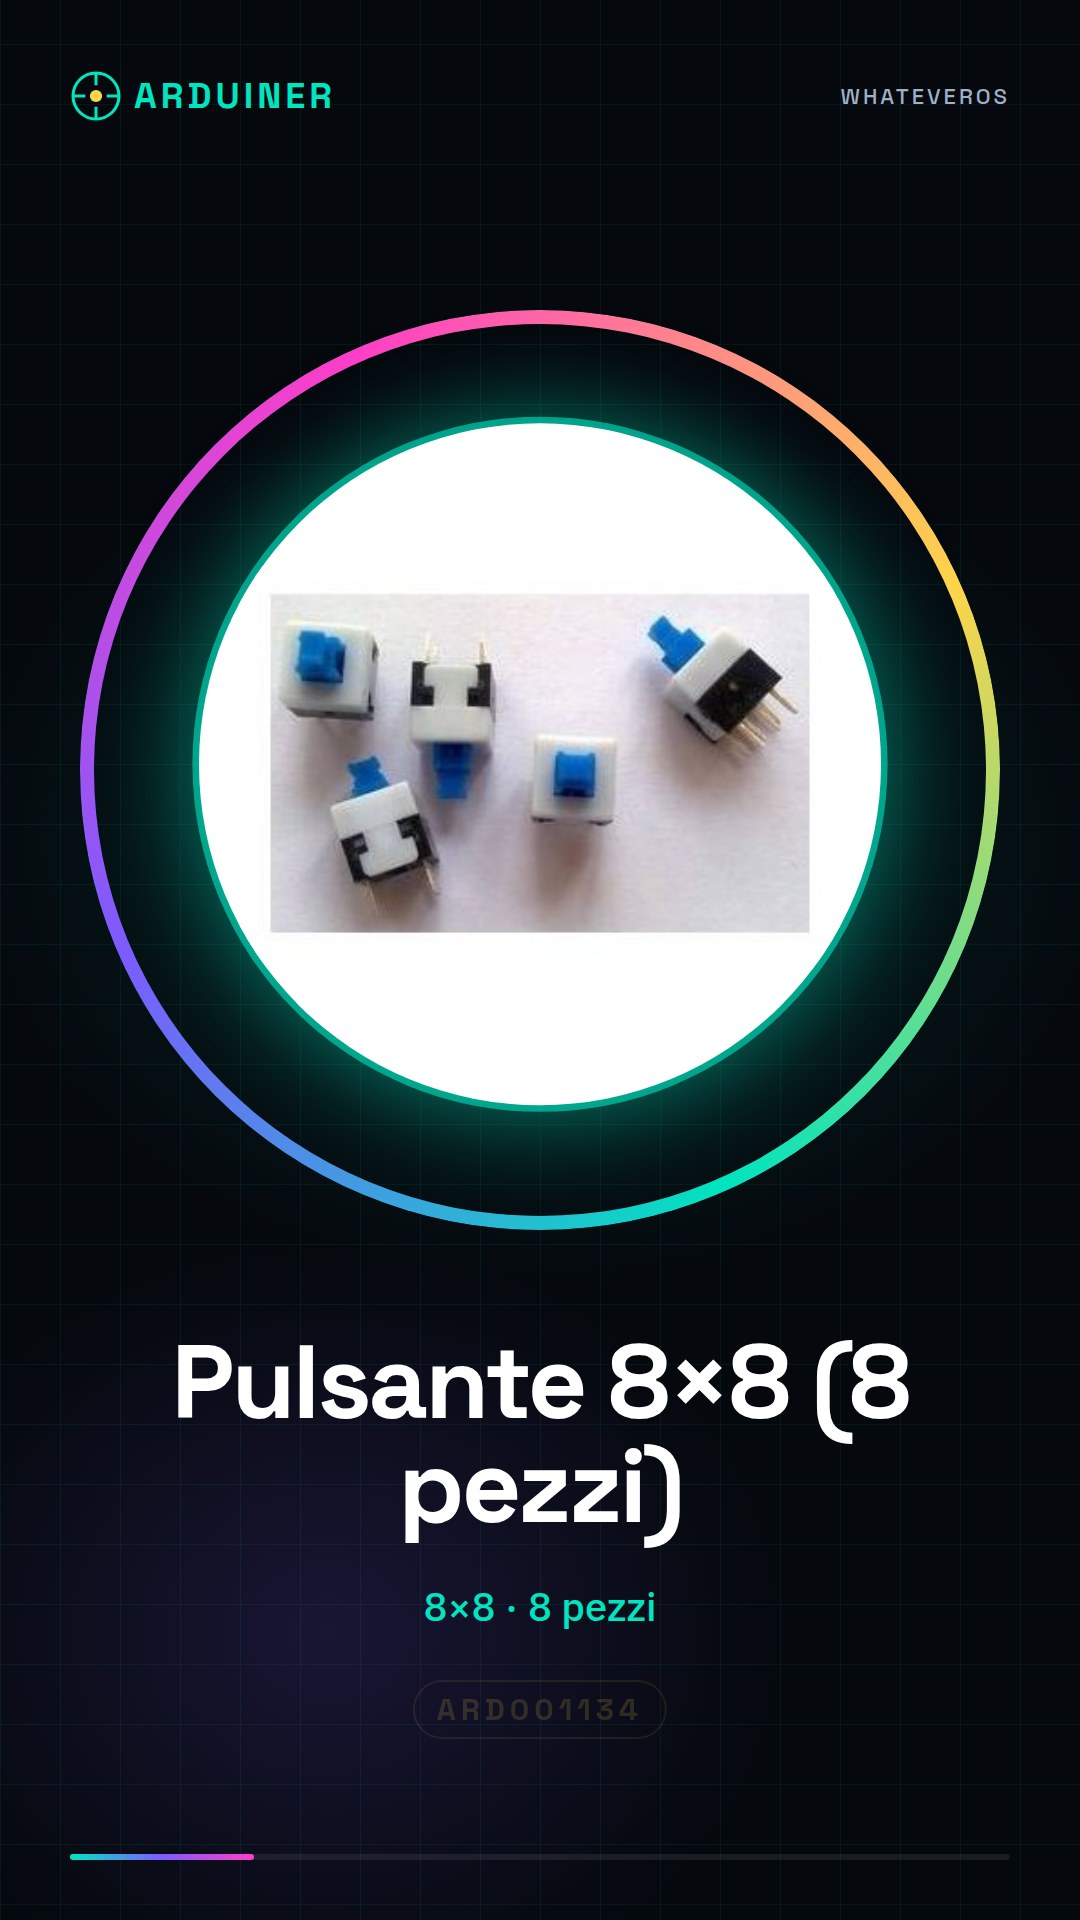
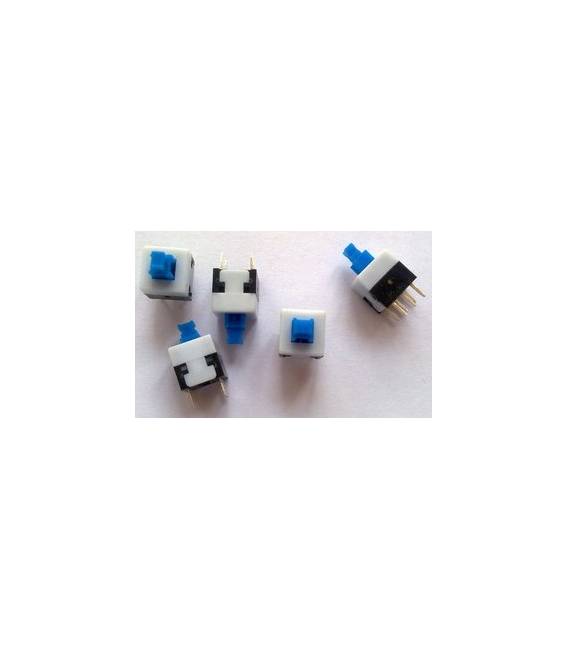
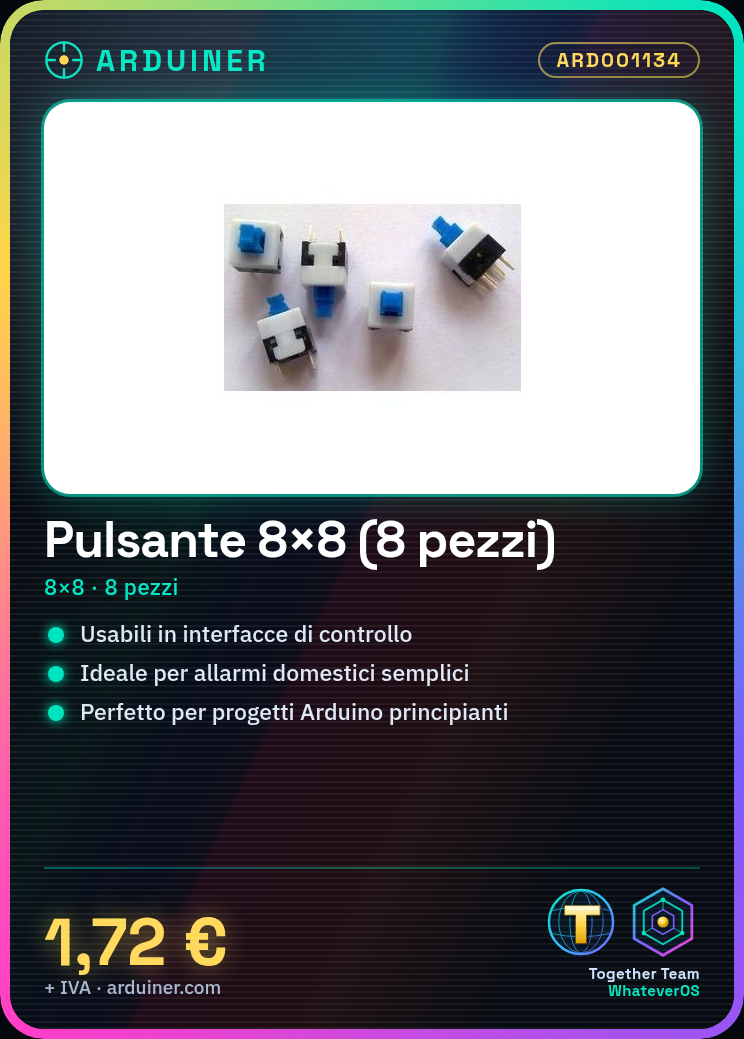
This product is a series of eight 8×8 square buttons without self-locking functionality. The buttons are suitable for user interfaces in various electronic projects.
Features
- 8×8 square button
- Without self-locking functionality
- Number of pieces: 8
What it is for
The buttons are ideal for Arduino projects or other electronic systems where user action detection is required. They can be used in control interfaces, simple home alarms, or any other system that requires user input.
Tutorial: How to use 8×8 button without locking
This 8×8 button without locking is ideal for electronic control projects where user action detection is required. It is particularly useful for Arduino beginners who want to explore button-based interface programming.
What you need
- Arduino Uno or compatible
- USB Type B cable
- Connect to computer
Steps
- Connect the 8×8 button to the Arduino circuit using the appropriate connectors for digital interfaces and power supply.
- Check the correct polarity of the power supply voltage (5V or 3.3V) on the product datasheet.
- Install the Arduino IDE on a computer and configure your Arduino Uno as a programming device.
- Download or write a simple sketch that reads the state of the button and prints the result in the serial monitor.
- Compile and run the sketch by uploading it to the Arduino.
- Press the various buttons to see the response on the serial monitor of the Arduino IDE.
- Check if all buttons work correctly and adjust the code based on the results obtained.
Example code
const int buttonPin = 2; // specificare il pin del pulsante
int buttonState;
void setup() {
  pinMode(buttonPin, INPUT);
}
void loop() {
  buttonState = digitalRead(buttonPin);
  Serial.println(buttonState);
}
Mini project
Create a simple home alarm system with multiple buttons that activate a flashing LED when one of the buttons is pressed.
Common mistakes
- Incorrect power supply polarity
- Incorrect Arduino pin for the button
- Can’t see the response on the serial monitor
Recommended accessories
- LED RGB 5mm
- Pull-up resistor
- Arduino Uno R3
- USB Type B connection
Frequently asked questions
Which pins should I use for the buttons?
Use any available digital pin on Arduino, but make sure they are configured as input in your code.
How can I add a sound alarm?
Add a siren or buzzer and connect it to one of the Arduino’s PWM output pins to control the alarm through the button.
Reviews
There are no reviews yet.