 EN
 IT Italiano
 ES Español
 FR Français
 DE Deutsch
Description
What it is
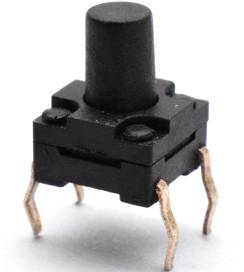
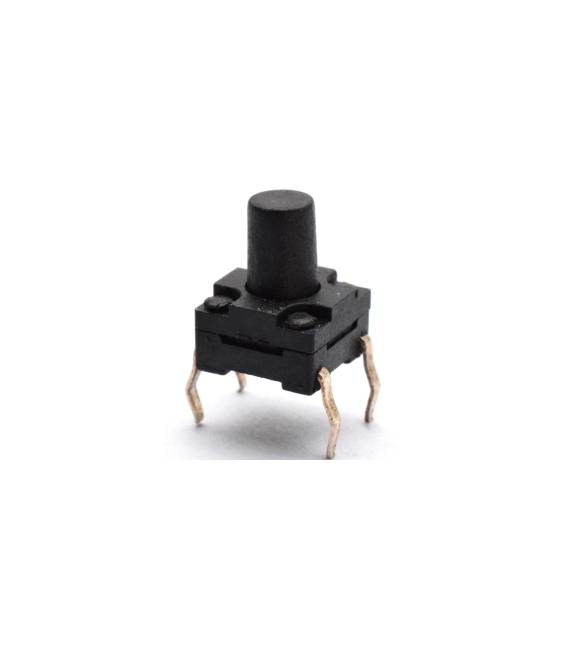
Kit of 5 Waterproof Tactile Buttons – 6x6x10mm is a set of 5 tactile buttons with dimensions 6x6x10mm, featuring water resistance.
Features
- 5 pieces
- Dimensions: 6x6x10mm
- Type: Tactile Button
- Waterproof
What it is for
These buttons are suitable for electronic projects that require a durable and easy-to-use user interface. They can be used to control robots, circuits, and portable devices. Example use: create a simple timer that can be activated by pressing the button and deactivated with an additional press.
Tutorial: How to Use Waterproof Tactile Button Kit
Waterproof tactile buttons are ideal for projects that require a durable and easy-to-use user interface. They are perfect for makers and students creating portable or environmental devices.
What you need
- Arduino Uno
- Jumper wire
- Connection to computer
- Arduino IDE software
Steps
- Connect the tactile button to the Arduino digital pin using a jumper wire.
- Open the Arduino IDE software and create a new sketch.
- Add input instructions to read the state of the button.
- Compile and upload the sketch to the Arduino.
- Check that the button changes the state of the digital pin when pressed.
- Modify the sketch to add a specific function when the button is pressed.
- Test the project to ensure everything works correctly.
- If necessary, repeat the steps of modification and testing until the desired functionality is achieved.
Example code
const int pulsante = 2;
int statoPulsante = 0;
void setup() {
  pinMode(pulsante, INPUT);
}
void loop() {
  statoPulsante = digitalRead(pulsante);
  if(statoPulsante == HIGH) {
    Serial.println("Pulsante premuto");
  }
}
Mini project
Create a simple timer that activates when you press the tactile button and deactivates when you press it again. Display the elapsed time on the serial monitor.
Common mistakes
- Do not check the connection of the jumper wires.
- Do not update the sketch to properly handle the state of the button.
- Do not test the project until you consider it complete.
- Do not verify the voltage and current values of the tactile button on the datasheet.
Recommended accessories
- Arduino Uno
- Set of jumper cables
- Breadboard
- Electronic prototyping kit
Frequently asked questions
Which pins can I use for the tactile button?
You can use any digital pin on the Arduino.
How can I turn on a light bulb when the button is pressed?
Use a relay or MOSFET connected to the Arduino pin that manages the state of the button.
Reviews
There are no reviews yet.