 EN
 IT Italiano
 ES Español
 FR Français
 DE Deutsch
Description
What it is
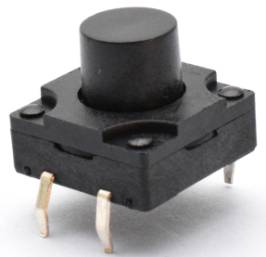
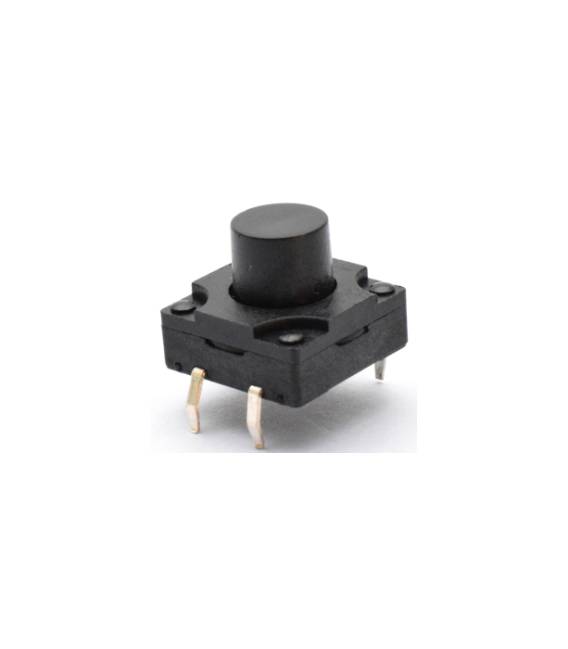
Kit of 5 Waterproof Tactile Buttons – 6x6x5mm is a set of 5 tactile buttons with dimensions 6x6x5mm, featuring water resistance.
Features
- Dimensions: 6x6x5mm
- Quantity: 5 pieces
- Type: Tactile button
- Waterproof: Yes
What it is for
These buttons are ideal for Arduino projects and other electronic platforms. Their water resistance makes them suitable for portable devices, measuring instruments, and electronic prototypes that require a durable switch. They can be used to create robust user interfaces, such as a small digital clock with on/off functionality via a waterproof button.
Tutorial: How to Use Waterproof Tactile Button Kit
These waterproof tactile buttons are perfect for projects that require a water-resistant and small switch. Ideal for portable devices, measuring instruments, and electronic prototypes.
What you need
- Arduino Uno
- Jumper cable
- Resistor cartridge
- Arduino IDE software
Steps
- Connect one end of the button to a digital pin on the Arduino.
- Connect the other end of the button to ground (GND).
- Connect one end of the resistor between the digital pin on the Arduino and the button.
- Load the Arduino sketch to read the state of the button.
- Check if the button works correctly by pressing it and observing the Arduino LED changing state.
- Check the specifications on the datasheet for proper button power supply.
- Test the button in humid conditions to verify waterproofing.
- Optimize the Arduino code for your specific application.
Example code
const int pulsante = 2; // definisci la porta digitale
int statoPulsante = 0;
void setup() {
  pinMode(pulsante, INPUT);
  Serial.begin(9600);
}
void loop() {
  statoPulsante = digitalRead(pulsante);
  Serial.println(statoPulsante);
}
Mini project
Build a small digital clock that turns on and off by pressing a waterproof button. Use an LCD display and connect it to the Arduino to display the time.
Common mistakes
- Connect the button without pull-up or pull-down resistor.
- Do not check for waterproofing before using the button in humid environments.
- Use the button in circuits requiring voltages different from those specified in the datasheet.
- Do not test the button before integrating it into a larger project.
Recommended accessories
- Kit Display LCD 16×2
- Kit Rechargeable Batteries 18650
- Kit 3D Printer Prototype Cases
- Kit RGB LED Controlled by Arduino
Frequently asked questions
Does the button work even if it is not pressed?
No, the button changes state only when it is pressed.
Can I connect multiple buttons to the same digital pin?
No, each button must be connected to a separate digital pin.
What is the operating voltage of the button?
Check the datasheet for the specific operating voltage.
Reviews
There are no reviews yet.