 EN
 IT Italiano
 ES Español
 FR Français
 DE Deutsch
Description
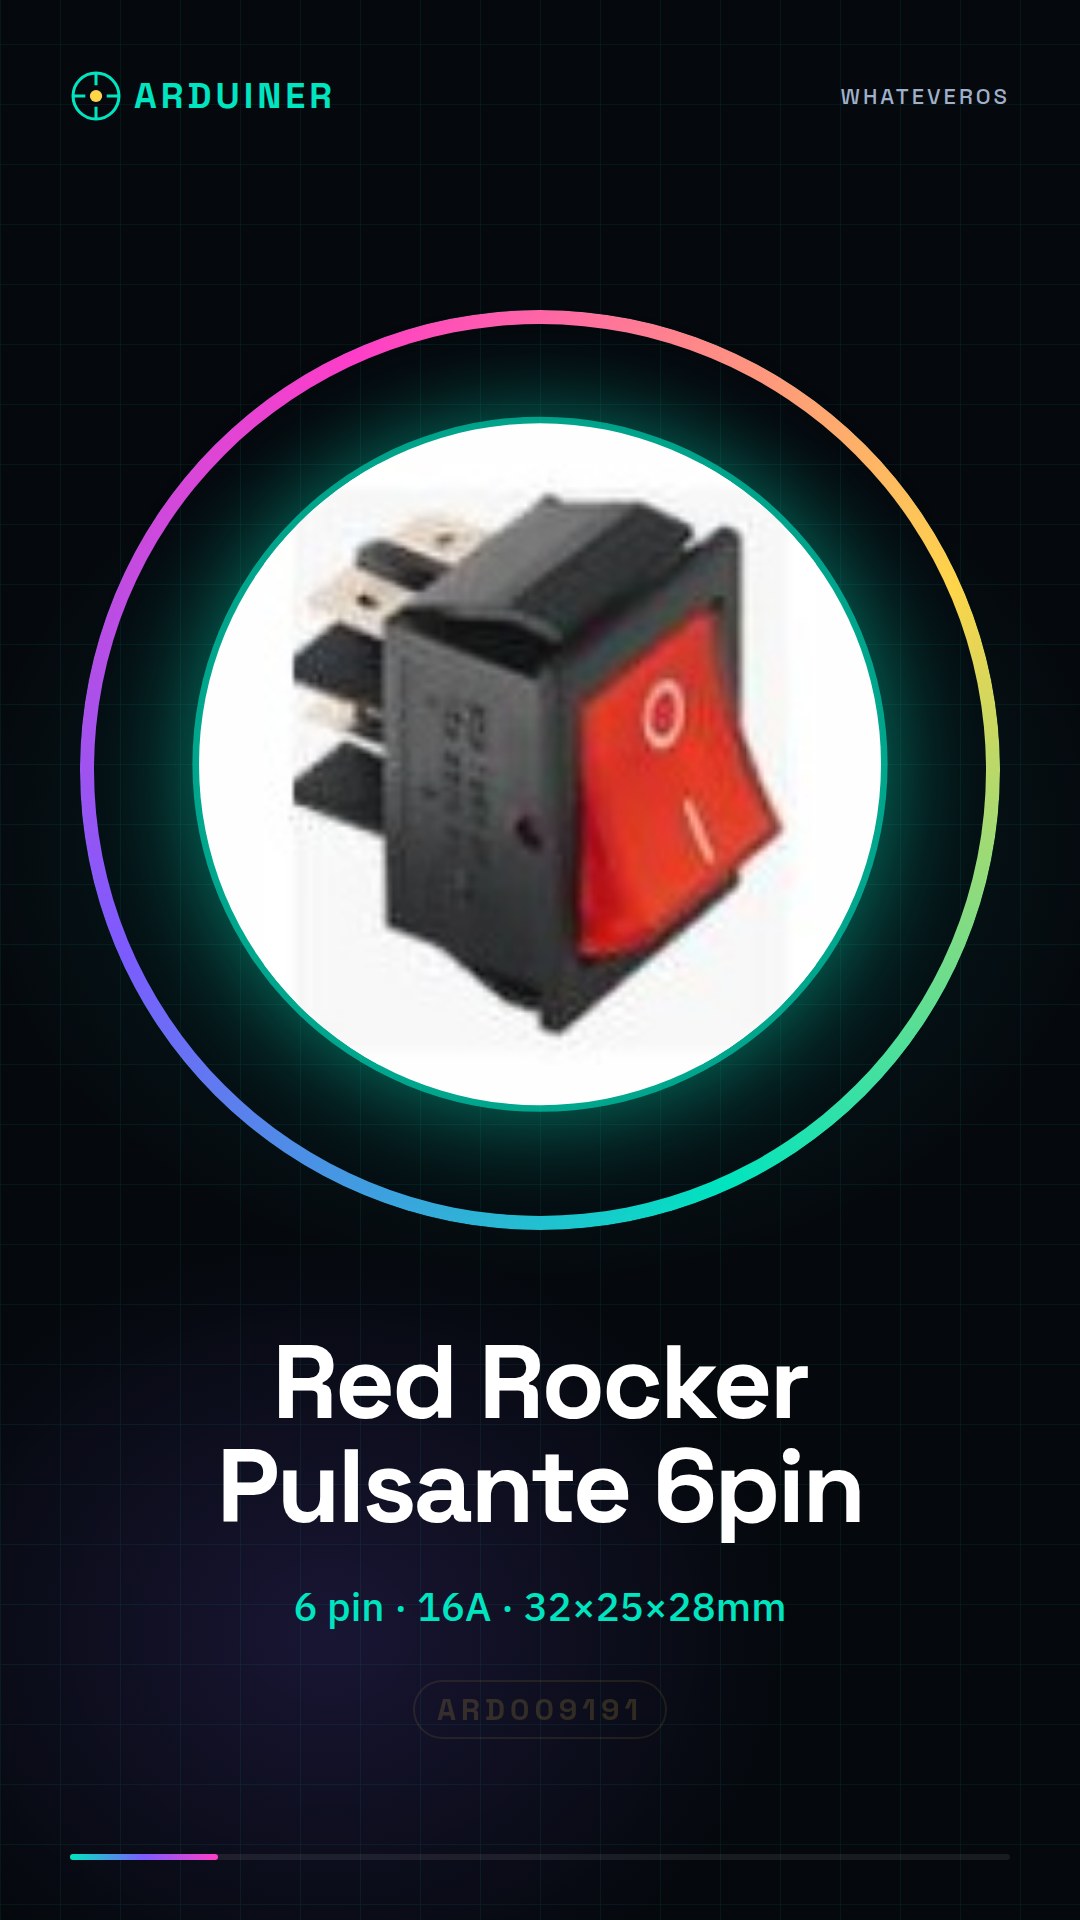
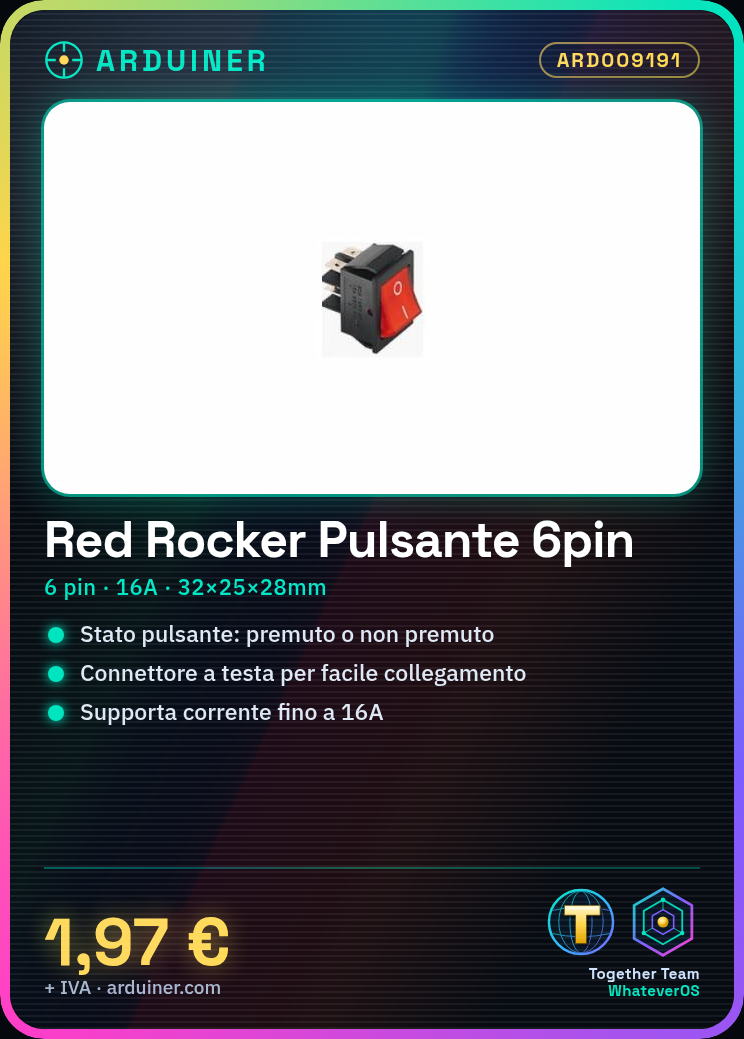
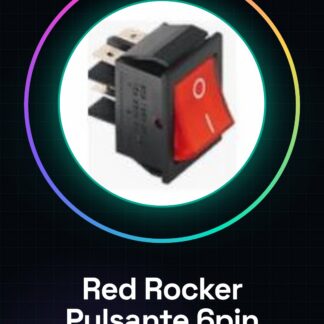
The 6-Pin Rocker Switch is an electronic component with two states: pressed or not pressed. It is ideal for Arduino projects and other electronic controls where user interaction is needed. What you need: Arduino connector, power supply. Steps: Connect the switch to the circuit using a test connector. Identify the switch pins by checking the datasheet to understand which pin is connected to GND, VCC, and the Arduino interrupt. Write an Arduino sketch to read the switch state. Use the pinMode() function to set the pin as input. Use the digitalRead() function to check if the switch is pressed or not. Add an if-else condition within the sketch to perform a specific action when the switch is pressed. Compile and upload the sketch to the Arduino. Test the switch function by pressing the button and verifying that the output matches expectations. Example Code: int buttonPin = 2; //Check the datasheet to specify the correct pin digitalWrite(buttonPin, HIGH); if (digitalRead(buttonPin) == LOW) { Serial.println(“Button pressed!”); } Mini-Project: Create a domestic alarm system that turns on a lamp or rings a bell when the switch is pressed. Common Errors: Not checking the correct switch pins on the datasheet. Forgetting to add a condition if-else to handle sketch actions when the switch is pressed. Not adequately testing the switch function after uploading the sketch to the Arduino. Recommended Accessories: Pull-up Resistor, Testable Connector, Buzzer for alarm, RGB LED
Reviews
There are no reviews yet.