 EN
 IT Italiano
 ES Español
 FR Français
 DE Deutsch
Description
Technical Specifications
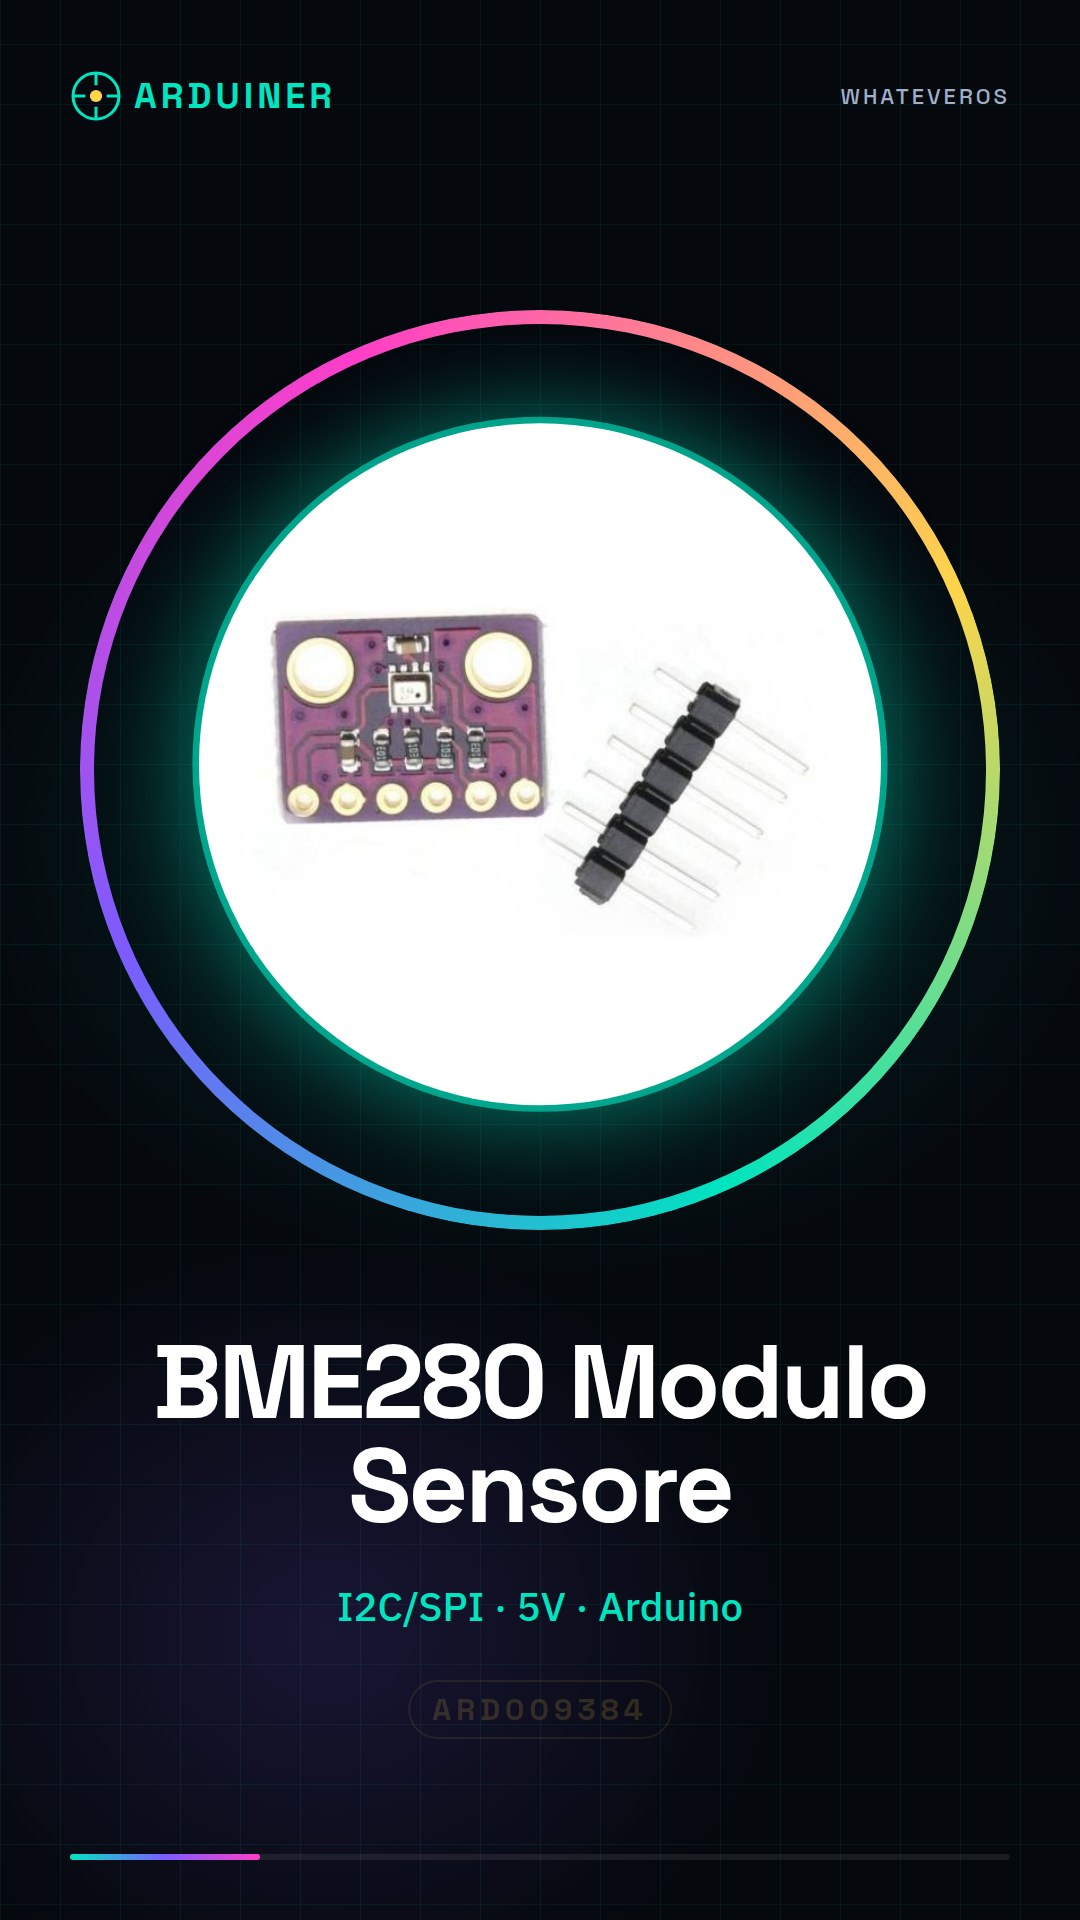
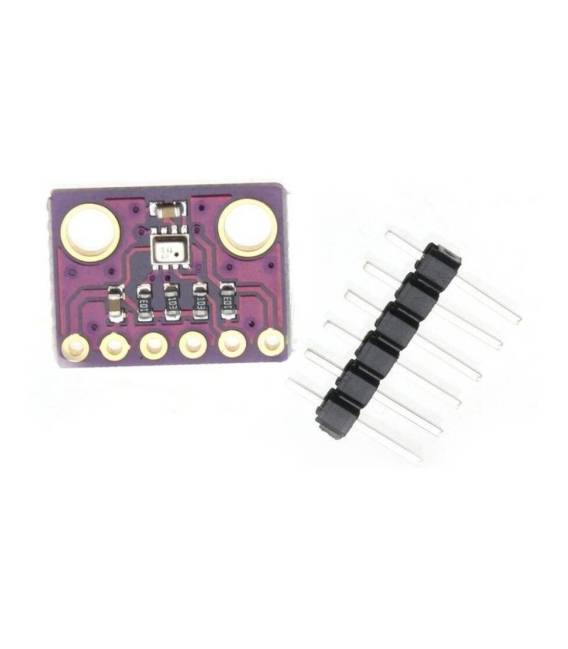
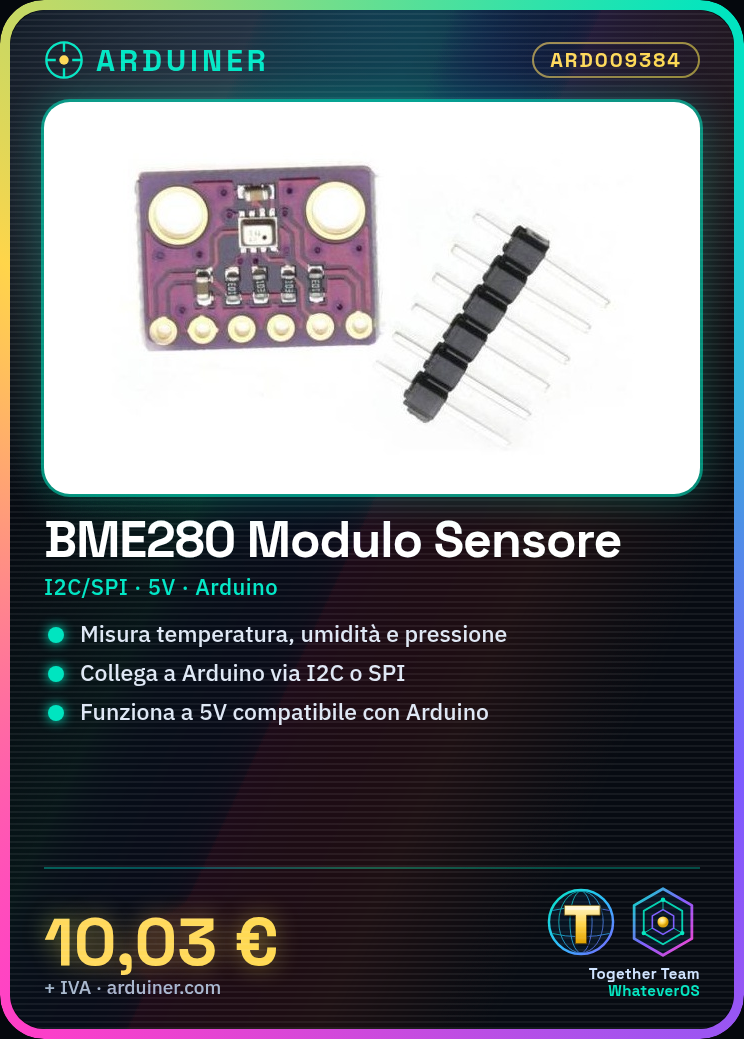
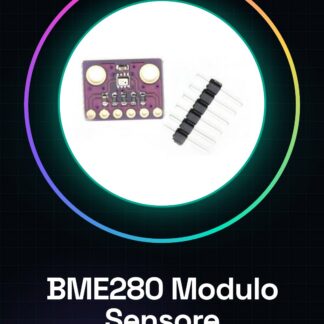
The BME280 module is a multi-platform sensor for measuring temperature, humidity, and atmospheric pressure. It supports both I2C and SPI interfaces, making it versatile for various applications and prototyping systems.
The BME280 sensor is designed to provide accurate and reliable data, making it particularly suitable for environmental monitoring, weather, and home automation projects.
For proper use, it is necessary to connect the module to the control system (such as Arduino) and correctly configure the sensor settings based on the datasheet provided by the manufacturer.
Key Specifications
| Parameter | Value |
| Model | BME280 |
| Interface | I2C or SPI |
| Supply Voltage | 5V |
| Dimensions | N/D (see manufacturer’s technical sheet) |
| Container | N/D (see manufacturer’s technical sheet) |
| Quantity | 1 piece |
Installation and Usage
- Connect the BME280 module to the Arduino using the I2C pins (SDA and SCL) or SPI.
- Install the Adafruit_BME280 library in the ‘libraries’ folder of the Arduino IDE.
- Load the provided project sketch into the Arduino IDE.
- Check the I2C address of the sensor on the datasheet.
- View the data on the serial console of the Arduino IDE.
Compatibility and Requirements
- The BME280 module is compatible with any type of Arduino.
- A USB cable is required to connect the module to the Arduino.
- Arduino IDE software is required to upload the project sketch.
- Can be used with ESP32 and ThingSpeak for remote monitoring.
Limitations and Important Notes
- The BME280 module does not support the UART interface.
- It is necessary to correctly configure the I2C address of the sensor.
- No LCD or OLED display is provided to view real-time data.
- The sensor configuration must be verified in the datasheet.
Troubleshooting
Unable to find BME280 sensor.
Probable cause: Incorrect or improperly configured I2C address.
Solution: Verify the I2C address in the sensor datasheet and configure it correctly.
Temperature, humidity, and pressure data not displayed.
Probable cause: Unstable module connection or library not installed correctly.
Solution: Check the module connection and verify the library installation.
I2C communication error.
Probable cause: I2C interface not configured correctly.
Solution: Configure the I2C interface correctly in the Arduino code.
Incorrect pressure data.
Probable cause: Sensor not calibrated or incorrectly configured.
Solution: Calibrate the sensor and verify the configuration in the datasheet.
Use cases
Garage parking sensor
Objective: Monitor temperature and humidity in the garage.
What you need: Arduino, BME280, USB cable, LCD display.
Steps: 1) Connect the BME280 to Arduino. 2) Install the Adafruit_BME280 library. 3) Load the example sketch. 4) Display data on the LCD display.
Expected result: Continuous monitoring of temperature and humidity in the garage.
Home weather monitoring system
Objective: Monitor atmospheric conditions in the home.
What you need: Arduino, BME280, ESP32, ThingSpeak.
Steps: 1) Connect the BME280 to Arduino. 2) Install the Adafruit_BME280 library. 3) Configure ESP32 for ThingSpeak. 4) Send weather data to ThingSpeak.
Expected result: Remote monitoring of atmospheric conditions in the home.
Garden weather monitoring system
Objective: Monitor atmospheric conditions in the garden.
What you need: Arduino, BME280, ESP32, ThingSpeak.
Steps: 1) Connect the BME280 to Arduino. 2) Install the Adafruit_BME280 library. 3) Configure ESP32 for ThingSpeak. 4) Send weather data to ThingSpeak.
Expected result: Remote monitoring of weather conditions in the garden.
Office weather monitoring system
Objective: Monitor weather conditions in the office.
What’s needed: Arduino, BME280, ESP32, ThingSpeak.
Steps: 1) Connect the BME280 to Arduino. 2) Install the Adafruit_BME280 library. 3) Configure ESP32 for ThingSpeak. 4) Send weather data to ThingSpeak.
Expected result: Remote monitoring of weather conditions in the office.
Laboratory weather monitoring system
Objective: Monitor weather conditions in the laboratory.
What’s needed: Arduino, BME280, ESP32, ThingSpeak.
Steps: 1) Connect the BME280 to Arduino. 2) Install the Adafruit_BME280 library. 3) Configure ESP32 for ThingSpeak. 4) Send weather data to ThingSpeak.
Expected result: Remote monitoring of atmospheric conditions in the laboratory.
Meeting room weather monitoring system
Objective: Monitor atmospheric conditions in the meeting room.
What is needed: Arduino, BME280, ESP32, ThingSpeak.
Steps: 1) Connect the BME280 to Arduino. 2) Install the Adafruit_BME280 library. 3) Configure ESP32 for ThingSpeak. 4) Send weather data to ThingSpeak.
Expected result: Remote monitoring of atmospheric conditions in the meeting room.
Library weather monitoring system
Objective: Monitor atmospheric conditions in the library.
What is needed: Arduino, BME280, ESP32, ThingSpeak.
Steps: 1) Connect the BME280 to Arduino. 2) Install the Adafruit_BME280 library. 3) Configure ESP32 for ThingSpeak. 4) Send weather data to ThingSpeak.
Expected result: Remote monitoring of weather conditions in the library.
Gym weather monitoring system
Objective: Monitor weather conditions in the gym.
What’s needed: Arduino, BME280, ESP32, ThingSpeak.
Steps: 1) Connect the BME280 to Arduino. 2) Install the Adafruit_BME280 library. 3) Configure ESP32 for ThingSpeak. 4) Send weather data to ThingSpeak.
Expected result: Remote monitoring of weather conditions in the gym.
In the package
- 1 piece
Complete the project
- BMP180 Module Barometric Pressure Temperature Altitude 5V GY-68 barometer Arduino: To view real-time temperature, humidity, and pressure data.
- HTU21D+BMP180+BH1750FVI Temperature Humidity Pressure Light Sensor: For remote monitoring of atmospheric conditions.
- Environmental Sensor Kit — temperature, humidity, pressure, motion, air
- AM2301 DHT21 Temperature and Humidity Capacitive Digital Sensor Arduino Raspberry alternative SHT10 SHT11
- DHT22 AM2302 Digital Temperature and Humidity Sensor Module with cables
Technical FAQs
How to connect BME280 to Arduino?
Connect the BME280 module to the Arduino pins I2C (SDA and SCL) or SPI.
What are the limitations of the BME280 module?
The BME280 module does not support the UART interface and requires a correct I2C address configuration.
How to solve I2C communication error?
Check the I2C interface configuration in the Arduino code.
What are the requirements for using the BME280 module?
An Arduino, a USB cable, and the Adafruit_BME280 library installed are required.
Tutorial: How to Use the BME280 Module
The BME280 module is a high-precision sensor for measuring temperature, humidity, and atmospheric pressure. Ideal for environmental monitoring or weather projects.
What you need
- Arduino (any type)
- BME280
- USB Cable
- Arduino IDE Software
Steps
- Connect the BME280 module to the Arduino using the I2C pins (SDA and SCL) or SPI.
- Install the Adafruit_BME280 library in the ‘libraries’ folder of the Arduino IDE.
- Upload the provided sketch to your Arduino project.
- View the data on the Arduino IDE serial console.
- Check the BME280 datasheet to properly set up the sensor configuration.
- Add an LCD or OLED display to show real-time data.
- Create a graphical interface with ESP32 and ThingSpeak for remote monitoring.
- Test the measurement functions indoors and outdoors.
Example code
// Includi la libreria
#include <Wire.h>
#include <Adafruit_Sensor.h>
#include <Adafruit_BME280.h>

// Crea un'istanza del sensore
Adafruit_BME280 bme;

void setup() {
  Serial.begin(9600);
  if (!bme.begin(0x76)) { // Verifica sul datasheet per l'indirizzo I2C
    Serial.println("Impossibile trovare il sensore BME280!");
    while (1);
  }
}

void loop() {
  float temperature = bme.readTemperature();
  float humidity = bme.readHumidity();
  float pressure = bme.readPressure() / 100.0F;

  Serial.print("Temp = "); Serial.print(temperature);
  Serial.print(" *C, Humidity = "); Serial.print(humidity);
  Serial.println(" %");
}
Mini project
Create a home or garden weather monitoring system with the BME280. Connect it to an LCD display and send data via Wi-Fi to ThingSpeak.
Common mistakes
- I2C address error of the sensor, check the datasheet.
- Library not installed correctly in Arduino IDE.
- SPI or I2C pins not connected correctly to the Arduino.
- Serial data not displayed due to transmission speed.
Recommended accessories
- LCD display 16×2
- ESP32 module
- Wi-Fi antenna for ESP32
- LiPo battery and charger
Frequently asked questions
What is the difference between I2C and SPI?
I2C requires fewer pins but has a lower speed compared to SPI, which offers higher speed.
How can I connect the BME280 to a Raspberry Pi?
Use the Adafruit_BME280 library and connect the Raspberry Pi’s I2C or SPI pins to the sensor.
Reviews
There are no reviews yet.