 EN
 IT Italiano
 ES Español
 FR Français
 DE Deutsch

Description
Technical Description
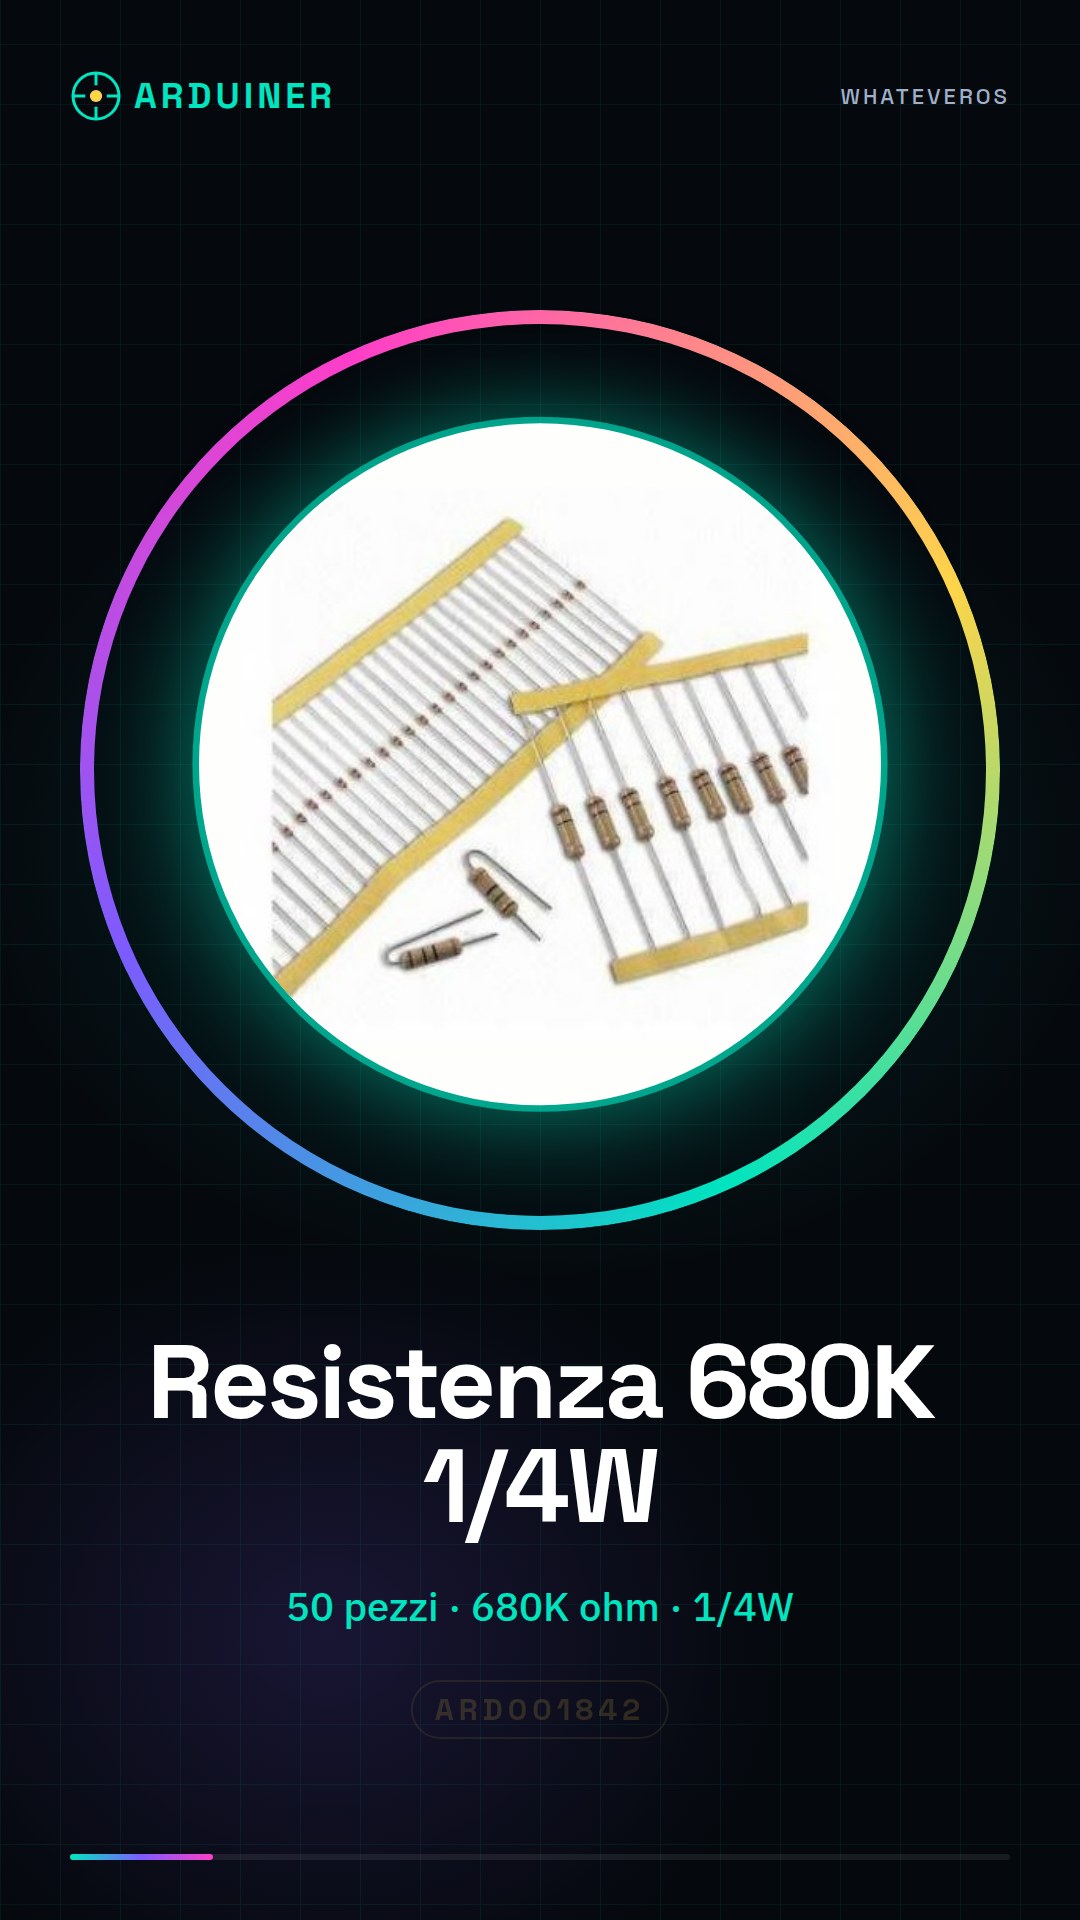
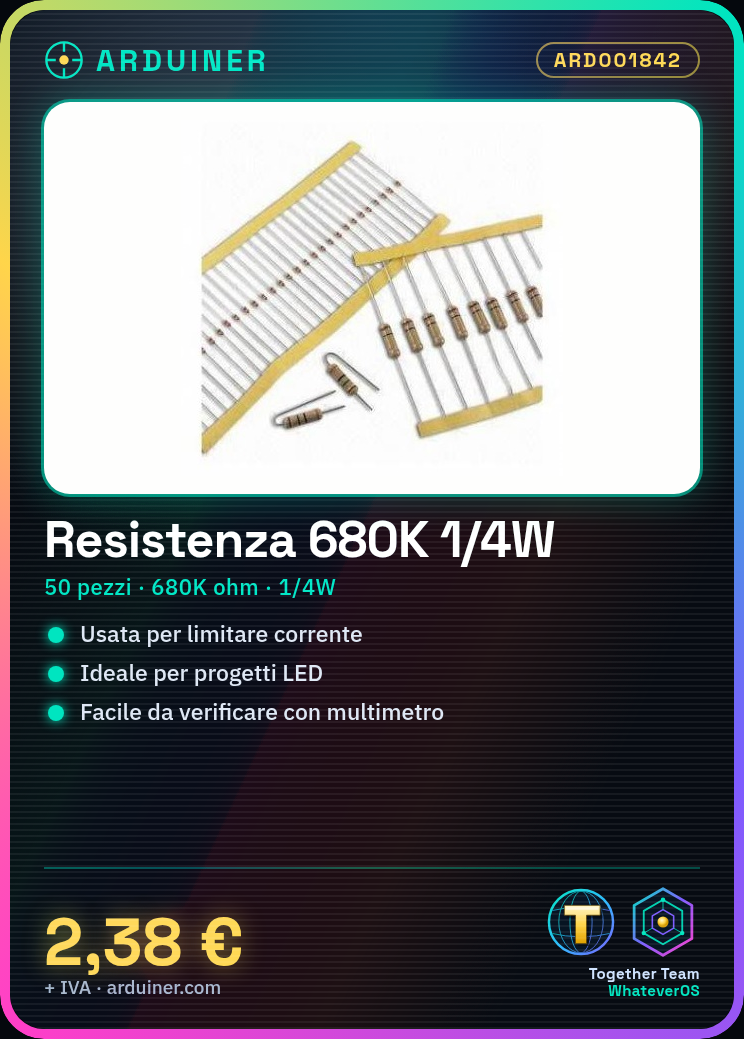
The 680kΩ resistor is a fundamental component used to limit the flow of electric current in various electronic circuits. This resistor, with a power rating of 1/4 watt and a tolerance of 5%, is suitable for applications requiring precise control of electric current. The resistor can be used in combination with other components such as LEDs, sensors, and relays to create prototype circuits or for the realization of specific projects.
The 680kΩ resistor is commonly used to limit the electric current in electronic circuits, ensuring that current values do not exceed safety limits. This component is essential for the protection of other electronic components and for regulating the flow of electric current in various circuits.
The 680kΩ resistor can be used in combination with an Arduino or other microcontrollers to create prototype circuits or for specific project requirements. It is important to verify that the resistor is correctly connected and that the value is appropriate for the circuit’s needs.
Key Specifications
| Parameter | Value |
| Model | 680K ohm |
| Quantity | 50 pieces |
| Tolerance | 5% |
| Power | 1/4w |
| Dimensions | N/D (see manufacturer’s datasheet) |
| Container | N/D (see manufacturer’s datasheet) |
Installation and Usage
- Check the resistor with a multimeter.
- Connect one end of the resistor to GND of Arduino.
- Connect the other end of the resistor to digital pin 13 of Arduino.
- Download and upload the provided sketch to verify the circuit operation.
- Check the circuit operation.
Compatibility and Requirements
- The 680kΩ resistor is compatible with Arduino Uno and other microcontrollers.
- This resistor can be used in electronic circuits that require precise current control.
- To use the resistor, an Arduino Uno or a similar microcontroller is required.
Limitations and Important Notes
- The 680kΩ resistor is not designed to handle low voltage circuits if the electrical current exceeds the resistor’s limits.
- The resistor may cause excessive impedance to the current if used in circuits not designed for high impedance resistors.
- It is important to verify that the resistor is correctly connected to avoid operational errors.
Troubleshooting
The circuit does not work correctly.
Probable cause: Incorrect connection of the resistor.
Solution: Check that the resistor is correctly connected to the Arduino pins.
The LED does not light up.
Probable cause: Wrong value selection for the resistor.
Solution: Check the value of the resistor and ensure it is appropriate for the circuit.
The circuit generates excessive heat.
Probable cause: Excessive current restriction by the resistor.
Solution: Replace the resistor with one of an appropriate value for the circuit.
The circuit does not respond correctly.
Probable cause: Use in a circuit not designed for high resistance resistors.
Solution: Check that the circuit is designed for high resistance resistors.
Use cases
Security alarm sensor
Objective: Create a security alarm system.
What is needed: Arduino Uno, jumper wire, 680kΩ resistor.
Steps: 1) Check the resistance with a multimeter. 2) Connect the resistance to the alarm circuit. 3) Test the alarm system.
Expected result: The alarm system works correctly.
Intermittent light for garage
Objective: Create an intermittent light for the garage.
What you need: Arduino Uno, jumper wire, 680kΩ resistor, LED.
Steps: 1) Check the resistance with a multimeter. 2) Connect the resistance to the lighting circuit. 3) Test the intermittent light function.
Expected result: The intermittent light works correctly.
Current regulation for prototypes
Objective: Regulate current in electronic prototypes.
What you need: Arduino Uno, jumper wire, 680kΩ resistor.
Steps: 1) Check the resistance with a multimeter. 2) Connect the resistance to the prototyped circuit. 3) Test the circuit function.
Expected result: The prototyped circuit works correctly.
Temperature Control System
Objective: Create a temperature control system.
What you need: Arduino Uno, jumper wire, 680kΩ resistor, temperature sensor.
Steps: 1) Check the resistor with a multimeter. 2) Connect the resistor to the temperature control circuit. 3) Test the temperature control system.
Expected result: The temperature control system works correctly.
Humidity Control System
Objective: Create a humidity control system.
What you need: Arduino Uno, jumper wire, 680kΩ resistor, humidity sensor.
Steps: 1) Check the resistor with a multimeter. 2) Connect the resistor to the humidity control circuit. 3) Test the humidity control system.
Expected result: The humidity control system works correctly.
Light Control System
Objective: Create a light control system.
What you need: Arduino Uno, jumper wire, 680kΩ resistor, light sensor.
Steps: 1) Check the resistor with a multimeter. 2) Connect the resistor to the light control circuit. 3) Test the light control system.
Expected result: The light control system works correctly.
Presence Control System
Objective: Create a presence control system.
What you need: Arduino Uno, jumper wire, 680kΩ resistor, presence sensor.
Steps: 1) Check the resistor with a multimeter. 2) Connect the resistor to the presence control circuit. 3) Test the presence control system.
Expected result: The presence control system works correctly.
Temperature and Humidity Control System
Objective: Create a temperature and humidity control system.
What you need: Arduino Uno, jumper wire, 680kΩ resistor, temperature and humidity sensor.
Steps: 1) Check the resistor with a multimeter. 2) Connect the resistor to the temperature and humidity control circuit. 3) Test the temperature and humidity control system.
Expected result: The temperature and humidity control system works correctly.
In the package
- 50 pieces 680K ohm 680000 ohm 1/4w 1/4 w 5%
Complete the project
- 50 Pieces 1000 ohm 1k ohm 1/4w 1/4 w 5%: To create prototype circuits with resistors of different values.
Technical FAQs
What is the maximum power it can handle?
Check the component datasheet.
Can I use this resistor in a low voltage circuit?
Yes, if the electrical current does not exceed the resistor’s limits.
What is the tolerance of this resistance value?
5%
What to do if: the circuit does not work correctly?
Incorrect resistance connection. Verify that the resistance is correctly connected to the Arduino pins.
Tutorial: How to use 680K ohm Resistance
The 680kΩ resistance is a fundamental component to limit the electric current flow in circuits. This tutorial explains how to use it correctly, ideal for beginners and makers.
What you need
- Arduino Uno or similar
- Jumper wire
Steps
- Check the resistance with a multimeter.
- Connect one end of the resistance to GND of Arduino.
- Connect the other end to digital pin 13 of Arduino.
- Download and upload the sketch provided in this tutorial.
- Check the circuit operation.
Example code
void setup() {
  pinMode(13, OUTPUT);
}

void loop() {
  digitalWrite(13, HIGH); // Accende il LED interno a Arduino
  delay(1000);            // Attende un secondo
  digitalWrite(13, LOW);  // Spengere il LED interno a Arduino
  delay(1000);             // Attende un secondo
}
Mini project
Create a blinking light using the resistance to limit current to the LED.
Common mistakes
- Incorrect resistance connection.
- Wrong resistance value selection.
- Excessive current restriction by the resistor.
- Use in a circuit not designed for high impedance resistors.
Recommended accessories
- Arduino Uno
- Jumper wire
- LED
Frequently asked questions
What is the maximum power it can handle?
Check the component’s datasheet.
Can I use this resistor in a low voltage circuit?
Yes, if the electric current does not exceed the resistor’s limits.
What is the tolerance of this resistance value?
5%

Reviews
There are no reviews yet.