 EN
 IT Italiano
 ES Español
 FR Français
 DE Deutsch
Description
Technical Description
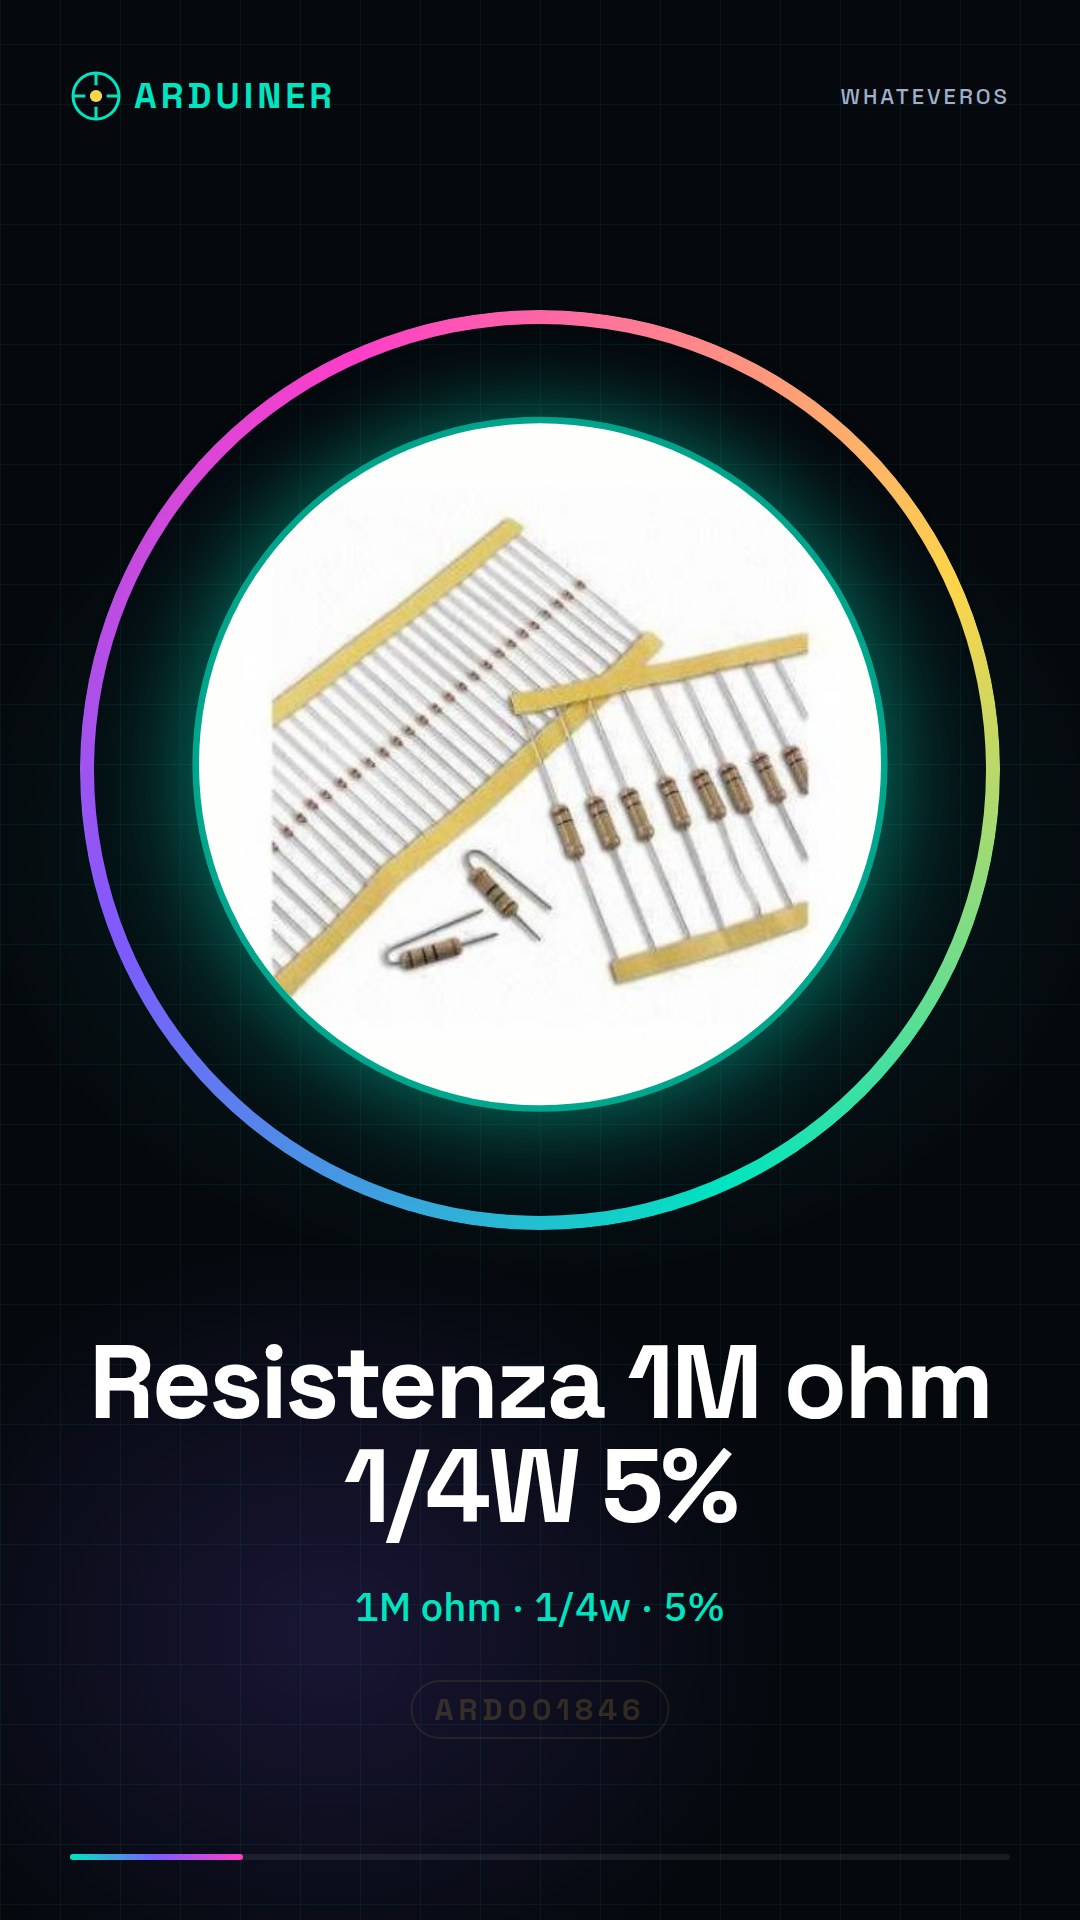
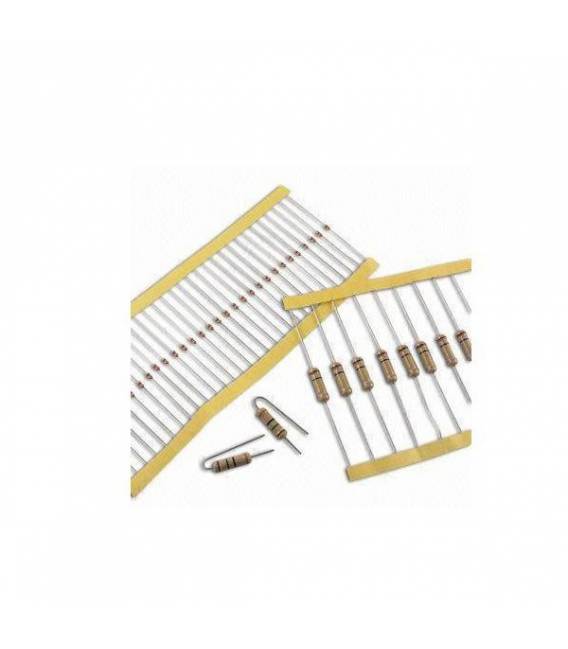
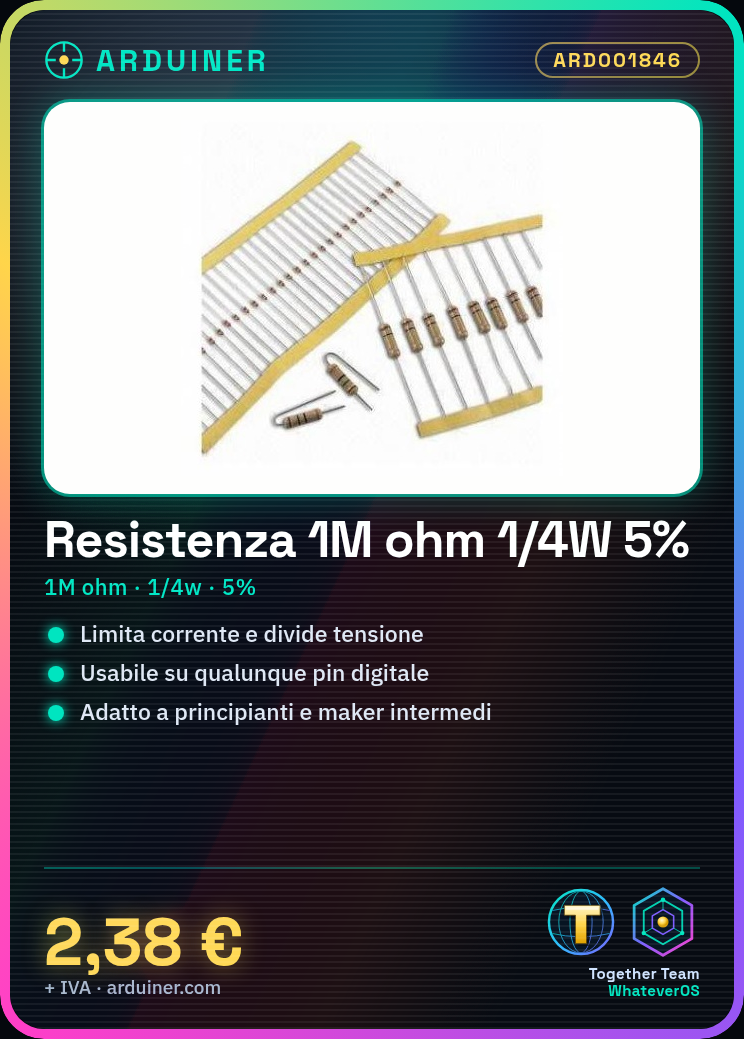
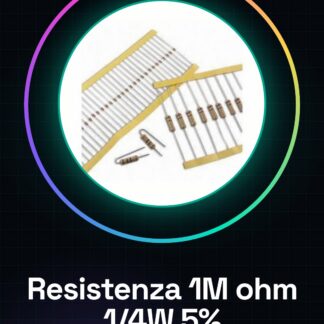
The 1M ohm resistor is an electronic component used to limit current and divide voltage in electronic circuits. This type of resistor is particularly useful in projects that require a high resistance value. The resistor is available in a quantity of 50 pieces, with a nominal power rating of 1/4 watt and a tolerance of 5%. The resistor is suitable for use with various electronic systems, including Arduino-based projects.
The 1M ohm resistor can be used for various purposes, such as protecting LEDs or sensors, creating voltage divider circuits, and creating current limiting circuits. The resistor is available in a standard container, suitable for mounting on printed circuit boards or for use in a laboratory.
To use the 1M ohm resistor, it is necessary to connect it correctly to the electronic circuit. It is important to verify that the resistor is capable of handling the current and voltage of the circuit without exceeding the power limits. The resistor can be used in combination with other electronic components to create more complex circuits.
Key Specifications
| Parameter | Value |
| Model | 1M ohm Resistor |
| Quantity | 50 pieces |
| Resistive Value | 1000000 ohm |
| Tolerance | 5% |
| Nominal Power | 1/4 watt |
| Dimensions | N/D (see manufacturer’s datasheet) |
| Container | Standard |
Installation and Usage
- Check the resistive value of the product on the datasheet.
- Connect one end of the resistor to the digital pin of the Arduino.
- Connect an LED to the resistor and the Arduino, making sure to observe polarity (anode to pin and cathode to resistor).
- Load the Arduino sketch to turn on the LED.
- Check that the current intensity does not exceed the resistor limits.
Compatibility and Requirements
- The 1M ohm resistor is compatible with Arduino Uno and other electronic systems.
- To use the resistor, a connector kit and cables are required.
- The resistor can be used with LEDs of various colors.
- It is recommended to use a multimeter to check the resistive value.
Limits and Important Notes
- The 1M ohm resistor is not designed to handle high currents.
- It is important to check the polarity of the LED before connecting it.
- The resistor can exceed the maximum power if the current is too high.
- Using an inappropriate resistance value can damage the circuit.
Troubleshooting
The LED does not light up.
Probable cause: Incorrect polarity connection of the LED.
Solution: Check the polarity of the LED and reconnect it correctly.
The resistor overheats.
Probable cause: Exceeding the maximum power of the resistor.
Solution: Check the circuit current and reduce it if necessary.
The resistive value does not match the expected value.
Probable cause: Inappropriate resistance value.
Solution: Check the resistive value with a multimeter and replace the resistor if necessary.
The circuit does not work correctly.
Probable cause: Incorrect connection of the resistor.
Solution: Check the connections and reconnect the resistor correctly.
Use cases
Home/hobby
Objective: Create a simple voltage divider circuit.
What you need: Arduino Uno, 1M ohm resistor, LED.
Steps: 1) Connect the resistor between the Arduino’s digital pin and the LED’s anode. 2) Load a sketch that turns on the LED to control the current. 3) Verify that the circuit works correctly.
Expected result: The LED lights up when the circuit functions correctly.
Lab
Objective: Verify the resistive value of the resistor.
What you need: Multimeter, 1M ohm resistor.
Steps: 1) Connect the resistor to the multimeter. 2) Measure the resistive value of the resistor. 3) Verify that the value matches the expected one.
Expected result: The resistive value of the resistor is correct.
Prototyping
Objective: Create a prototype of a voltage divider circuit.
What you need: Arduino Uno, 1M ohm resistor, LED.
Steps: 1) Connect the resistor between the Arduino digital pin and the anode of the LED. 2) Load a sketch that turns on the LED to control the current. 3) Verify that the circuit works correctly.
Expected result: The circuit prototype works correctly.
School
Objective: To illustrate the concept of voltage division.
What’s needed: Arduino Uno, 1M ohm resistor, LED.
Steps: 1) Connect the resistor between the Arduino digital pin and the anode of the LED. 2) Load a sketch that turns on the LED to control the current. 3) Verify that the circuit works correctly.
Expected result: Students understand the concept of voltage division.
Maintenance
Objective: To replace a damaged resistor.
What’s needed: Multimeter, 1M ohm resistor.
Steps: 1) Check the resistive value of the damaged resistor. 2) Replace the damaged resistor with a new 1M ohm resistor. 3) Verify that the circuit works correctly.
Expected result: The circuit works correctly after replacing the resistor.
Repair
Objective: Repair a damaged circuit.
What you need: Multimeter, 1M ohm resistor.
Steps: 1) Check the resistive value of the damaged resistor. 2) Replace the damaged resistor with a new 1M ohm resistor. 3) Verify that the circuit works correctly.
Expected result: The circuit works correctly after the repair.
Automation
Objective: Create a current control circuit.
What you need: Arduino Uno, 1M ohm resistor, LED.
Steps: 1) Connect the resistor between the Arduino digital pin and the anode of the LED. 2) Load a sketch that turns on the LED to control the current. 3) Verify that the circuit works correctly.
Expected result: The current control circuit works correctly.
Test
Objective: To verify the resistance of the circuit.
What you need: Multimeter, 1M ohm resistor.
Steps: 1) Check the resistive value of the resistor. 2) Verify that the value matches the expected one.
Expected result: The resistive value of the resistor is correct.
In the package
- 50 pieces
Complete the project
- 50 Pieces 1000 ohm 1k ohm 1/4w 1/4 w 5%: To create voltage divider circuits.
- 50 Pieces 10000 ohm 10k ohm 1/4w 1/4 w 5%, Arduino compatible resistors: To use in combination with other resistors.
- 50 Pieces 100 ohm 1/4w 5%
Technical FAQs
Which digital pin should I use?
You can use any digital pin on the Arduino.
Can I use a different resistor?
Yes, but check that the value is appropriate for your application.
The LED is not turning on.
Check the polarity of the LED and reconnect it correctly.
The resistor is overheating.
Check the current in the circuit and reduce it if necessary.
Tutorial: How to use 1M ohm Resistor
The 1M ohm resistor is a fundamental component for electronic projects that require current limiting or voltage division. Ideal for beginners and intermediate makers.
What you need
- Arduino Uno
- LED
Steps
- Check the resistance of the product on the datasheet.
- Connect one end of the resistor to a digital pin on the Arduino.
- Connect an LED to the resistor and the Arduino, making sure to observe the polarity (anode to the pin and cathode to the resistor).
- Upload the Arduino sketch to turn on the LED.
- Check that the current intensity does not exceed the limits of the resistance.
Mini project
Create a simple circuit with Arduino Uno, a 1M ohm resistor and an LED. Connect the resistor between the digital pin of the Arduino and the anode of the LED. Load a sketch that turns on the LED to control the current.
Common mistakes
- Incorrect polarity connection of the LED
- Exceeding the maximum power of the resistor
- Using an inappropriate resistance value
Recommended accessories
- Arduino Uno
- LEDs of various colors
- Kit of connectors and cables
- Multimeter
Frequently asked questions
Which digital pin should I use?
You can use any digital pin of the Arduino.
Can I use a different resistor?
Yes, but check that the value is appropriate for your application.
Reviews
There are no reviews yet.