 EN
 IT Italiano
 ES Español
 FR Français
 DE Deutsch
Description
Tutorial: How to Use 22 ohm 1/4w 5% Resistance
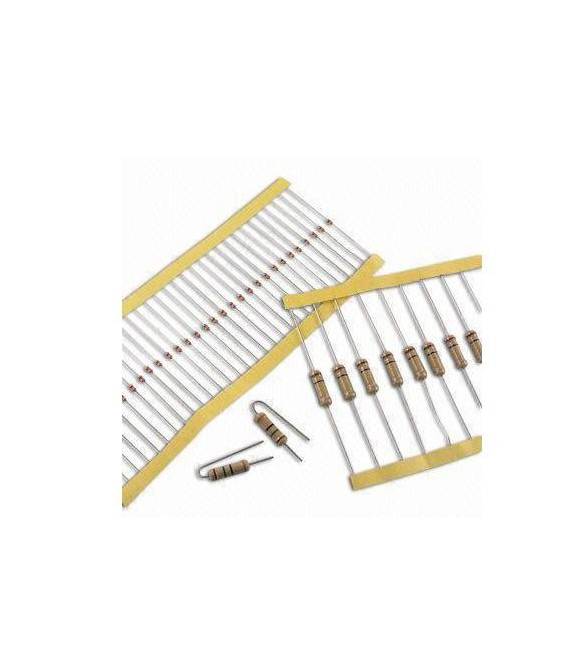
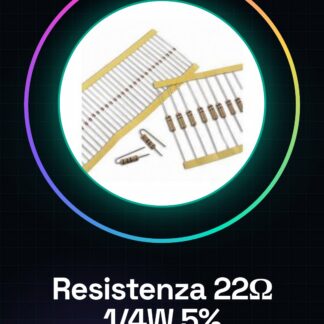
Resistors are essential for limiting the flow of current in an electronic circuit. This 22 ohm resistor is ideal for Arduino projects, 3d printers, or any other device that requires a low-value resistance.
What you need
- Arduino
- Multimeter
- PCB Printer
Steps
- Check the resistance using a multimeter in ohmmeter mode to confirm the value of 22 ohm.
- Connect the red end of the resistor to the digital pin of the Arduino and the black end to ground (GND).
- Write a simple sketch on Arduino that reads the state of the pin connected to the resistor.
- Verify the circuit operation by connecting an LED to the pin with the resistor to control its brightness.
Example code
const int ledPin = 13;
int val;
void setup() {
pinMode(ledPin, OUTPUT);
}
void loop() {
digitalWrite(ledPin, HIGH);
delay(val);
digitalWrite(ledPin, LOW);
delay(val);}
Mini project
Create an LED dimmer using a 22 ohm resistor and Arduino. Adjust the LED brightness through the button.
Common mistakes
- Connecting the resistor to the wrong pin
- Use it in a circuit that requires a different value
- Do not check the value with a multimeter
Recommended accessories
- Arduino Uno R3
- RGB LED
- Tactil button
- Basic 3d printer Arduino shield
Frequently asked questions
What is the maximum power it can handle?
Check the datasheet, but generally for 1/4w resistors.
Can I use it in series with an LED?
Yes, if the value and power are suitable for your circuit.
What is the range of value variation?
±5% from the nominal value
Reviews
There are no reviews yet.