 EN
 IT Italiano
 ES Español
 FR Français
 DE Deutsch
Description
Technical Description
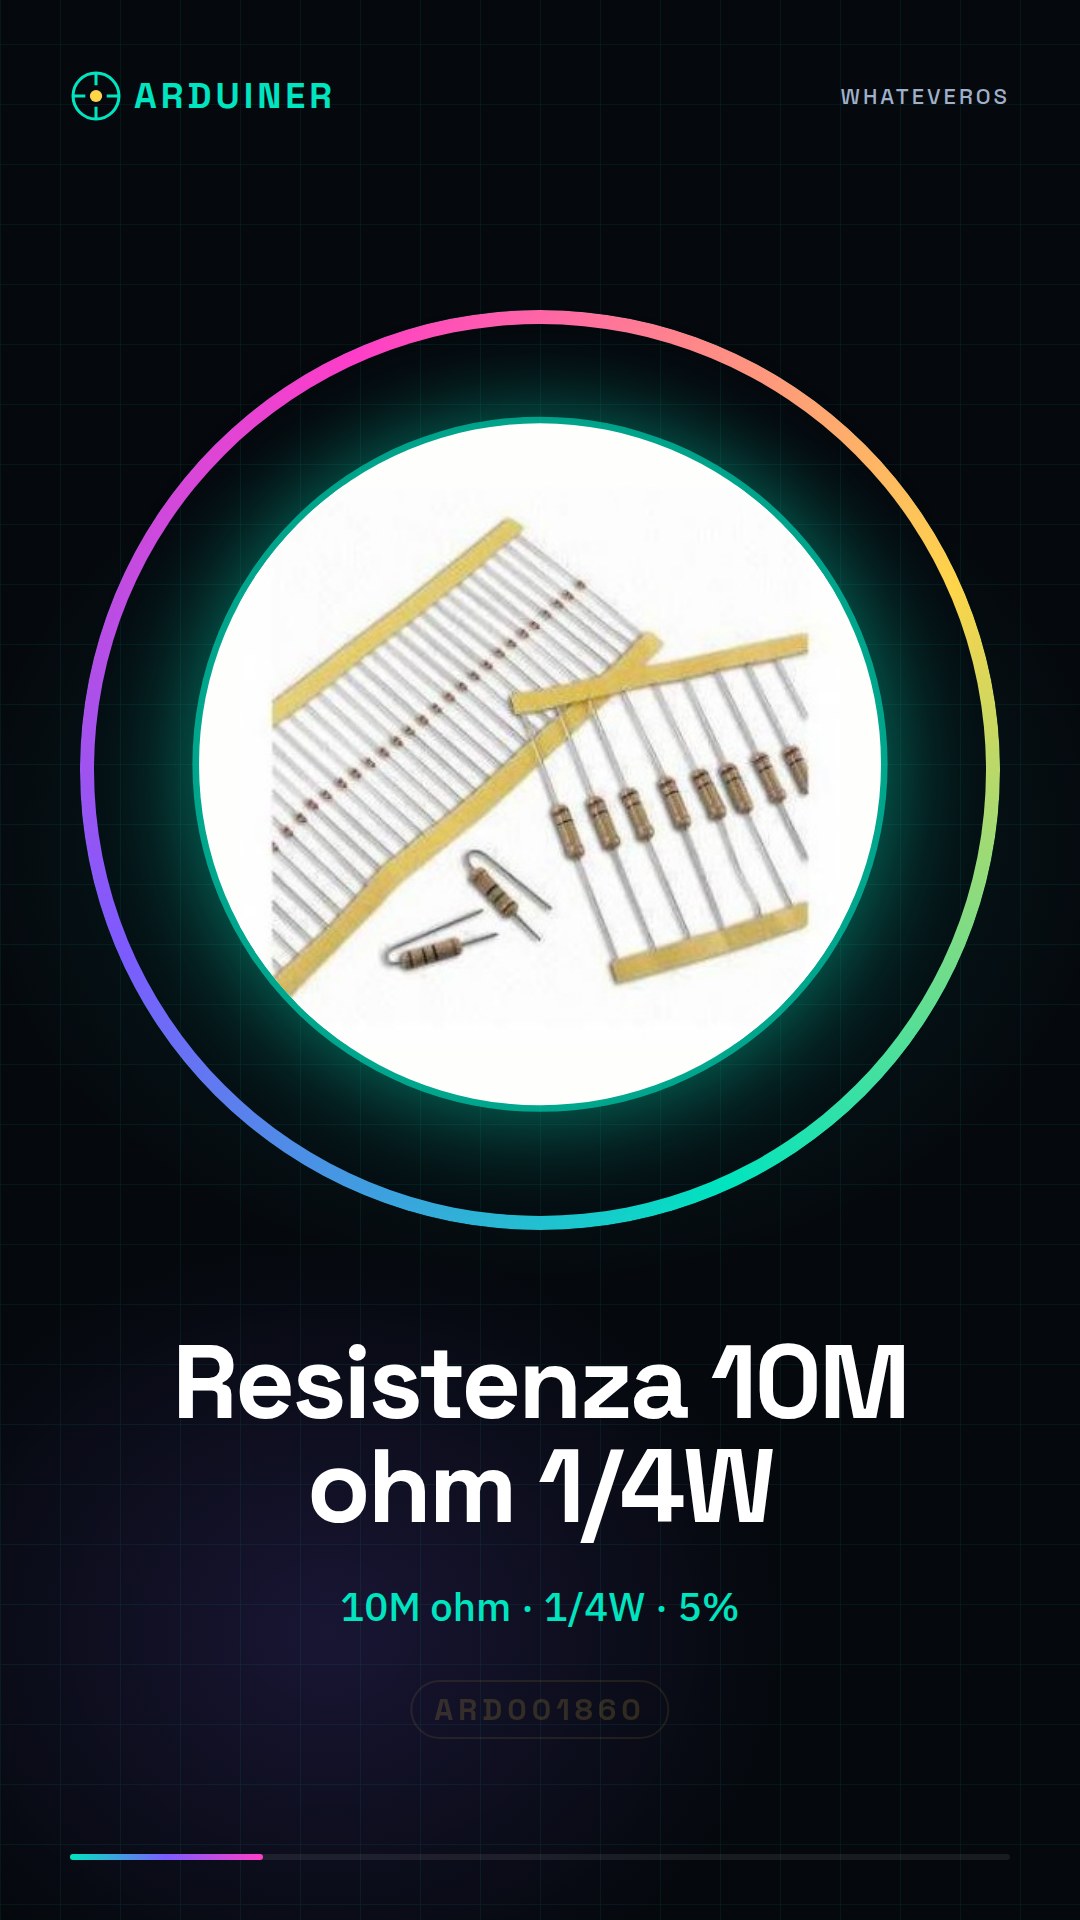
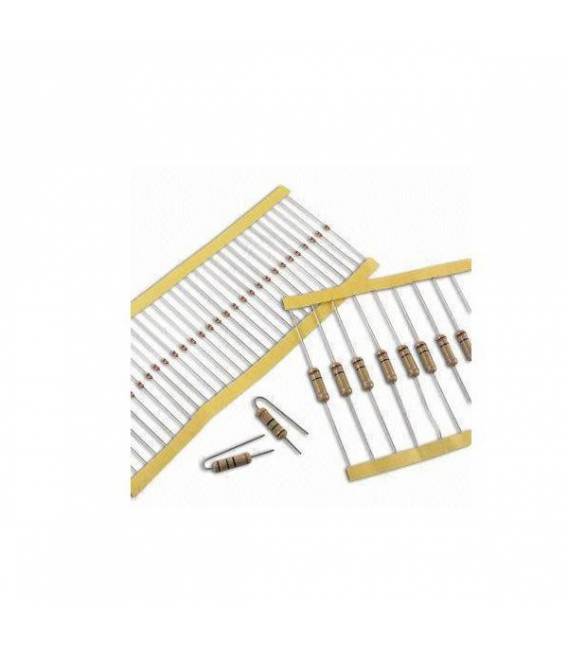
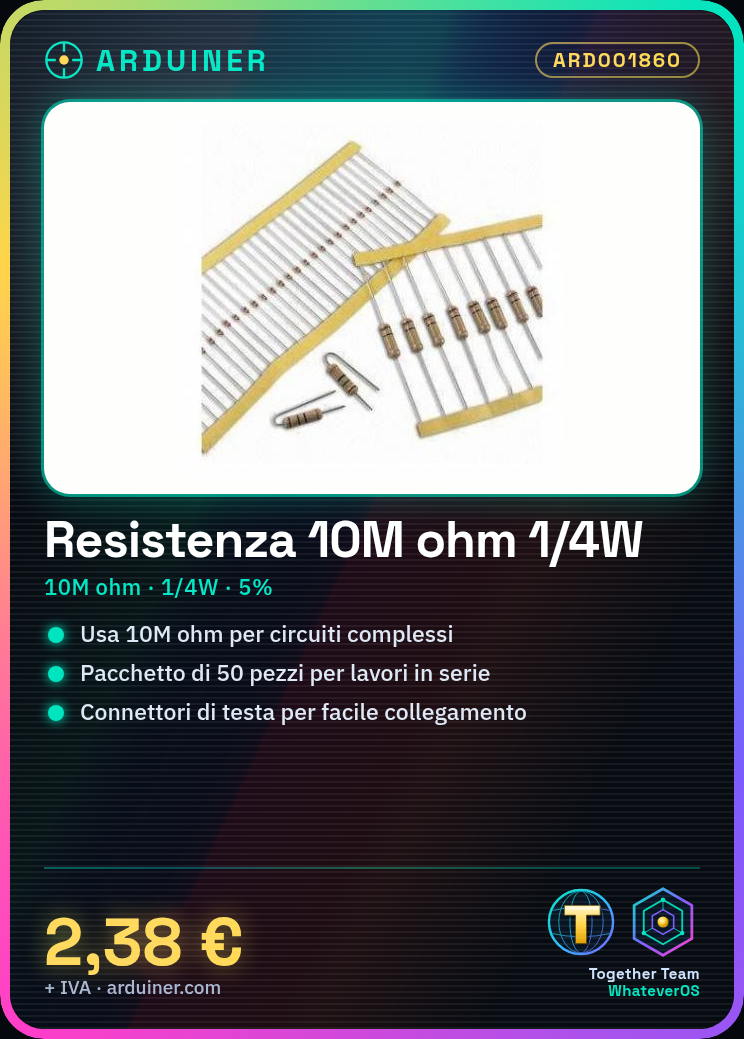
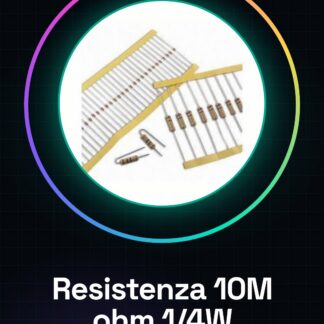
The 10M ohm (10,000,000 ohm) resistor is a fundamental component for electronic projects that require a high resistance value. This type of resistor is used to manage complex circuits and for applications that need a high resistance value.
The resistor is manufactured with a 5% tolerance and a maximum power rating of 1/4 watt. Its high resistivity makes it suitable for specific applications such as limiting current flow in electronic circuits.
To use this resistor, it is necessary to connect it correctly to the Arduino pins or a compatible system, following the power supply and interface specifications.
Key Specifications
| Parameter | Value |
| Model | 10M ohm Resistor |
| Quantity | 50 pieces |
| Resistance Value | 10M ohm (10,000,000 ohm) |
| Tolerance | 5% |
| Maximum Power | 1/4 watt |
| Dimensions | N/D (see manufacturer’s technical sheet) |
| Interface | Standard Pin |
| Container | N/D (see manufacturer’s technical sheet) |
Installation and Usage
- Check the resistance of the component on a multimeter in ohm mode.
- Connect the red lead of the resistor to the digital pin of the Arduino.
- Connect the black end of the resistor to the ground (GND) of Arduino.
- Write a simple sketch to measure the resistance with a for loop and the analogRead() function.
- Verify the values read on the serial monitor.
Compatibility and Requirements
- The 10M ohm resistor is compatible with Arduino Uno R3 and compatible systems.
- An Arduino or compatible system is required to use the resistor.
- A test lead connector is required to connect the resistor.
Limitations and Important Notes
- The resistor is not designed to handle voltages above 5V.
- It is important to verify the resistance values before using the component.
- It is recommended not to connect the resistor to the wrong pin to avoid damage.
- The resistor is not designed for applications requiring a low resistance value.
Troubleshooting
Incorrect resistance values on the serial monitor
Probable cause: Incorrect connection or reading error
Solution: Check connections and repeat measurement.
Component does not respond
Probable cause: Applied voltage exceeds component tolerance
Solution: Check applied voltage and reduce if necessary.
Inconsistent resistance values
Probable cause: Arduino code error
Solution: Check and correct the sketch.
Component damage
Probable cause: Incorrect connection or excessive voltage
Solution: Check connections and applied voltage.
Use cases
Light sensor
Objective: Monitor ambient light level
What is needed: Arduino Uno R3, LDR photoresistor 5K ohm
Steps: 1) Connect the resistor in series with the photoresistor 2) Write a sketch to measure light intensity 3) Display the data on the serial monitor
Expected result: The system correctly monitors the ambient light intensity.
Protection circuit
Objective: Limit the flow of current
What’s needed: Arduino Uno R3, 10M ohm resistor
Steps: 1) Connect the resistor to a digital pin 2) Write a sketch to measure current 3) Display the data on the serial monitor
Expected result: The system correctly limits the flow of current.
Resistance test
Objective: Verify the resistance of the component
What’s needed: Multimeter, 10M ohm resistor
Steps: 1) Check the resistance of the component on a multimeter 2) Connect the resistor to a test circuit 3) Measure the resistance
Expected result: The resistance of the component conforms to the specified values.
Protection circuit for power supply
Objective: Limit current in case of overload
What you need: Arduino Uno R3, 10M ohm resistor
Steps: 1) Connect the resistor to the power supply circuit 2) Write a sketch to monitor current 3) Display data on the serial monitor
Expected result: The system correctly limits current in case of overload.
Protection circuit for sensors
Objective: Limit current for sensitive sensors
What you need: Arduino Uno R3, 10M ohm resistor
Steps: 1) Connect the resistor to the sensor circuit 2) Write a sketch to monitor current 3) Display data on the serial monitor
Expected result: The system correctly limits current for sensitive sensors.
Resistance test for advanced projects
Objective: Verify the resistance of the component in advanced projects
What is needed: Multimeter, 10M ohm resistor
Steps: 1) Check the resistance of the component on a multimeter 2) Connect the resistor to an advanced test circuit 3) Measure the resistance
Expected result: The resistance of the component conforms to the specified values for advanced projects.
Low voltage power supply protection circuit
Objective: Limit the current in case of low voltage overload
What is needed: Arduino Uno R3, 10M ohm resistor
Steps: 1) Connect the resistor to the low voltage power supply circuit 2) Write a sketch to monitor the current 3) Display the data on the serial monitor
Expected result: The system correctly limits the current in case of low voltage overload.
Low voltage sensor protection circuit
Objective: Limit the current for low voltage sensitive sensors
Required: Arduino Uno R3, 10M ohm resistor
Steps: 1) Connect the resistor to the low voltage sensor circuit 2) Write a sketch to monitor the current 3) Display the data on the serial monitor
Expected result: The system correctly limits the current for low voltage sensitive sensors.
In the package
- 50 pieces
Complete the project
- 50 Pieces Resistor 1000 ohm 1k ohm 1/4w 1/4 w 5%: To complete the advanced project resistor kit.
- 50 Pieces Resistor, 10000 ohm, 10k, ohm 1/4w 1/4 w 5%, Arduino compatible resistors: To use the 10M ohm resistor in combination with resistors of different values for prototyping projects.
- 50 Pieces Resistor 100 ohm 1/4w 5%: To use the 10M ohm resistor in combination with a 5K ohm LDR photoresistor for light sensor projects.
- 50 Pieces Resistor 220 ohm 1/4w 1/4 w 5%: To use the 10M ohm resistor in combination with resistors of different values for electronic protection projects.
- 50 Pieces Resistor 4.7K ohm 4700 ohm 1/4w 1/4 w 5%: To use the 10M ohm resistor in combination with resistors of different values for testing and measurement projects.
Technical FAQs
What is the tolerance of the resistor?
The tolerance is 5%, check the datasheet for specific details.
Can I use this resistor with a 12V power supply?
Check the component documentation to see if it can handle voltages above 5V.
How do I verify the resistance of the component?
Use a multimeter in ohm mode to verify the resistance of the component.
What are the usage limits of the resistor?
The resistor is not designed to handle voltages above 5V and is not suitable for applications requiring low resistance values.
Tutorial: How to Use 10M Ohm Resistor
High resistance resistors, such as this 10M ohm (10,000,000 ohm), are essential in electronic projects that require a high resistive value. They are particularly useful for beginners who are learning to manage complex circuits.
What you need
- Arduino uno or compatible
- Head connectors
Steps
- Check the resistance of the component on a multimeter in ohm mode.
- Connect the red lead of the resistor to a digital pin on the Arduino.
- Connect the black end to the ground (GND) of the Arduino.
- Write a simple sketch to measure the resistance with a for loop and the analogRead() function.
- Check the read values on the serial monitor.
- Modify the sketch to add an if condition that performs an action when the value exceeds a certain threshold.
Example code
// Inserisci qui uno sketch semplice per misurare la resistenzaMini project
Create a light sensor based on the 10M ohm resistor. Connect it in series with a photoresistor and use Arduino to monitor changes in ambient light.
Common mistakes
- Connect the resistor to the wrong pin
- Do not verify the resistance values correctly
- Use a voltage higher than the component’s tolerance
Recommended accessories
- Arduino Uno R3
- Photoresistor LDR 5K ohm
- Test connections
Frequently asked questions
What is the resistor’s tolerance?
The tolerance is 5%, check the datasheet for specific details.
Can I use this resistor with a 12V power supply?
Check the component’s documentation to see if it can handle voltages above 5V.
Reviews
There are no reviews yet.