 EN
 IT Italiano
 ES Español
 FR Français
 DE Deutsch
Description
Technical Description
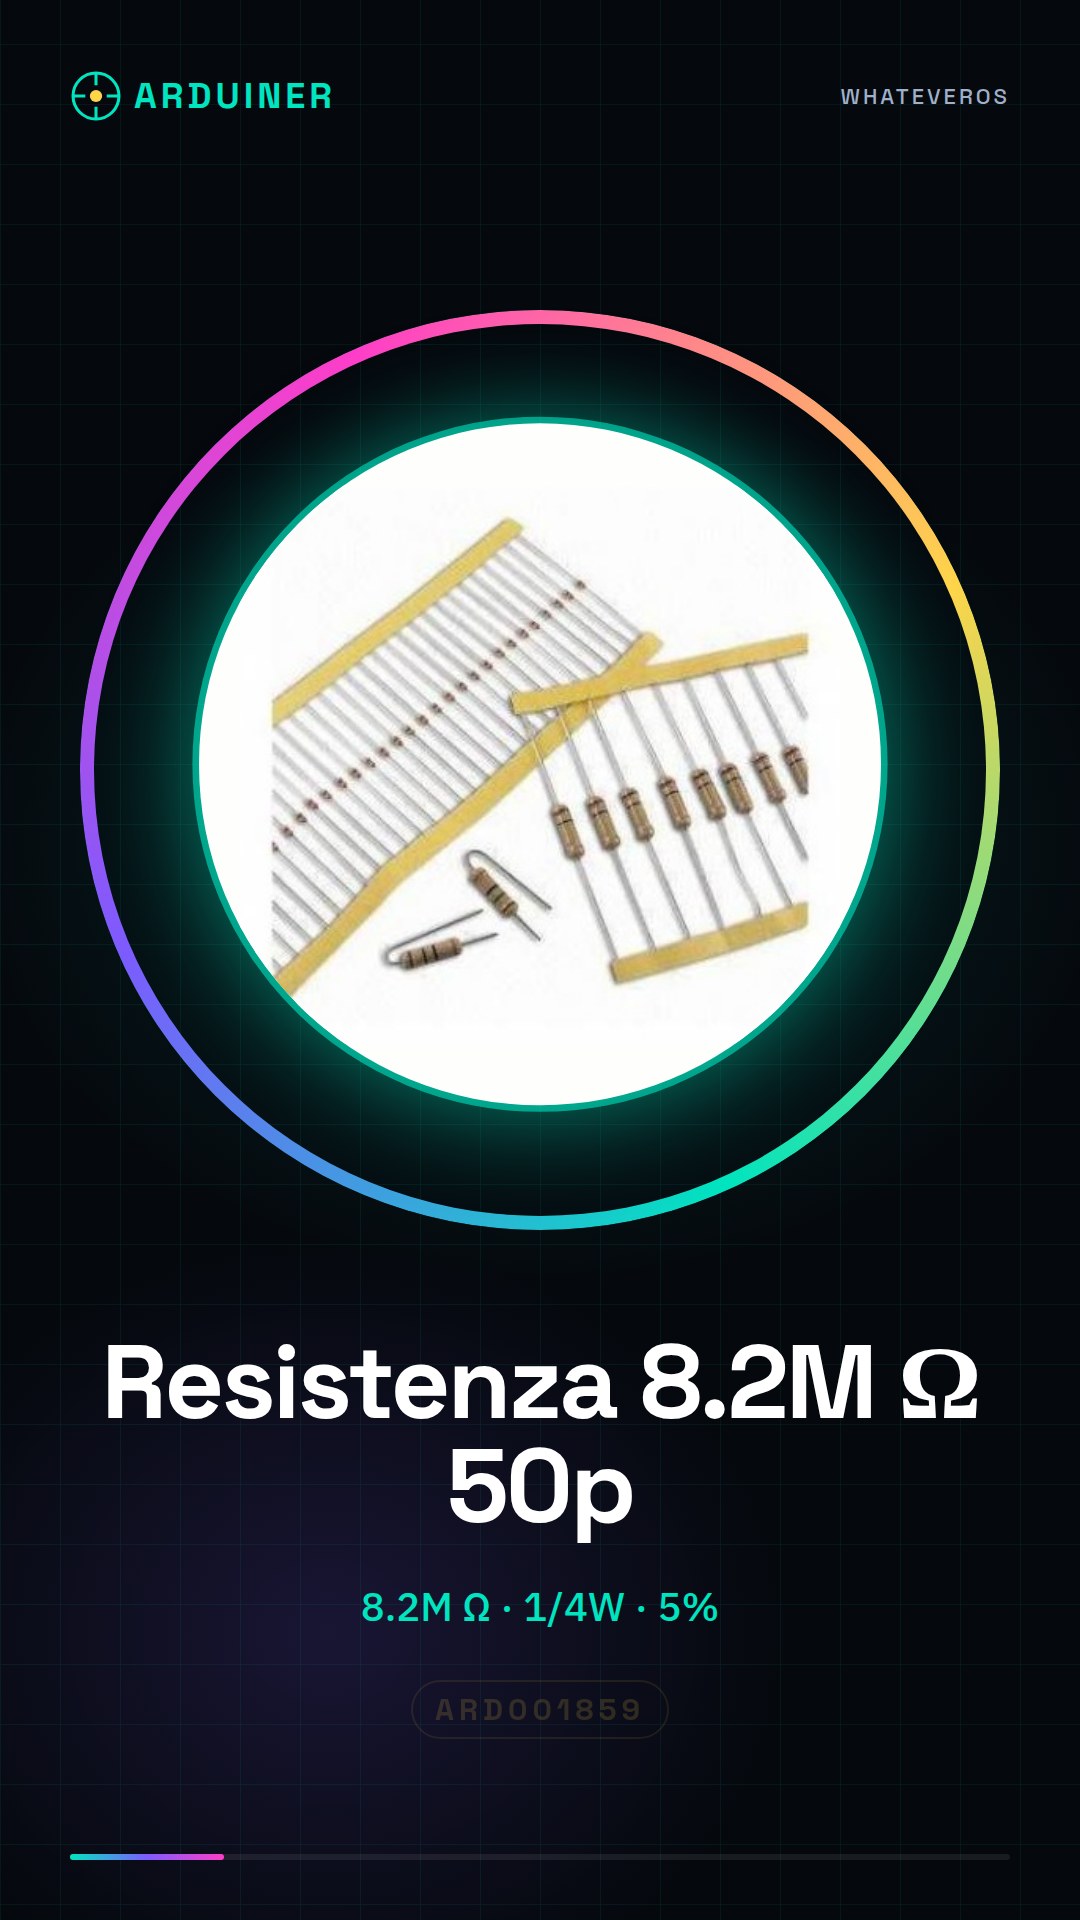
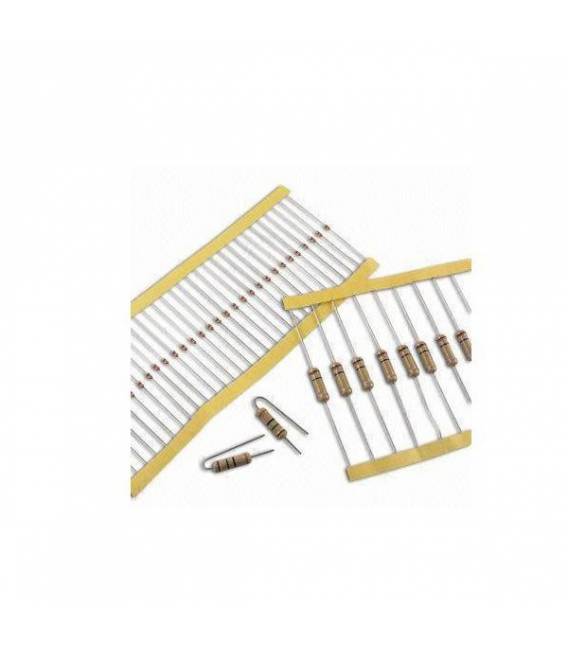
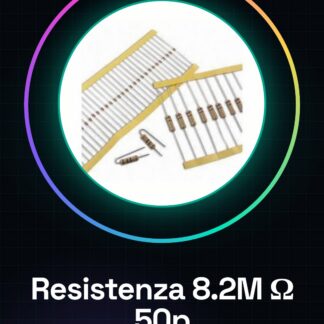
The 8.2M ohm resistor is a fundamental component for regulating the flow of current in an electrical circuit. This type of resistor is used to limit current and protect sensitive components from overload. The 8.2M ohm resistor is suitable for projects that require a high-value resistance to limit the current flow to a controllable level. This component is compatible with a wide range of electronic projects, including those based on Arduino.
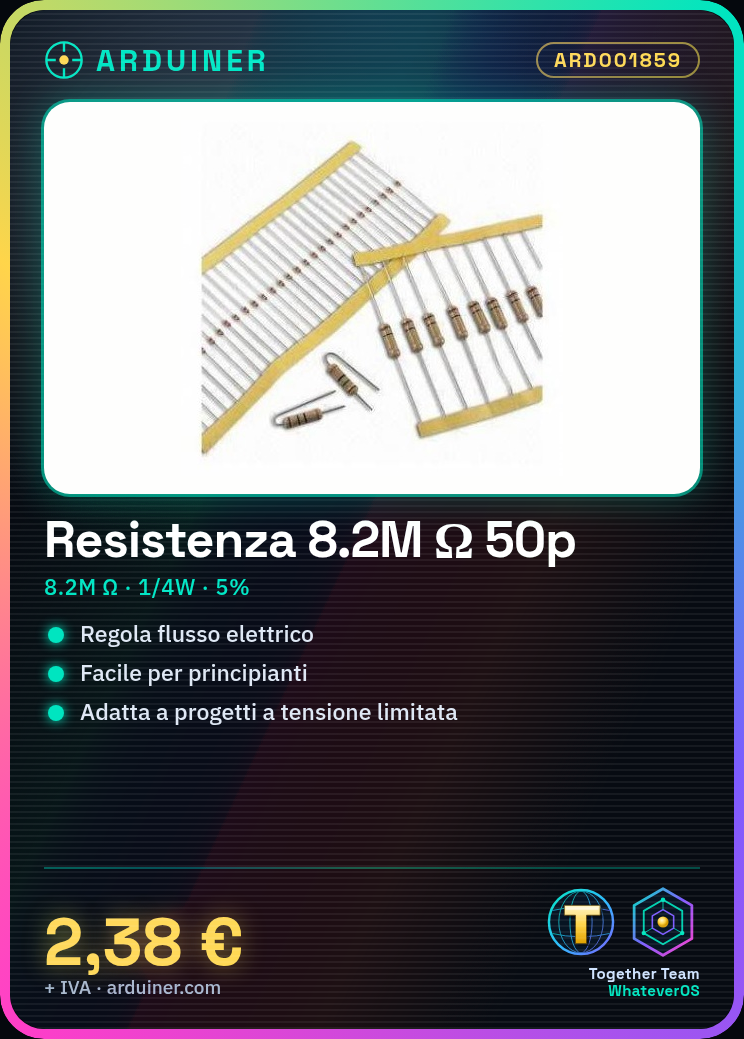
The 8.2M ohm resistor is available in a quantity of 50 pieces and has a maximum power rating of 1/4 watt. The resistance value tolerance is 5%, meaning the actual value can vary by up to 5% from the nominal value of 8.2M ohm. The resistor is made with a resistive material that limits the flow of electric current proportionally to the nominal value.
To use the 8.2M ohm resistor correctly, it is important to verify the actual value of the component before connecting it to the circuit. Additionally, it is recommended to use the Arduino software to monitor the current through the resistor and ensure that the value is adequate for the current project.
Key Specifications
| Parameter | Value |
| Model | 8.2M ohm Resistor |
| Quantity | 50 pieces |
| Resistance Value | 8.2M ohm (8200000 ohm) |
| Tolerance | 5% |
| Maximum Power | 1/4 watt |
| Container | N/D (see manufacturer’s technical sheet) |
Installation and Usage
- Verify the actual value of the resistor using a multimeter.
- Connect one end of the resistor to an input/output pin of the Arduino.
- Connect the other end of the resistor to the circuit or device you wish to regulate.
- Use the Arduino software to write a sketch that monitors the current through the resistor.
- Perform an initial test to verify that the resistor is functioning correctly.
Compatibility and Requirements
- The 8.2M ohm resistor is compatible with Arduino Uno and other microcontroller-based systems.
- It is necessary to use a programming software like Arduino IDE to monitor and manage the resistor.
- The resistor can be used in combination with LEDs, sensors, and other electronic components.
Limitations and Important Notes
- The 8.2M ohm resistor is not designed to handle high currents and powers above 1/4 watt.
- It is important to verify the actual value of the resistor before connecting it to the circuit.
- The resistor can generate heat when subjected to high currents, so it is advisable to use a heat sink if necessary.
Troubleshooting
The resistor does not work properly.
Probable cause: The value of the resistor is not adequate for the circuit.
Solution: Verify the actual value of the resistor and ensure it is compatible with the circuit.
The circuit does not respond as expected.
Probable cause: The resistor is incorrectly connected.
Solution: Verify the connection of the resistor and ensure it is correctly connected to the circuit.
The resistor generates too much heat.
Probable cause: The resistor is subjected to high currents.
Solution: Check the circuit power and consider using a heat sink.
The Arduino software does not correctly monitor the resistance.
Probable cause: The sketch is not properly configured.
Solution: Check the sketch configuration and ensure it is correct.
Use cases
Parking sensor for the garage
Objective: Adjust the garage light based on the presence of a vehicle.
What is needed: 8.2M ohm resistor, Arduino Uno, presence sensor, LED.
Steps: 1) Connect the presence sensor to a digital interface of the Arduino. 2) Connect the resistor between the sensor and the input port of the Arduino. 3) Connect the LED to an output interface of the Arduino. 4) Write a sketch that turns on the LED when the sensor detects a vehicle.
Expected result: The system automatically turns on the garage light when a vehicle enters the garage.
Current Regulation for a Temperature Sensor
Objective: Regulate the current for a temperature sensor.
What’s needed: 8.2M ohm resistor, Arduino Uno, temperature sensor.
Steps: 1) Connect the temperature sensor to an analog interface of the Arduino. 2) Connect the resistor between the sensor and the Arduino’s input port. 3) Write a sketch that reads data from the sensor and displays it.
Expected result: The system correctly reads and displays the temperature data.
Current Regulation for a Light Sensor
Objective: Regulate the current for a light sensor.
What’s needed: 8.2M ohm resistor, Arduino Uno, light sensor.
Steps: 1) Connect the light sensor to an analog interface of the Arduino. 2) Connect the resistor between the sensor and the Arduino’s input port. 3) Write a sketch that reads data from the sensor and displays it.
Expected result: The system reads and displays the lighting data correctly.
Current regulation for a humidity sensor
Objective: To regulate the current for a humidity sensor.
What’s needed: 8.2M ohm resistor, Arduino Uno, humidity sensor.
Steps: 1) Connect the humidity sensor to an analog interface of the Arduino. 2) Connect the resistor between the sensor and the Arduino’s input port. 3) Write a sketch that reads data from the sensor and displays it.
Expected result: The system reads and displays the humidity data correctly.
Current regulation for a motion sensor
Objective: To regulate the current for a motion sensor.
What’s needed: 8.2M ohm resistor, Arduino Uno, motion sensor.
Steps: 1) Connect the motion sensor to a digital interface of the Arduino. 2) Connect the resistor between the sensor and the input pin of the Arduino. 3) Write a sketch that turns on an LED when the sensor detects motion.
Expected result: The system turns on an LED when the sensor detects motion.
Current regulation for a pressure sensor
Objective: Regulate the current for a pressure sensor.
What you need: 8.2M ohm resistor, Arduino Uno, pressure sensor.
Steps: 1) Connect the pressure sensor to an analog interface of the Arduino. 2) Connect the resistor between the sensor and the input pin of the Arduino. 3) Write a sketch that reads data from the sensor and displays it.
Expected result: The system reads and displays the pressure data correctly.
Current regulation for a noise sensor
Objective: Adjust the current for a noise sensor.
What’s needed: 8.2M ohm resistor, Arduino Uno, noise sensor.
Steps: 1) Connect the noise sensor to an analog interface of the Arduino. 2) Connect the resistor between the sensor and the Arduino’s input port. 3) Write a sketch that reads data from the sensor and displays it.
Expected result: The system correctly reads and displays noise data.
Current adjustment for a temperature and humidity sensor
Objective: Adjust the current for a temperature and humidity sensor.
What’s needed: 8.2M ohm resistor, Arduino Uno, temperature and humidity sensor.
Steps: 1) Connect the temperature and humidity sensor to an analog interface of the Arduino. 2) Connect the resistor between the sensor and the Arduino’s input port. 3) Write a sketch that reads data from the sensor and displays it.
Expected result: The system reads and displays the temperature and humidity data correctly.
In the package
- 50 pieces
Complete the project
- 50 Pieces Resistance 1000 ohm 1k ohm 1/4w 1/4 w 5%: to use resistors of different values in Arduino projects
- 50 Pieces Resistance 10000 ohm, 10k, ohm 1/4w 1/4 w 5%, Arduino compatible resistors: to use resistors of different values in Arduino projects
- 50 Pieces Resistance 100 ohm 1/4w 5%: to use resistors of different values in Arduino projects
- 50 Pieces Resistance 220 ohm 1/4w 1/4 w 5%: to use resistors of different values in Arduino projects
- 50 Pieces Resistance 4.7K ohm 4700 ohm 1/4w 1/4 w 5%: to use resistors of different values in Arduino projects
Technical FAQs
What is the purpose of a resistor?
A resistor regulates and limits the flow of current in a circuit, protecting sensitive components.
How can I verify the exact value of the resistance?
Check the datasheet provided by the manufacturer or use a tool like a multimeter.
What are the limitations of the 8.2M ohm resistance?
The resistance is not designed to handle high currents and powers above 1/4 watt.
What are the steps to use the resistance correctly?
Verify the actual value of the resistance, connect the resistance to the circuit and monitor the current with the Arduino software.
Tutorial: How to use 8.2M ohm Resistance
The 8.2M ohm resistance is a fundamental component to regulate the electrical flow in your Arduino creations. Ideal for beginners and makers working on projects with limited voltage.
What you need
- Arduino Uno
- LED Pens
- Connectors
Steps
- Check the resistance value of the component on the datasheet.
- Connect one end of the resistance to an input/output pin of the Arduino.
- Connect the other end to the LED pen or the device you want to control.
- Use the Arduino software to write a sketch that monitors the current through the resistor.
Example code
void setup() {
  pinMode(13, OUTPUT);
}

void loop() {
  digitalWrite(13, HIGH);
}
Mini project
Create a simple lighting system that turns on and off based on an 8.2M ohm resistor to regulate the light intensity.
Common mistakes
- Using a resistor with a value that is too low or too high.
- Connecting the resistor to the circuit without first checking its actual value.
- Not correctly monitoring the current flow through the resistor in the Arduino software.
Recommended accessories
- Arduino Uno
- RGB LED
- Breadboard
Frequently asked questions
What is the purpose of the resistor?
The resistor regulates and limits the current flow in a circuit, protecting sensitive components.
How can I verify the exact value of the resistor?
Check the datasheet provided by the manufacturer or use a tool like a multimeter.
Reviews
There are no reviews yet.