 EN
 IT Italiano
 ES Español
 FR Français
 DE Deutsch
Description
Technical Specifications
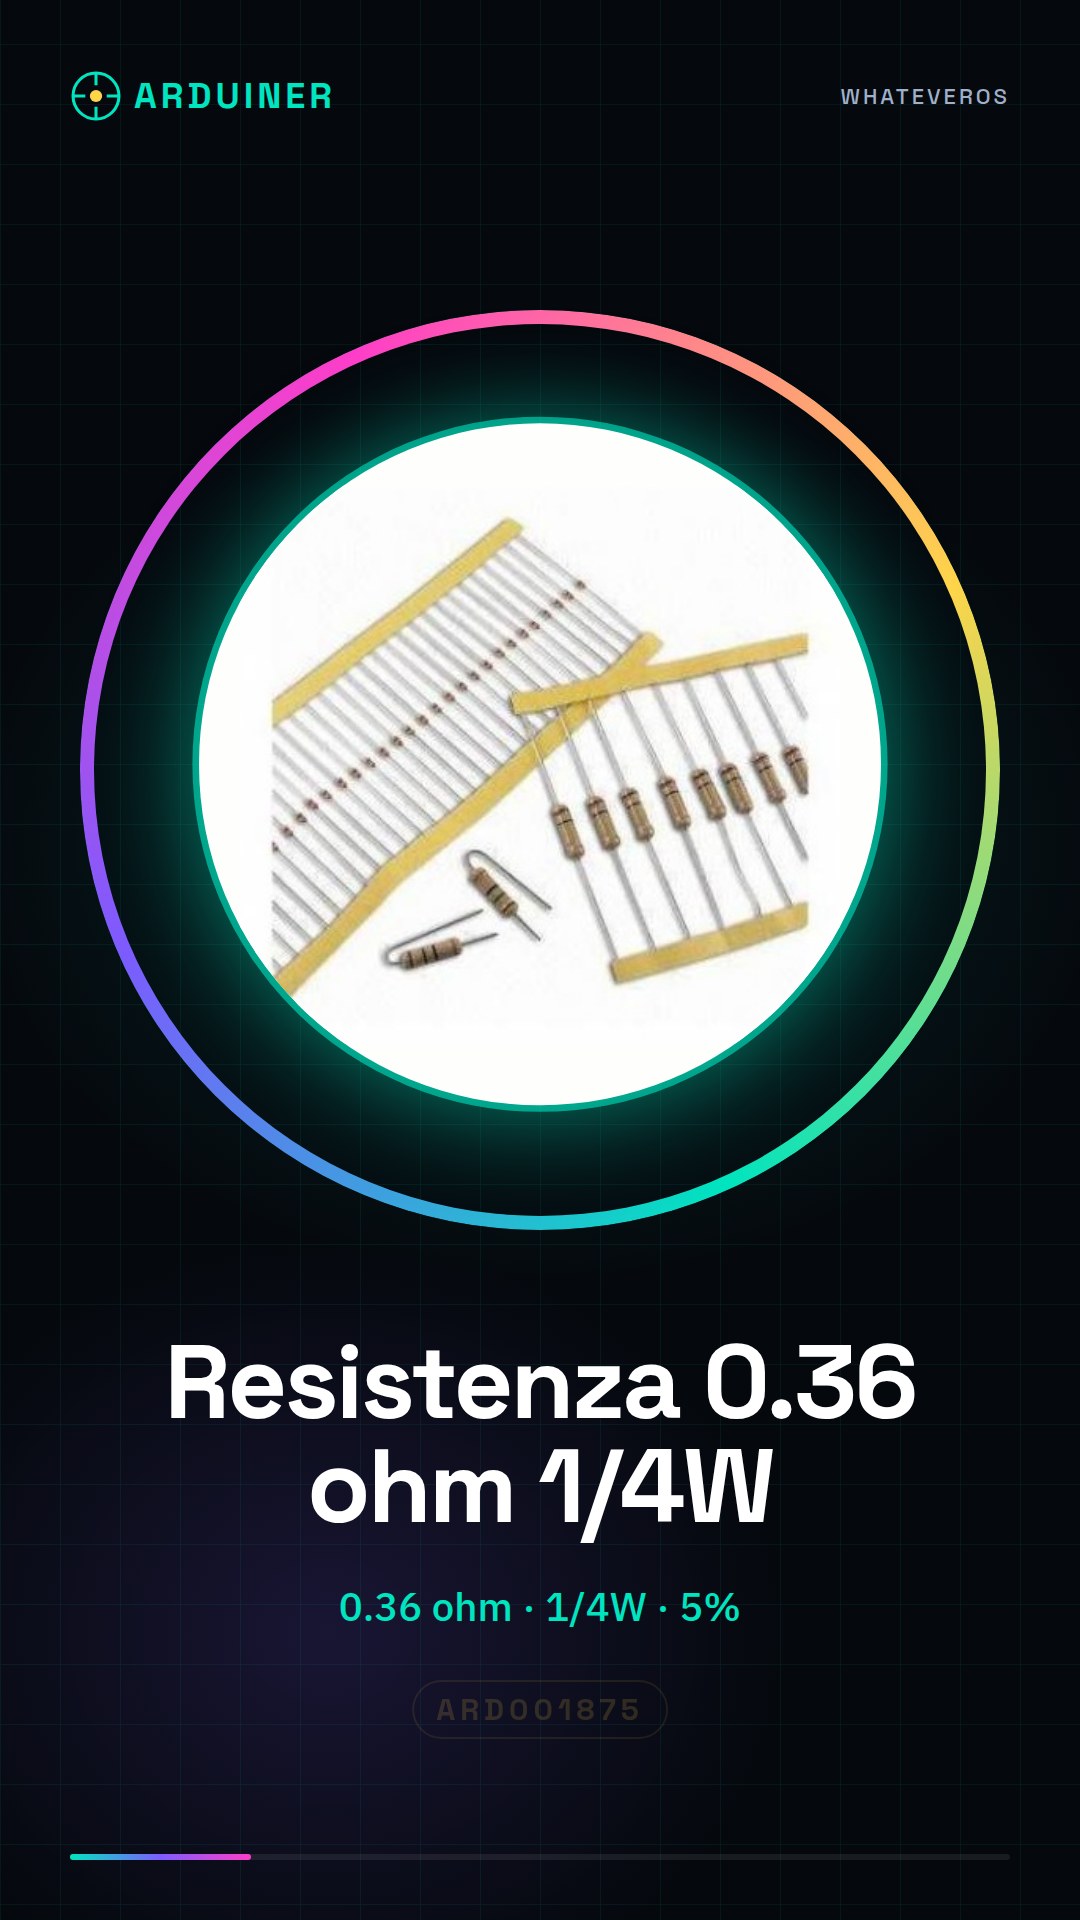
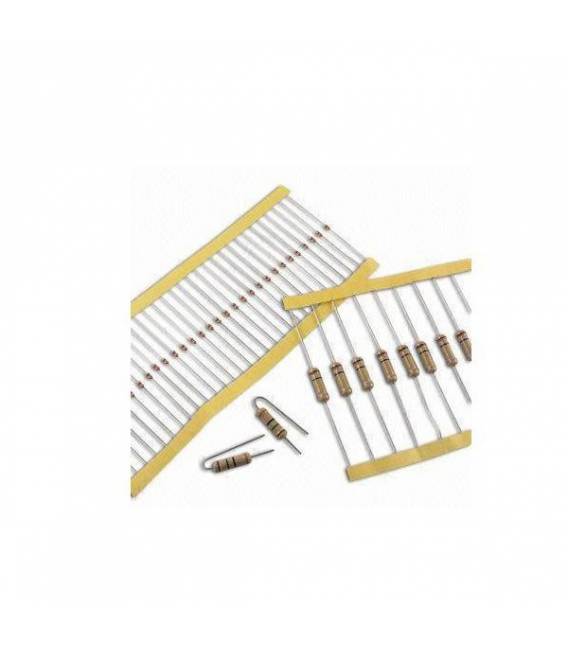
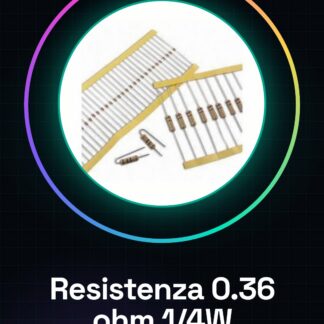
The 0.36 ohm resistor is a fundamental electronic component used to regulate the flow of electric current in circuits. Its 0.36 ohm resistance allows for proportional current limitation according to Ohm’s Law. This component is particularly useful for beginners learning the basics of electronics and for projects requiring a low-value resistance.
The 0.36 ohm resistor, with a 5% tolerance, is available in packs of 50 pieces. Its maximum power rating is 1/4 watt, which limits the energy it can dissipate in the form of heat. It is important to verify the compatibility of the resistor with the circuit in which it will be used to avoid damage or abnormal behavior.
A resistor can be used in various types of circuits, such as those that require current limiting or voltage regulation. It is important to connect the resistor correctly and check the connections before powering the circuit.
Key Specifications
| Parameter | Value |
| Model | 0.36 ohm |
| Quantity | 50 pieces |
| Tolerance | 5% |
| Maximum Power | 1/4 watt |
| Dimensions | N/D (see manufacturer’s datasheet) |
| Container | N/D (see manufacturer’s datasheet) |
Installation and Usage
- Check the 0.36 ohm resistor and ensure there are no external damages.
- Connect the resistor to the circuit using the mounting pins.
- Check the connections to ensure there are no short circuits.
- Power the circuit with an appropriate power supply.
- Conduct an initial test to verify the proper functioning of the circuit.
Compatibility and Requirements
- The 0.36 ohm resistor is compatible with various electronic systems, including Arduino Uno and other prototyping circuits.
- It is necessary to use a multimeter to check the resistance and tolerance before connecting it to the circuit.
- The resistor can be used in electronic projects that require current limiting.
Limits and Important Notes
- The 0.36 ohm resistor is not designed to handle electrical voltages higher than those specified.
- It is important to verify the compatibility of the resistor with the circuit before using it.
- The resistor can generate heat during use, so ensure that the circuit is designed to handle thermal dissipation.
- Do not use the resistor in circuits that require resistors of different values.
Troubleshooting
The circuit does not work correctly.
Probable cause: Damaged or incorrect connections.
Solution: Check and repair the circuit connections.
The resistor overheats.
Probable cause: Electrical voltage exceeds the resistor’s tolerance.
Solution: Check the circuit voltage and adjust the resistor accordingly.
The circuit does not respond as expected.
Probable cause: Incorrect resistor value.
Solution: Check the resistor value using a multimeter.
The resistor burns out.
Probable cause: Excessive energy overload.
Solution: Check the circuit power and adjust the resistor accordingly.
Use cases
LED Lighting System
Objective: Limit the electrical current to protect the LED.
What’s needed: 0.36 ohm resistor, prototyping circuit, LED.
Steps: 1) Connect the resistor between the power supply and the LED. 2) Check the connections. 3) Turn on the circuit and verify the LED’s operation.
Expected result: The LED shines correctly without damage.
Voltage Regulation
Objective: Adjust the voltage level in a circuit.
What’s needed: 0.36 ohm resistor, prototyping circuit, power supply.
Steps: 1) Connect the resistor in series with the power supply. 2) Check the connections. 3) Measure the voltage level after the resistor.
Expected result: The voltage level is adjusted as expected.
Educational Electronics Project
Objective: Illustrate the concept of resistance in a circuit.
What is needed: 0.36 ohm resistor, prototyping circuit, power supply.
Steps: 1) Connect the resistor in series with the power supply. 2) Check the connections. 3) Measure the electric current through the resistor.
Expected result: The electric current through the resistor is measured correctly.
Power supply protection system
What is needed: 0.36 ohm resistor, prototyping circuit, power supply.
Steps: 1) Connect the resistor between the power supply and the circuit. 2) Check the connections. 3) Turn on the circuit and check the power supply operation.
Expected result: The power supply operates correctly without damage.
Hobby electronics project
What is needed: 0.36 ohm resistor, prototyping circuit, power supply.
Steps: 1) Connect the resistor in series with the power supply. 2) Check the connections. 3) Measure the electric current through the resistor.
Expected result: The electric current through the resistor is measured correctly.
Laboratory electronics project
What is needed: 0.36 ohm resistor, prototyping circuit, power supply.
Steps: 1) Connect the resistor in series with the power supply. 2) Check the connections. 3) Measure the electric current through the resistor.
Expected result: The electric current through the resistor is measured correctly.
School electronics project
What is needed: 0.36 ohm resistor, prototyping circuit, power supply.
Steps: 1) Connect the resistor in series with the power supply. 2) Check the connections. 3) Measure the electric current through the resistor.
Expected Result: The electrical current through the resistor is measured correctly.
Electronic Maintenance Project
What’s needed: 0.36 ohm resistor, prototyping circuit, power supply.
Steps: 1) Connect the resistor in series with the power supply. 2) Check the connections. 3) Measure the electrical current through the resistor.
Expected Result: The electrical current through the resistor is measured correctly.
In the package
- 50 pieces
Complete the project
- 50 Pieces 1000 ohm 1k ohm 1/4w 1/4 w 5%: To create complete circuits with resistors of different values.
- 50 Pieces 10000 ohm 10k ohm 1/4w 1/4 w 5%, Arduino Compatible Resistors: To test and verify the values of the resistors.
- 50 Pieces 100 ohm 1/4w 5%: To use resistors compatible with Arduino Uno and other prototyping circuits.
Technical FAQs
What is the maximum power it can handle?
The maximum power it can handle is 1/4 watt, as specified in the product data.
Can I use it with any voltage?
No, it is necessary to check the electrical tolerance of the component before connecting it to the circuit.
How do I check the resistance value?
Use a multimeter to measure the resistance value.
What are the usage limits of the resistor?
The resistor is not designed to handle electrical voltages higher than those specified and can overheat if used improperly.
Tutorial: How to use 0.36 ohm Resistor
The 0.36 ohm resistor is a fundamental component for regulating electrical current flow in circuits, ideal for beginners learning the basics of electronics.
What you need
- Arduino Uno
- prototyping board
- soldering iron
Steps
- Install the resistor on the prototyping board.
- Connect the circuit to the power supply or an Arduino to test it.
- Check for short circuits by inspecting the connections.
Mini project
Create a simple lighting circuit with an LED bulb and a 0.36 ohm resistor to limit the electrical current flow.
Common mistakes
- Do not check connections before powering on.
- Using an unsuitable resistor for the circuit voltage.
- Soldering components poorly onto the prototyping board.
Recommended accessories
- Arduino Uno
- prototyping board
- soldering iron
- multimeter
Frequently asked questions
What is the maximum power it can handle?
Check the datasheet for the precise value, but generally 1/4W.
Can I use it with any voltage?
No, always check the electrical tolerance of the component before connecting it.
Reviews
There are no reviews yet.