 EN
 IT Italiano
 ES Español
 FR Français
 DE Deutsch
Description
Technical Specifications
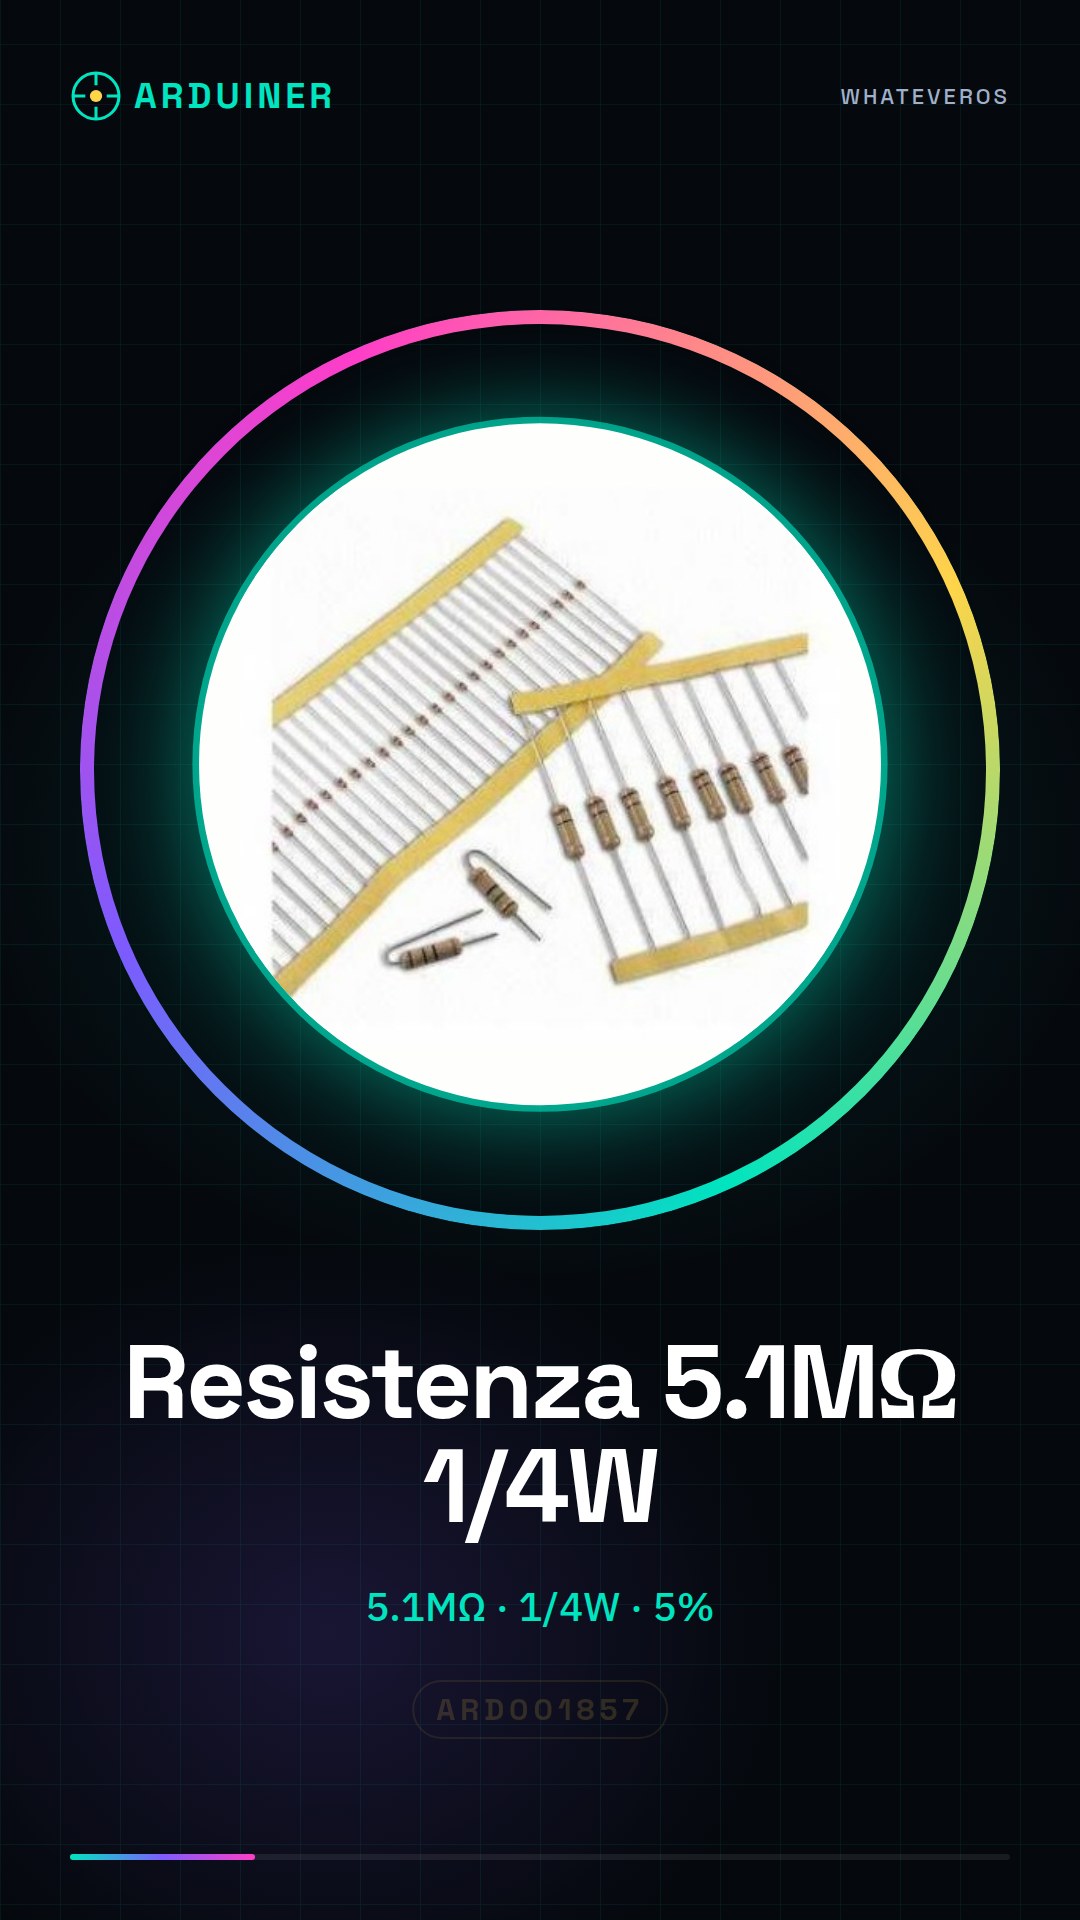
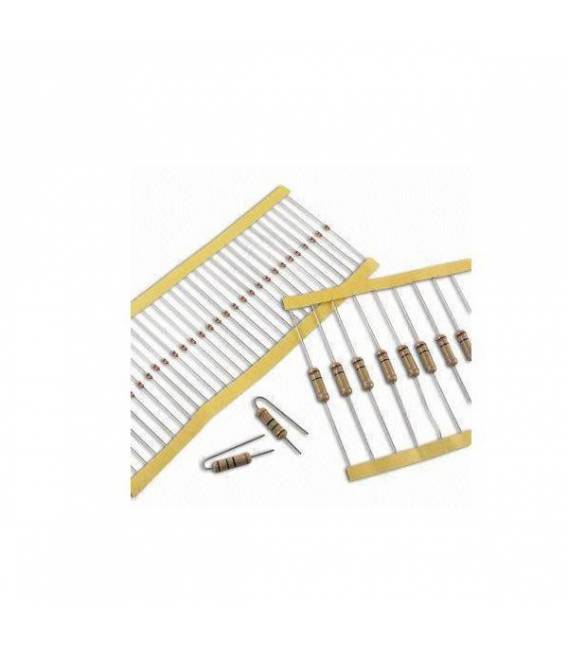
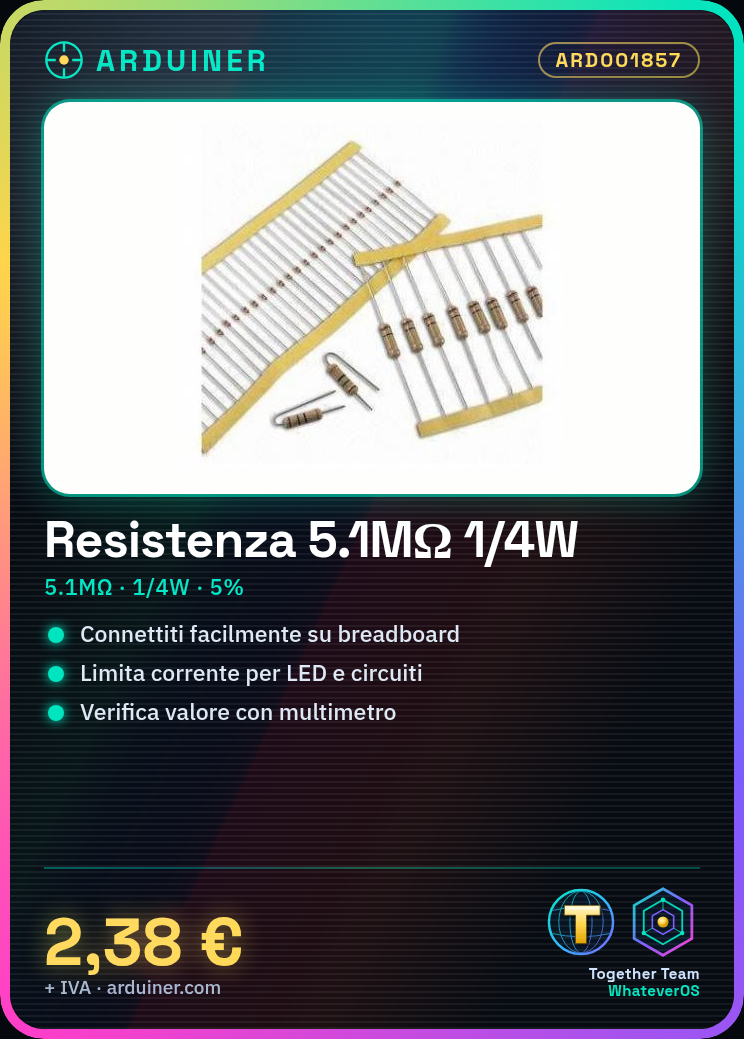
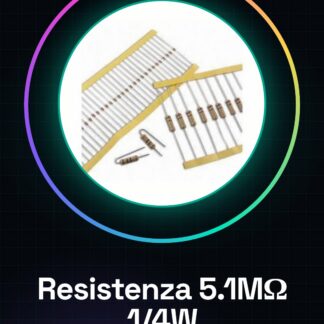
The 5.1M ohm resistor is a fundamental component for electronic projects that require current limiting or voltage division. This component is used to protect electronic circuits from excessive current and to regulate voltage in various circuits.
The resistor can be used in combination with other components such as capacitors, transistors, and diodes to create more complex circuits. It is important to check the resistor specifications on the datasheet to ensure that the value and maximum power are appropriate for the circuit in which it is used.
To use the resistor, it is necessary to correctly connect it to the electronic circuit, verify the value with a multimeter, and if necessary, modify the Arduino sketch to calculate voltage division or other functions.
Key Specifications
| Parameter | Value |
| Model | 5.1M ohm |
| Value | 5100000 ohm |
| Maximum Power | 1/4w |
| Tolerance | 5% |
| Quantity | 50 pieces |
| Container | Plastic packaging |
Installation and Usage
- Check the resistor specifications on the datasheet (value, maximum power).
- Connect the resistor between a power source and a component that requires current limiting.
- Use a multimeter to verify the value of the resistor connected to the circuit.
- Modify the Arduino sketch (if necessary) to calculate voltage division or other functions using the resistor.
- Connect the connectors to the breadboard and ensure that the resistor is properly connected.
Compatibility and Requirements
- The resistor is compatible with Arduino Uno and other electronic prototyping systems.
- A breadboard and connectors are required to connect the resistor to the circuit.
- The resistor can be used in projects that require current limiting or voltage division.
Limitations and Important Notes
- The resistor cannot be used in circuits requiring more than 1/4w power.
- It is important to verify the maximum power rating of the resistor relative to the circuit.
- The resistor is not suitable for circuits requiring precision better than 5%.
- The resistor cannot be used in high-frequency circuits without additional filtering components.
Troubleshooting
The resistor does not work as expected.
Probable cause: Incorrect resistance value or insufficient maximum power rating.
Solution: Verify the value and maximum power rating of the resistor on the datasheet and ensure they are appropriate for the circuit.
The resistor burns out.
Probable cause: Maximum power rating of the resistor exceeded.
Solution: Replace the resistor with one of higher power rating or reduce the current in the circuit.
The measured voltage does not match the expected value.
Probable cause: Incorrect connections or damaged resistor.
Solution: Check the connections and replace the resistor if necessary.
The resistor does not properly limit the flow of current.
Probable cause: Resistor value not appropriate for the circuit.
Solution: Choose a resistor of a more appropriate value for the circuit.
Use cases
Temperature Sensor
Objective: Measure ambient temperature.
What you need: 5.1M ohm resistor, Arduino Uno, thermistor.
Steps: 1) Connect the thermistor and resistor to the circuit. 2) Write the Arduino sketch to measure the thermistor’s resistance. 3) Calculate the temperature based on the thermistor’s resistance.
Expected result: The project accurately measures ambient temperature.
PWM Light Projector
Objective: Control the brightness of an LED.
What you need: 5.1M ohm resistor, Arduino Uno, LED.
Steps: 1) Connect the resistor between the power supply and the LED. 2) Write the Arduino sketch to control the LED’s brightness. 3) Test the project to verify the brightness control.
Expected result: The project accurately controls the LED’s brightness.
Low-pass Filter
Objective: Filter out high frequencies.
What you need: 5.1M ohm resistor, Arduino Uno, capacitor.
Steps: 1) Connect the resistor and capacitor in series. 2) Write the Arduino sketch to measure the filtered voltage. 3) Test the project to verify high-frequency filtering.
Expected result: The project correctly filters out high frequencies.
Voltage Divider
Objective: Divide an input voltage.
What you need: 5.1M ohm resistor, Arduino Uno, resistor of different value.
Steps: 1) Connect the resistors in series between the power supply and ground. 2) Write the Arduino sketch to measure the divided voltage. 3) Test the project to verify voltage division.
Expected result: The project correctly divides the input voltage.
PWM Light Projector with Light Sensor
Objective: Adjust the light intensity based on ambient light.
What you need: 5.1M ohm resistor, Arduino Uno, LED, LDR.
Steps: 1) Connect the LED and resistor to the circuit. 2) Write the Arduino sketch to measure the resistance of the LDR. 3) Adjust the LED brightness based on the LDR resistance.
Expected result: The project adjusts the LED brightness based on ambient light.
High-pass filter
Objective: Filter out low frequencies.
What you need: 5.1M ohm resistor, Arduino Uno, capacitor.
Steps: 1) Connect the resistor and capacitor in parallel. 2) Write the Arduino sketch to measure the filtered voltage. 3) Test the project to verify the filtering of low frequencies.
Expected result: The project correctly filters out low frequencies.
PWM Light Projector with Motion Sensor
Objective: Turn on an LED when motion is detected.
What you need: 5.1M ohm resistor, Arduino Uno, LED, motion sensor.
Steps: 1) Connect the LED and resistor to the circuit. 2) Write the Arduino sketch to detect motion. 3) Turn on the LED when motion is detected.
Expected result: The project turns on the LED when motion is detected.
Voltage Divider with Temperature Sensor
Objective: Measure ambient temperature and divide it.
What you need: 5.1M ohm resistor, Arduino Uno, thermistor, resistor of different value.
Steps: 1) Connect the thermistor and resistors to the circuit. 2) Write the Arduino sketch to measure the thermistor resistance and divided voltage. 3) Calculate the temperature based on the thermistor resistance and divided voltage.
Expected result: The project measures ambient temperature and divides it correctly.
In the package
- 50 pieces 5.1M ohm resistor
Complete the project
- 50 Pieces 1000 ohm 1k ohm 1/4w 1/4 w 5%It is used for projects that require resistors of different values.
- 50 Pieces Resistor, 10000 ohm, 10k, ohm 1/4w 1/4 w 5%, Compatible with ArduinoIt is used for projects that require resistors of different power ratings.
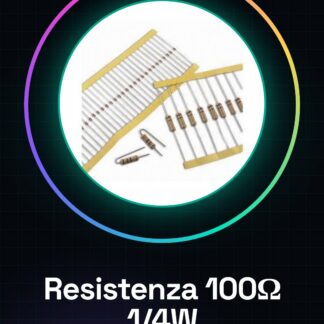
- 50 Pieces Resistor 100 ohm 1/4w 5%It is used for projects that require resistors of different tolerances.
- 50 Pieces Resistor 220 ohm 1/4w 1/4 w 5%It is used for projects that require resistors of different sizes.
- 50 Pieces Resistor 4.7K ohm 4700 ohm 1/4w 1/4 w 5%It is used for projects that require resistors of similar values but with different power ratings.
Technical FAQs
What is the maximum power rating of this resistor?
Check the datasheet.
How can I use a resistor in a voltage divider circuit?
Connect the resistor between the signal and ground, then measure the divided voltage.
What are the usage limits of the resistor?
The resistor cannot be used in circuits requiring a power greater than 1/4w or a precision greater than 5%.
How can I verify the value of the resistor?
Use a multimeter to measure the value of the resistor.
Tutorial: How to use 5.1M ohm Resistor
The 5.1 MΩ resistor is a fundamental component for electronic projects that require current limiting or voltage division. This tutorial will guide you on how to use this resistor in various circuits.
What you need
- Arduino Uno
- Breadboard
- Connections for the breadboard
Steps
- Check the resistor specifications on the datasheet (value, maximum power).
- Connect the resistor between a power source and a component that requires current limiting.
- Use the multimeter to verify the value of the resistor connected to the circuit.
- Modify the Arduino sketch (if necessary) to calculate voltage division or other functions using the resistor.
Mini project
Create a simple PWM light projector using a 5.1MΩ resistor as part of the circuit that limits the current flow to control an LED.
Common mistakes
- Using a resistor with a value that is too low or too high
- Not verifying the maximum power of the resistor relative to the circuit
Recommended accessories
- Arduino Uno R3
- Breadboard 400 points
- Connections for the breadboard
Frequently asked questions
What is the maximum power of this resistor?
Check the datasheet.
How can I use a resistor in a voltage divider circuit?
Connect the resistor between the signal and ground, then measure the divided voltage.
Reviews
There are no reviews yet.