 EN
 IT Italiano
 ES Español
 FR Français
 DE Deutsch
Description
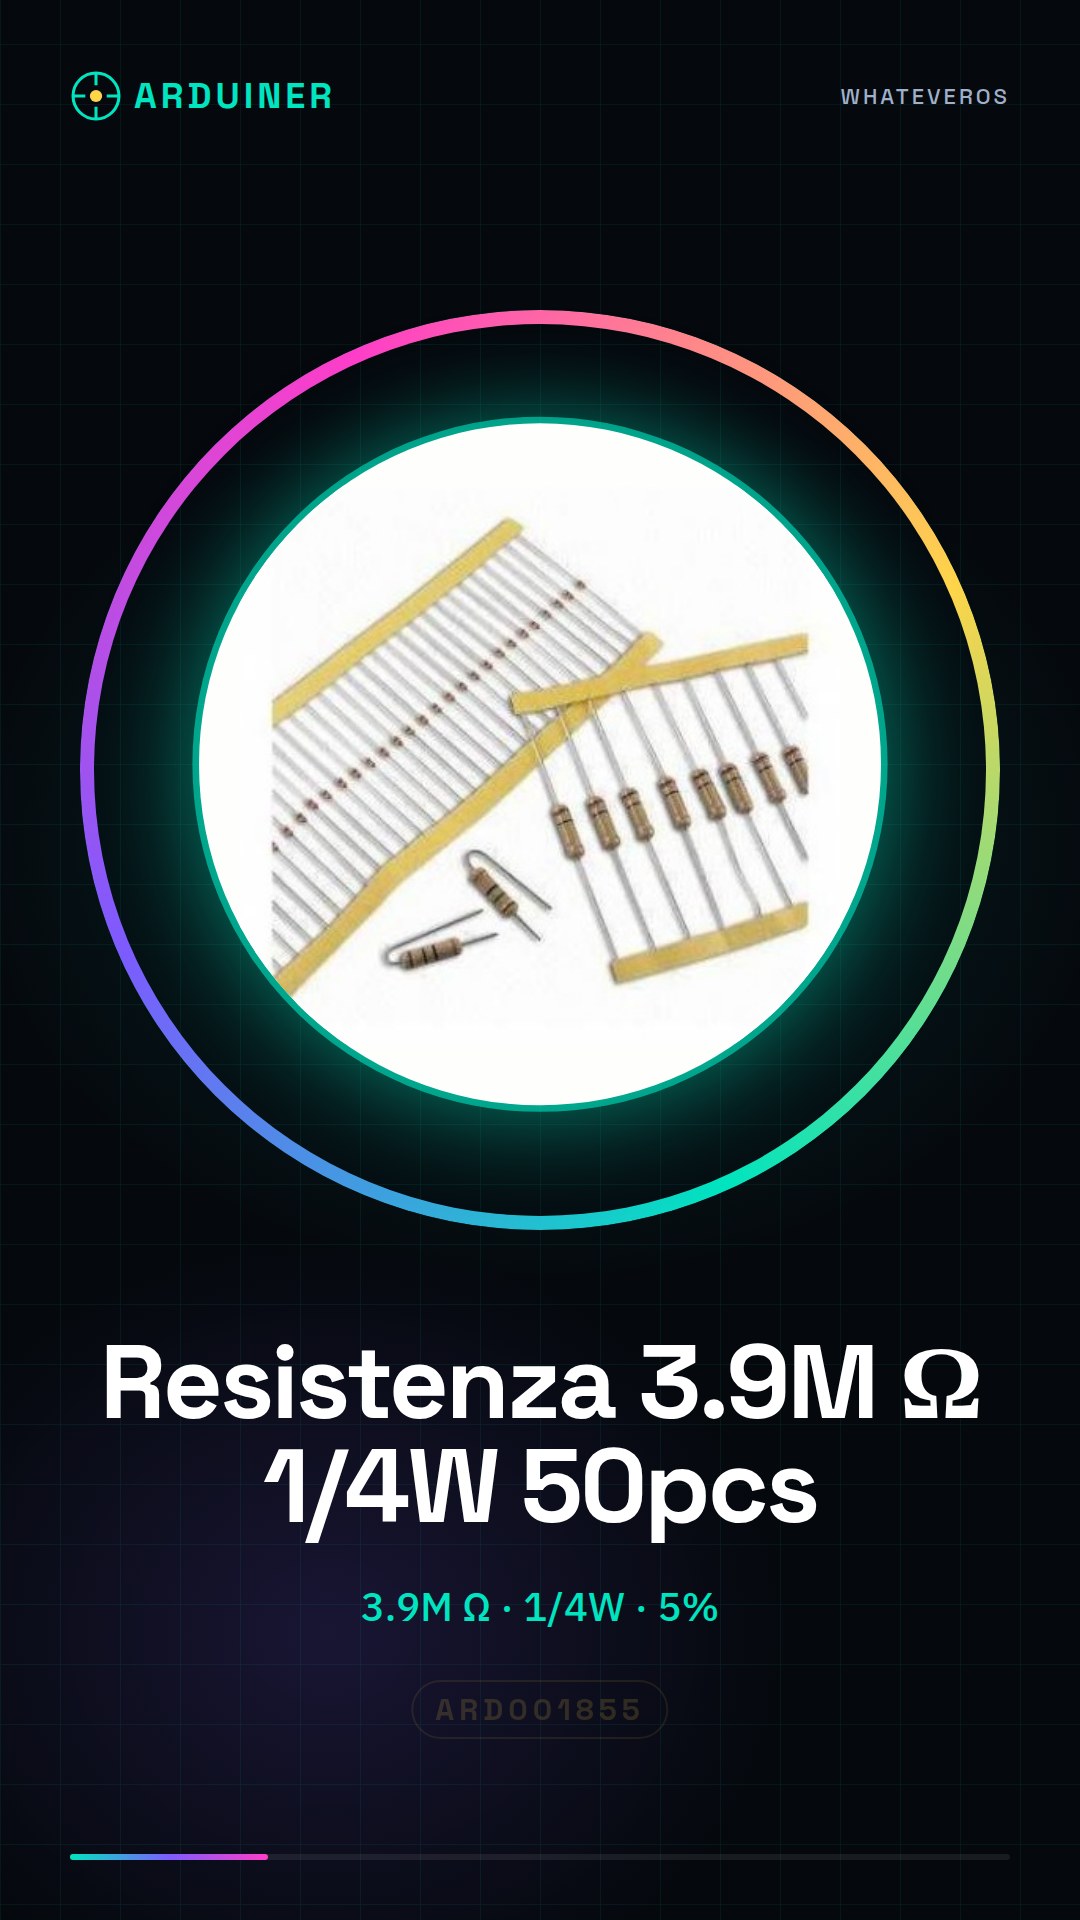
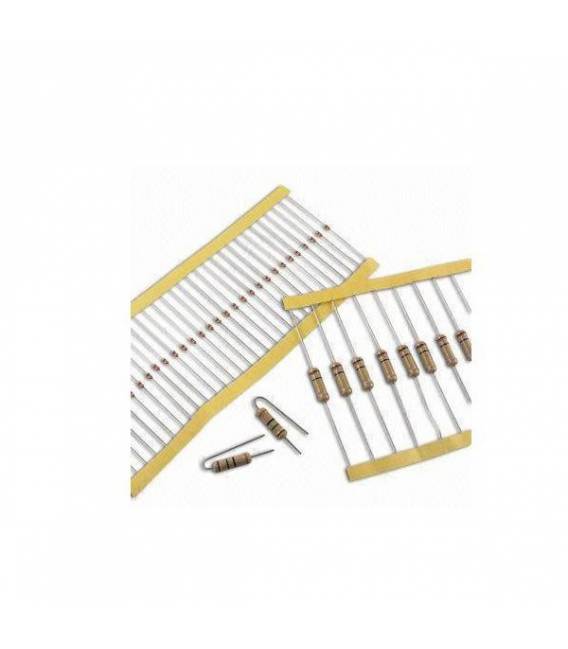
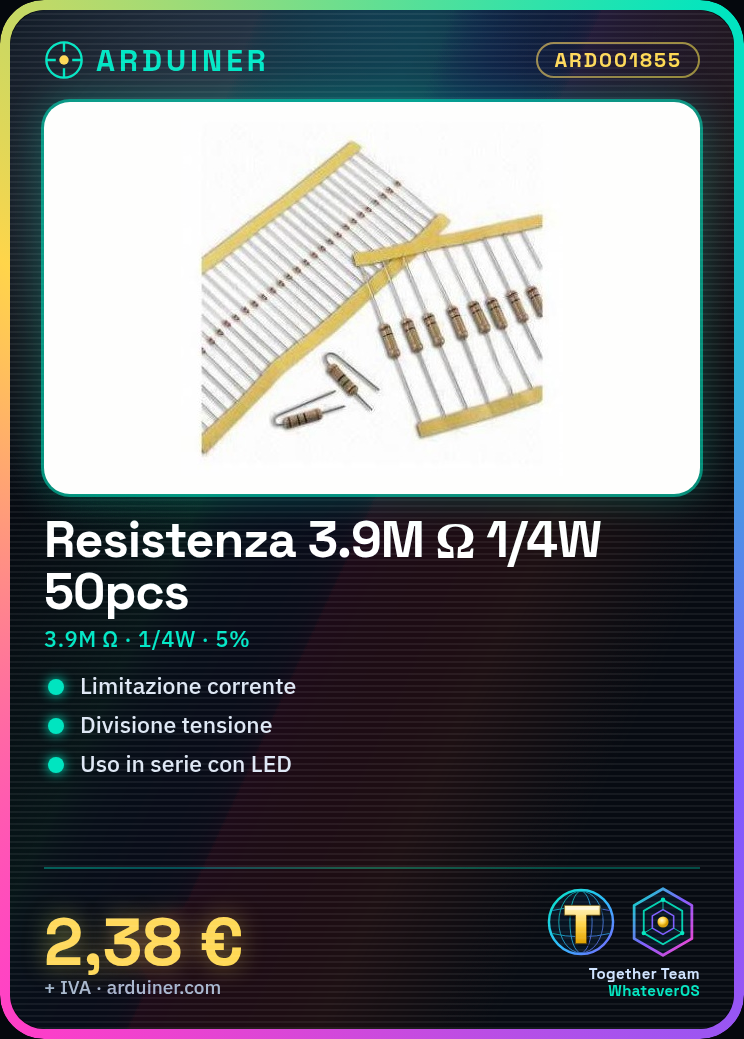
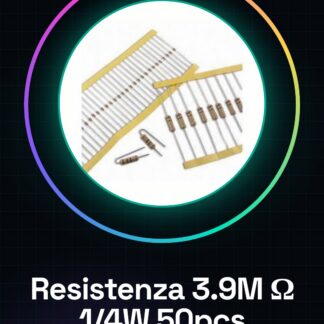
50PCS 3.9M ohm 3900000 ohm 1/4w 1/4 w 5%…
Tutorial: How to use 3.9M ohm Resistor
The 3.9M ohm resistor is a fundamental component for electronic projects that require current limiting or voltage division over wide frequency ranges. This tutorial will guide you through the use of this resistor with Arduino.
What you need
- Arduino Uno
- PCB Connectors
Steps
- Check the resistor value on the datasheet and ensure it is 3.9M ohm (3900000 ohm).
- Connect the resistor between two points of the circuit, for example between an output pin of the Arduino and a ground point, to limit the current flow.
- Use the analogRead() command in Arduino to measure the voltage on the opposite side of the resistor.
- Ensure that the power consumption does not exceed 250mW (1/4w) as specified in the datasheet.
Mini project
Create a simple light detector by connecting a resistor in series with a photoresistor and measure the analog value to control the lighting.
Common mistakes
- Using a resistor that is too high or too low
- Ignoring the power limits of the resistor
Recommended accessories
- LDR Photoresistor 5%
- Arduino Uno R3
- Jumper Connection M/F
- 3D Printed Case for Arduino Uno
Frequently asked questions
Can this resistor be used in series with an LED?
Check the datasheet for the power rating of the resistor and the current value of the LED before connecting them.
What is the operating temperature range for this resistor?
Consult the specific datasheet to obtain this information.
Reviews
There are no reviews yet.