 EN
 IT Italiano
 ES Español
 FR Français
 DE Deutsch
Description
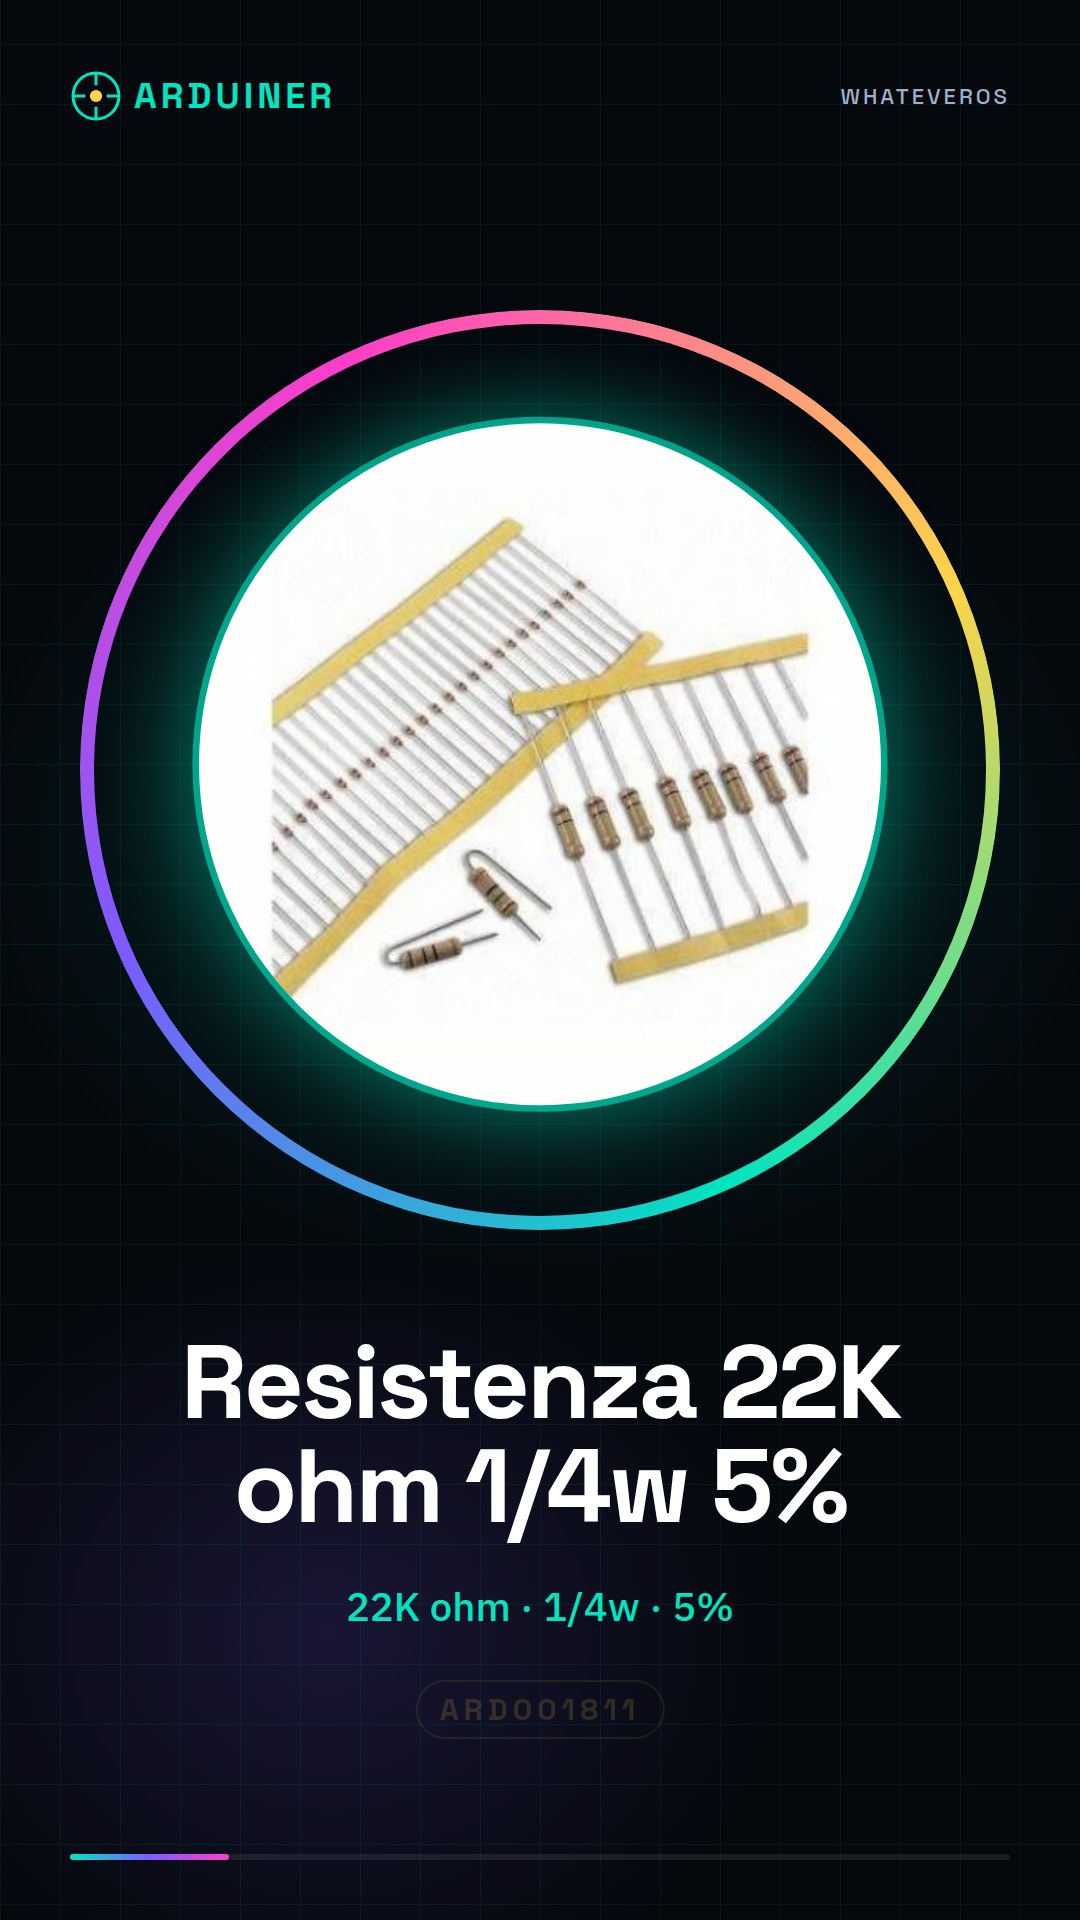
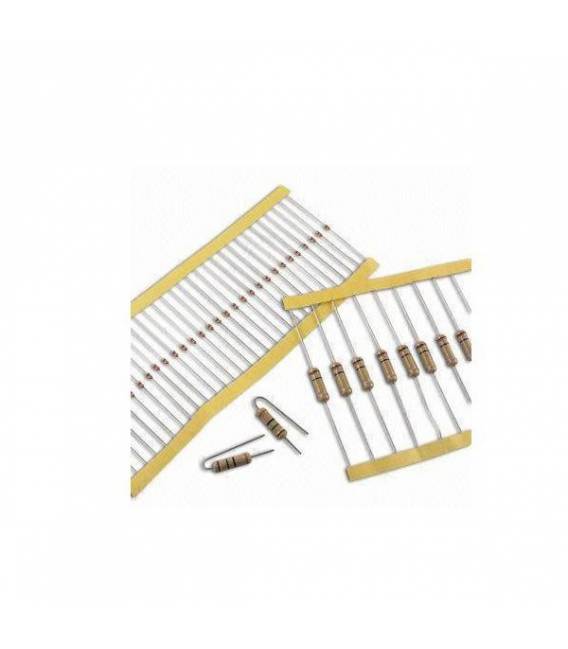
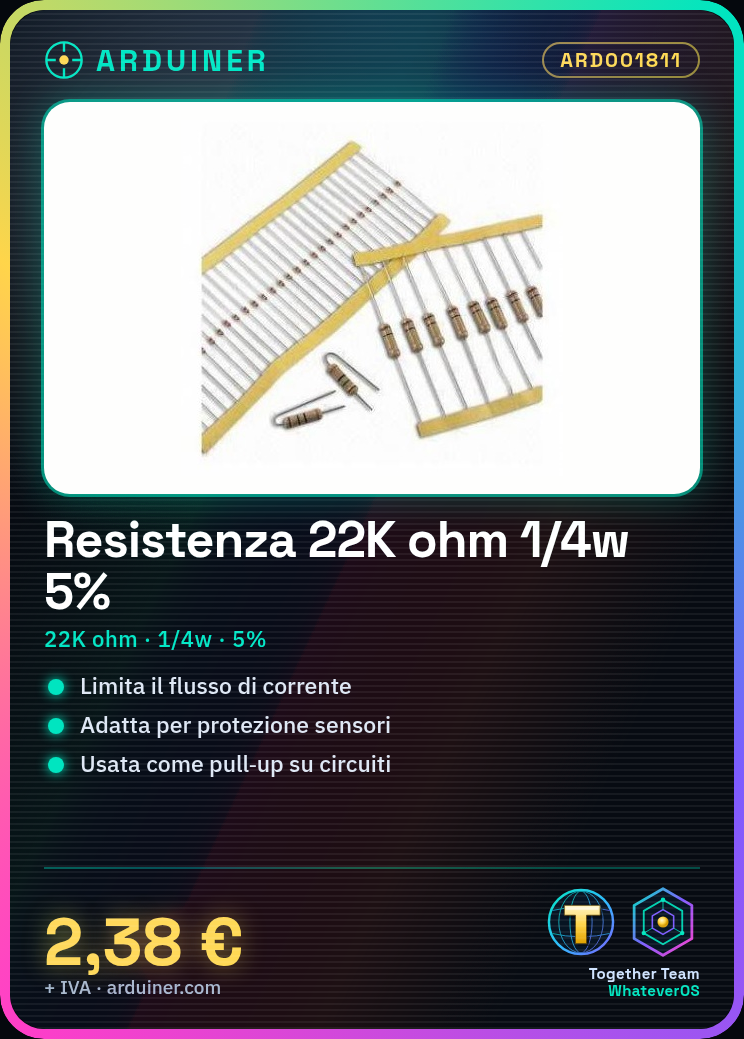
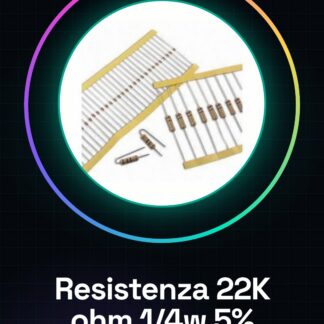
50PCS 22K ohm 22000 ohm 1/4w 1/4 w 5% resistor
Tutorial: How to use 22K ohm resistor
Resistors are fundamental for limiting the flow of current in electronic circuits. This 22K ohm resistor is ideal for Arduino projects, for example to protect sensors or as pull-up.
What you need
- Arduino Uno
- Led
Steps
- Check the datasheet for the resistor value.
- Connect one end of the LED to an output pin of the Arduino.
- Connect the other end of the LED to the 22K ohm resistor.
- The other end of the resistor is connected to ground (GND).
- Open the Arduino software and write a sketch to turn the LED on and off at a basic rhythm.
Example code
void setup() {
  pinMode(13, OUTPUT);
}

void loop() {
  digitalWrite(13, HIGH);
  delay(1000);
  digitalWrite(13, LOW);
  delay(1000);
}
Mini project
Create a simple blink clock that changes the on and off rhythm of the LED every time a button connected to a similar resistor is pressed.
Common mistakes
- Using a resistor that is too small can cause damage to the component.
- Connect the resistor incorrectly relative to the LED.
- Ignore the datasheet and use unsafe voltage values.
Recommended accessories
- Arduino Uno
- Momentary push button
- USB cable for Arduino
Frequently asked questions
What is the maximum power of the resistor?
Check the datasheet, usually 1/4W.
Can I use this resistor with other types of circuits?
Yes, but always verify the correct value needed for your project.
Reviews
There are no reviews yet.