 EN
 IT Italiano
 ES Español
 FR Français
 DE Deutsch
Description
Technical Description
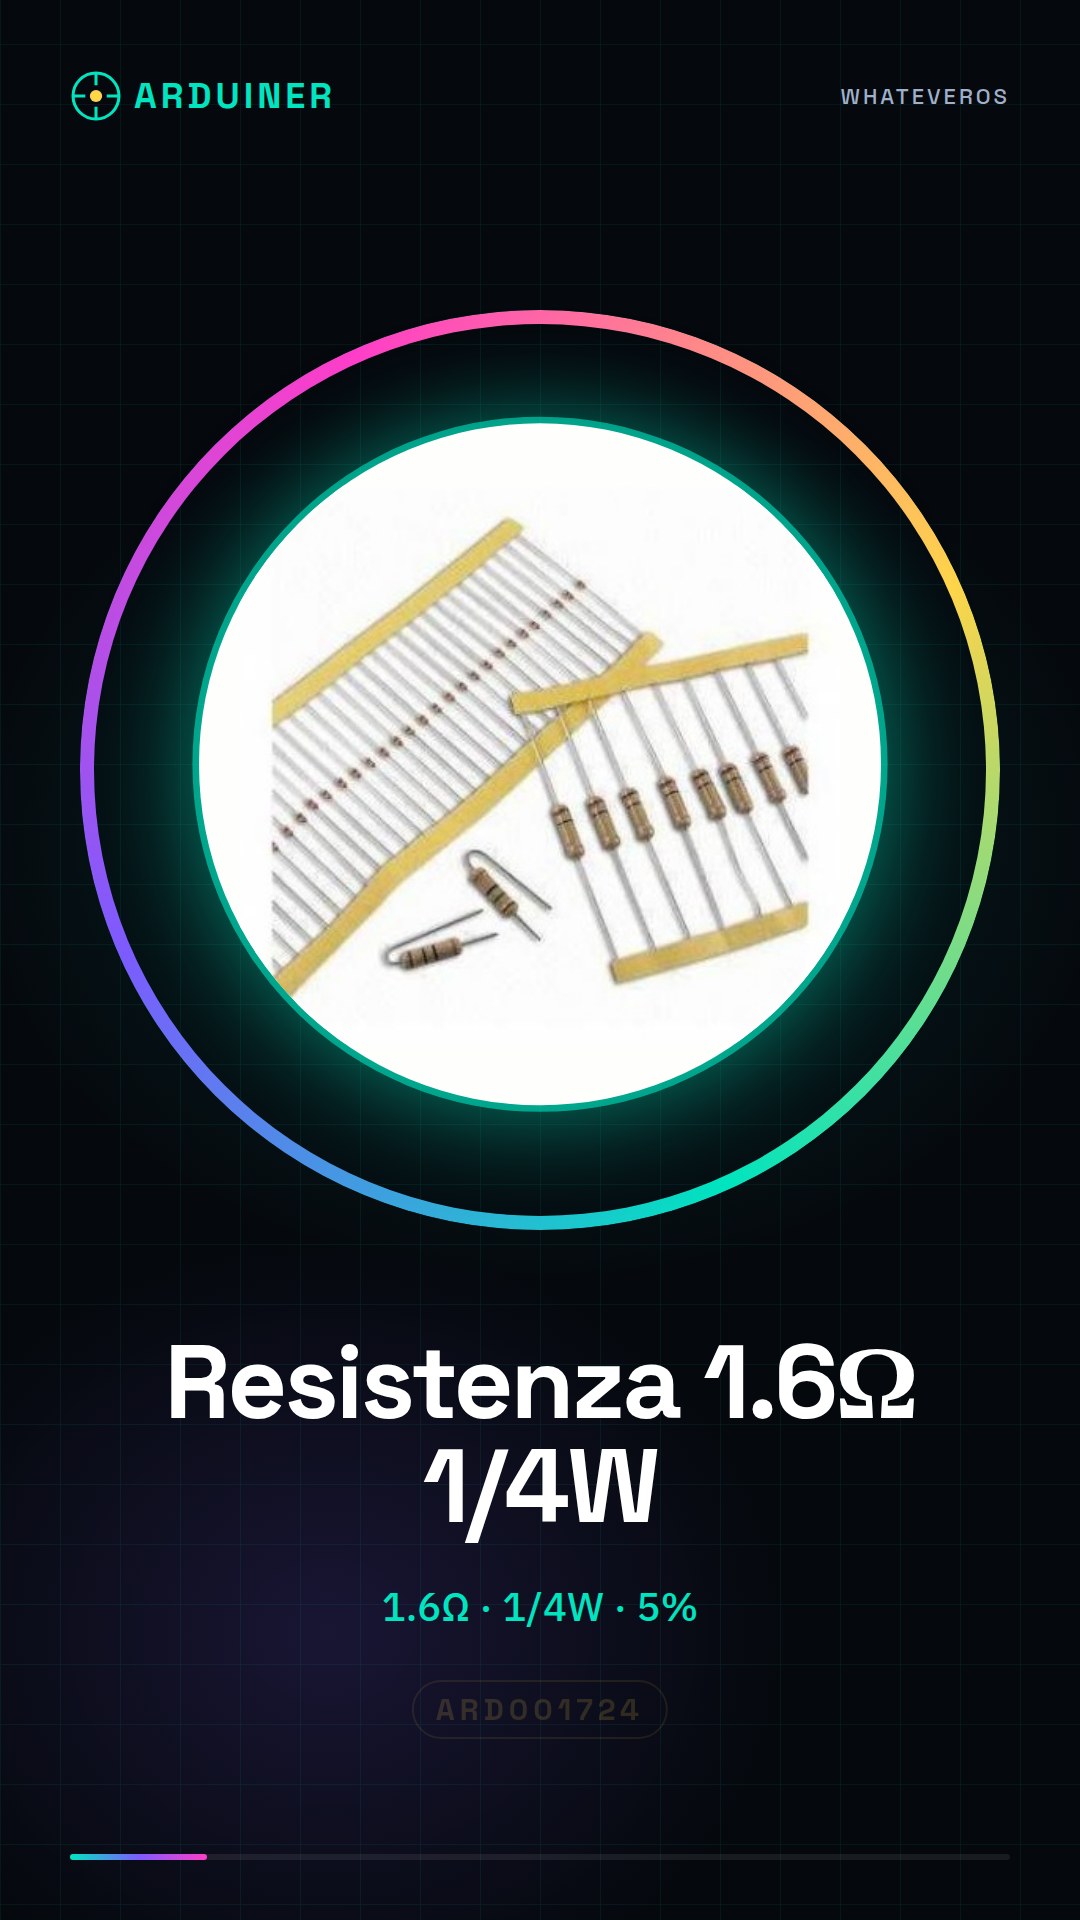
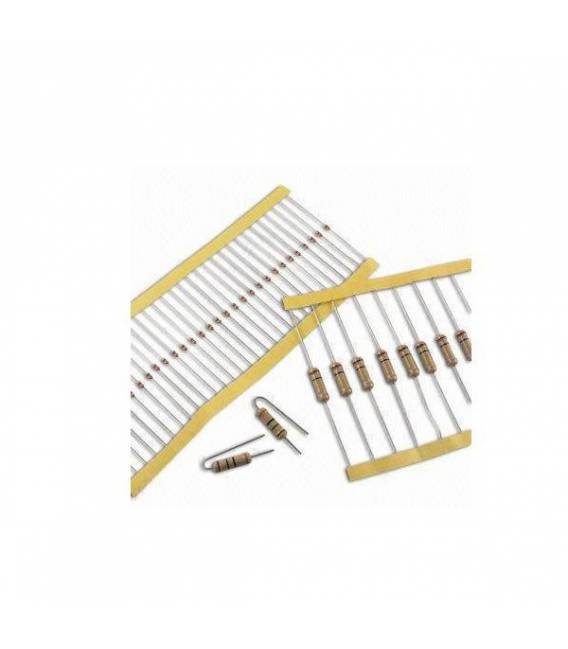
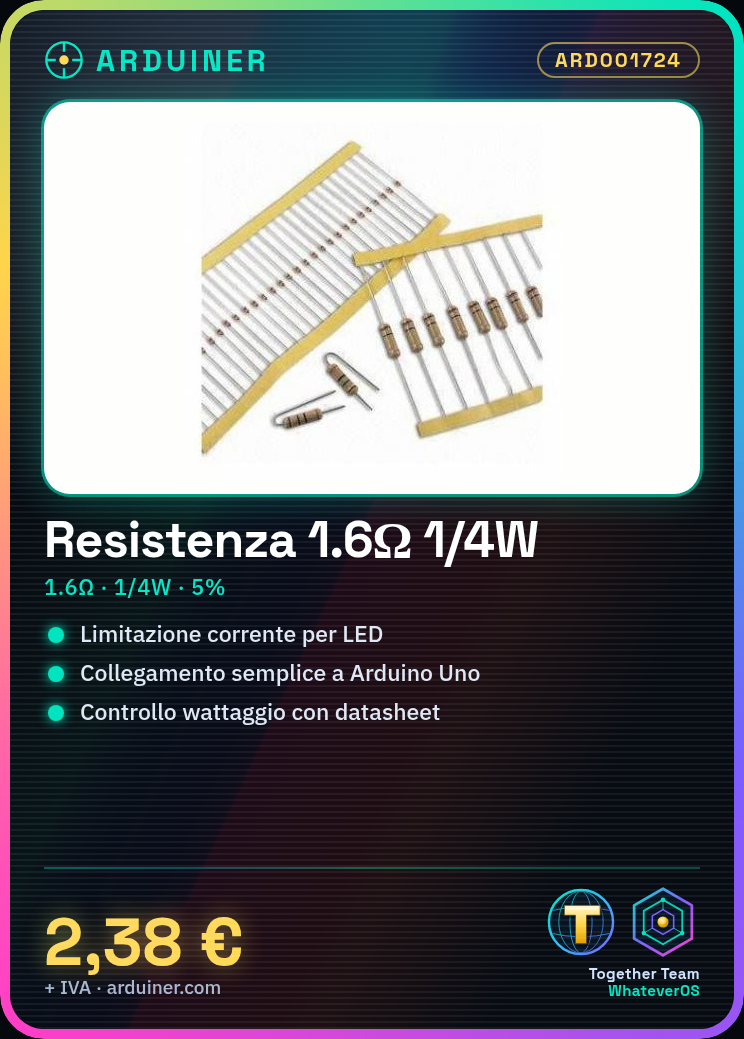
The 1.6 ohm 1/4w 5% resistor is a fundamental component for the realization of electronic circuits. It primarily serves as a current limiter and as a protective element for sensitive devices such as LEDs. The resistor easily connects to the output pins of a circuit or a microcontroller like Arduino, contributing to the proper functionality of the circuit.
The resistance value and the specified wattage are critical for the correct selection and use of the resistor. The resistor should be chosen based on the circuit requirements, considering the resistance value and the maximum allowed wattage to prevent overheating or damage to the component.
Key Specifications
| Parameter | Value |
| Model | 1.6 ohm 1/4w 5% Resistor |
| Quantity | 50 pieces |
| Resistance Value | 1.6 ohm |
| Wattage | 1/4w |
| Tolerance | 5% |
| Dimensions | N/A (see manufacturer’s datasheet) |
| Container | N/A (see manufacturer’s datasheet) |
Installation and Usage
- Check the resistance value and wattage specified in the datasheet.
- Connect one end of the resistor to the output pin of the Arduino or circuit.
- Connect the other end of the resistor to ground (GND) or another point in the circuit.
- Ensure the wattage of the resistor is sufficient for your application.
- Perform a functionality test of the circuit.
Compatibility and Requirements
- The resistor is compatible with Arduino Uno and other microcontrollers.
- It can be used in prototyping circuits and on prototyping boards.
- It is used to limit current in circuits with LEDs or other sensitive devices.
Limits and Important Notes
- The resistor is non-polarized and can be connected in any direction.
- The wattage of the resistor must be sufficient for your application.
- Do not use the resistor without first checking the specifications on the datasheet.
- Do not connect a resistor with insufficient wattage to the circuit.
Troubleshooting
The resistor overheats.
Probable cause: The wattage of the resistor is not sufficient for your application.
Solution: Choose a resistor with a higher wattage.
The LED connected to the resistor does not light up.
Probable cause: The resistor may not be correctly connected to the circuit.
Solution: Check the connections and the polarity of the LED.
The circuit does not work as expected.
Probable cause: The resistor may have a different value than specified.
Solution: Verify the resistance value on the datasheet.
The resistor burns out.
Probable cause: The wattage of the resistor is not sufficient for your application.
Solution: Choose a resistor with a higher wattage.
Use cases
LED Interface with Arduino
Objective: Create a simple LED interface with Arduino.
What you need: Arduino Uno, LED, 1.6 ohm resistor.
Steps: 1) Connect the resistor between the Arduino output pin and the LED. 2) Write a sketch that alternately turns the LED on and off.
Expected result: The LED alternately turns on and off.
LED Protection Circuit
Objective: Protect an LED from excessive currents.
What you need: Arduino Uno, LED, 1.6 ohm resistor.
Steps: 1) Connect the resistor between the Arduino output pin and the LED. 2) Verify that the wattage of the resistor is sufficient for your application.
Expected result: The LED is protected from excessive currents.
Sensor Protection Circuit
Objective: Protect a sensor from excessive current.
What you need: Arduino Uno, sensor, 1.6 ohm resistor.
Steps: 1) Connect the resistor between the Arduino output pin and the sensor. 2) Verify that the wattage of the resistor is sufficient for your application.
Expected result: The sensor is protected from excessive current.
Relay protection circuit
Objective: Protect a relay from excessive current.
What you need: Arduino Uno, relay, 1.6 ohm resistor.
Steps: 1) Connect the resistor between the Arduino output pin and the relay. 2) Verify that the wattage of the resistor is sufficient for your application.
Expected result: The relay is protected from excessive current.
Motors protection circuit
What you need: Arduino Uno, motor, 1.6 ohm resistor.
Steps: 1) Connect the resistor between the output pin of the Arduino and the motor. 2) Verify that the wattage of the resistor is sufficient for your application.
Expected result: The motor is protected from excessive currents.
Protection circuit for buzzer
Objective: Protect a buzzer from excessive currents.
What you need: Arduino Uno, buzzer, 1.6 ohm resistor.
Steps: 1) Connect the resistor between the output pin of the Arduino and the buzzer. 2) Verify that the wattage of the resistor is sufficient for your application.
Expected result: The buzzer is protected from excessive currents.
Protection circuit for display
Objective: Protect a display from excessive currents.
What you need: Arduino Uno, display, 1.6 ohm resistor.
Steps: 1) Connect the resistor between the Arduino output pin and the display. 2) Verify that the wattage of the resistor is sufficient for your application.
Expected result: The display is protected from excessive currents.
Temperature sensor protection circuit
Objective: Protect a temperature sensor from excessive currents.
What you need: Arduino Uno, temperature sensor, 1.6 ohm resistor.
Steps: 1) Connect the resistor between the Arduino output pin and the temperature sensor. 2) Verify that the wattage of the resistor is sufficient for your application.
Expected result: The temperature sensor is protected from excessive currents.
In the package
- 50 pieces
Complete the project
- 50 Pieces 1000 ohm 1k ohm 1/4w 1/4 w 5%: Used to limit current in circuits with LEDs or other sensitive devices.
- 50 Pieces Resistance, 10000 ohm, 10k, ohm 1/4w 1/4 w 5%, Arduino Compatible Resistors: It is used to limit current in circuits with LEDs or other sensitive devices.
- 50 Pieces Resistance 100 ohm 1/4w 5%: It is used to limit current in circuits with LEDs or other sensitive devices.
- 50 Pieces Resistance 220 ohm 1/4w 1/4 w 5%: It is used to limit current in circuits with LEDs or other sensitive devices.
- 50 Pieces Resistance 4.7K ohm 4700 ohm 1/4w 1/4 w 5%: It is used to limit current in circuits with LEDs or other sensitive devices.
Technical FAQs
What is the wattage of the resistor?
The resistor has a value of 1/4w, check the datasheet for additional specifications.
How much current can pass through this resistor?
Check the wattage specification on the datasheet to calculate the maximum current flow.
How to verify the resistance value?
Check the resistance value on the datasheet or using a multimeter.
How to check the wattage of a resistor?
Check the wattage of the resistor on the datasheet or using a multimeter.
Tutorial: How to use 1.6 ohm Resistor
The 1.6 ohm resistor is a fundamental component for those venturing into the world of electronics, useful for both beginners and those who wish to design more complex circuits.
What you need
- Prototype Circuit Board
- Arduino Uno
- Connectors
Steps
- Check the resistance of the component on the datasheet.
- Connect one end of the resistor to the output pin of the Arduino.
- Connect the other end to ground (GND) or another point in the circuit as needed.
- Ensure that the wattage of the resistor is sufficient for your application, checking the datasheet if necessary.
Mini project
Create a simple LED interface with Arduino: connect an LED and a resistor to an Arduino output pin. Write a sketch that alternately turns the LED on and off to demonstrate the resistor’s current limiting function.
Common mistakes
- Connect a resistor with insufficient wattage to the circuit, causing overheating or damage to the component.
- Use the resistor without first checking the specifications on the datasheet.
- Omit the use of a resistor as a current limiter for an LED.
- Connect the wrong end of the resistor (non-polarized, can be connected in either direction)
Recommended accessories
- Arduino Uno
- Prototype circuit
- LEDs of various colors
- External connection to the Arduino
Frequently asked questions
What is the wattage of the resistor?
The resistor has a value of 1/4w, check the datasheet for additional specifications.
How much current can pass through this resistor?
Check the wattage specification on the datasheet to calculate the maximum current flow.

Reviews
There are no reviews yet.