 EN
 IT Italiano
 ES Español
 FR Français
 DE Deutsch
Description
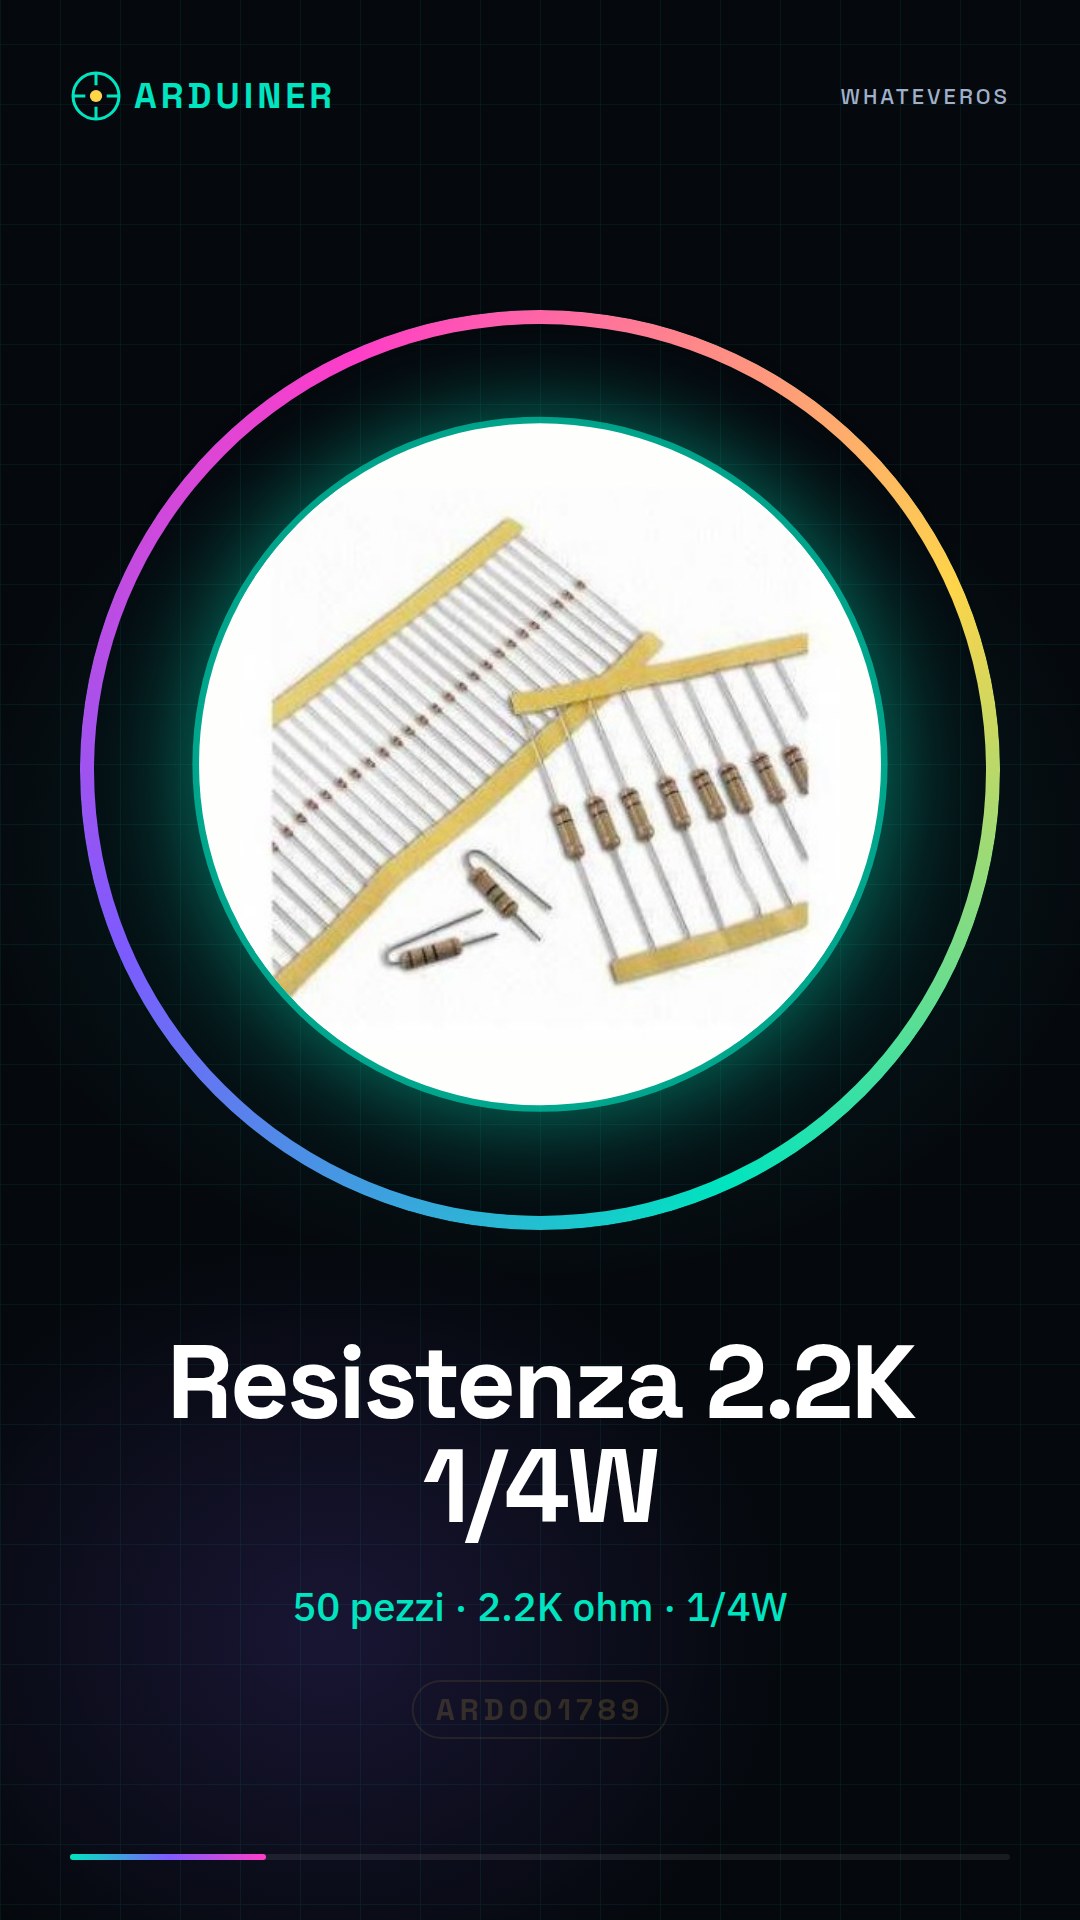
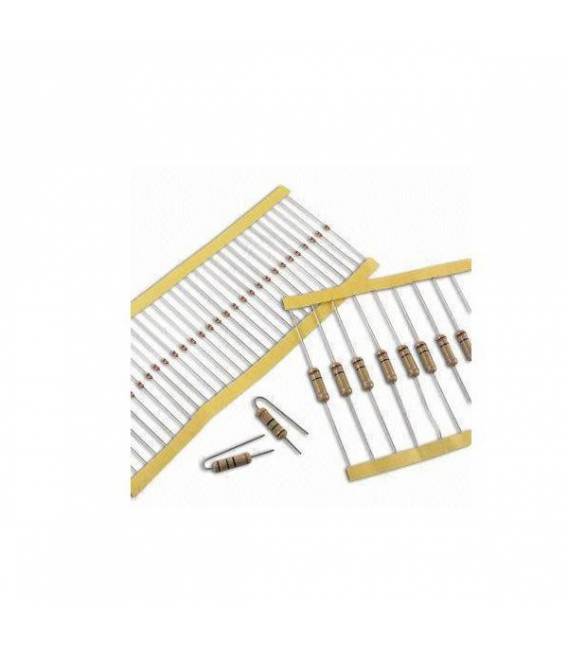
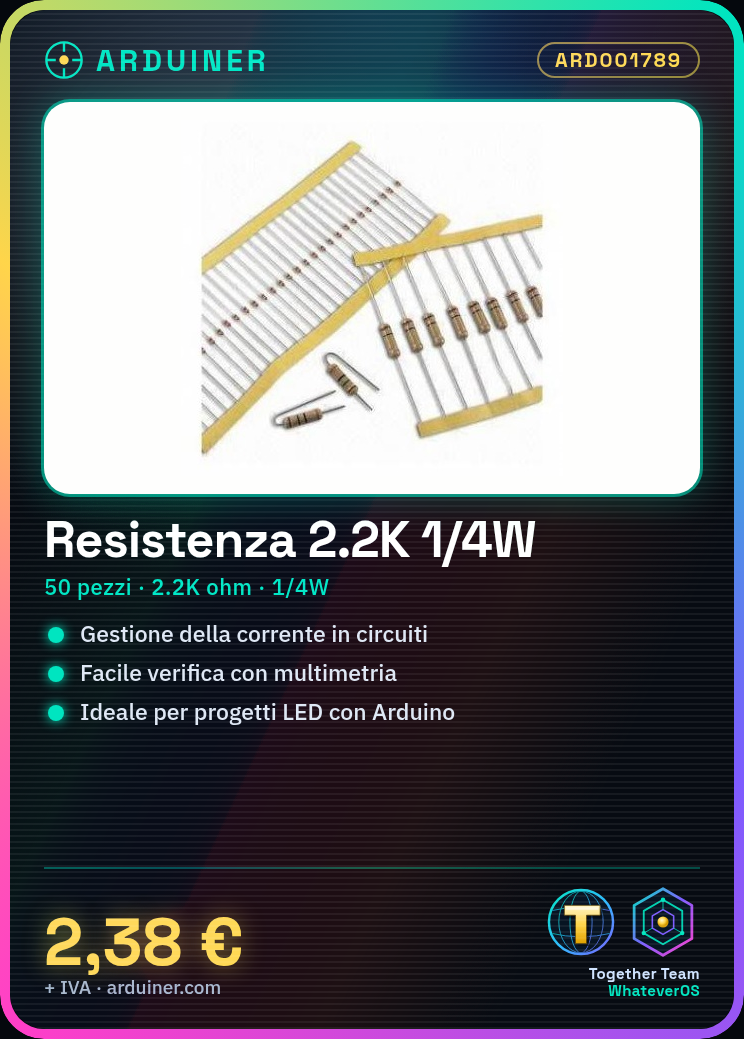
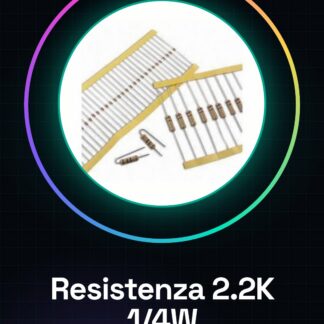
50PCS 2.2K ohm 2200 ohm 1/4w 1/4 w 5%
Tutorial: How to use 2.2K ohm Resistor
The 2.2kΩ resistor is one of the fundamental components for those starting to build electronic circuits with Arduino or other microcontrollers. This component will help you control the flow of current in your creations.
What you need
- Arduino Uno
- Head Connector
Steps
- Check the resistance of your package with a multimeter.
- Connect the red end of the resistor to a digital pin of the Arduino (for example, pin 13).
- Connect the other end (black or blue) to the ground of the circuit.
- Open Arduino IDE and load a test sketch to test the resistor.
Example code
void setup() {
pinMode(13, OUTPUT);
}

void loop() {
digitalWrite(13, HIGH); // accendi il LED collegato al pin 13
delay(1000);             // attende un secondo
digitalWrite(13, LOW);   // spegni il LED
delay(1000);              // attende un secondo
}
Mini project
Create a simple light control interface with Arduino and the resistor. Connect an LED to a digital pin of the Arduino through the resistor, then write a sketch to turn the LED on and off.
Common mistakes
- Connect the resistor leads to the circuit incorrectly.
- Use a resistor with the wrong value causing damage to connected components.
- Do not verify the resistor with a multimeter before use.
Recommended accessories
- Arduino Uno
- LEDs in various colors
- 3D printer connection for custom projects
Frequently asked questions
What is the tolerance of the resistor?
The tolerance is 5%, check the datasheet.
How much power can this resistor dissipate?
It can dissipate up to 1/4 watt, check the datasheet.
Reviews
There are no reviews yet.