 EN
 IT Italiano
 ES Español
 FR Français
 DE Deutsch
Description
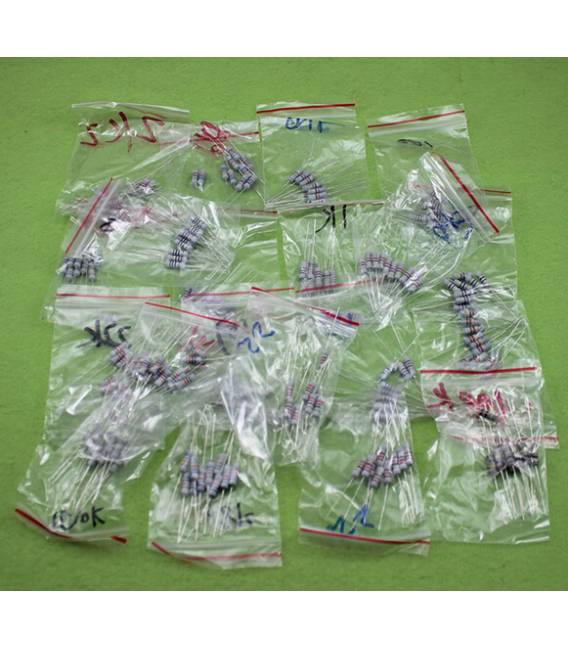
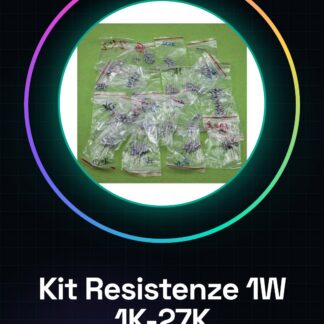
1W resistor kit 1k-27k, 10 pieces of 23 types: 1K 1.2K 1.5K 1.8K 2K 2.2K 2.4K 2.7K 3K 3.3K 3.6K 3.9K 4.3K 4.7K 5.1K 5.6K 6.2K 6.8K 7.5K 8.2K 9.1K 10K 12K 15K 18K 20K 22K 24K 27K1W resistor kit 1k-27k, 10 pieces of 23 types: 1K 1.2K 1.5K 1.8K 2K 2.2K 2.4K 2.7K 3K 3.3K 3.6K 3.9K 4.3K 4.7K 5.1K 5.6K 6.2K 6.8K 7.5K 8.2K 9.1K 10K 12K 15K 18K 20K 22K 24K 27K1W resistor kit 1k-27k, 10 pieces of 23 types: 1K 1.2K 1.5K 1.8K 2K 2.2K 2.4K 2.7K 3K 3.3K 3.6K 3.9K 4.3K 4.7K 5.1K 5.6K 6.2K 6.8K 7.5K 8.2K 9.1K 10K 12K 15K 18K 20K 22K 24K 27K
We have the technical specifications of all components available, should they not be present in the product download sheet, send a message from the contact us form and we will publish them as soon as possible on our website.
Tutorial: How to use Resistor Kit 1W
This resistor kit is ideal for Arduino projects and electronic prototypes. It contains a variety of values that cover most basic requirements, making the design process easier and less expensive.
What you need
- Arduino Uno
- Breadboard
- Connectors
Steps
- Open the Arduino IDE on a computer.
- Connect the Arduino to the computer via USB.
- Check the desired resistance on the datasheet and connect it to the breadboard.
- Write a simple sketch to test the resistance (see below).
- Upload the sketch to Arduino.
- Monitor the circuit behavior using the Arduino serial monitor.
Example code
void setup() { Serial.begin(9600); }

void loop() {
  int sensorValue = analogRead(A0);
  float voltage = sensorValue * (5.0 / 1023.0);
  Serial.println(voltage);
}
Mini project
Create a simple light sensor by connecting a resistor in series with a photoresistor and pin A0 of the Arduino, then display the light value on the serial monitor.
Common mistakes
- Using a resistance that is too small could damage the connected component.
- Connecting the resistor incorrectly relative to the desired circuit.
- Not verifying voltage and current values before connecting the resistor.
Recommended accessories
- Arduino Uno
- Breadboard
- Connections exclusively for Arduino
- Basic Kit for Arduino Projects
Frequently asked questions
What is the maximum current I can pass through a resistor in this kit?
Check the datasheet of the specific component.
How can I calculate the power dissipated by a resistor?
Use the equation P = V x I, where V is the voltage difference between the two ends of the resistor and I is the current flowing through it.
What are the common applications of resistors in this kit?
Resistors can be used to limit current flow, divide voltages, and create passive filters between circuit components.
Reviews
There are no reviews yet.