 EN
 IT Italiano
 ES Español
 FR Français
 DE Deutsch
Description
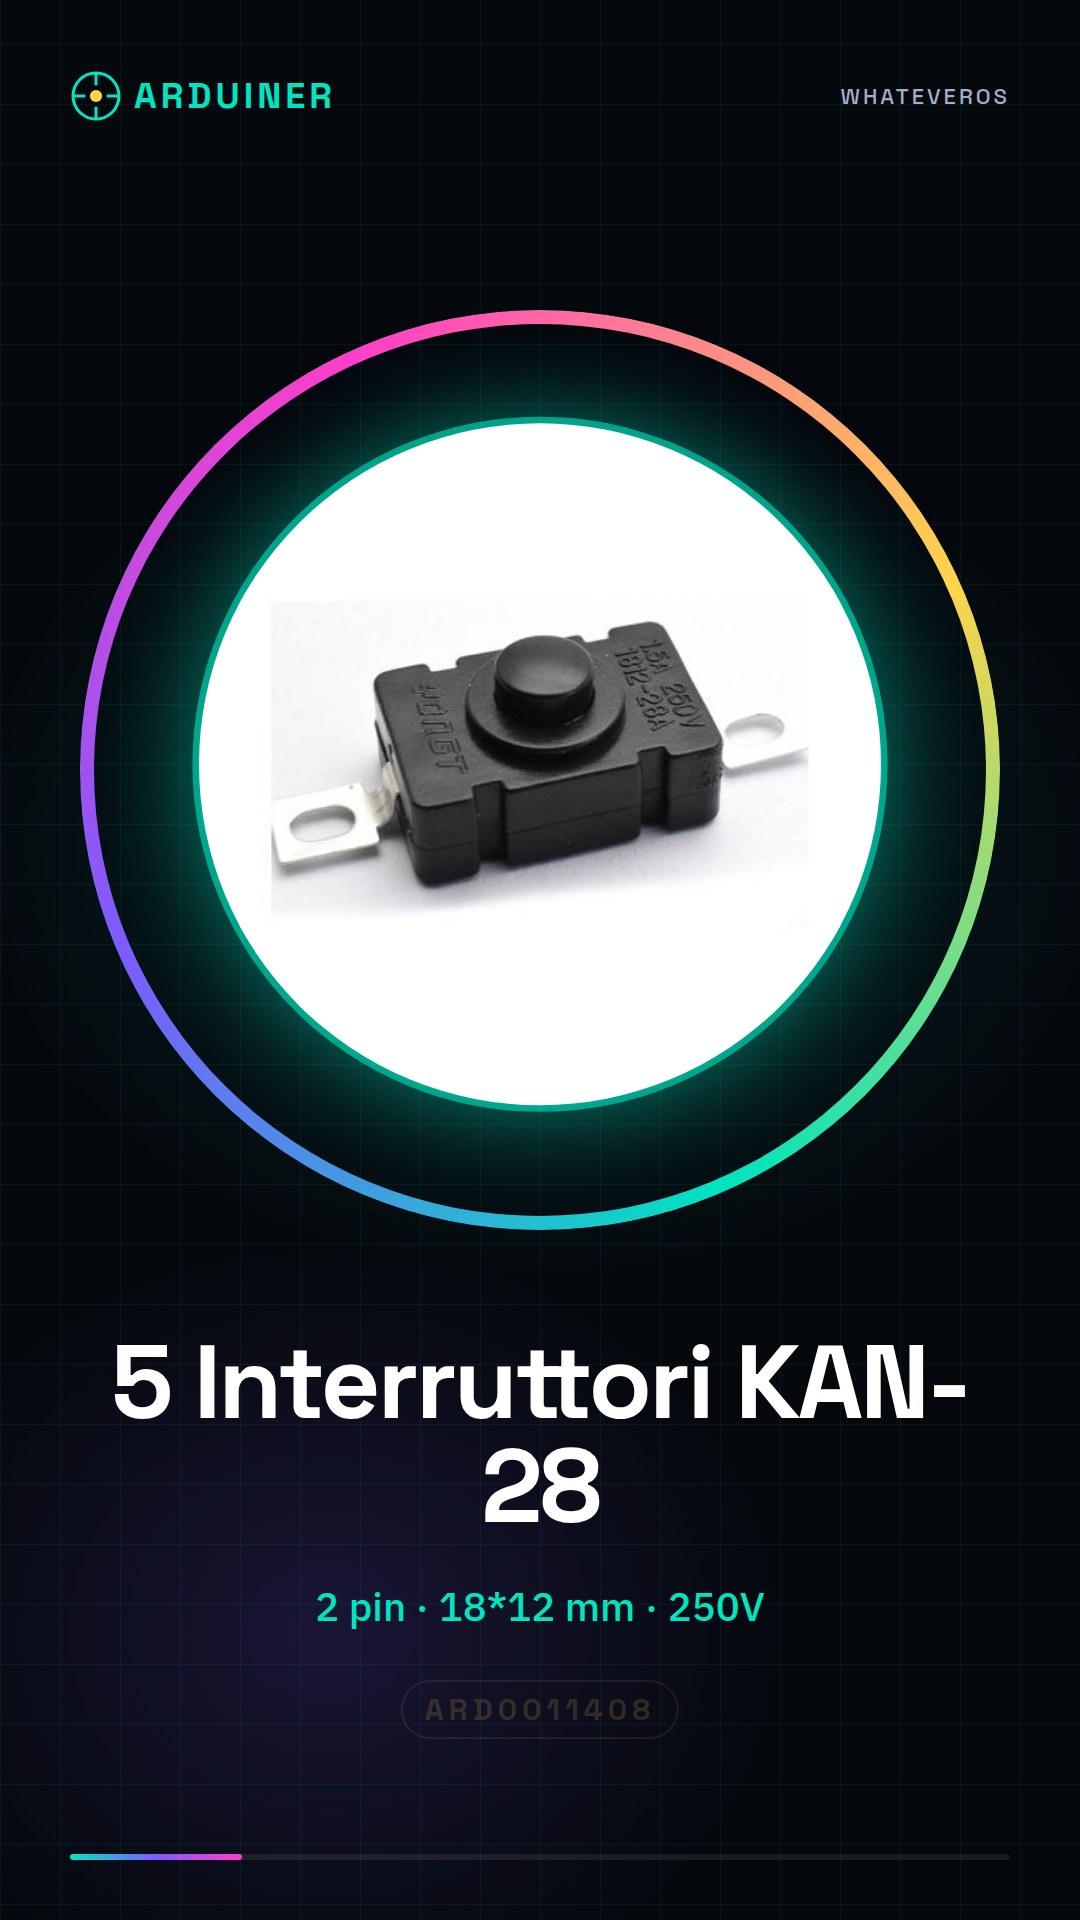
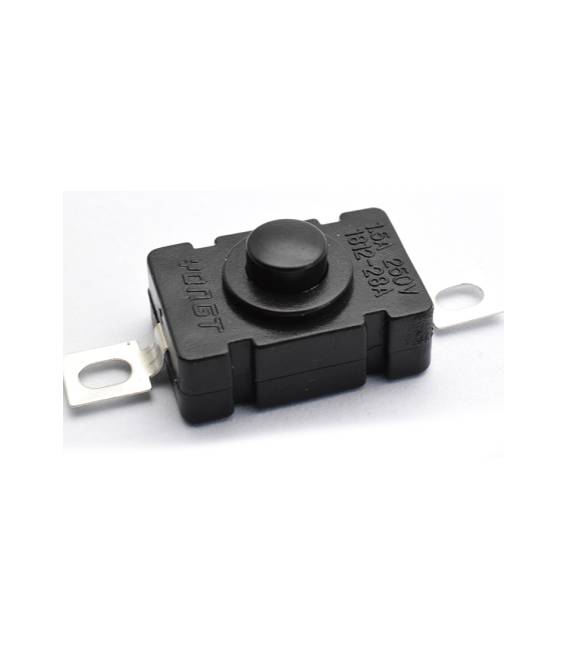
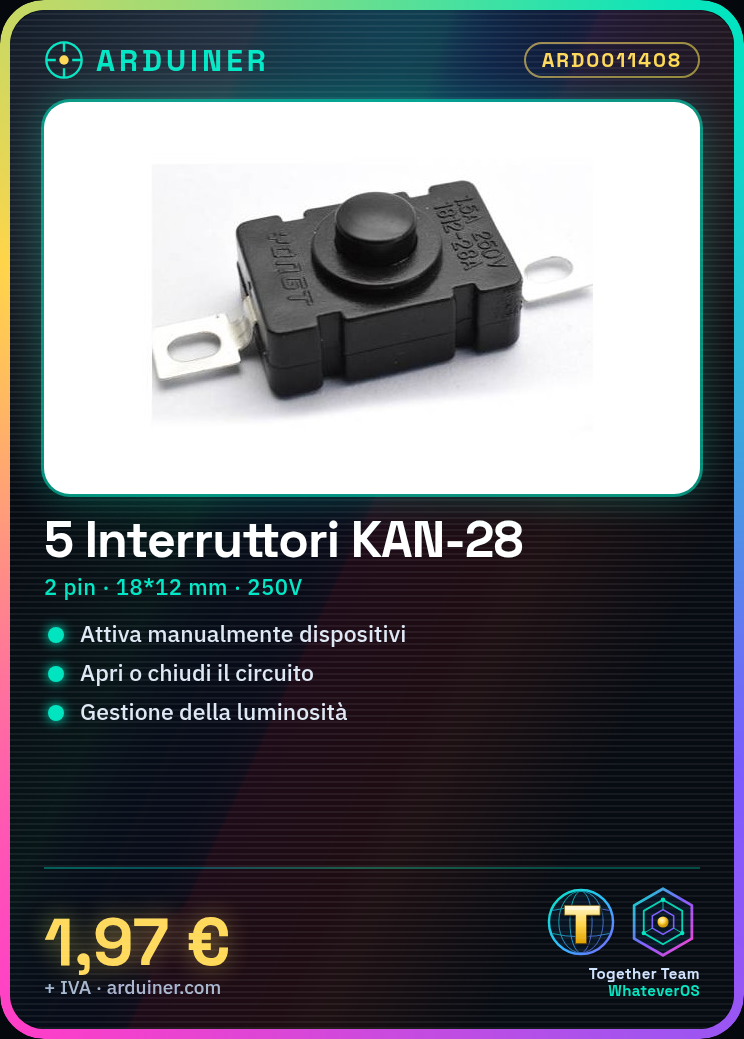
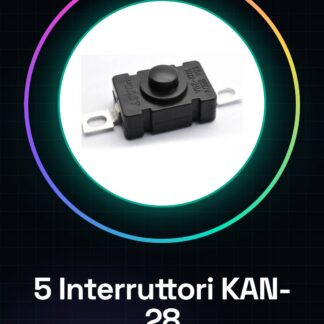
The KAN-28 is an electronic component used to manually activate devices or circuits through two pins, allowing the circuit to be opened or closed based on its position. Features Model: KAN-28 Connection points: 2-pin Dimensions: 18 * 12mm Maximum current: see datasheet Maximum voltage: 250V Use The KAN-28 switch is ideal for electronic projects requiring manual control, such as light management or LED activation. It can be used with Arduino or ESP to create interactive devices. Tutorial How to use the KAN-28 Switch The KAN-28 is a simple yet essential component for anyone designing devices that require manual activation. This two-contact switch allows circuits to open or close when pressed, making it ideal for implementing features like display control or light management. What you need Arduino Uno Jumper wires Prototyping board Steps Connect the KAN-28 switch to the prototyping board using jumper wires. Check the datasheet for correct contact positions. Connect one end of the switch to a digital pin on the Arduino and the other end to ground (GND). Write an Arduino sketch that reads the state of the switch and prints the result to the serial monitor. Test the functionality by pressing the switch to see if communication with the Arduino is correct. Example code const int interruptPin = 2; // define digital pin void setup() { pinMode(interruptPin, INPUT); // set pin as input } void loop() { if (digitalRead(interruptPin) == HIGH) { Serial.println(“Switch pressed”); } else { Serial.println(“Switch released”); } } Mini-project Create a device that turns an LED lamp on and off when the switch is pressed. Use a transistor to control current flow to the lamp. Common mistakes Connecting the switch to Arduino without first checking the correct pins in the datasheet. Omitting ground (GND) connection of the switch, preventing proper circuit operation. Using too high a value for relay or actuator associated with the switch compared to its maximum capacity.
Reviews
There are no reviews yet.