 EN
 IT Italiano
 ES Español
 FR Français
 DE Deutsch
Description
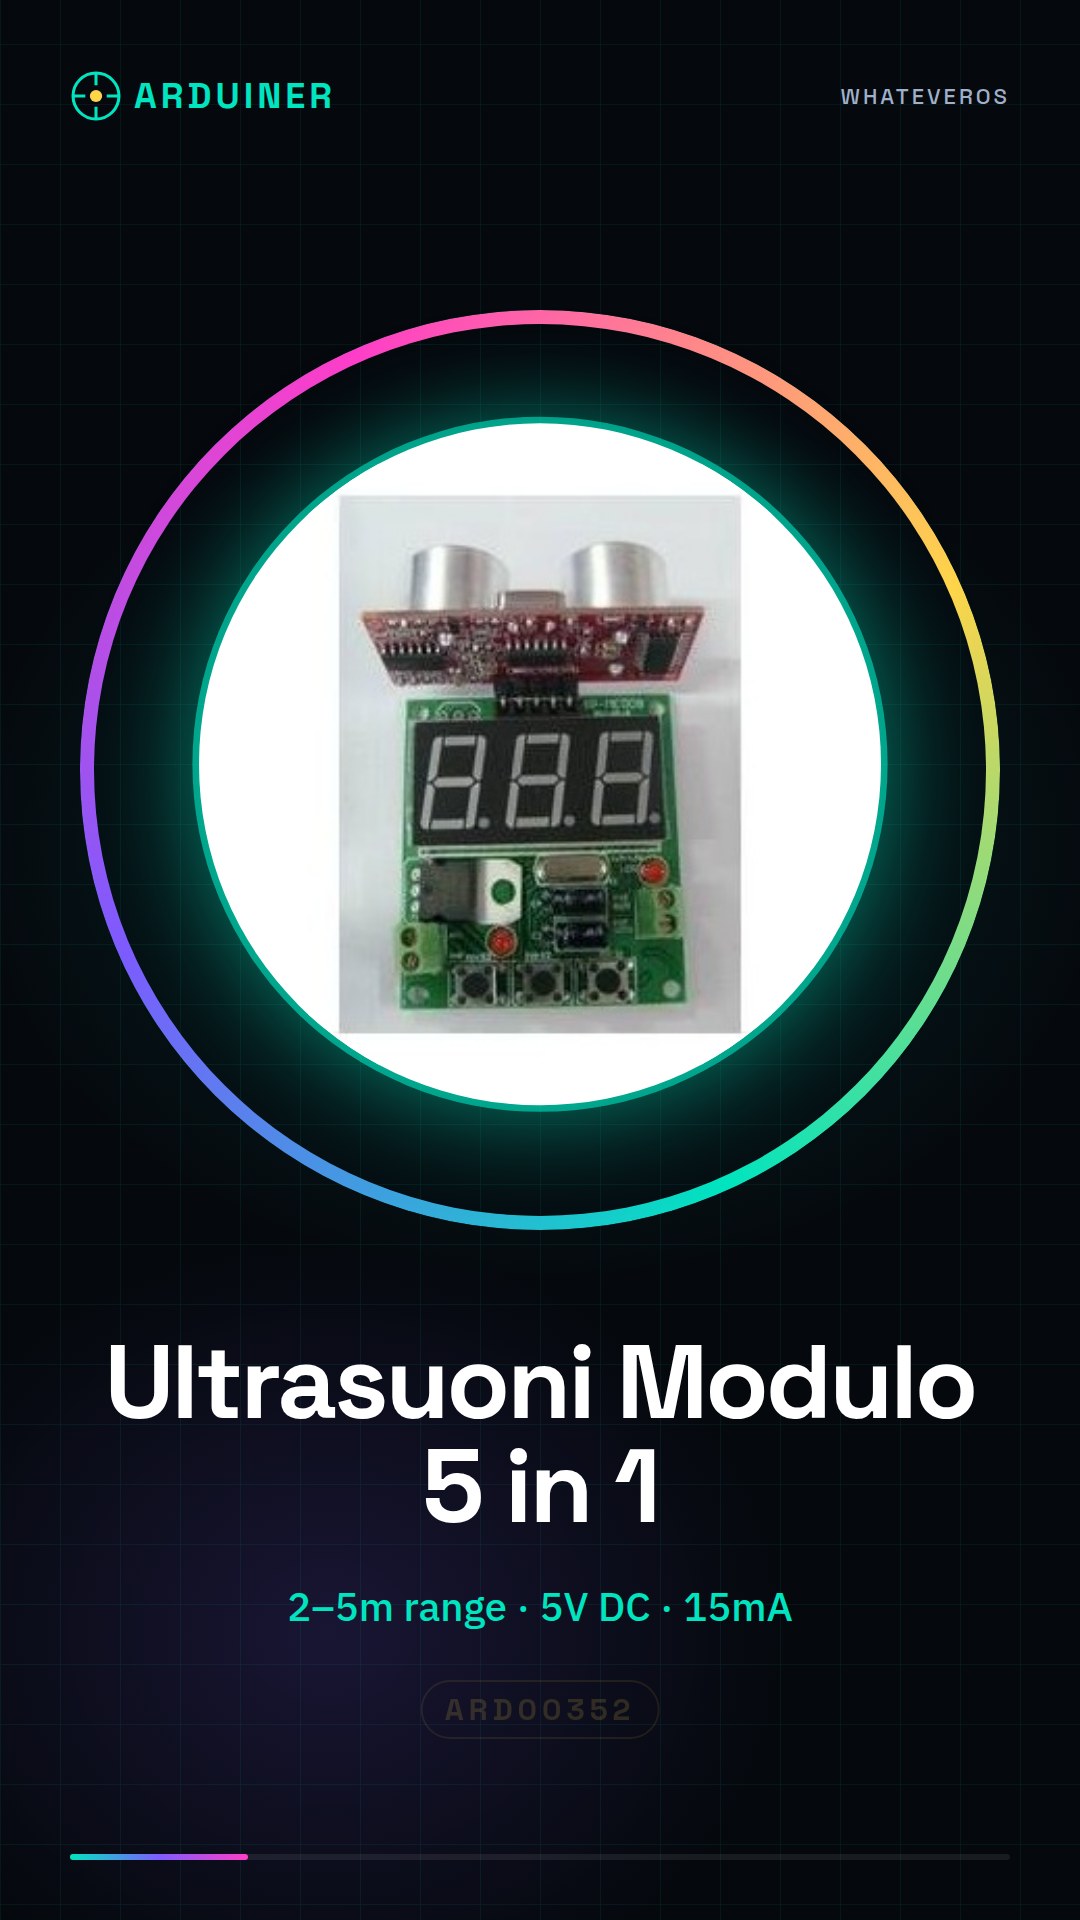
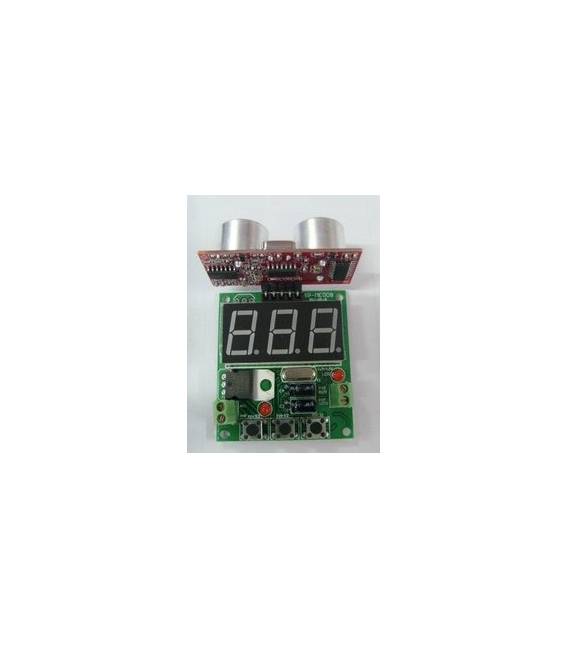
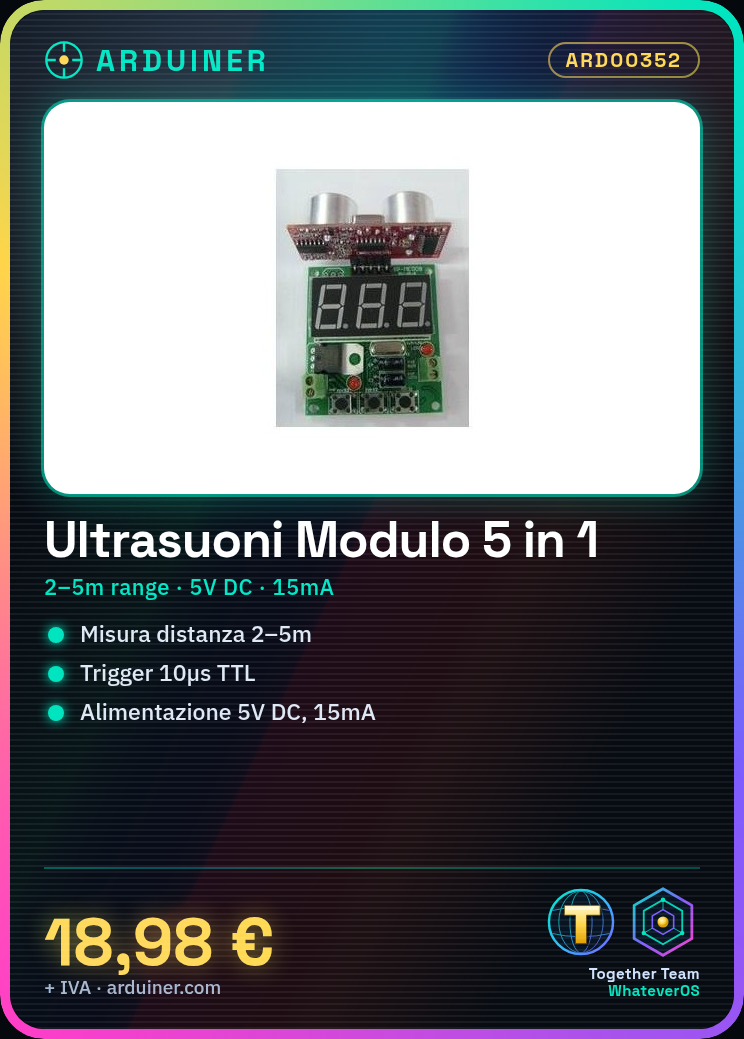
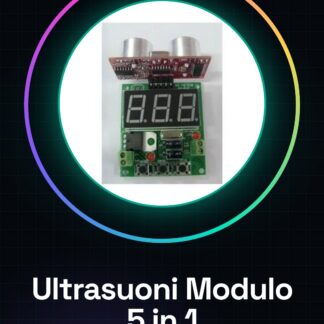
For the program, ultrasonic schematic 5 in 1 module with temperature compensation, 51 system cards,
Ultrasonic Ranging Module
DYP-ME007 Ultrasonic Ranging Module provides 2cm – 5m no – contact distance sensing features, including ultrasonic transmitter , receiver e control circuit . The the basic principle of operation is given ultrasonic module that covers a trigger signal after emission of an ultrasonic wave when the ultrasonic wave on the object and reflects back , the module outputs an echo signal to activate the time between the signal and the echo signal is weak, to determine the object distance
Electrical parameters :
Electrical parameters
DYP-ME007 ultrasonic module
Operating voltage
DC 5V
Operating current
15mA
Operating Frequency
40Hz
Maximum Range
3.5m
Recent range
3cm
Measurement Angle
15 degrees
Trigger Input signal
The 10uS ‘s TTL pulse
Output echo signal
Output TTL level signals , with an interval of proportional
Specific Dimensions
45 * 20 * 15mm
We have the technical sheet of all components available, should it not be present in the product download card, send us a message from the contact us form and we will publish it as soon as possible on our website.
Tutorial: How to use 5 in 1 Ultrasonic Module
This electronic module measures distance with precision, ideal for autonomy and navigation projects. Useful for beginners and designers.
What you need
- Arduino Uno or compatible
- Power cable
- 1 kΩ resistor
- Connection cable
Steps
- 1. Connect the module to the Arduino with the following pins: VCC to 5V, GND to GND, TRIG to Digital 9, ECHO to Digital 10.
- 2. Connect the resistor between VCC and TRIG to protect the pin.
- 3. Load the provided Arduino code.
- 4. Run the code and check the printed distance.
- 5. Add a display to show the distance.
- 6. Test the module with various objects at different distances.
- 7. Check the datasheet for further details.
- 8. Adapt the module for an obstacle avoidance project.
Example code
```
#include <NewPing.h>

const int trigPin[] = {9};
const int echoPin[] = {10};
const int numSensors = 1;
NewPing sonar(trigPin, echoPin, 500);

void setup() {
 Serial.begin(9600);
}

void loop() {
 for (int i = 0; i < numSensors; i++) {
 int distance = sonar.ping_cm(i);
 Serial.print("Distance: ");
 Serial.print(distance);
 Serial.println(" cm");
 }
 delay(1000);
}
```
Mini project
Build an autonomous moving robot cart. In 30 minutes you can mount the module, connect it to the Arduino and program the minimum necessary.
Common mistakes
- Do not connect TRIG and ECHO correctly.
- Omit the protection resistor.
- Do not verify the code before uploading it to the Arduino.
Recommended accessories
- 16×2 LCD Display
- Robot Cart
- Line Sensors
- LiPo Battery
Frequently asked questions
Does the module work with Arduino Nano?
Yes, the module is compatible with Arduino Nano.
Which Arduino pins can be used?
You can use any digital pins for TRIG and ECHO.
Why is a resistor necessary?
The resistor protects the TRIG pin from excessive voltage.
Does the module work with batteries?
Yes, but check the maximum voltage on the datasheet.
Reviews
There are no reviews yet.