 EN
 IT Italiano
 ES Español
 FR Français
 DE Deutsch
Description
What it is
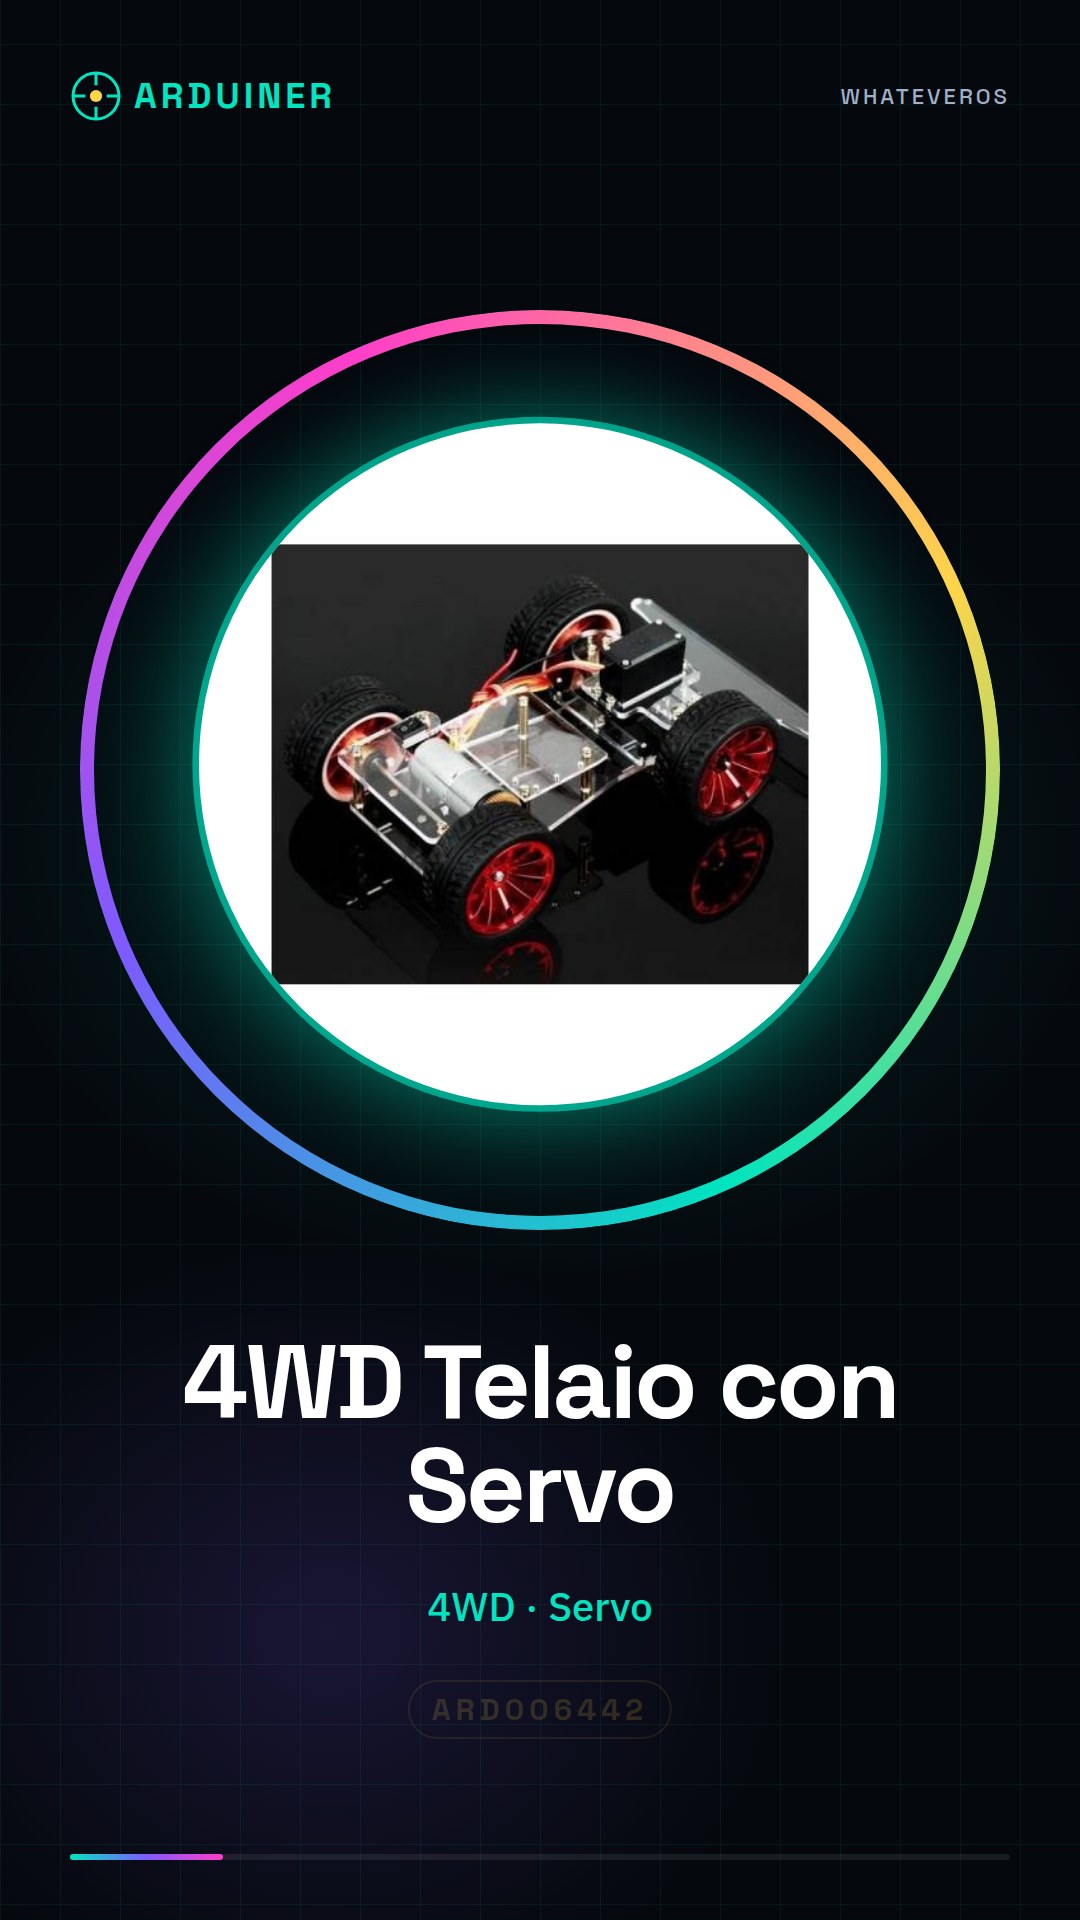
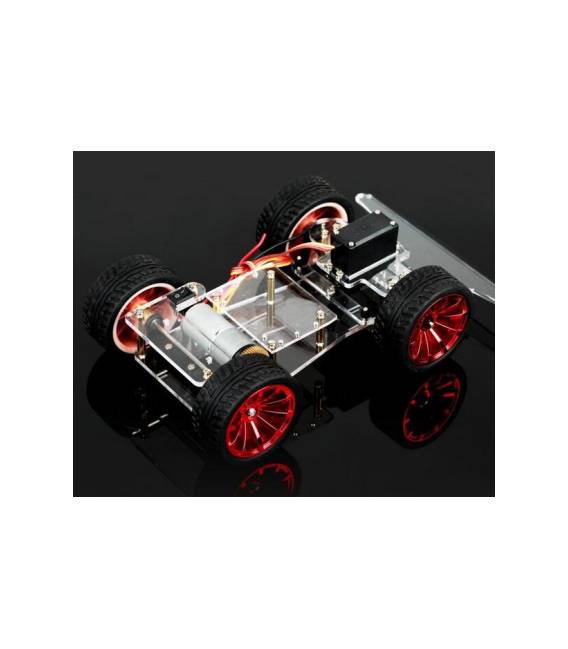
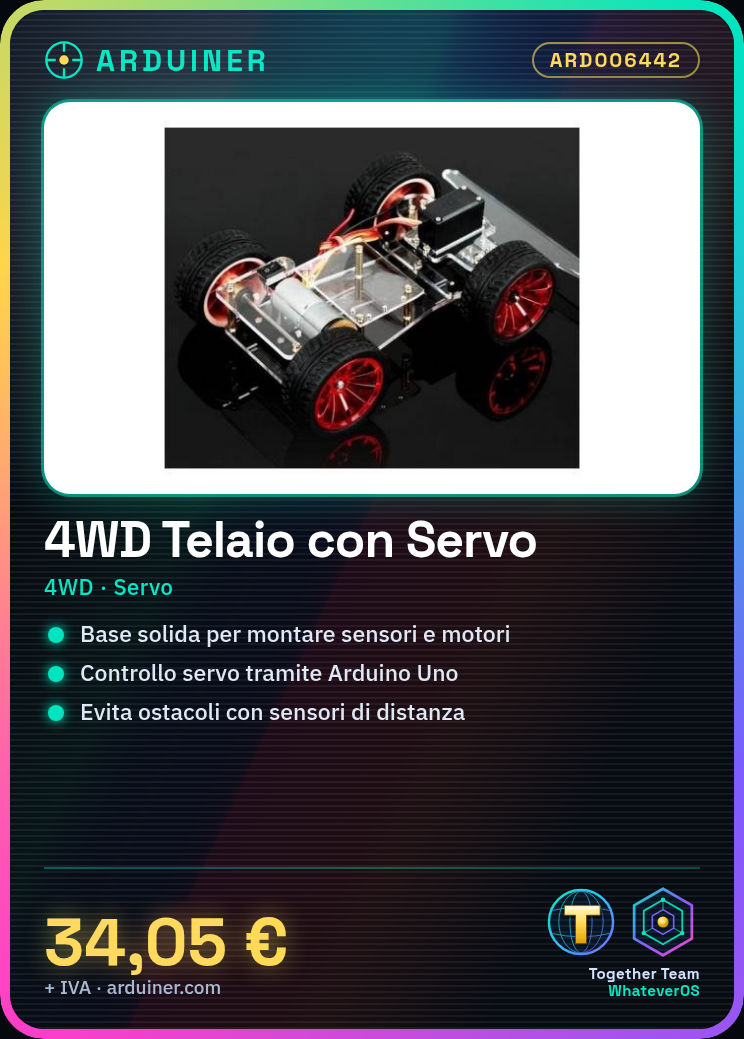
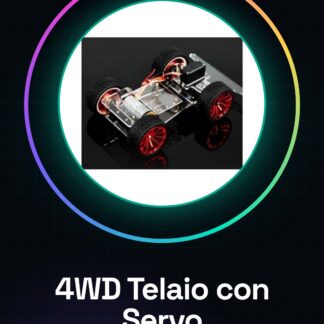
The 4WD chassis with servo motor is an essential component for robotics and intelligent vehicle projects. This chassis offers a solid base on which to mount sensors, motors, and other components necessary to build a rover or robotic vehicle.
Features
- 4WD Chassis with Servo Motors
- Ideally suited for Arduino projects
What it is for
This chassis is ideal for building robotic vehicles or rovers that can perform tasks such as moving towards an object in proximity and obstacle avoidance using distance sensors. It is compatible with Arduino, allowing makers to create customized solutions for various types of robotic applications.
Tutorial: How to Use 4WD Machine Chassis with Servo Motors
The base 4WD frame with servo motor is ideal for makers who want to create a robotic vehicle or rover. This structure offers a solid base on which to mount sensors and other components.
What you need
- Arduino Uno
- 3S LiPo Battery
- Distance sensors (e.g., HC-SR04)
- JST connectors for batteries
- Various jumpers
Steps
- Connect the LiPo battery to the chassis following the instructions in the datasheet.
- Connect the Arduino Uno to the chassis connectors using jumpers, verifying correct polarity.
- Install the servo motor driver through the Arduino IDE (check the datasheet).
- Write a simple sketch that controls the movement of the servomotors and reads data from the distance sensors.
- Mount a distance sensor on the chassis to test it.
- Test the mobility of the vehicle on a flat surface.
- Add additional components such as a WiFi or Bluetooth shield for remote control (check the datasheet).
- Customize the base sketch to implement advanced features.
Example code
// Esempio di codice: controlla i servomotori e legge i dati dal sensore di distanza
#include <Servo.h>
Servo myservo;
void setup() {
  myservo.attach(9); // collegare il servo al pin 9 dell'Arduino
}
void loop() {
  myservo.write(45); // sposta il servo a 45 gradi
}
Mini project
Create a simple rover that moves towards an object in proximity, using distance sensors to avoid obstacles.
Common mistakes
- Do not check the polarity of the connectors before connecting.
- Omit the proper installation of the servo motor driver.
- Ignore the need for a distance sensor to avoid obstacles.
- Overload the chassis with too many heavy components.
Recommended accessories
- 3S LiPo Battery
- HC-SR04 Distance Sensors
- JST Battery Connector
- Various jumpers
Frequently asked questions
How can I load the servo motor driver?
Use the built-in Servo library in Arduino IDE.
Which distance sensors can I use with this chassis?
We recommend HC-SR04 or ULTRASONIC sensors for their ease of use and affordable prices.
Reviews
There are no reviews yet.