 EN
 IT Italiano
 ES Español
 FR Français
 DE Deutsch
Description
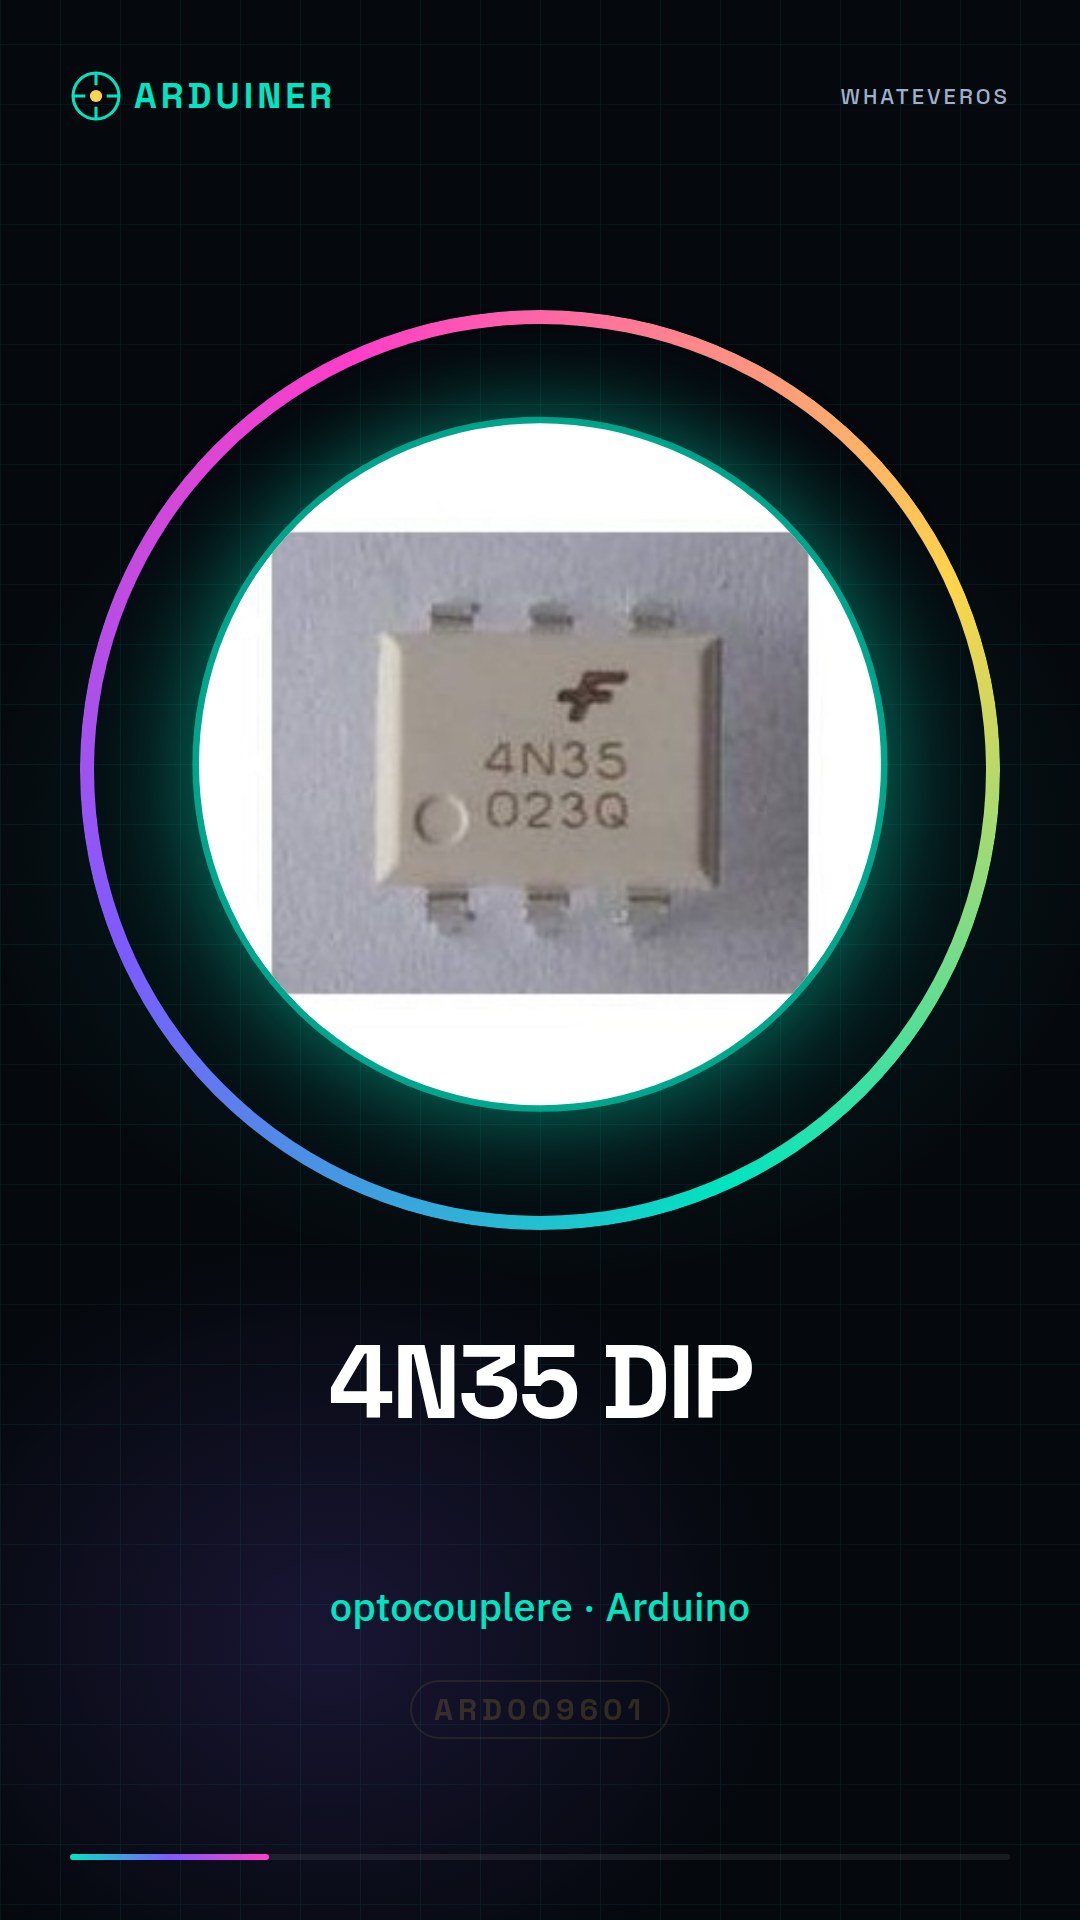
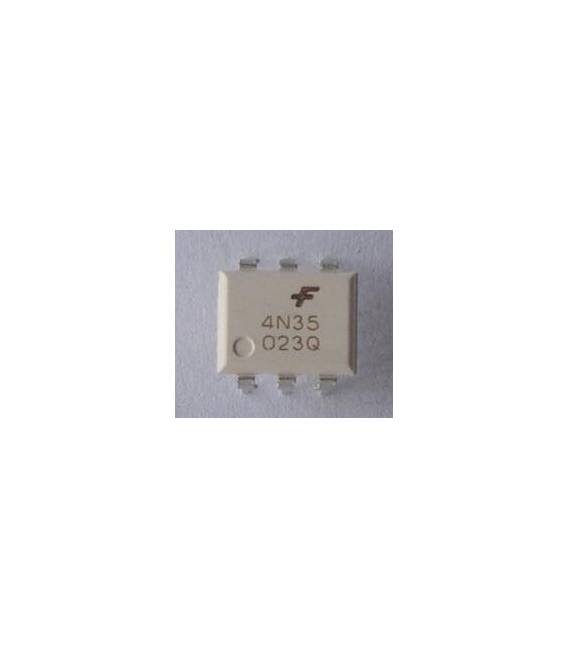
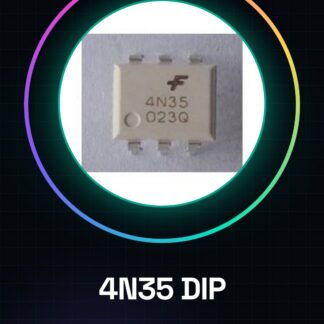
4N35 DIP
Tutorial: How to Use 4N35 DIP
The 4N35 DIP is an optocoupler isolator ideal for protecting electronic circuits from electrical interference. Useful for beginners and intermediates working with low and high voltage circuits.
What you need
- 4N35 DIP
- Arduino or electronic circuit
- 1kΩ resistor
- Power supply
Steps
- 1. Check the datasheet for the specifications of the 4N35.
- 2. Connect the power supply to the 4N35.
- 3. Connect the resistor to the input pin of the 4N35.
- 4. Connect the output pin of the 4N35 to an LED.
- 5. Connect the third pin of the 4N35 to ground.
- 6. Verify the connection with a multimeter.
- 7. Load a simple sketch onto the Arduino.
- 8. Check if the LED lights up when a digital signal is sent.
Example code
```void setup() { pinMode(2, OUTPUT);}void loop() { digitalWrite(2, HIGH); delay(1000); digitalWrite(2, LOW); delay(1000);}```Mini project
Create a simple electrical protection circuit using the 4N35 DIP to protect an LED from interference.
Common mistakes
- Connect the 4N35 directly to ground without a resistor.
- Omit connection verification.
- Use a resistor that is too low.
- Do not follow the installation steps in the datasheet.
Recommended accessories
- LED
- 1kΩ resistor
- Arduino
- Power supply
Frequently asked questions
How to choose the resistor?
Use a 1kΩ resistor.
Does the 4N35 work with Arduino?
Yes, it is compatible with Arduino.
Which specifications to check in the datasheet?
Check the supply voltage and conduction current.
Can I use the 4N35 to isolate digital circuits?
Yes, it is perfect for isolating digital circuits.
Reviews
There are no reviews yet.