 EN
 IT Italiano
 ES Español
 FR Français
 DE Deutsch

Description
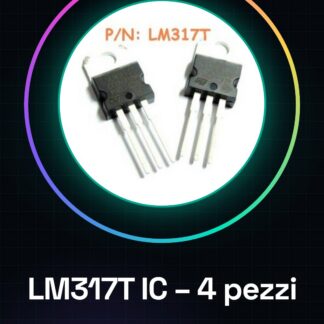
Tutorial: How to Use LM317T IC
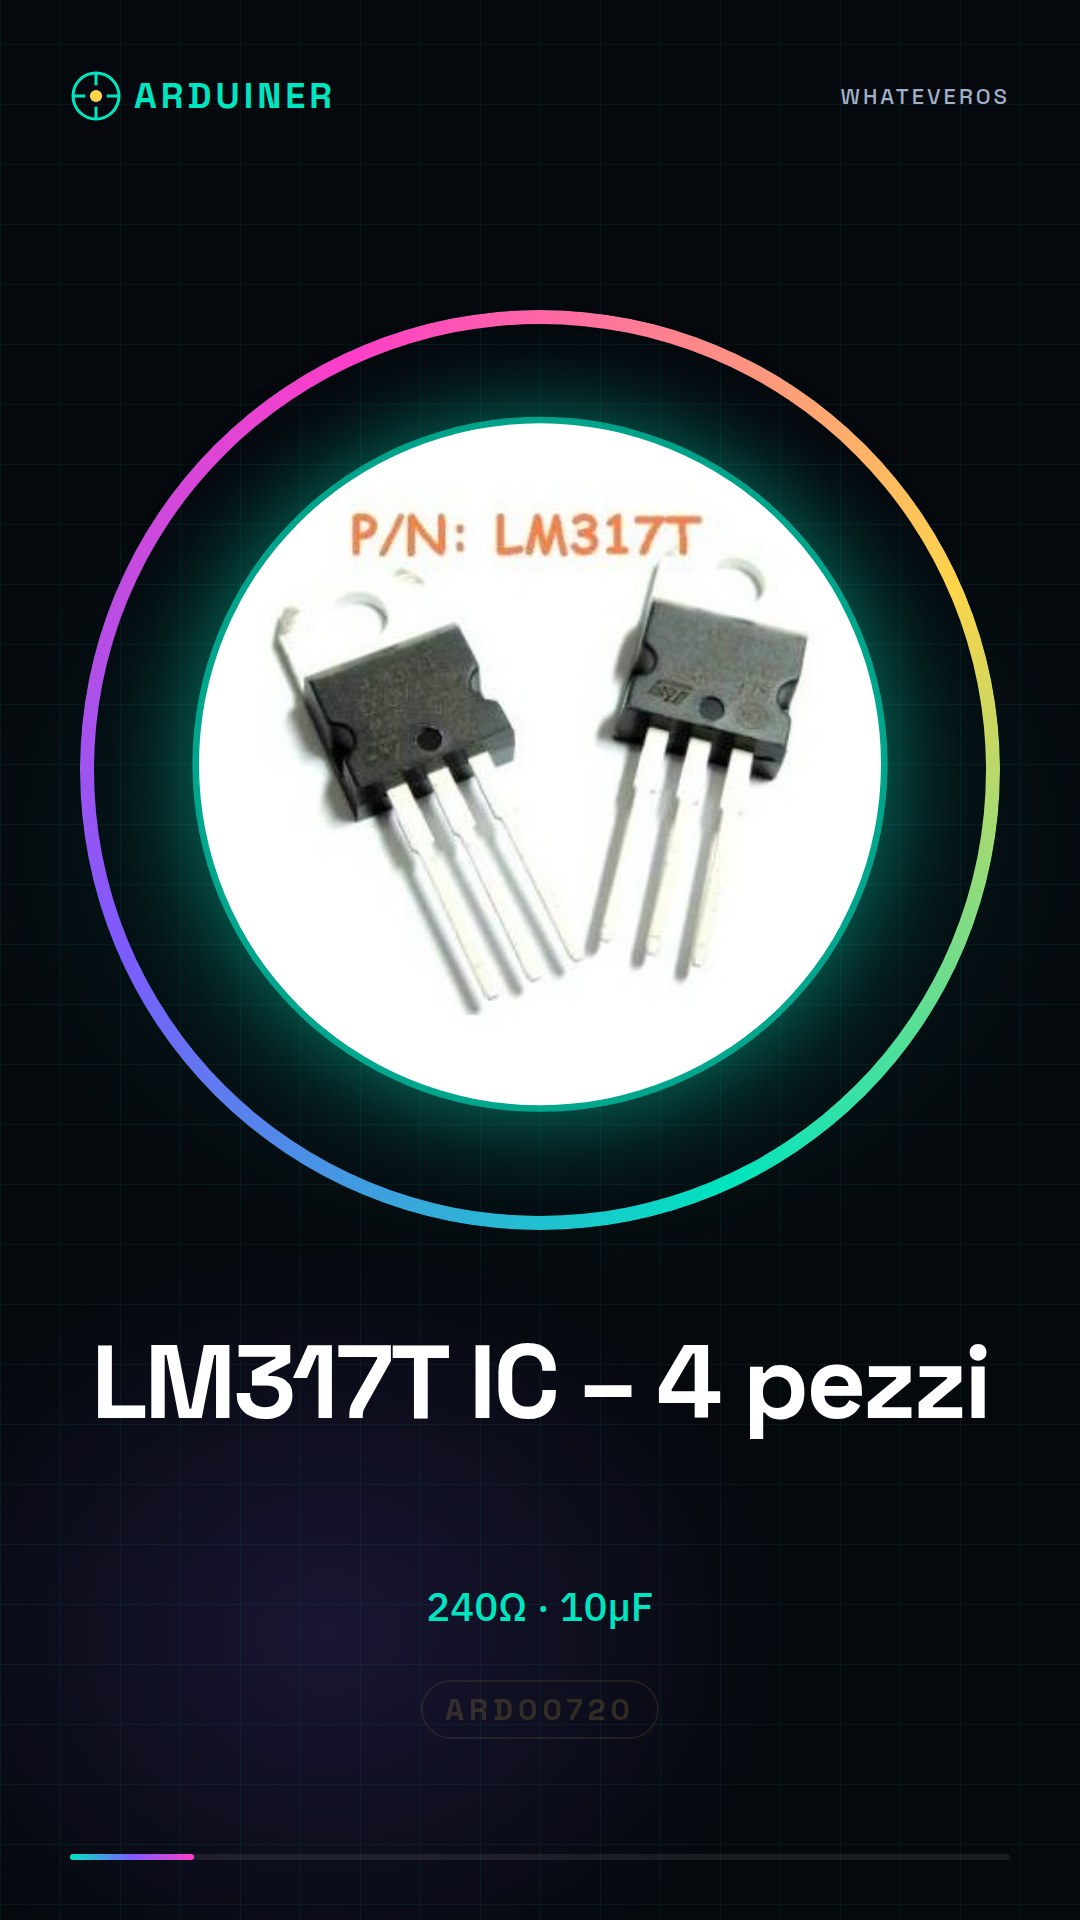
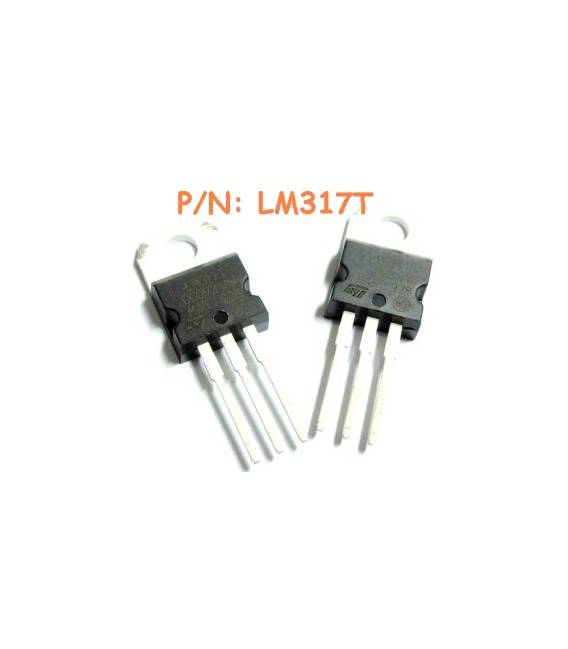
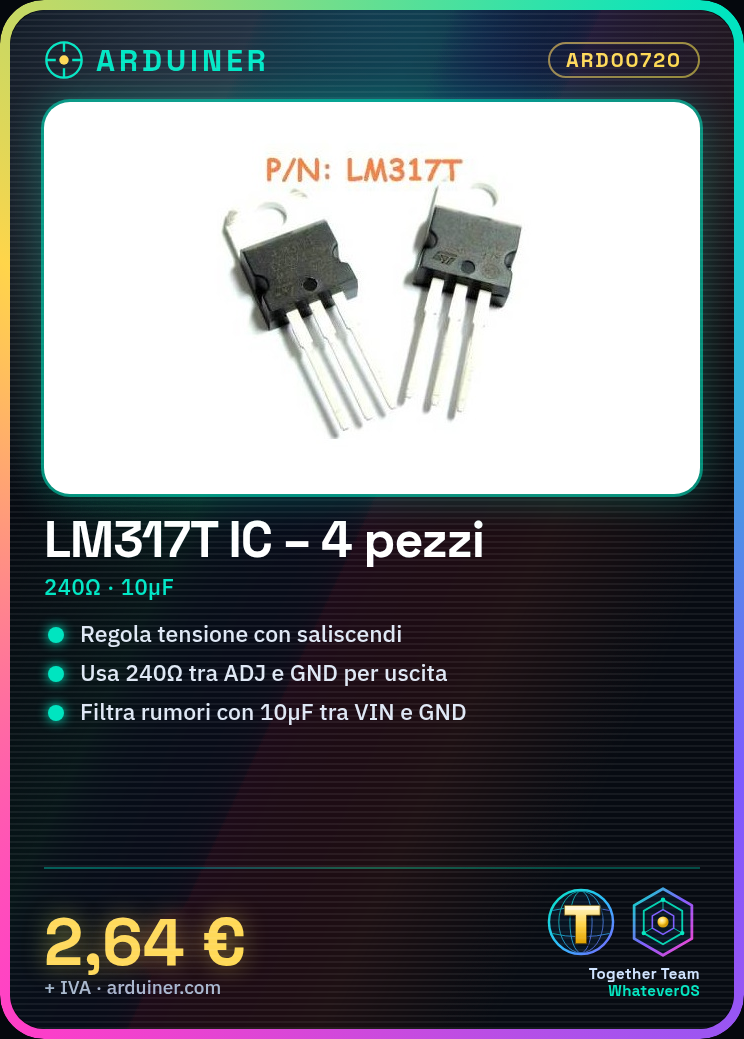
The LM317T is a positive variable voltage regulator, ideal for projects requiring specific voltage supplies. It is particularly useful for beginner and intermediate makers who want to create stable and safe circuits.
What you need
- Arduino Uno
- 240 ohm resistor
- 10µF capacitance
- Variable potentiometer
Steps
- Check the power supply voltage of your project. The LM317T requires a minimum input voltage that is at least 2V higher than your desired output.
- Connect the positive terminal of the power supply to the VIN pin of the LM317T and the common ground to GND.
- Connect a potentiometer between the ADJ and OUT pins, and a 240 ohm resistor between ADJ and GND. This sets the output voltage.
- Add a 10µF capacitor between VIN and GND to reduce noise.
- Check the output with a multimeter and adjust the potentiometer until you achieve the desired voltage.
- Test the circuit by adding a light bulb or LED as a load.
- If everything is working well, integrate the LM317T into your main project.
Mini project
Build a variable power supply with LM317T to test different voltages in your Arduino circuits in 30 minutes.
Common mistakes
- Using an input voltage that is too low.
- Omitting the filtering capacitor.
- Failing to properly adjust the potentiometer.
- Ignoring the datasheet values for resistors and capacitors.
Recommended accessories
- Variable resistors
- 10µF capacitors
- Arduino Uno R3 Base Kit
- Digital multimeter
Frequently asked questions
What is the minimum input voltage?
Check the LM317T datasheet.
How can I adjust the output voltage?
Use a potentiometer between the ADJ and OUT pins.
How much current can the LM317T provide?
Check the datasheet for your specific configuration.
Reviews
There are no reviews yet.