 EN
 IT Italiano
 ES Español
 FR Français
 DE Deutsch
Description
What it is
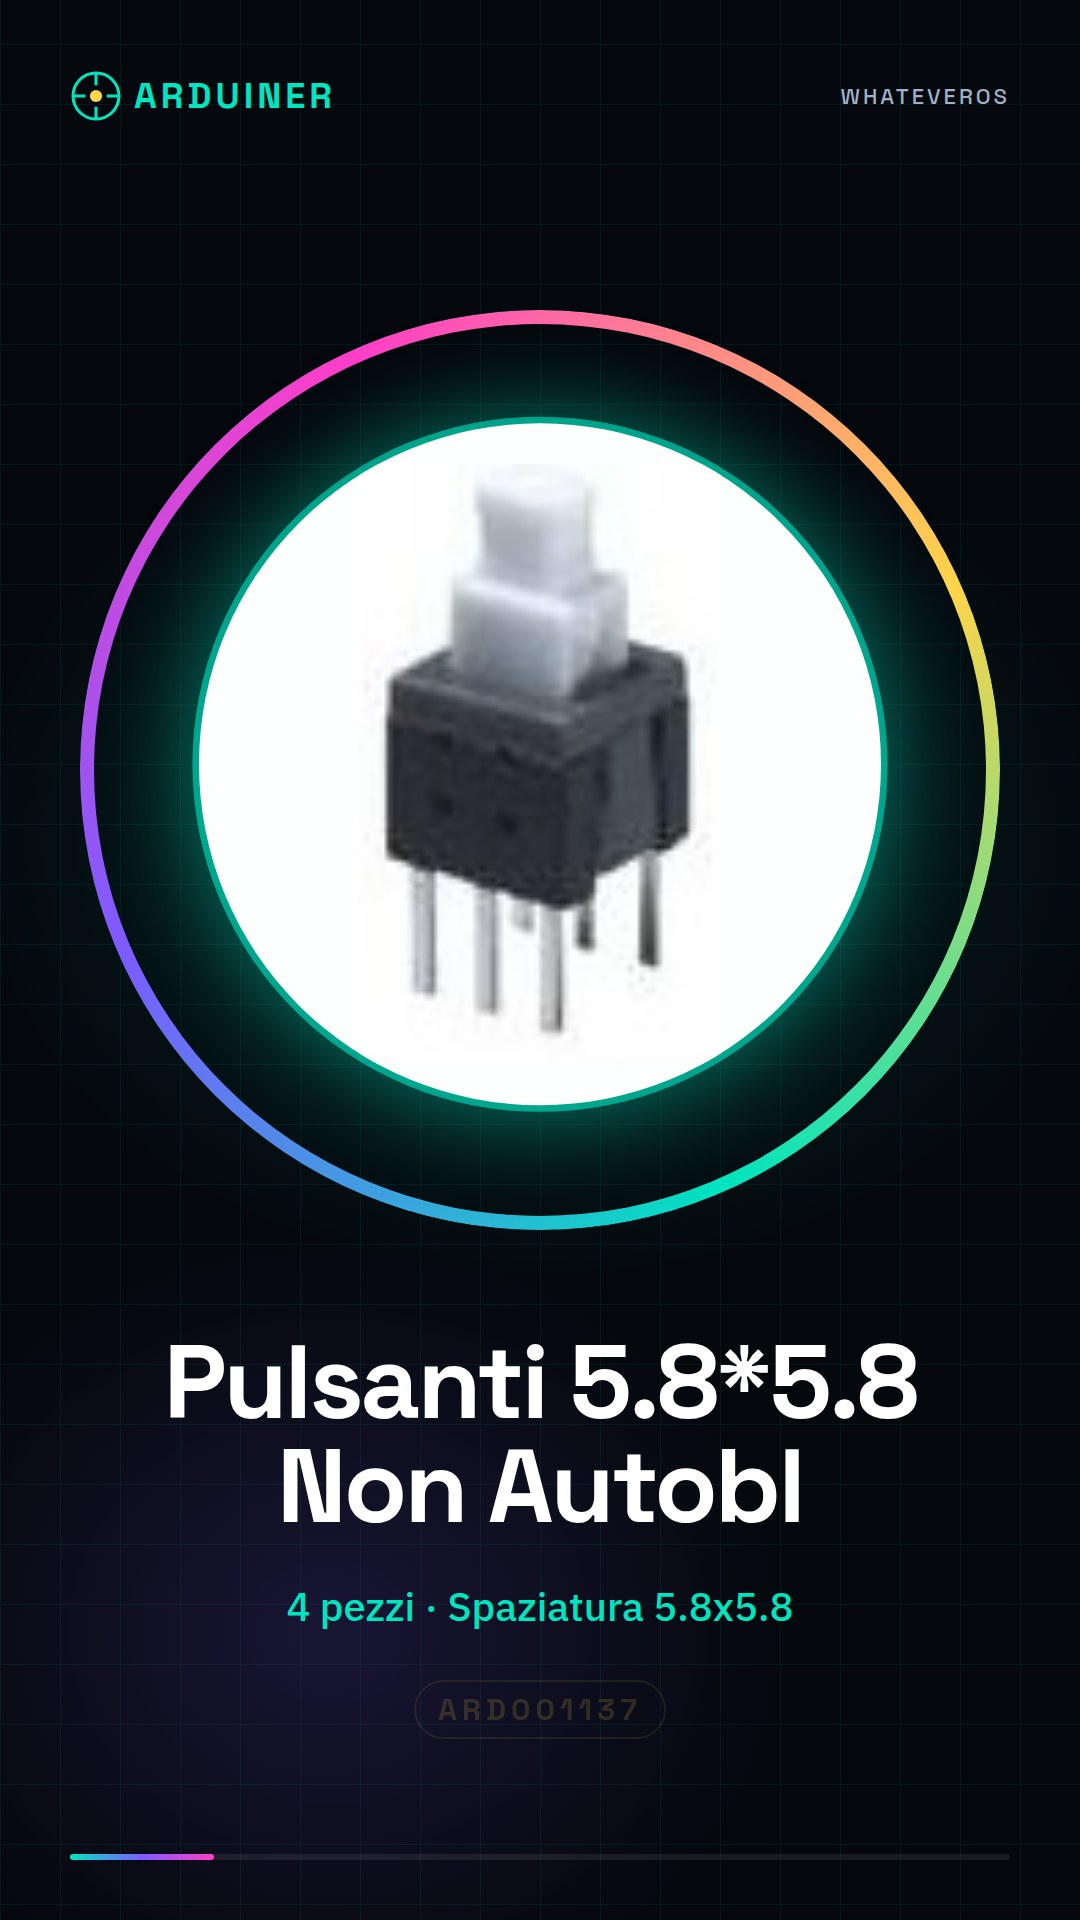
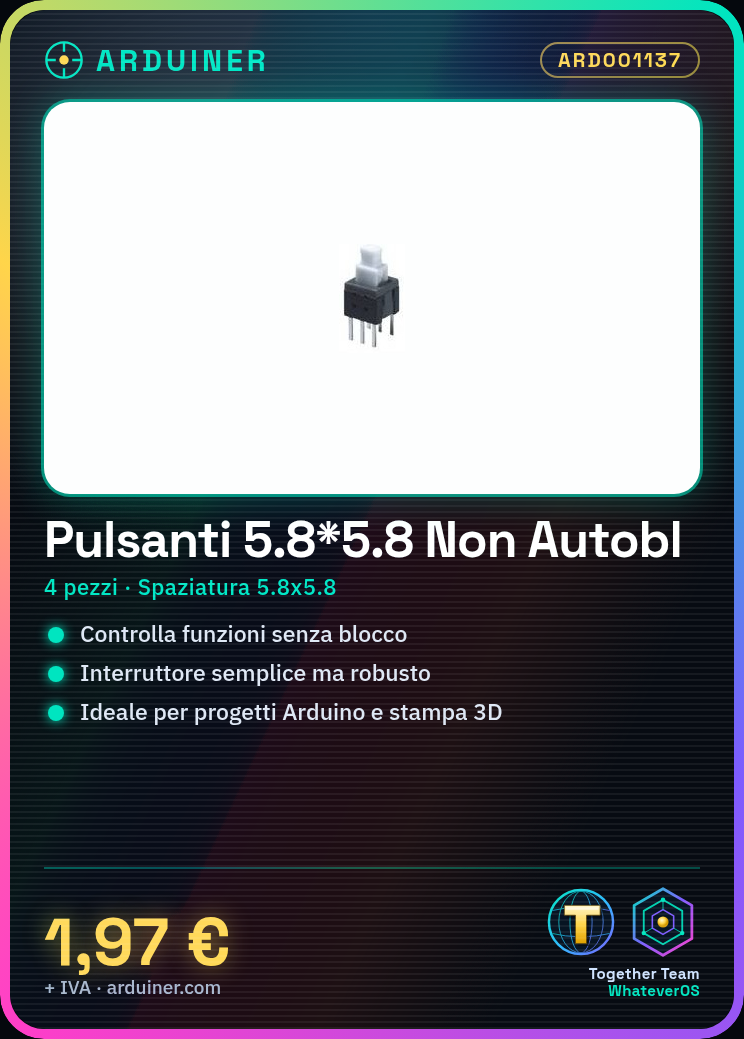
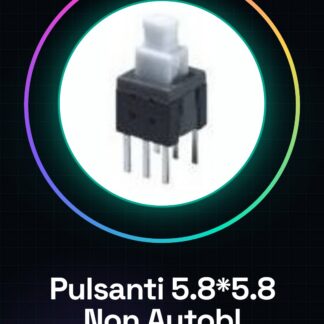
The 4 pieces of non-locking 5.8 * 5.8 spacing push buttons are electronic components used to control functions without locking in Arduino applications and generally in electronics.
Features
- 4 pieces of non-locking 5.8 * 5.8 spacing push buttons
- Ideally suited for projects that require a simple but robust switch
What it is for
These buttons are used in Arduino and 3D printing projects, perfect for both beginners and experts. Suitable for creating simple alarm systems or any other scenario where a non-locking switch is needed.
Tutorial: How to use 5.8 * 5.8 Spacing Push Button
This non-locking push button is ideal for projects that require a simple but robust switch. Suitable for both beginners and more experienced makers, it fits well into 3D printed circuits and Arduino prototypes.
What you need
- Arduino Uno
- Jumper cable
- Breadboard
Steps
- Connect the button to the breadboard using jumper wires.
- Connect one of the button’s terminals to GND of the Arduino.
- Connect the other terminal of the button to a digital pin of the Arduino (for example, Pin 2).
- Check the connection using the Arduino IDE software.
- Write a simple sketch to read the state of the button and display it on an LED connected to another pin of the Arduino.
Example code
const int bottonePin = 2; // Pin di input per il pulsante
int bottoneStato;
void setup() {
pinMode(bottonePin, INPUT);
pinMode(13, OUTPUT); // Imposta la LED su pin 13 come output
}
void loop() {
bottoneStato = digitalRead(bottonePin);
if (bottoneStato == HIGH) {
digitalWrite(13, HIGH); // Accende la LED se il pulsante è premuto
} else {
digitalWrite(13, LOW); // Spengere la LED altrimenti
}
}
Mini project
Create a simple alarm system that turns on a series of LEDs when the button is pressed.
Common mistakes
- Incorrect connection of the button to GND or VCC
- Error in writing the Arduino sketch
- Unstable connection between the breadboard and the Arduino
Recommended accessories
- LED to display the state of the button
- 220 Ohm resistor to protect the LED
- USB-C battery to power the Arduino during testing
- Jumper wires of various colors to facilitate distinguishing connections
Frequently asked questions
How can I control the state of the button?
Use the digitalRead() method in Arduino to read whether the button is pressed or not.
My button does not work, what should I do?
Check all electrical connections. Make sure that the jumper wires are properly connected to the breadboard and the Arduino.
Reviews
There are no reviews yet.