 EN
 IT Italiano
 ES Español
 FR Français
 DE Deutsch
Description
What it is
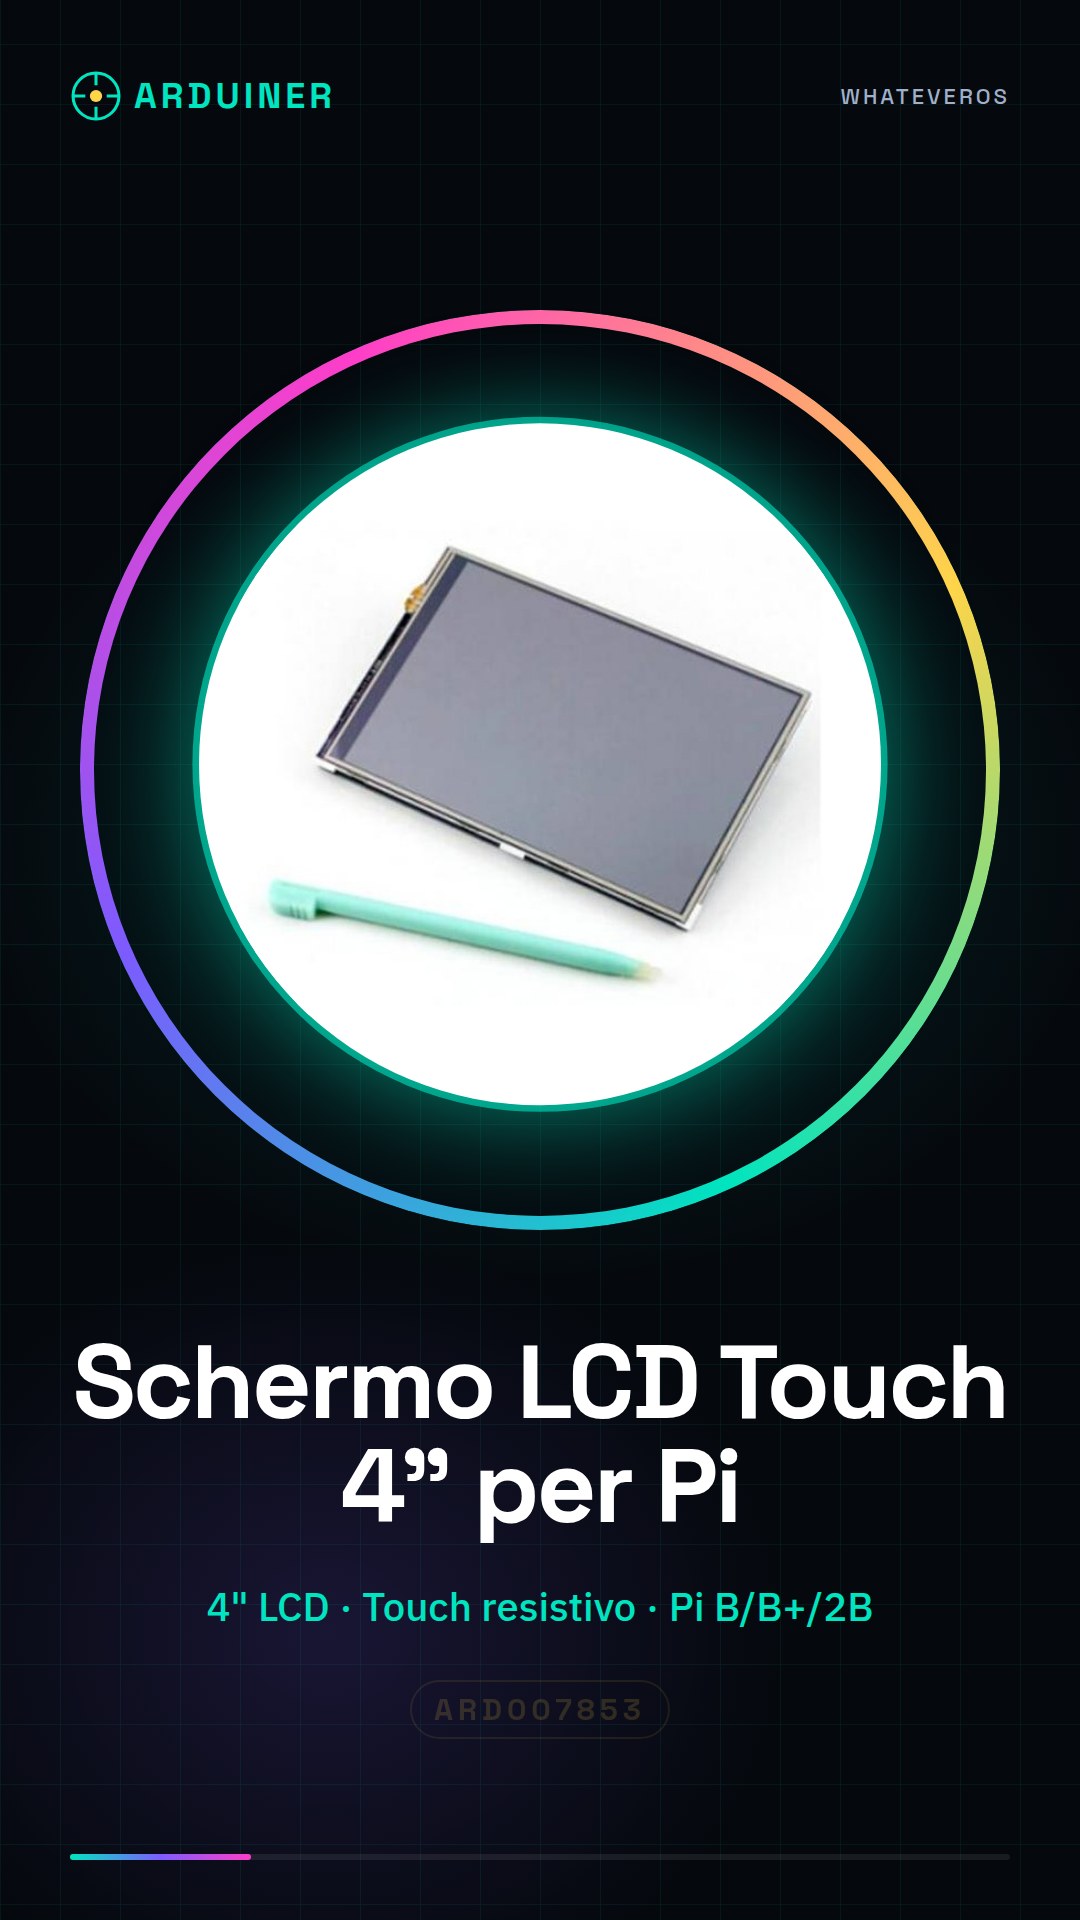
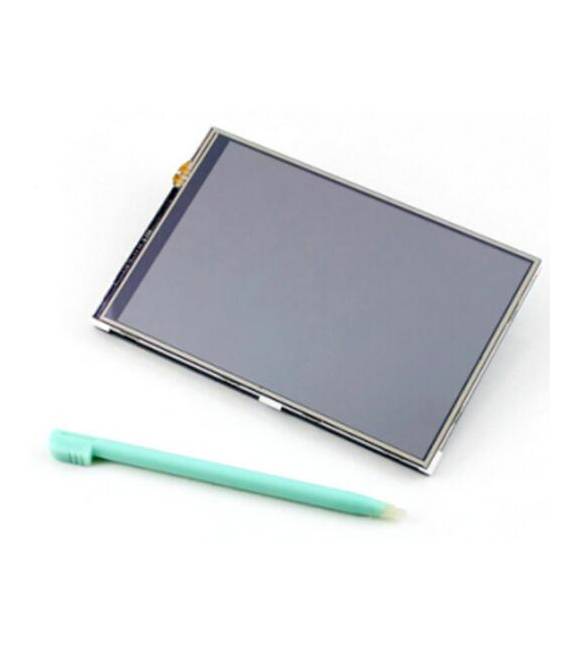
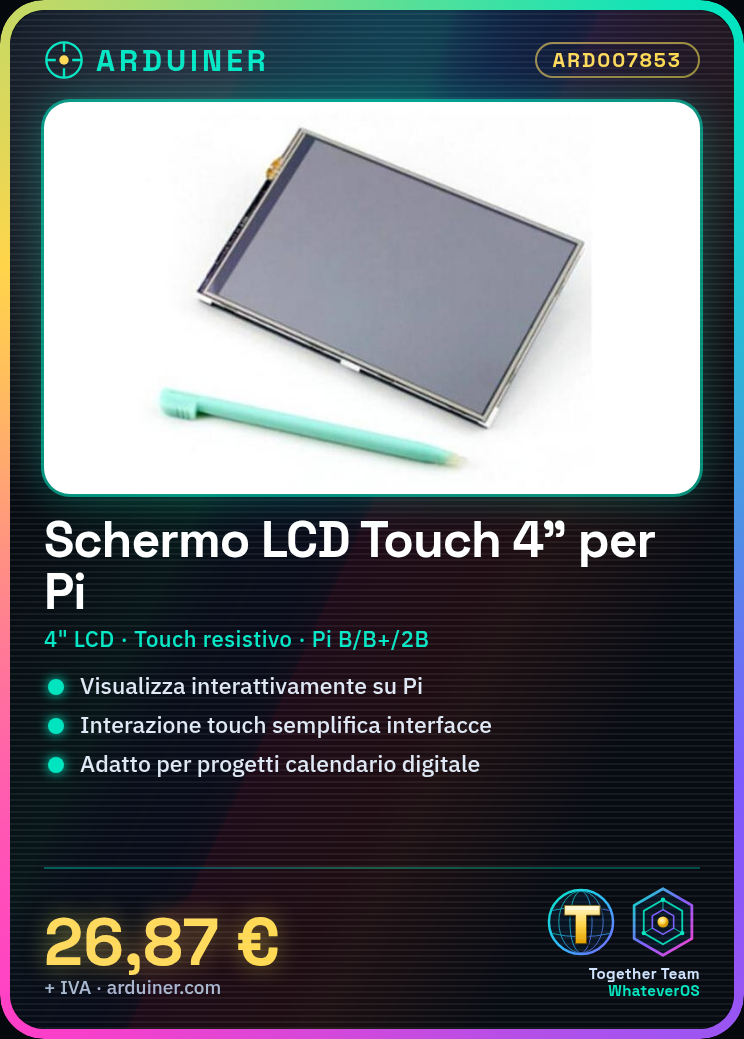
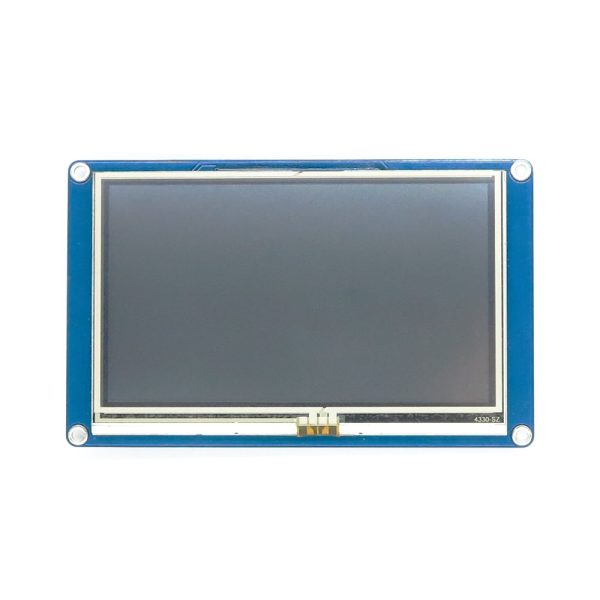
The 4-inch Resistive Touch Screen LCD is an interactive graphic device designed for use with Raspberry Pi B/B+/2B. This screen allows for visualization and interaction through a touchscreen interface, making it easier to create graphical applications and user interfaces.
Features
- 4-inch Resistive Touch Screen LCD
- Compatible with Raspberry Pi B/B+/2B
What it is for
This screen is ideal for projects that require interactive display, such as creating a digital calendar that shows current date and time with the addition of events by touching the screen. It is also useful for developers and makers working with operating systems like Raspbian.
Tutorial: How to Use 4-inch Resistive Touch Screen LCD for Raspberry Pi
This 4-inch resistive touch screen LCD is ideal for anyone who wants to add interactive display to their Raspberry Pi-based project. It is particularly useful for makers working with operating systems such as Raspbian and who wish to create graphical applications.
What you need
- Raspberry Pi B/B+/2B
- Micro SD card with installed operating system (e.g., Raspbian)
- Micro USB cable for power supply
Steps
- Connect the LCD screen to the Raspberry Pi following the product documentation.
- Install the necessary libraries: check the datasheet for specific installation commands.
- Configure the touch screen interface via script or graphical interface (check the datasheet).
- Verify that the display and touch function are working correctly.
- Try to create a simple Python program to test interactions with the touch screen.
Example code
# Esempio di script Python
import RPi.GPIO as GPIO
# Configura i pin GPIO come indicato nel datasheet
touch_screen = TouchScreen()
# Verifica sul datasheet per ulteriori istruzioni
Mini project
Create a simple digital calendar that displays the current date and time, with the ability to add events by touching the screen.
Common mistakes
- Ensure that the display driver is installed correctly.
- Check the connections between Raspberry Pi and LCD screen to avoid short circuits.
- Configure the touch screen interface correctly by following the steps in the datasheet.
- Respect the power supply voltage specified in the datasheet to avoid damaging the display.
Recommended accessories
- HDMI cable
- Raspberry Pi Starter Kit
- USB 5V power supply
- Prototype board
Frequently asked questions
How can I configure the touch screen interface?
Follow the product guide or datasheet for detailed instructions.
Which Python libraries are required?
Python-evdev is a good option, but check the datasheet for updated information.
Reviews
There are no reviews yet.