 EN
 IT Italiano
 ES Español
 FR Français
 DE Deutsch
Description
What it is
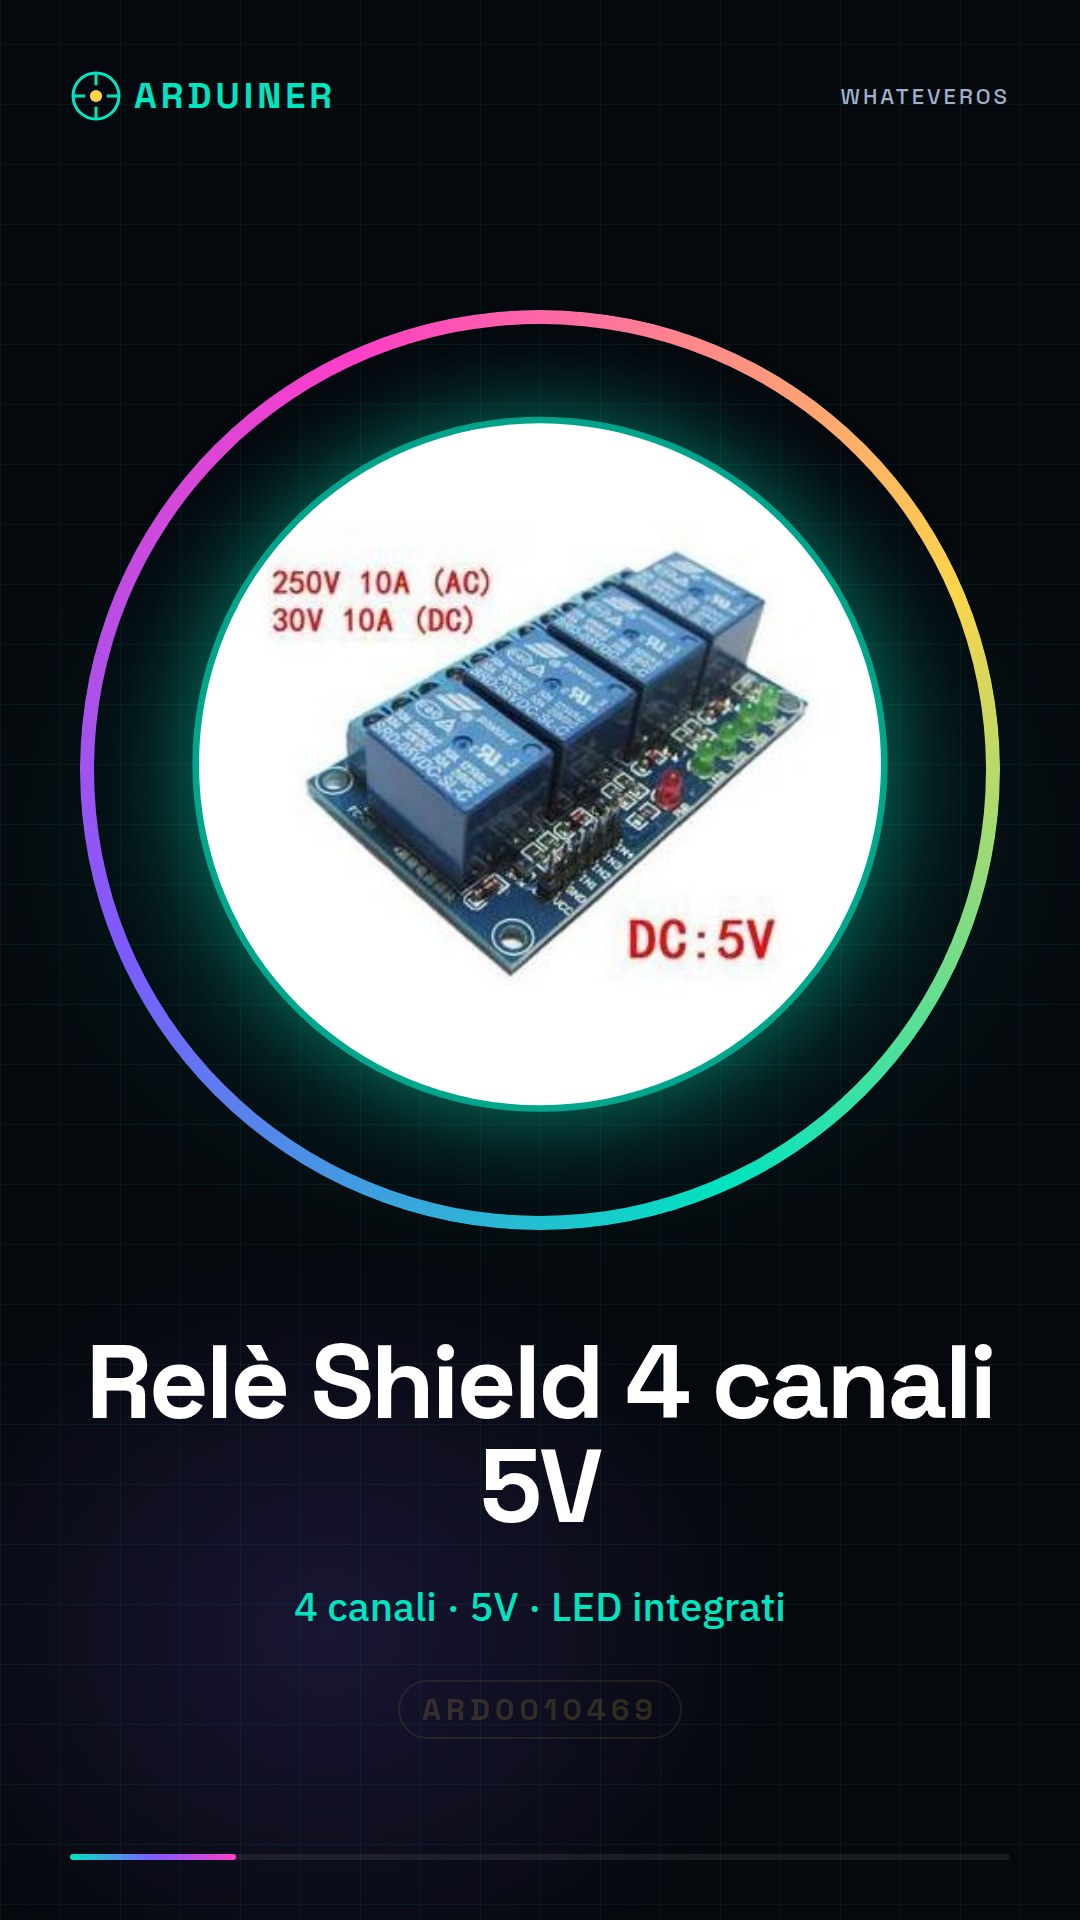
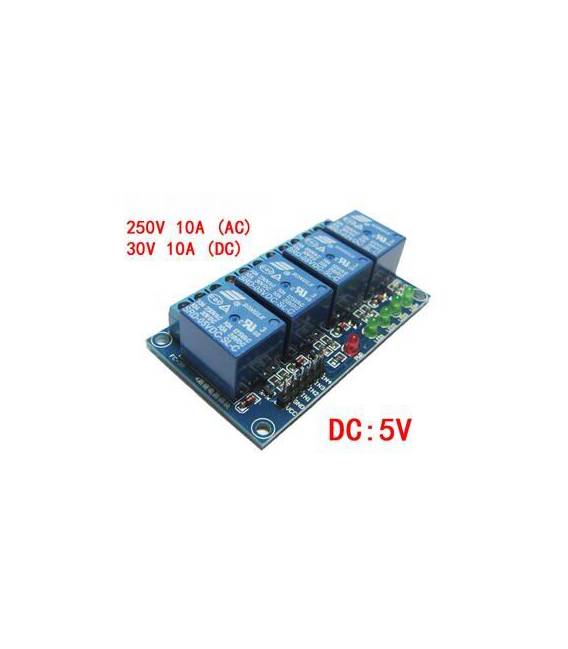
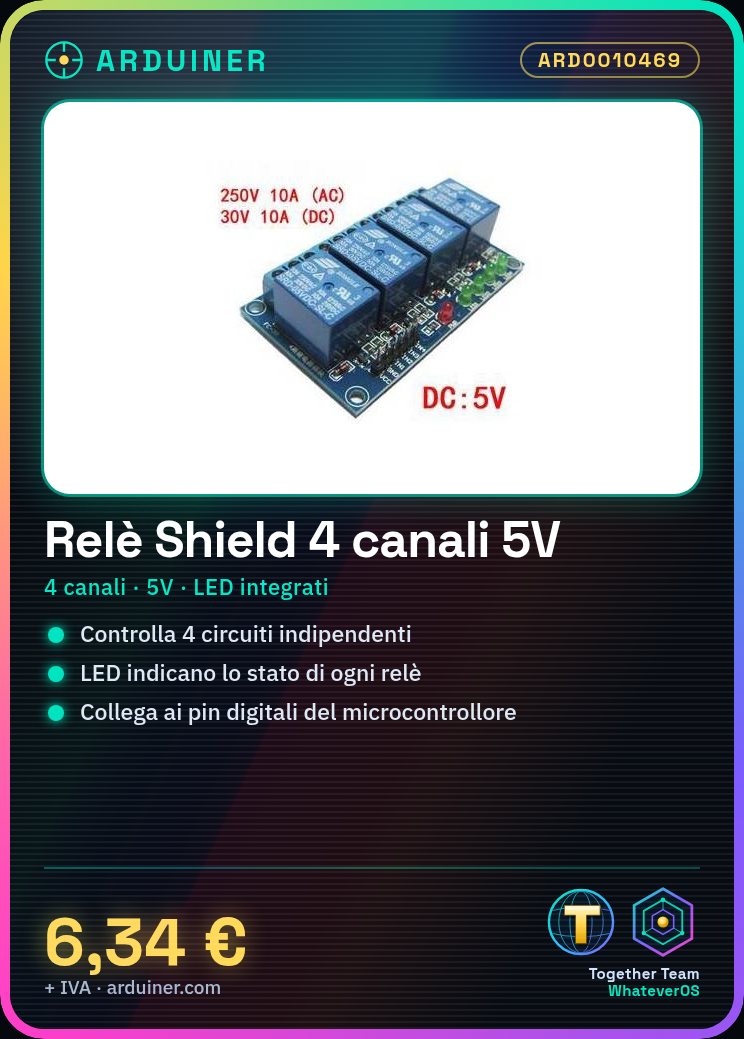
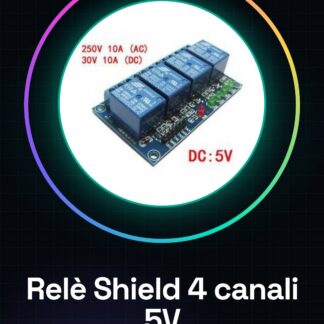
The 4 Channel 5V Relay Shield is a component for Arduino that allows controlling electrical devices through the microcontroller. This shield enables managing up to four independent circuits, each with an integrated LED to indicate the relay status.
Features
- 4 channel relay control
- Operating voltage: 5V
- Integrated LED for each channel
What it is for
Relay Shields are useful for projects that require the activation or deactivation of electrical devices. For example, an automatic lighting system can be created by connecting the relays to four lights and using a light detector to control them. Additionally, it is compatible with Arduino and can be used in projects such as 3D printing or drones.
Tutorial: How to Use 4 Channel 5V High Power Relay Shield with LED
This relay shield allows you to control electrical devices from an Arduino, ideal for beginner and intermediate level electronics projects.
What you need
- Arduino
- 5V power supply cable
- Four relays
- LED (optional)
Steps
- 1. Installation: Download and install the relay shield driver on your Arduino IDE.
- 2. Connection: Connect the GND of the relay shield to the GND of your Arduino.
- 3. Connect VCC to the 5V of your Arduino.
- 4. Connect the digital pins of your Arduino to the digital pins of the relay shield.
- 5. Connect the GND pins of the relay shield to the GND pins of your Arduino.
- 6. (Optional) Connect the LED pins to the corresponding pin of the relay shield.
- 7. Load the code: Use the provided example code.
- 8. Test: Verify that the relays turn on and off correctly.
Example code
void setup() { for (int i = 2; i <= 5; i++) { pinMode(i, OUTPUT); }}void loop() { for (int i = 2; i <= 5; i++) { digitalWrite(i, HIGH); delay(1000); digitalWrite(i, LOW); delay(1000); }}Mini project
Create an automatic lighting system. Connect the relays to four lights and use a light sensor to control them.
Common mistakes
- Connect VCC to 3.3V instead of 5V.
- Forget to connect GND.
- Use analog pins instead of digital ones.
- Do not use delay() in loop()
Recommended accessories
- Light sensor
- Four lights
- Arduino Nano
- 5V power supply cable
Frequently asked questions
How can I control multiple relays with a single pin?
Use a multiplexer or a relay driver.
Does the relay shield work with 3.3V?
Check the datasheet, it may not work correctly.
Can I connect the relay shield to an Arduino Mega?
Yes, but make sure VCC is 5V.
Reviews
There are no reviews yet.