 EN
 IT Italiano
 ES Español
 FR Français
 DE Deutsch
Description
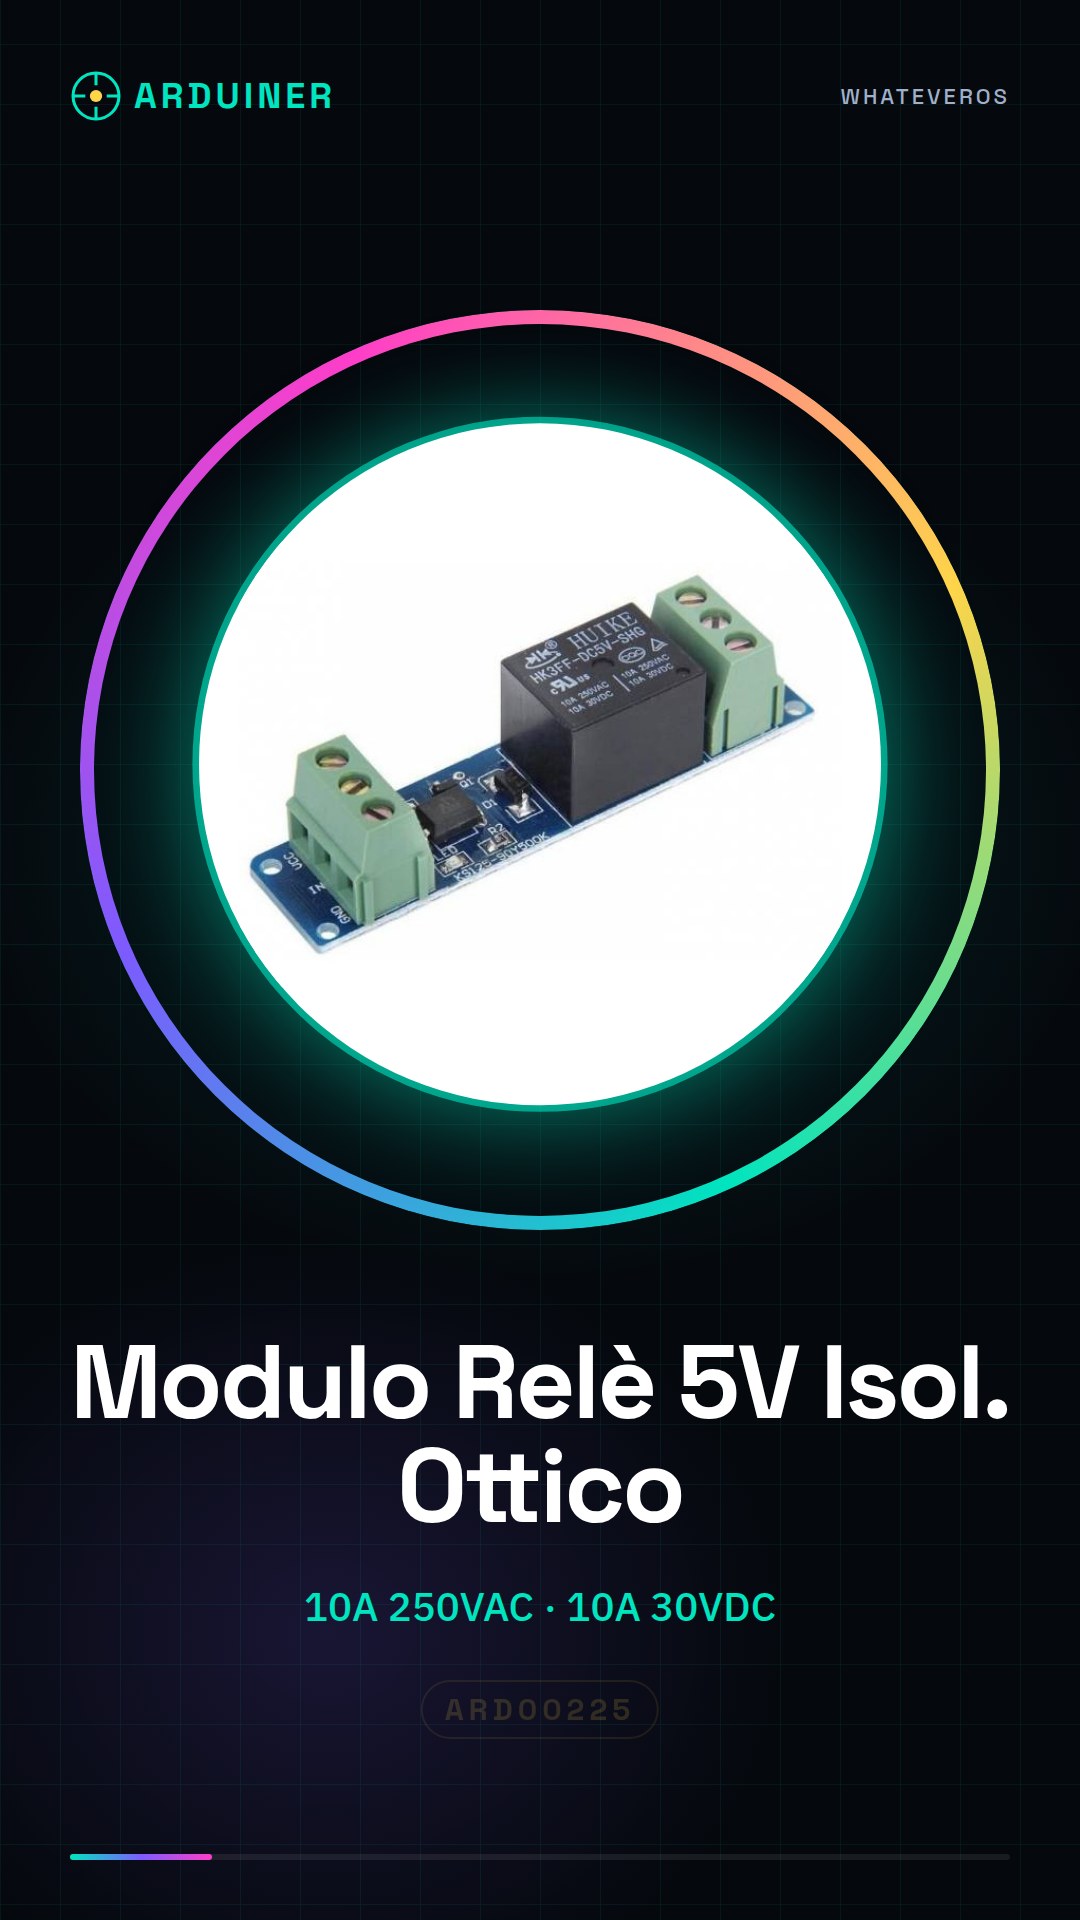
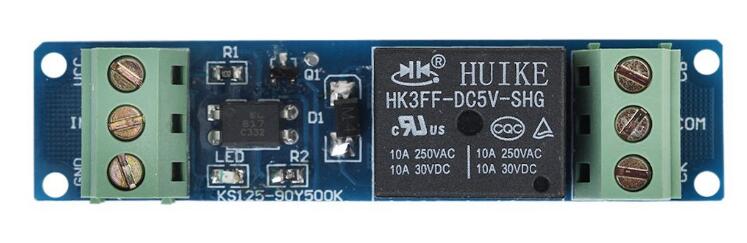
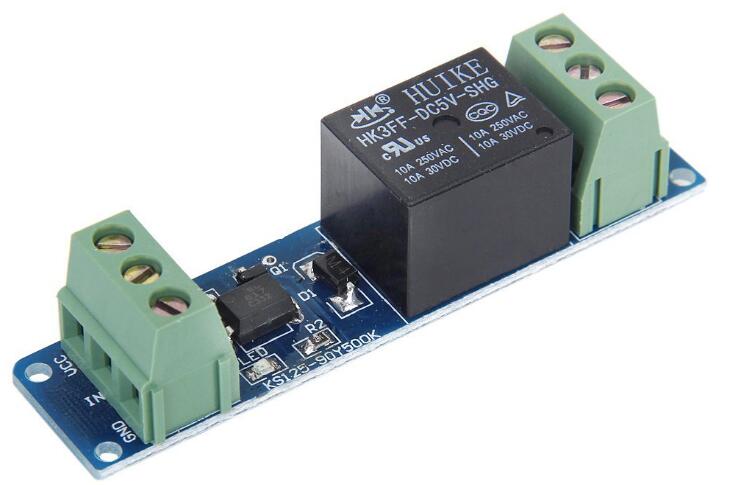
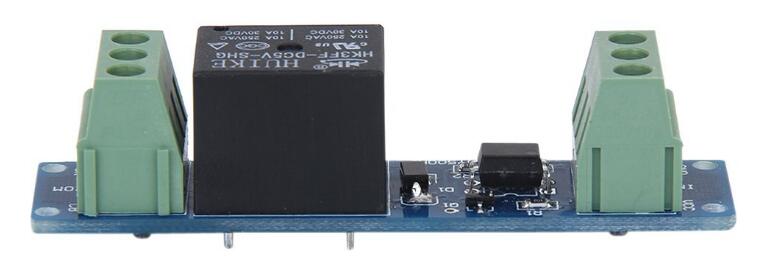
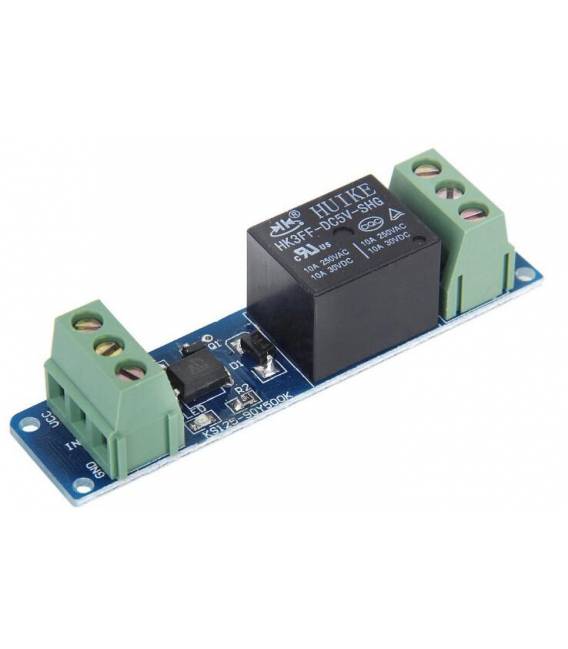
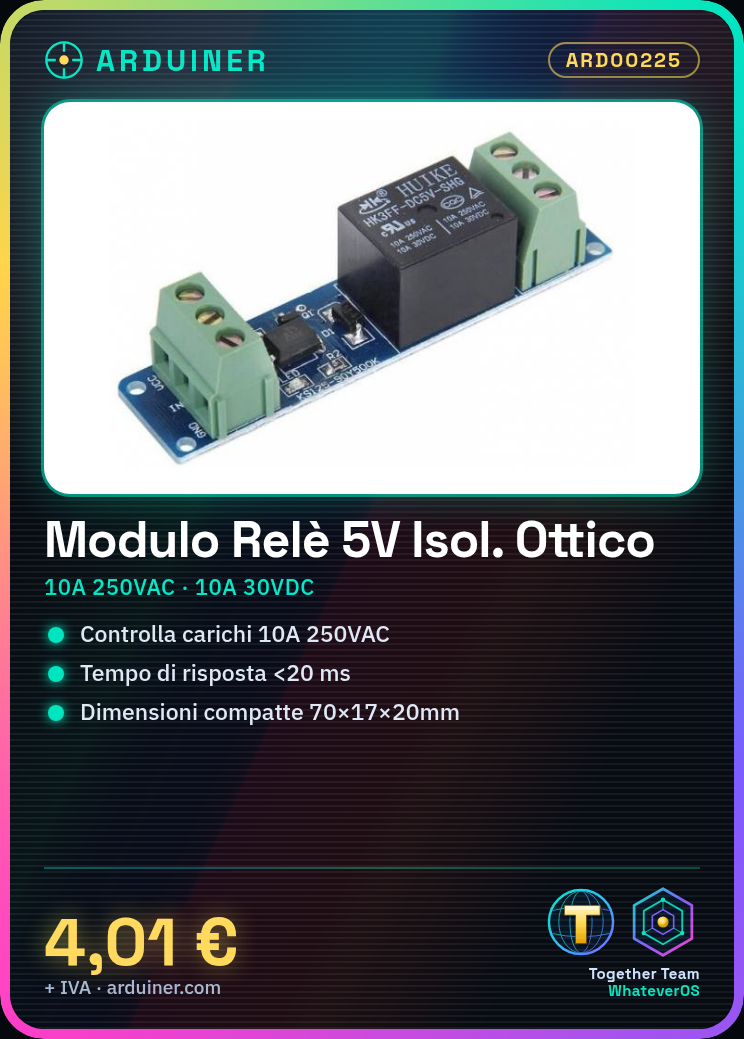
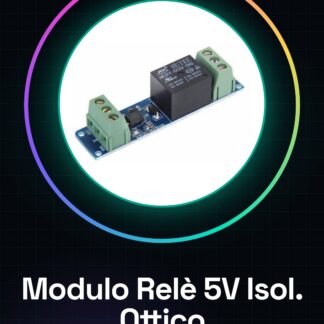
5V Optical Isolation Relay Module 10A 250VAC – 10A 30VDC
Dimensions: length 70mmX width 17mmX height 20mm
Secondly, main devices: TLP521-1 HK3FF-DC5V-SHG
Voltage: DC 5V to 7.5V
Can control 10A 250VAC, 10A 30VDC load
Features:
1, with output signal indication.
2, can be directly connected to the microcontroller output port.
3, anti-interference capacitance, with optical isolation
4, with free diode protection
5, response time less than 20 milliseconds
6, relay and long-term continuous pull 100,000 times
7 crimp terminals, external connection, more robust wiring.
8, surrounded by fixed mounting holes.
We have datasheets available for all components. If the datasheet is not present in the product download card, please send us a message through the contact form and we will publish it as soon as possible on our website.
Tutorial: How to Use Optical Isolation Relay Module
The optical isolation relay module is an essential component for controlling electrical devices from Arduino. Ideal for beginners who want to manage heavy loads such as lamps or motors.
What you need
- Arduino Uno
- USB Connection between PC and Arduino
- 5V Power Supply Cable
Steps
- Connect the relay module to the Arduino digital pins using jumper wires.
- Check the relay operating voltage (5V) with the separate power supply.
- Write an Arduino sketch to test the relay control.
- Configure the initial state of the digital pin connected to the relay as output.
- Test the relay operation by turning an external device on and off.
- Check the datasheet for current and voltage specifications to avoid damage.
- Add electronic protections such as fuses or resistors if necessary.
- Document the project with photos and notes on GitHub.
Example code
const int relayPin = 7;

void setup() {
pinMode(relayPin, OUTPUT);
digitalWrite(relayPin, LOW); // Disattiva il relè inizialmente
}

void loop() {
digitalWrite(relayPin, HIGH); // Attiva il relè
delay(1000);
digitalWrite(relayPin, LOW); // Disattiva il relè
}
Mini project
Create a home security system that activates an alarm or a light when a door is opened.
Common mistakes
- Do not check the relay operating voltage.
- Connect the relay directly to Arduino without electronic protections.
- Use a device with current higher than the relay’s capacity.
Recommended accessories
- Protective fuses
- Resistors to limit current
- PIR motion sensors
- Speakers
Frequently asked questions
Can the relay control devices at 230V?
Yes, the module is designed to handle loads up to 250VAC.
How can I protect my circuit from overload?
Add fuses or protective resistors to the circuit.
Reviews
There are no reviews yet.