 EN
 IT Italiano
 ES Español
 FR Français
 DE Deutsch
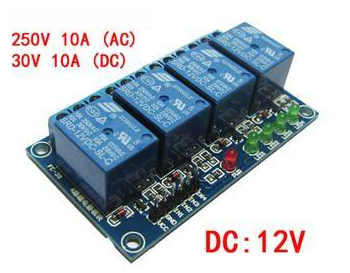
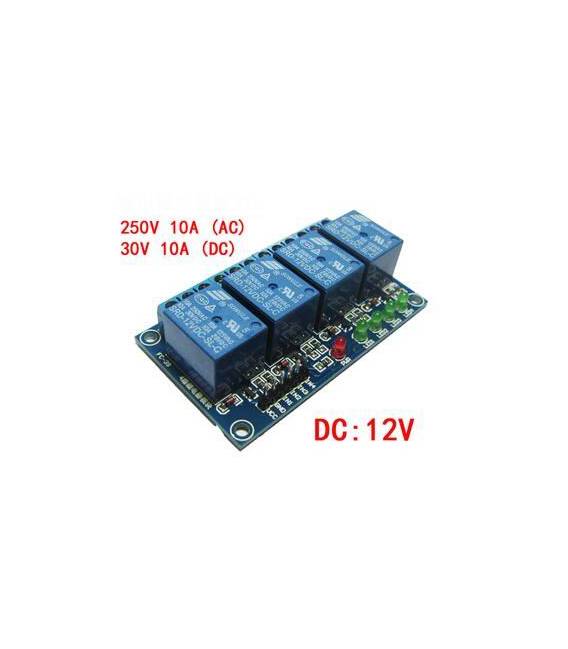
Description
What it is
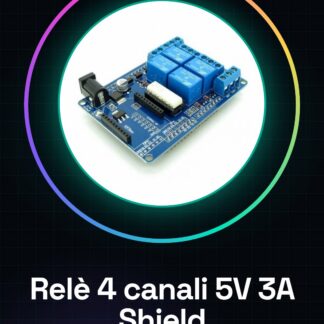
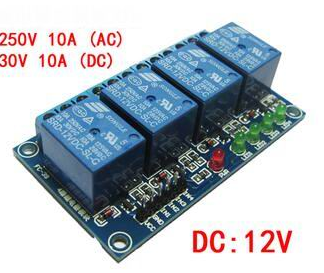
The 4 Channel 12V High Level Relay Shield with LED is a device for Arduino that allows controlling 12V electrical devices. This shield integrates four relays, each with an indicative LED.
Features
- 4 relay channels
- Operating voltage: 12V
- High level control
- LED for each relay
What it is for
This shield is ideal for projects that require the activation/deactivation of 12V electrical devices. You can use it to control lights, motors or other electrical loads via Arduino. It is compatible with most Arduino platforms.
Tutorial: How to use 4 Channel 12V High Level Relay Shield with LED
This shield allows controlling 12V electrical devices using an Arduino port. Useful for projects that require turning on/off electrical devices such as lights, electric motors.
What you need
- Arduino
- 12V power supply cable
- 4 12V electrical devices to control
- Multimeter
Steps
- 1. Mount the shield on the Arduino.
- 2. Connect the GND of the shield to GND of Arduino.
- 3. Connect VCC of the shield to 12V power supply.
- 4. Connect the relays to GND and VCC of the devices.
- 5. Connect the relay pins to digital pins of the Arduino.
- 6. Load the source code.
- 7. Check the current with a multimeter.
- 8. Test the relays.
Mini project
Build a 12V controllable lighting system with Arduino. Connect 4 12V lamps to the relays and control their activation/deactivation through the sketch.
Common mistakes
- Do not check the power supply voltage.
- Connect the relays to analog pins.
- Omit the current check.
- Do not test the relays before use.
Recommended accessories
- 12V lamps
- Connection cables
- Multimeter
- Electrical protection
Frequently asked questions
How can I protect the relays?
Use electrical protections and check the maximum current.
Can I use this shield with voltages different from 12V?
Check the datasheet for compatibility with different voltages.
Which Arduino pins can I use?
Use only digital pins.
Reviews
There are no reviews yet.