 EN
 IT Italiano
 ES Español
 FR Français
 DE Deutsch
Description
What it is
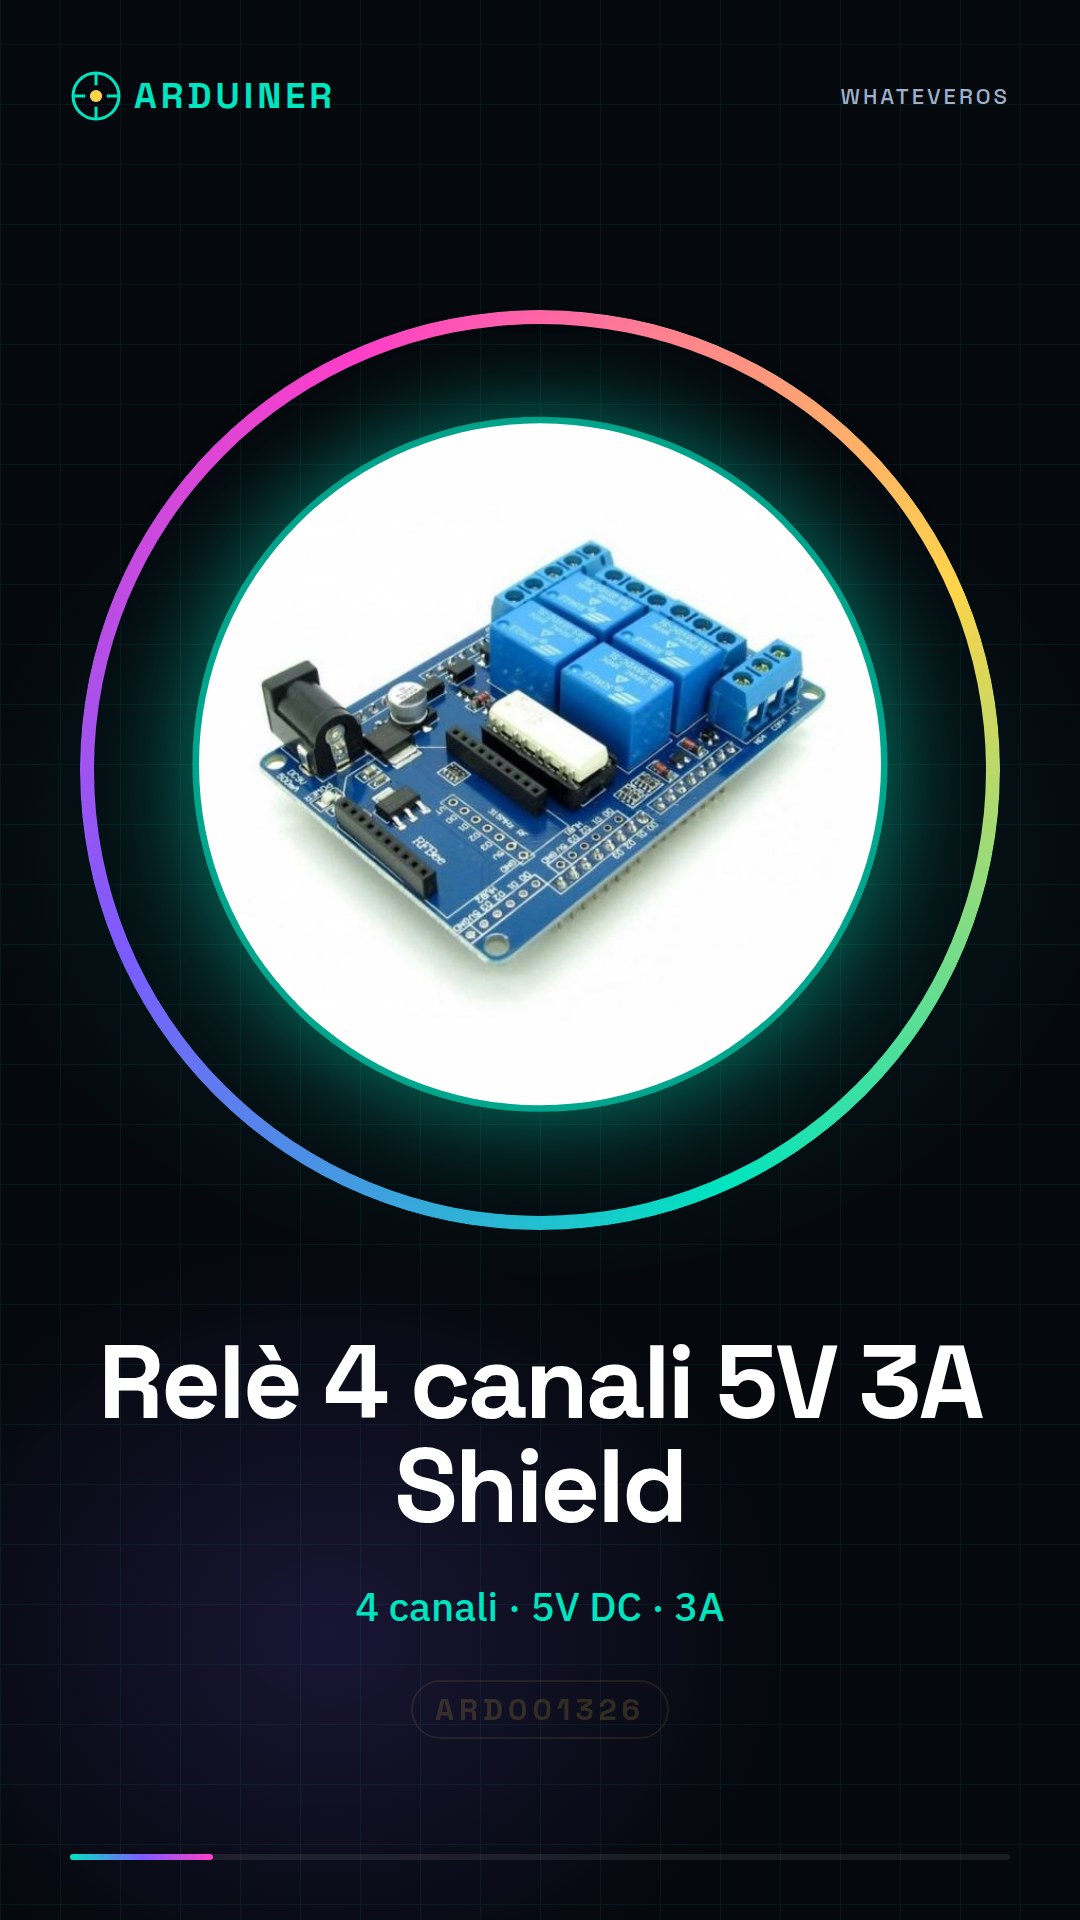
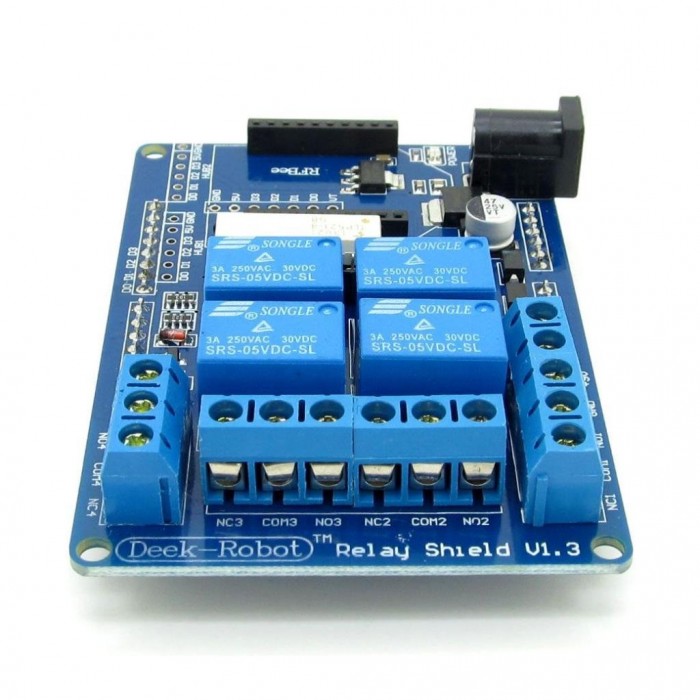
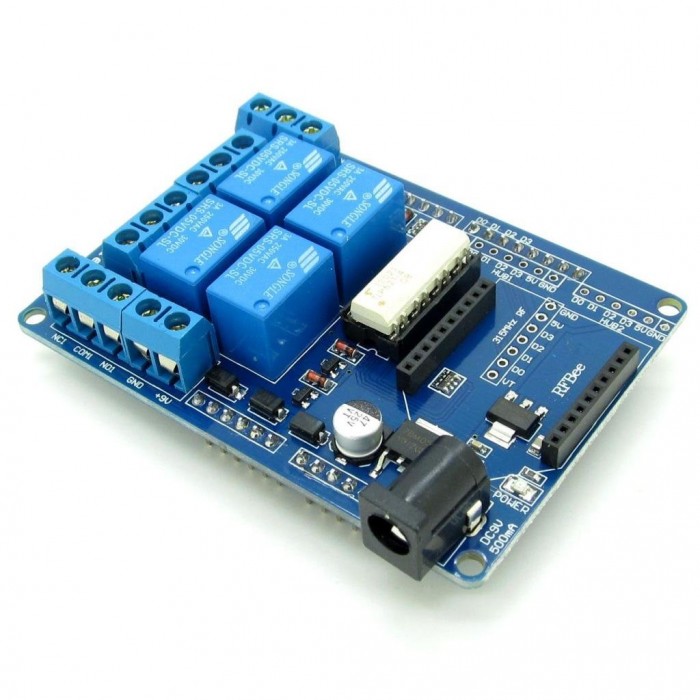
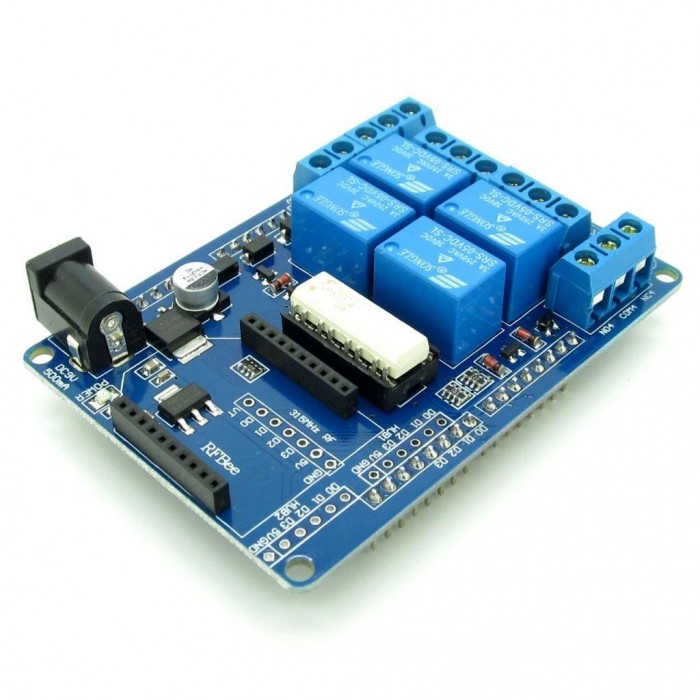
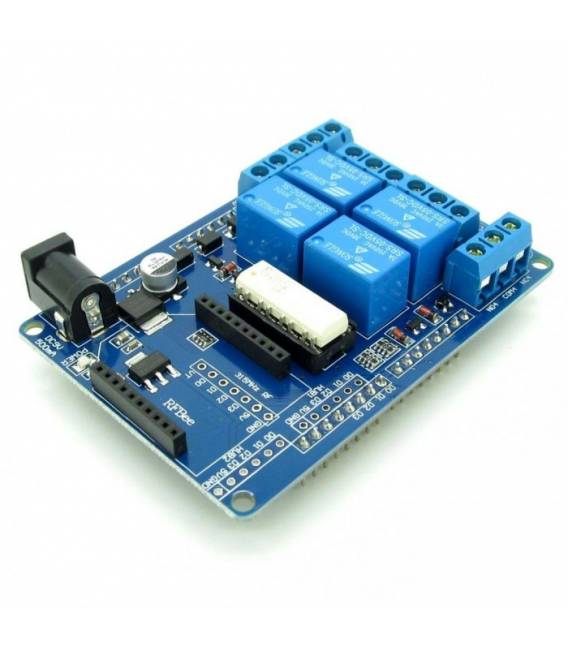
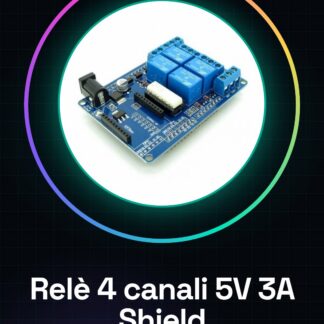
The 4 Channel 5V DC 3A Shield V1.3 for Arduino is a module that allows controlling electronic devices remotely through wireless XBEE connectivity.
Features
- Number of relays: 4 channels
- Operating voltage: 5V DC
- Maximum current per channel: 3A
- Compatible with Arduino and XBEE wireless
What it is for
Ideally suited for projects requiring remote control of electrical devices, such as lights or appliances in home or office. It can be used to create automatic control systems controllable via smartphone through an XBEE connection.
Tutorial: How to use 4 Channel XBEE wireless Shield V1.3
The 4 Channel 5V DC 3A Shield V1.3 for Arduino with XBEE connectivity is ideal for controlling electrical devices remotely, suitable for both home and industrial projects.
What you need
- Arduino Uno or compatible
- XBEE wireless module
- USB cable for Arduino
- 5V power supply
Steps
- Connect the relay shield to the XBEE pin of the XBEE module using the appropriate connectors.
- Check the correct power supply for the relay shield (5V) and the XBEE module.
- Download the latest XBee library for Arduino from the official Digi International website.
- Install the downloaded library in the Arduino IDE following the provided instructions.
- Connect the relay shield to the Arduino using the ICSP connectors or a USB cable if using XBEE wireless.
- Open the Arduino IDE and write the sketch to configure the XBEE module (check the datasheet).
- Upload the sketch to Arduino, ensuring that the XBEE module settings are correct (check the datasheet).
- Test the relay operation by pressing virtual buttons or sending wireless commands.
Example code
// Includere la libreria XBee
#include <XBee.h>

// Definire l'oggetto XBee e la porta serie
XBee xbee = XBee();
XBeeResponse response;
Serial1.begin(9600);
xbee.setSerial(Serial1);

void setup() {
  Serial.begin(9600);
}

void loop() {
  // Inserire qui il codice per inviare comandi al relè shield (verifica sul datasheet)
}
Mini project
Create a remote control system for lights or electrical appliances at home or in the office, controllable via smartphone through XBEE.
Common mistakes
- Do not verify the proper power supply for the relay shield.
- Configure the XBEE wireless module without following the instructions provided in the library.
- Insert the commands for the relay in the Arduino code without verifying them in the datasheet.
- Omit testing the functionality before the final implementation.
Recommended accessories
- Arduino Uno
- XBEE wireless module
- USB type B cable
- 5V power supply
Frequently asked questions
What is the difference between this relay and a standard one?
This relay has wireless XBEE connectivity, allowing remote control.
Can I use other wireless modules with this shield?
Yes, but it may be necessary to modify the sketch to adapt it to the new communication.

Reviews
There are no reviews yet.