 EN
 IT Italiano
 ES Español
 FR Français
 DE Deutsch
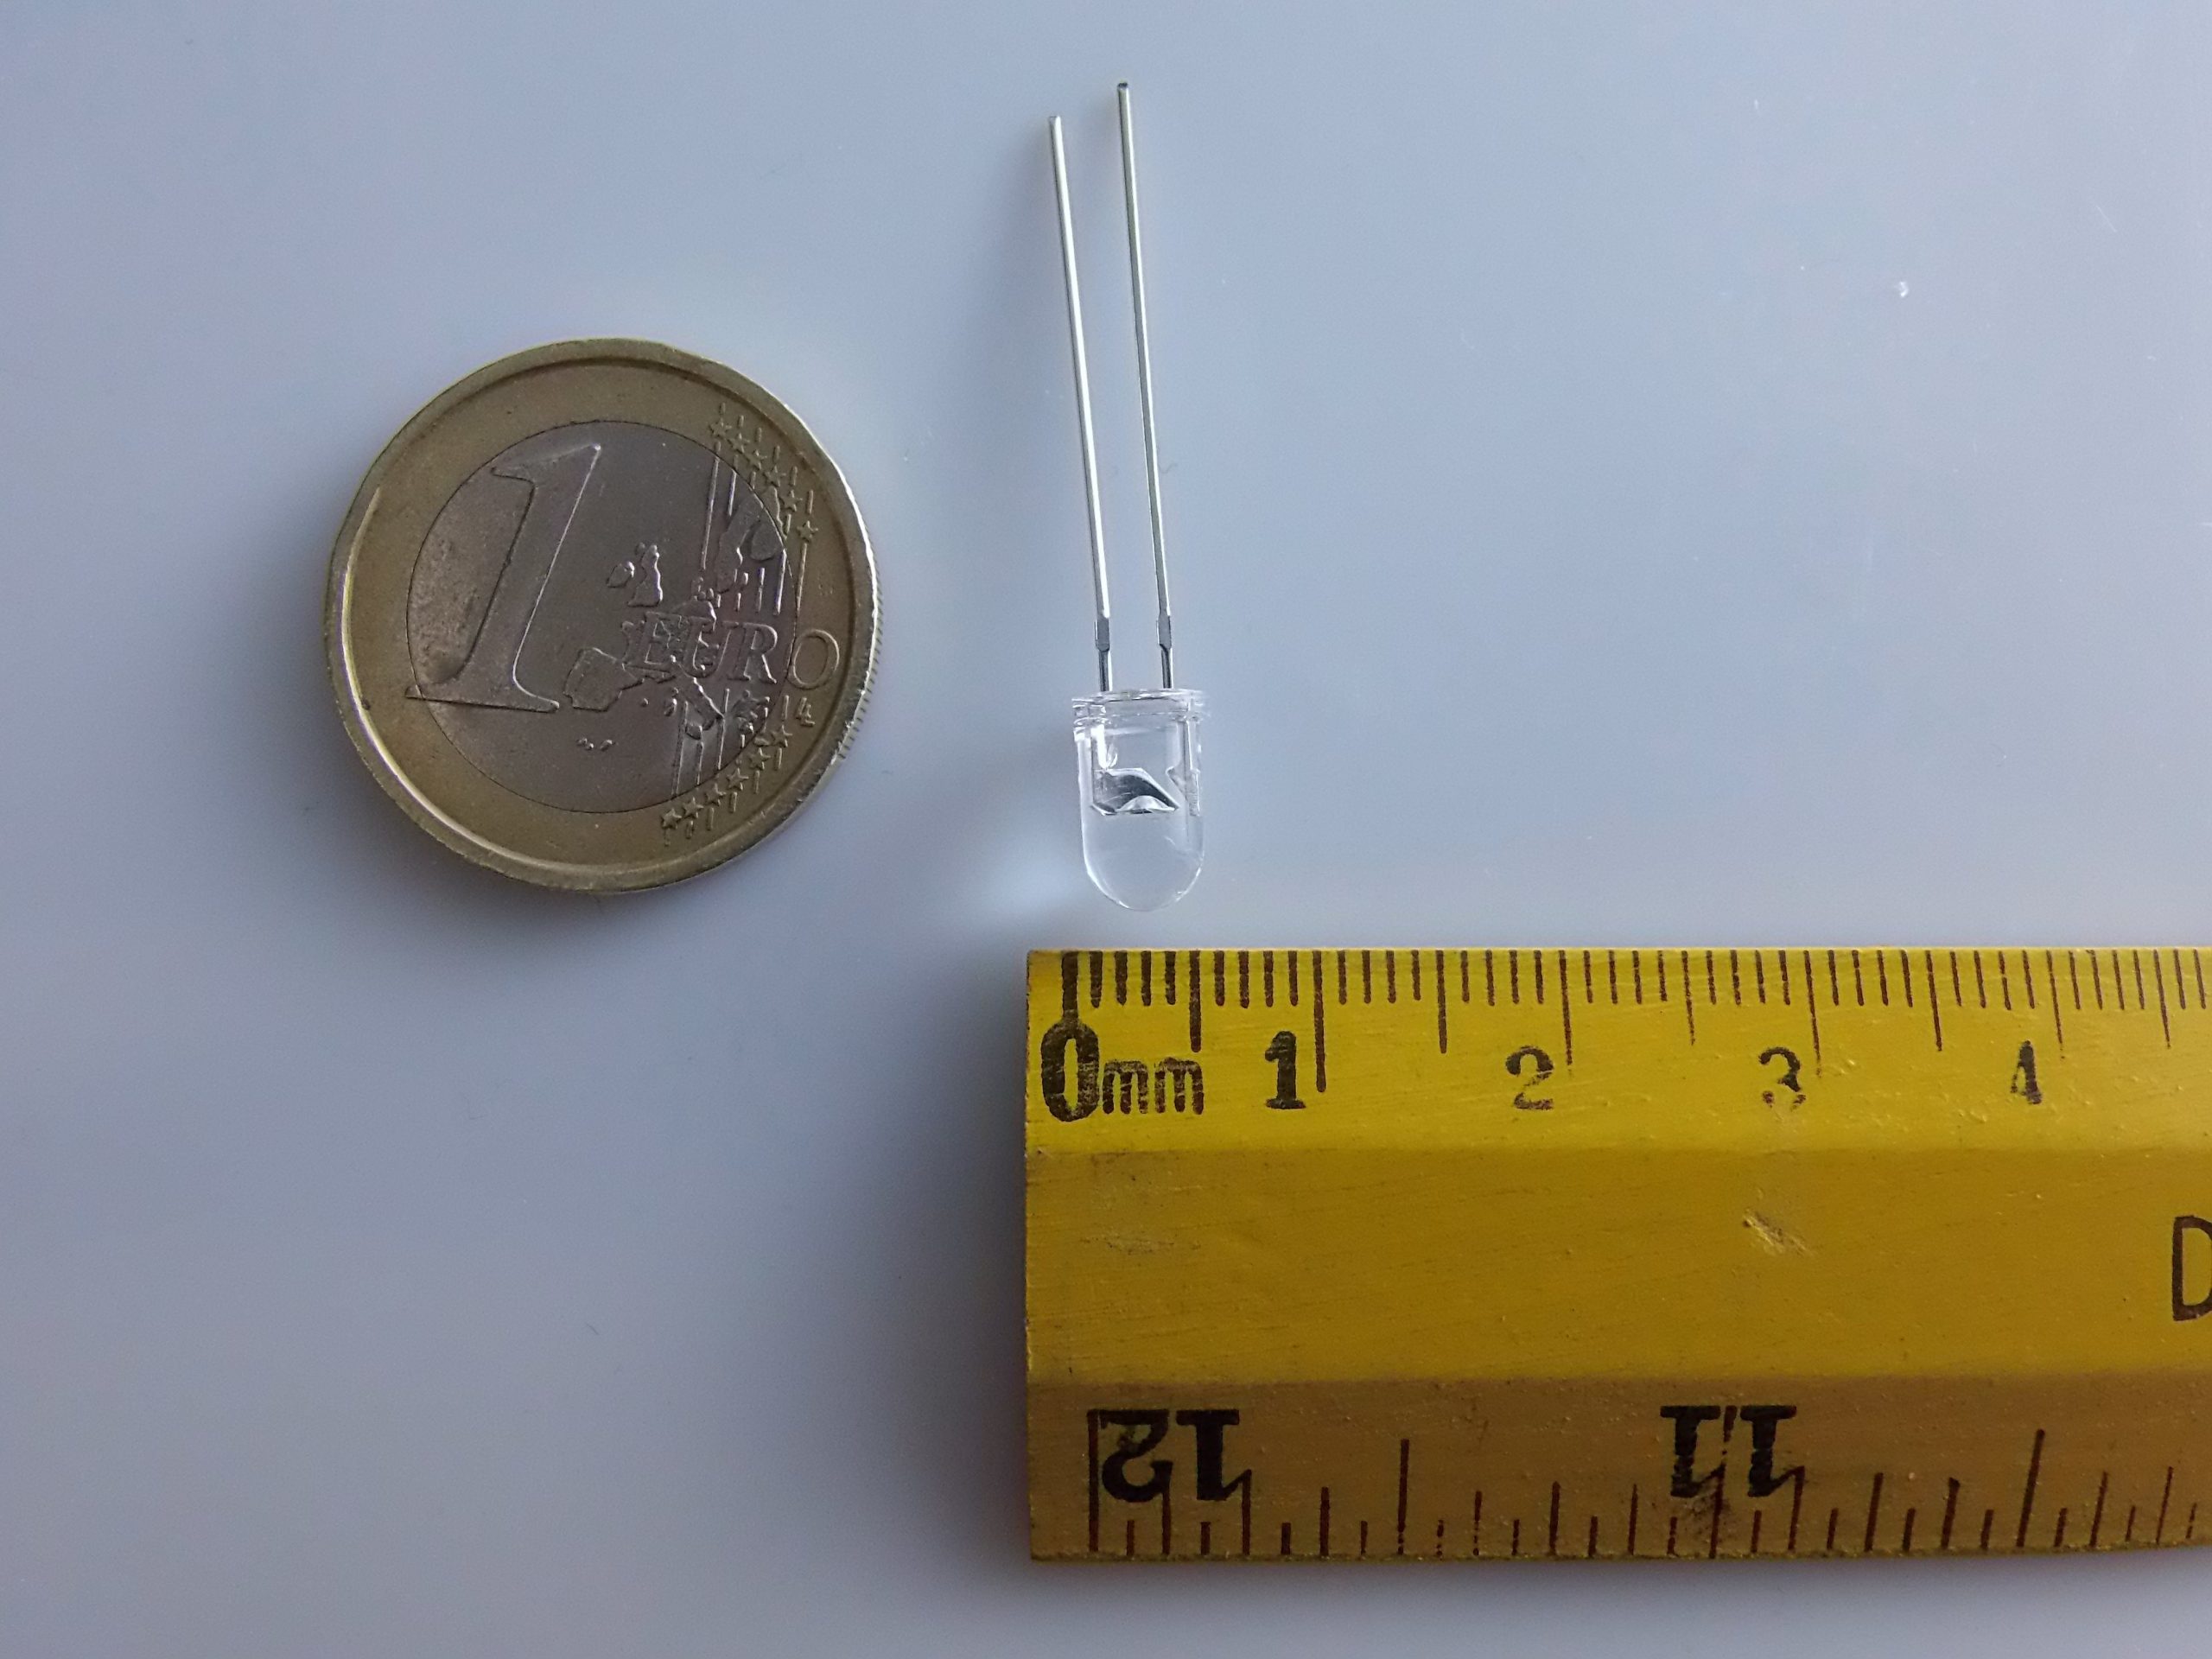
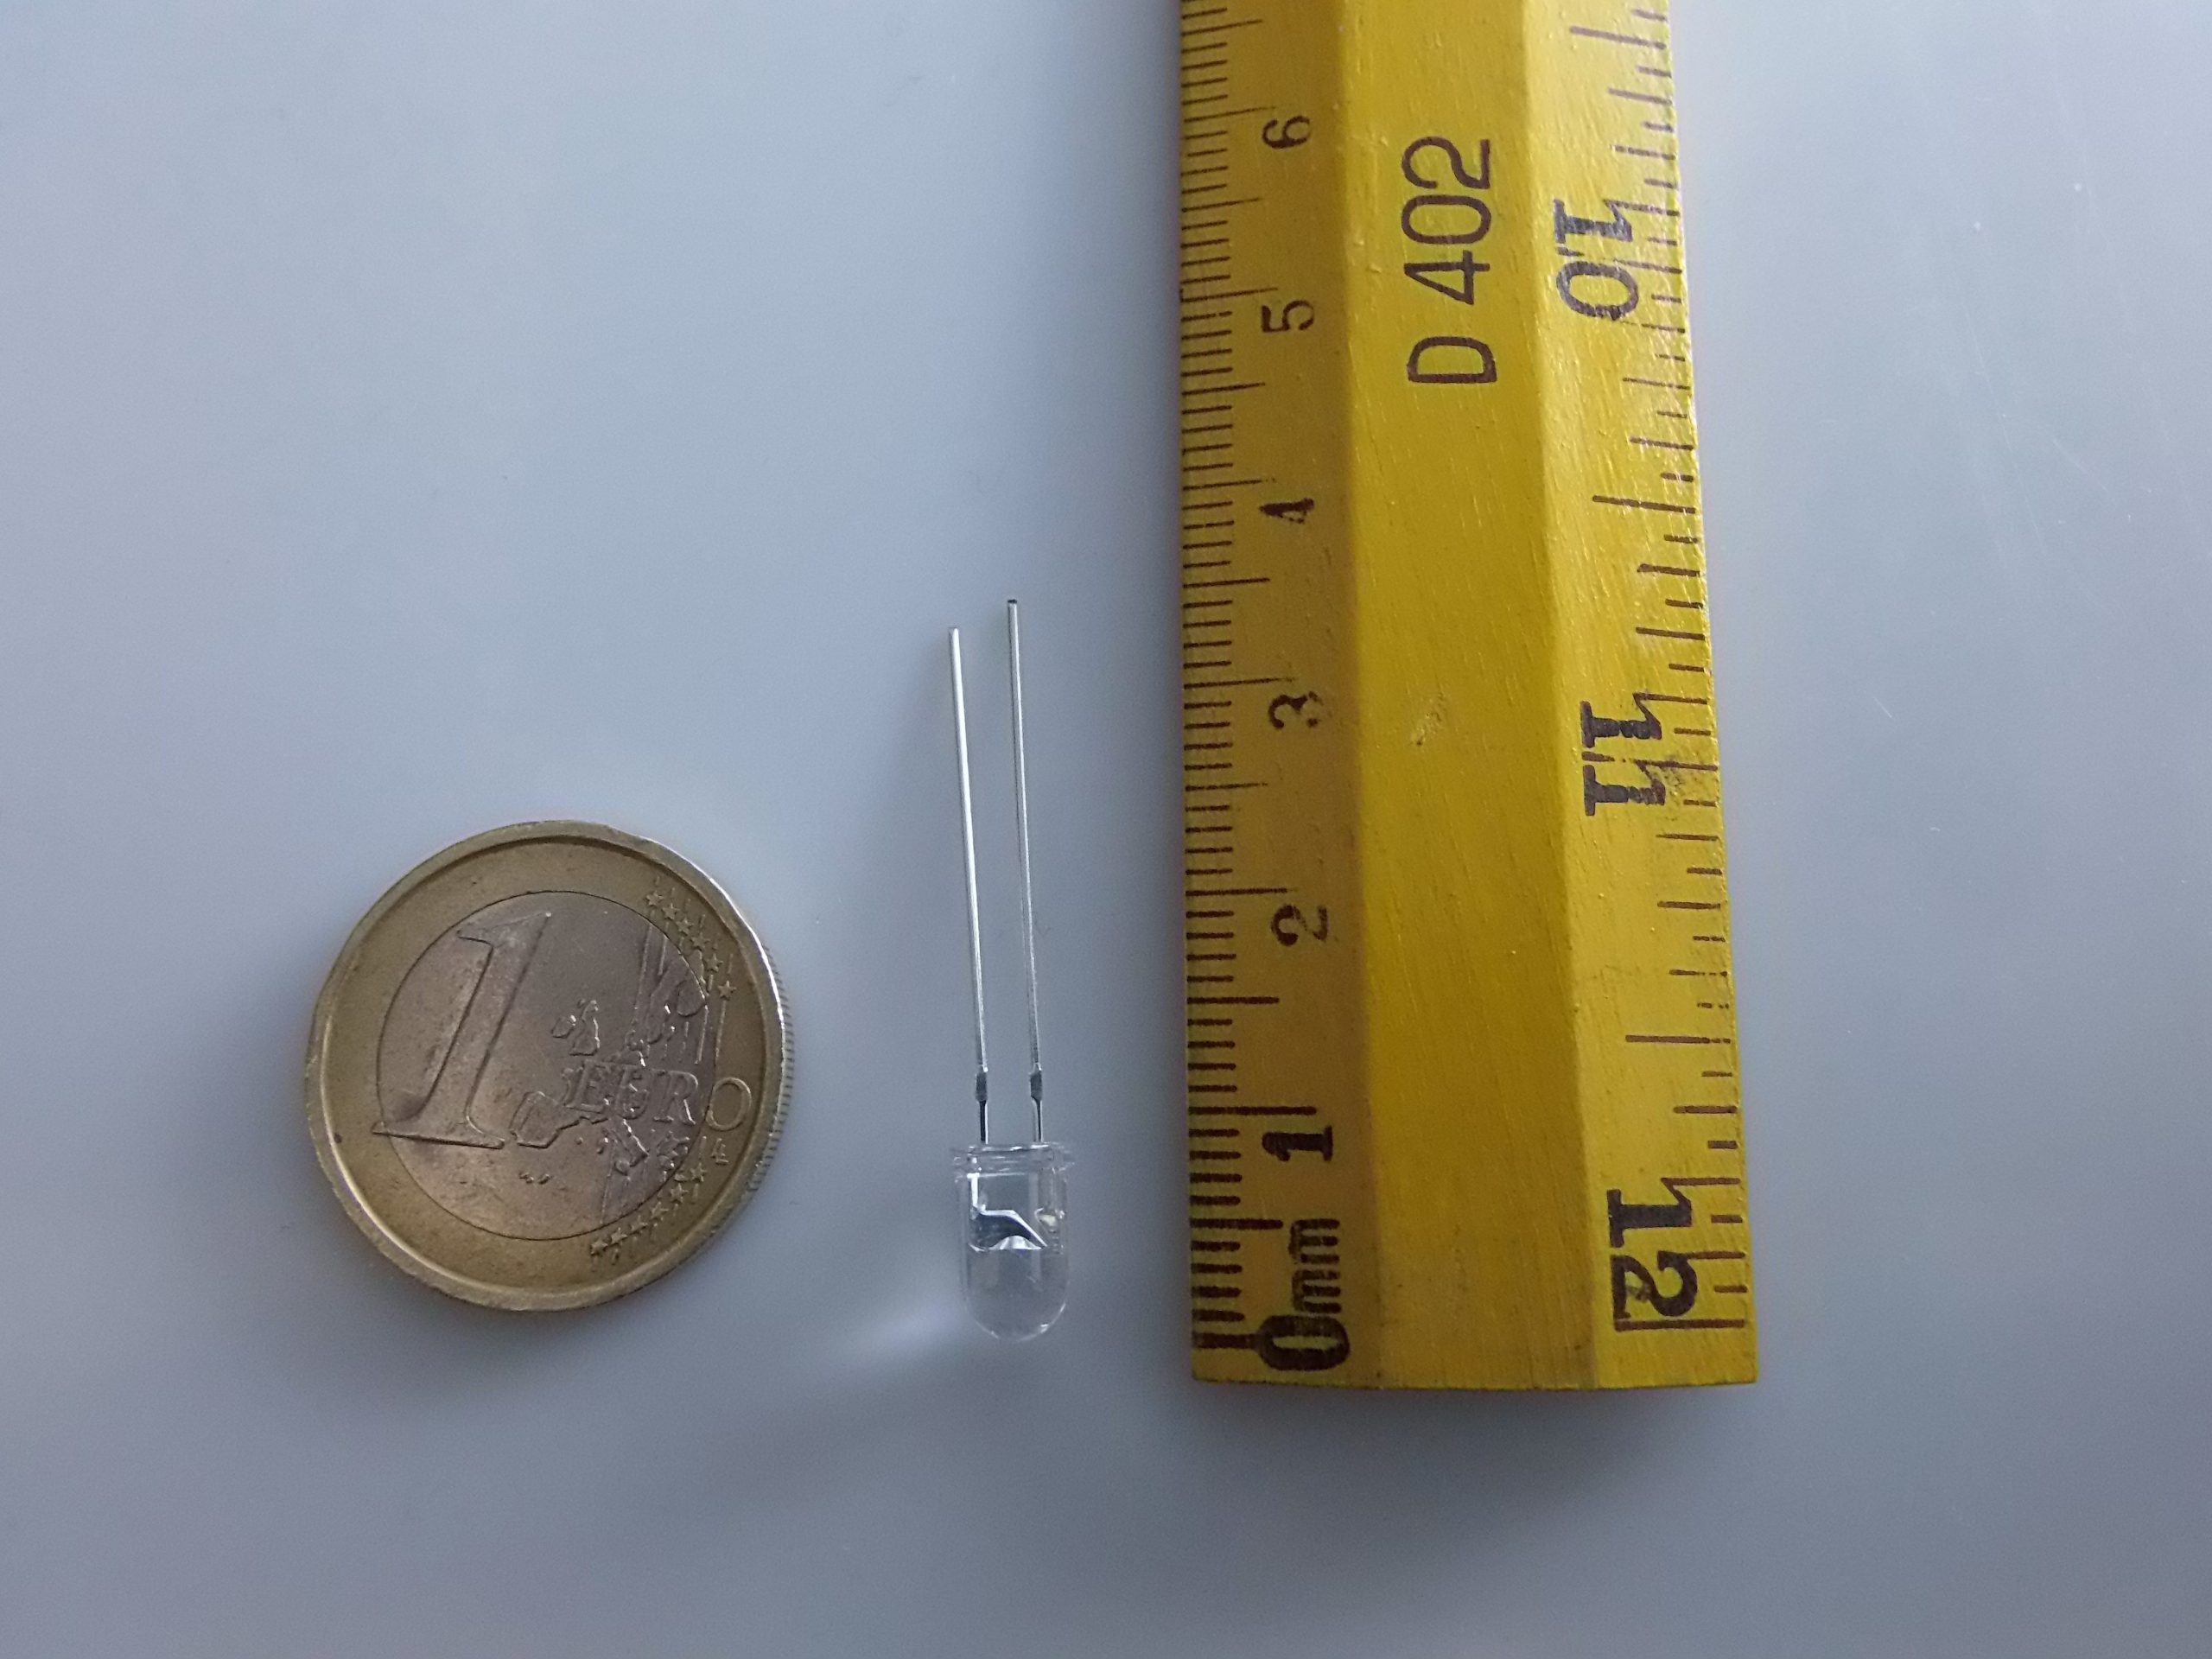
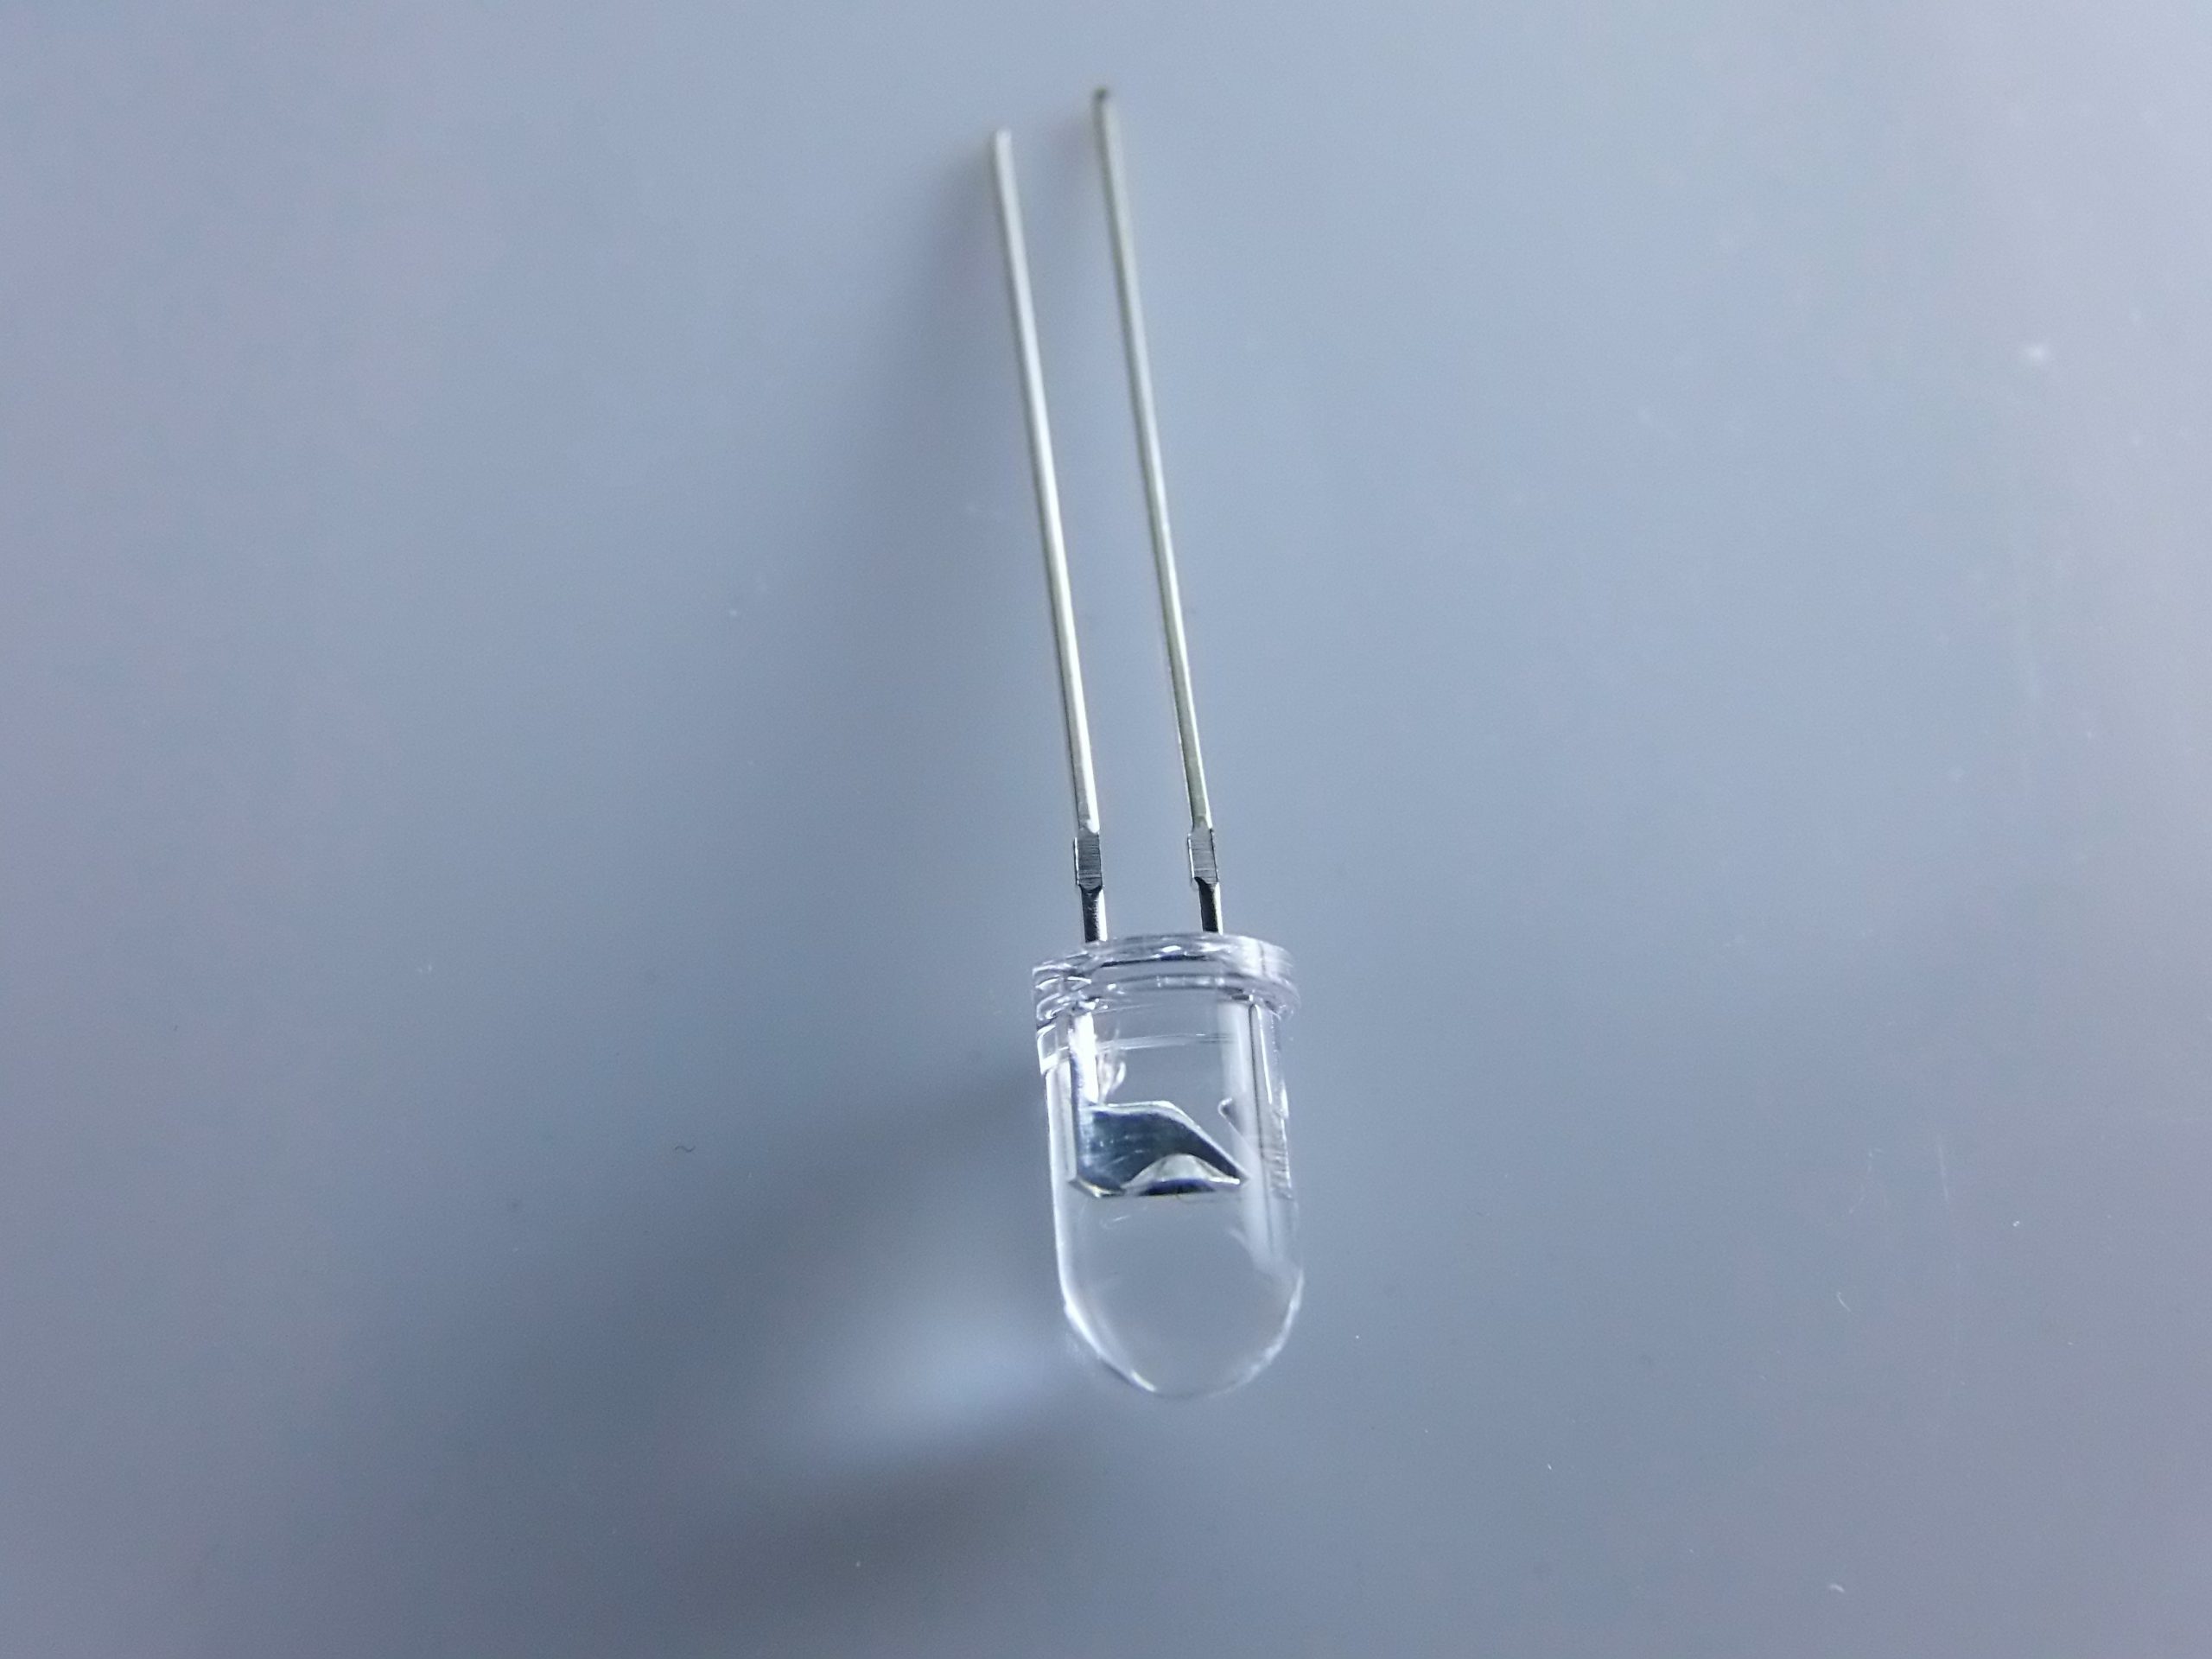
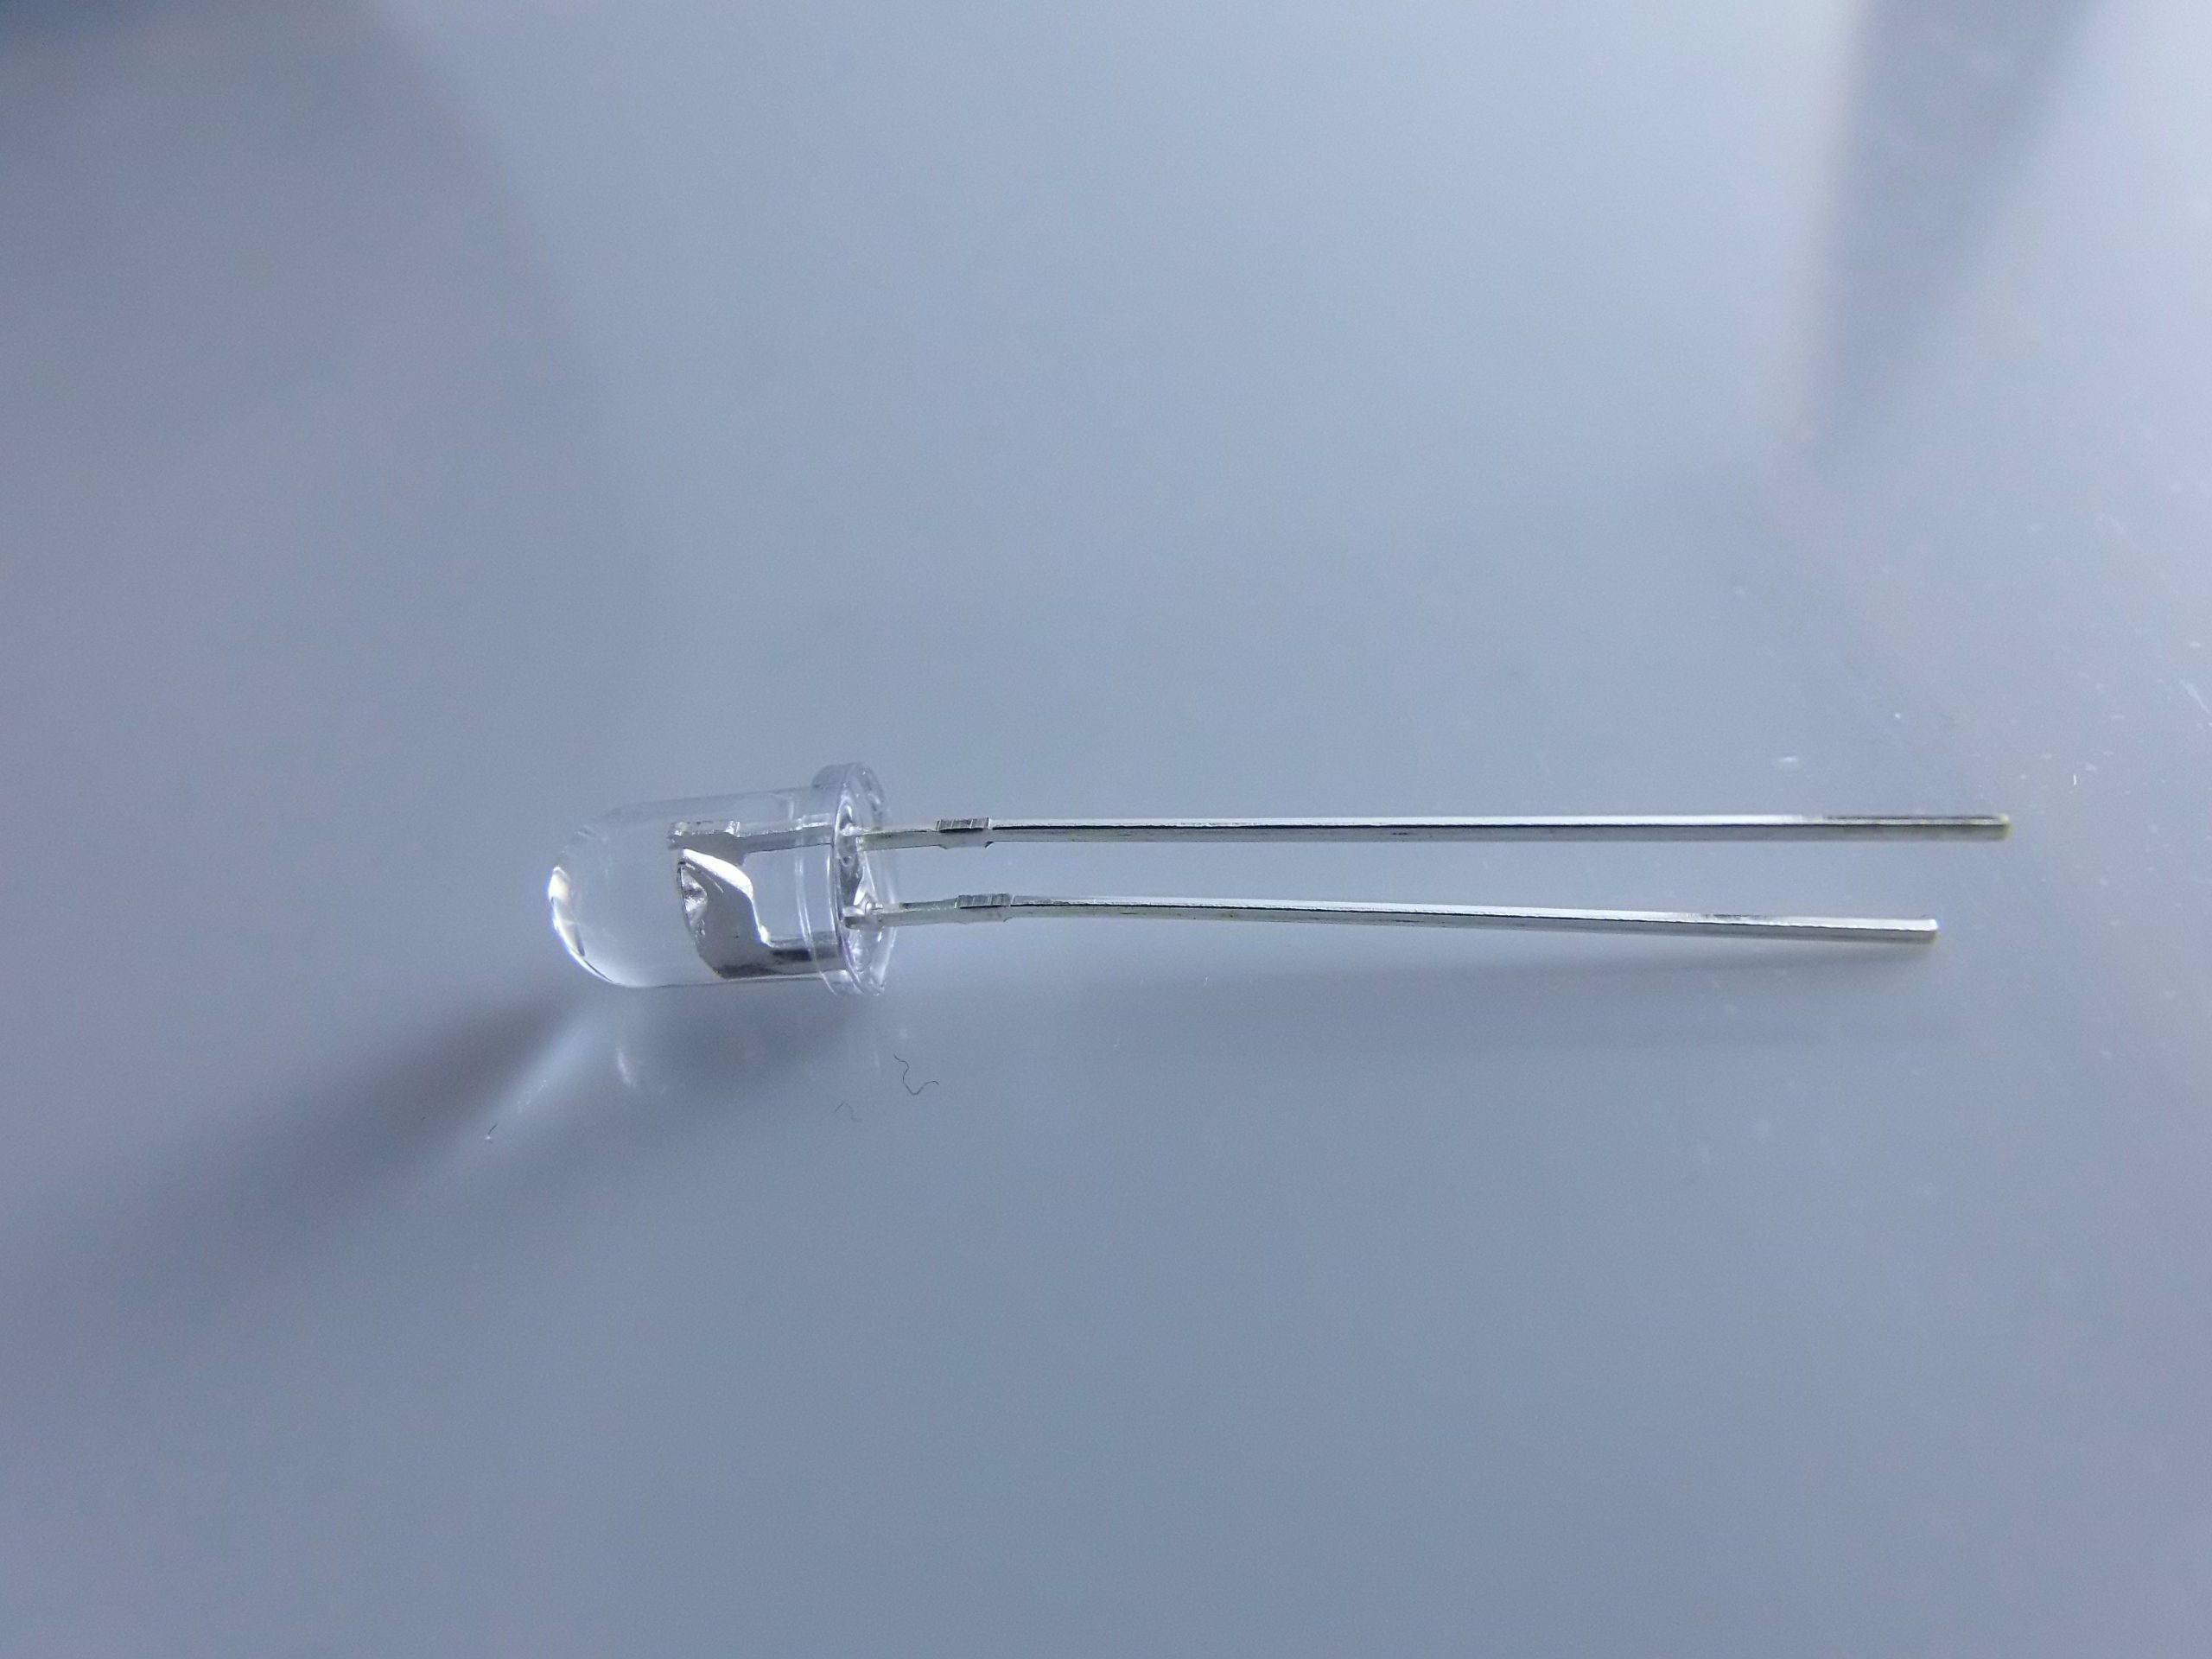
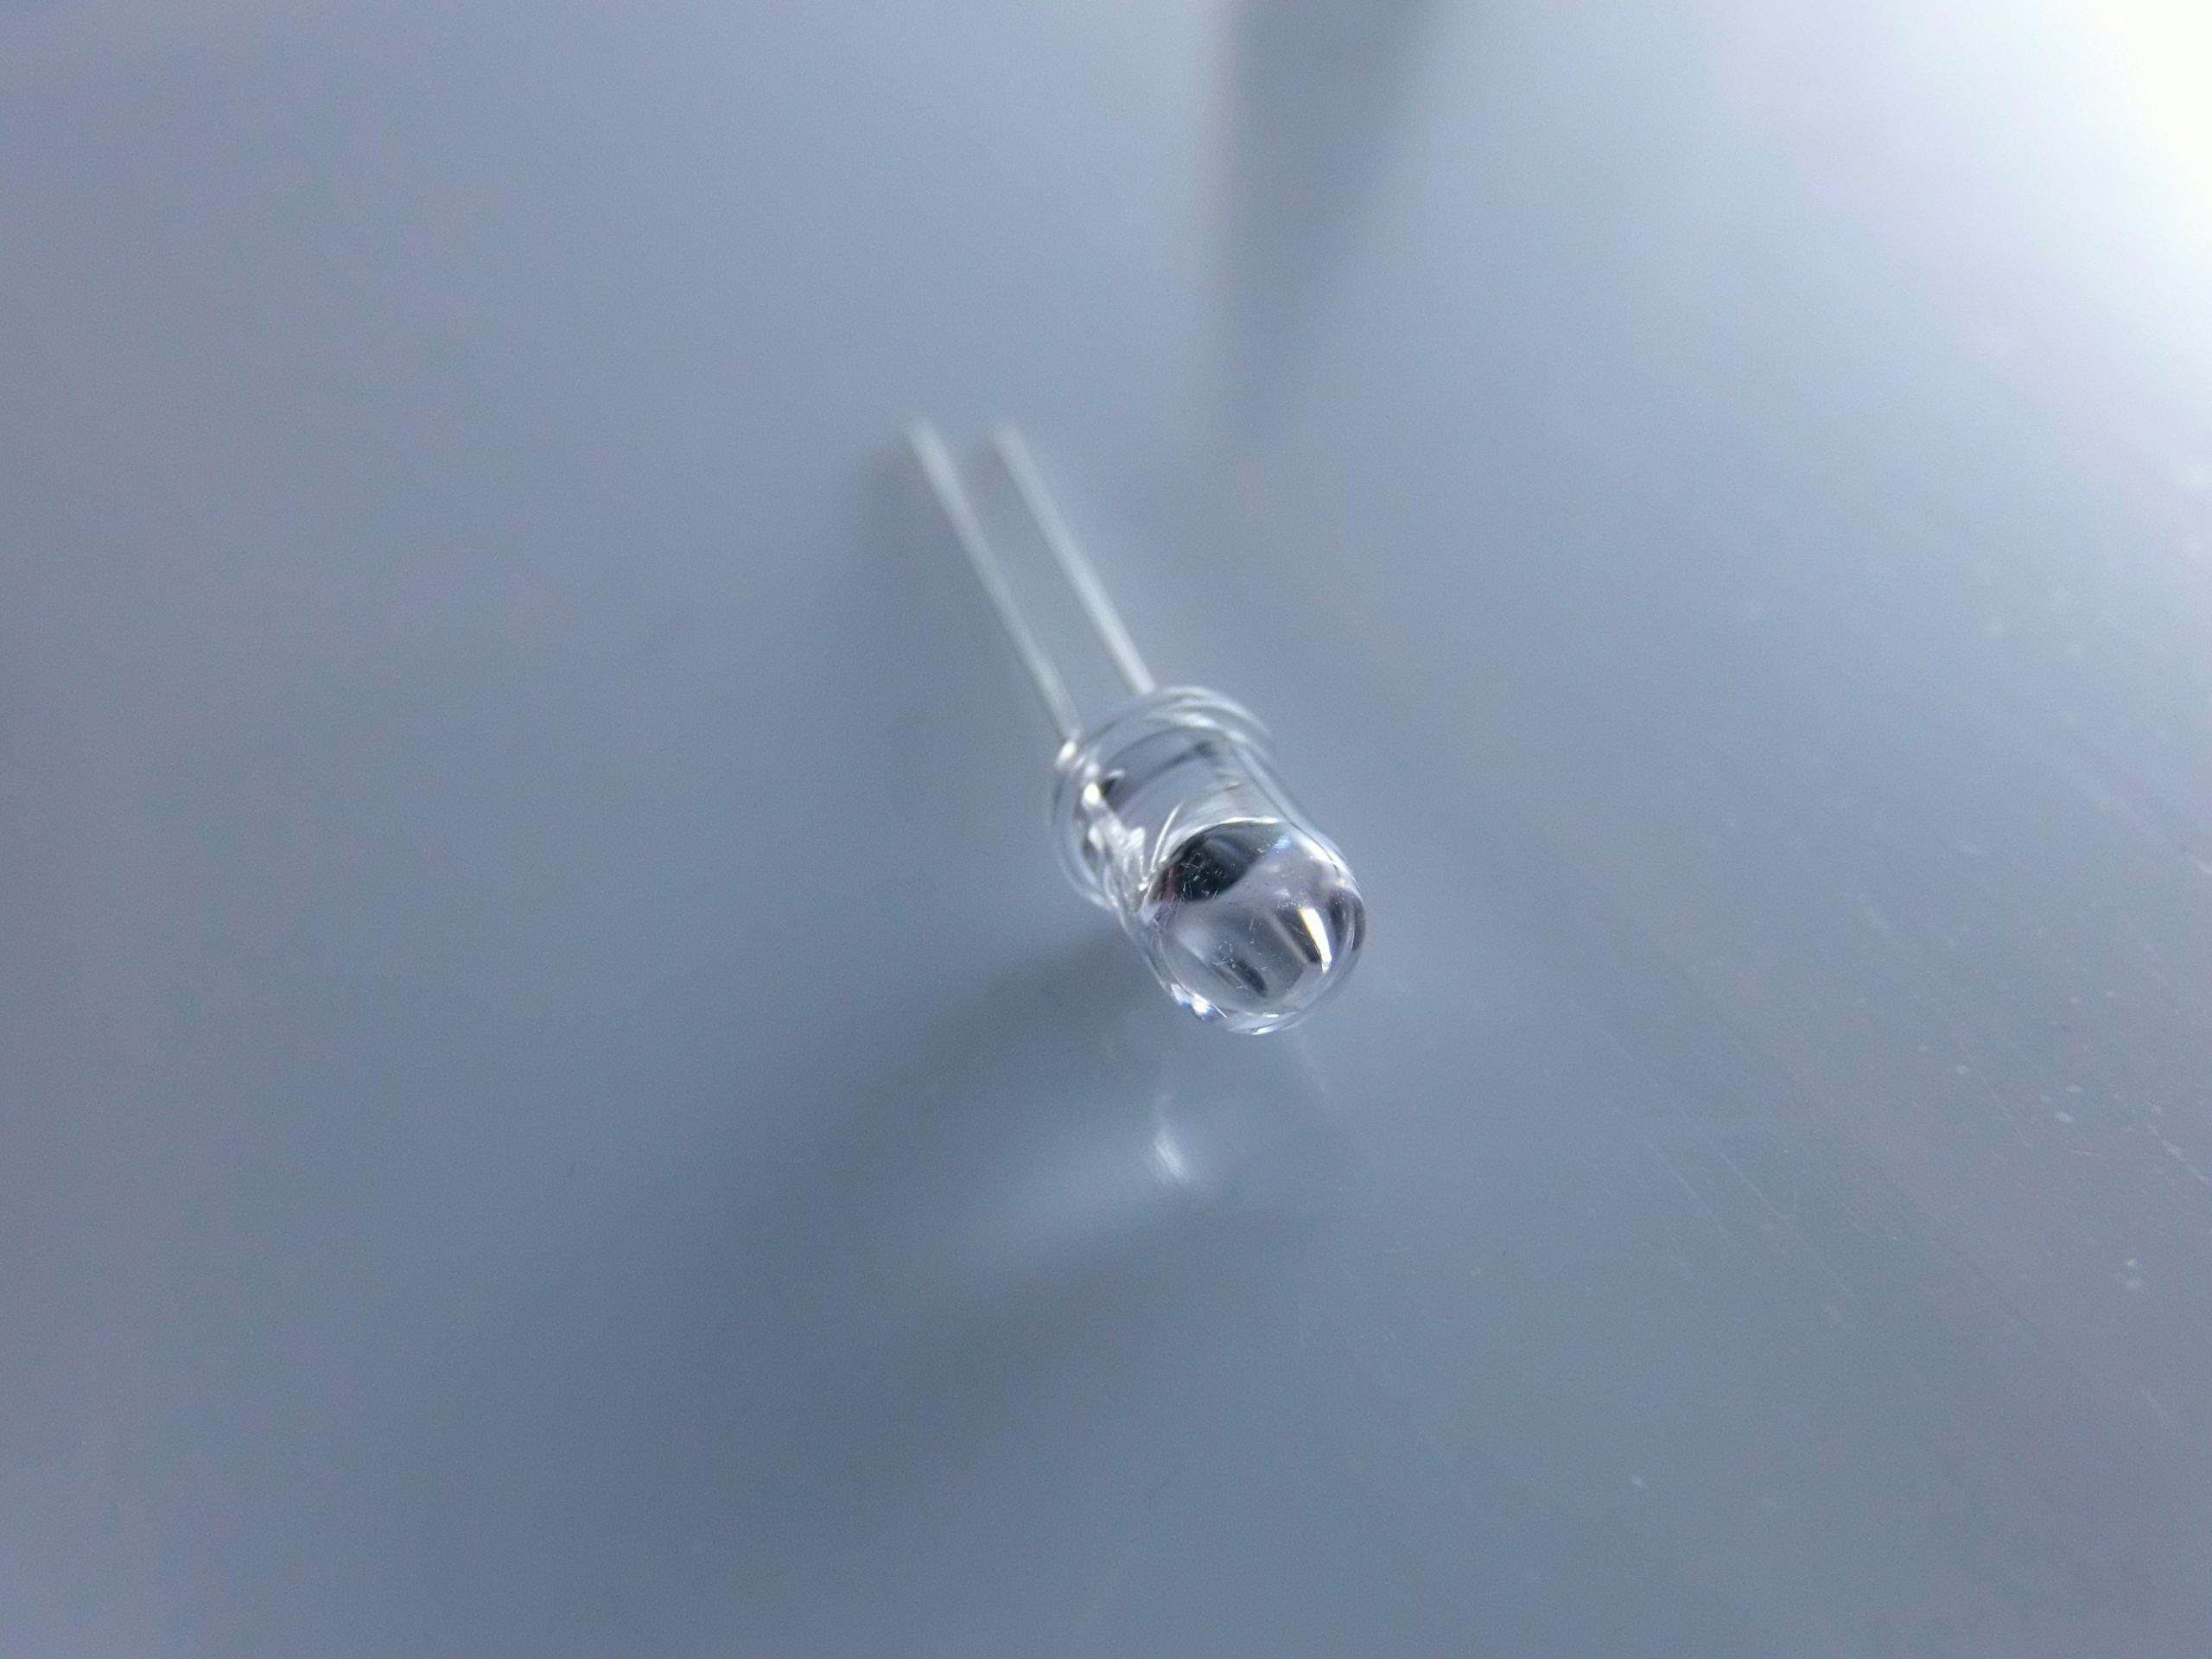
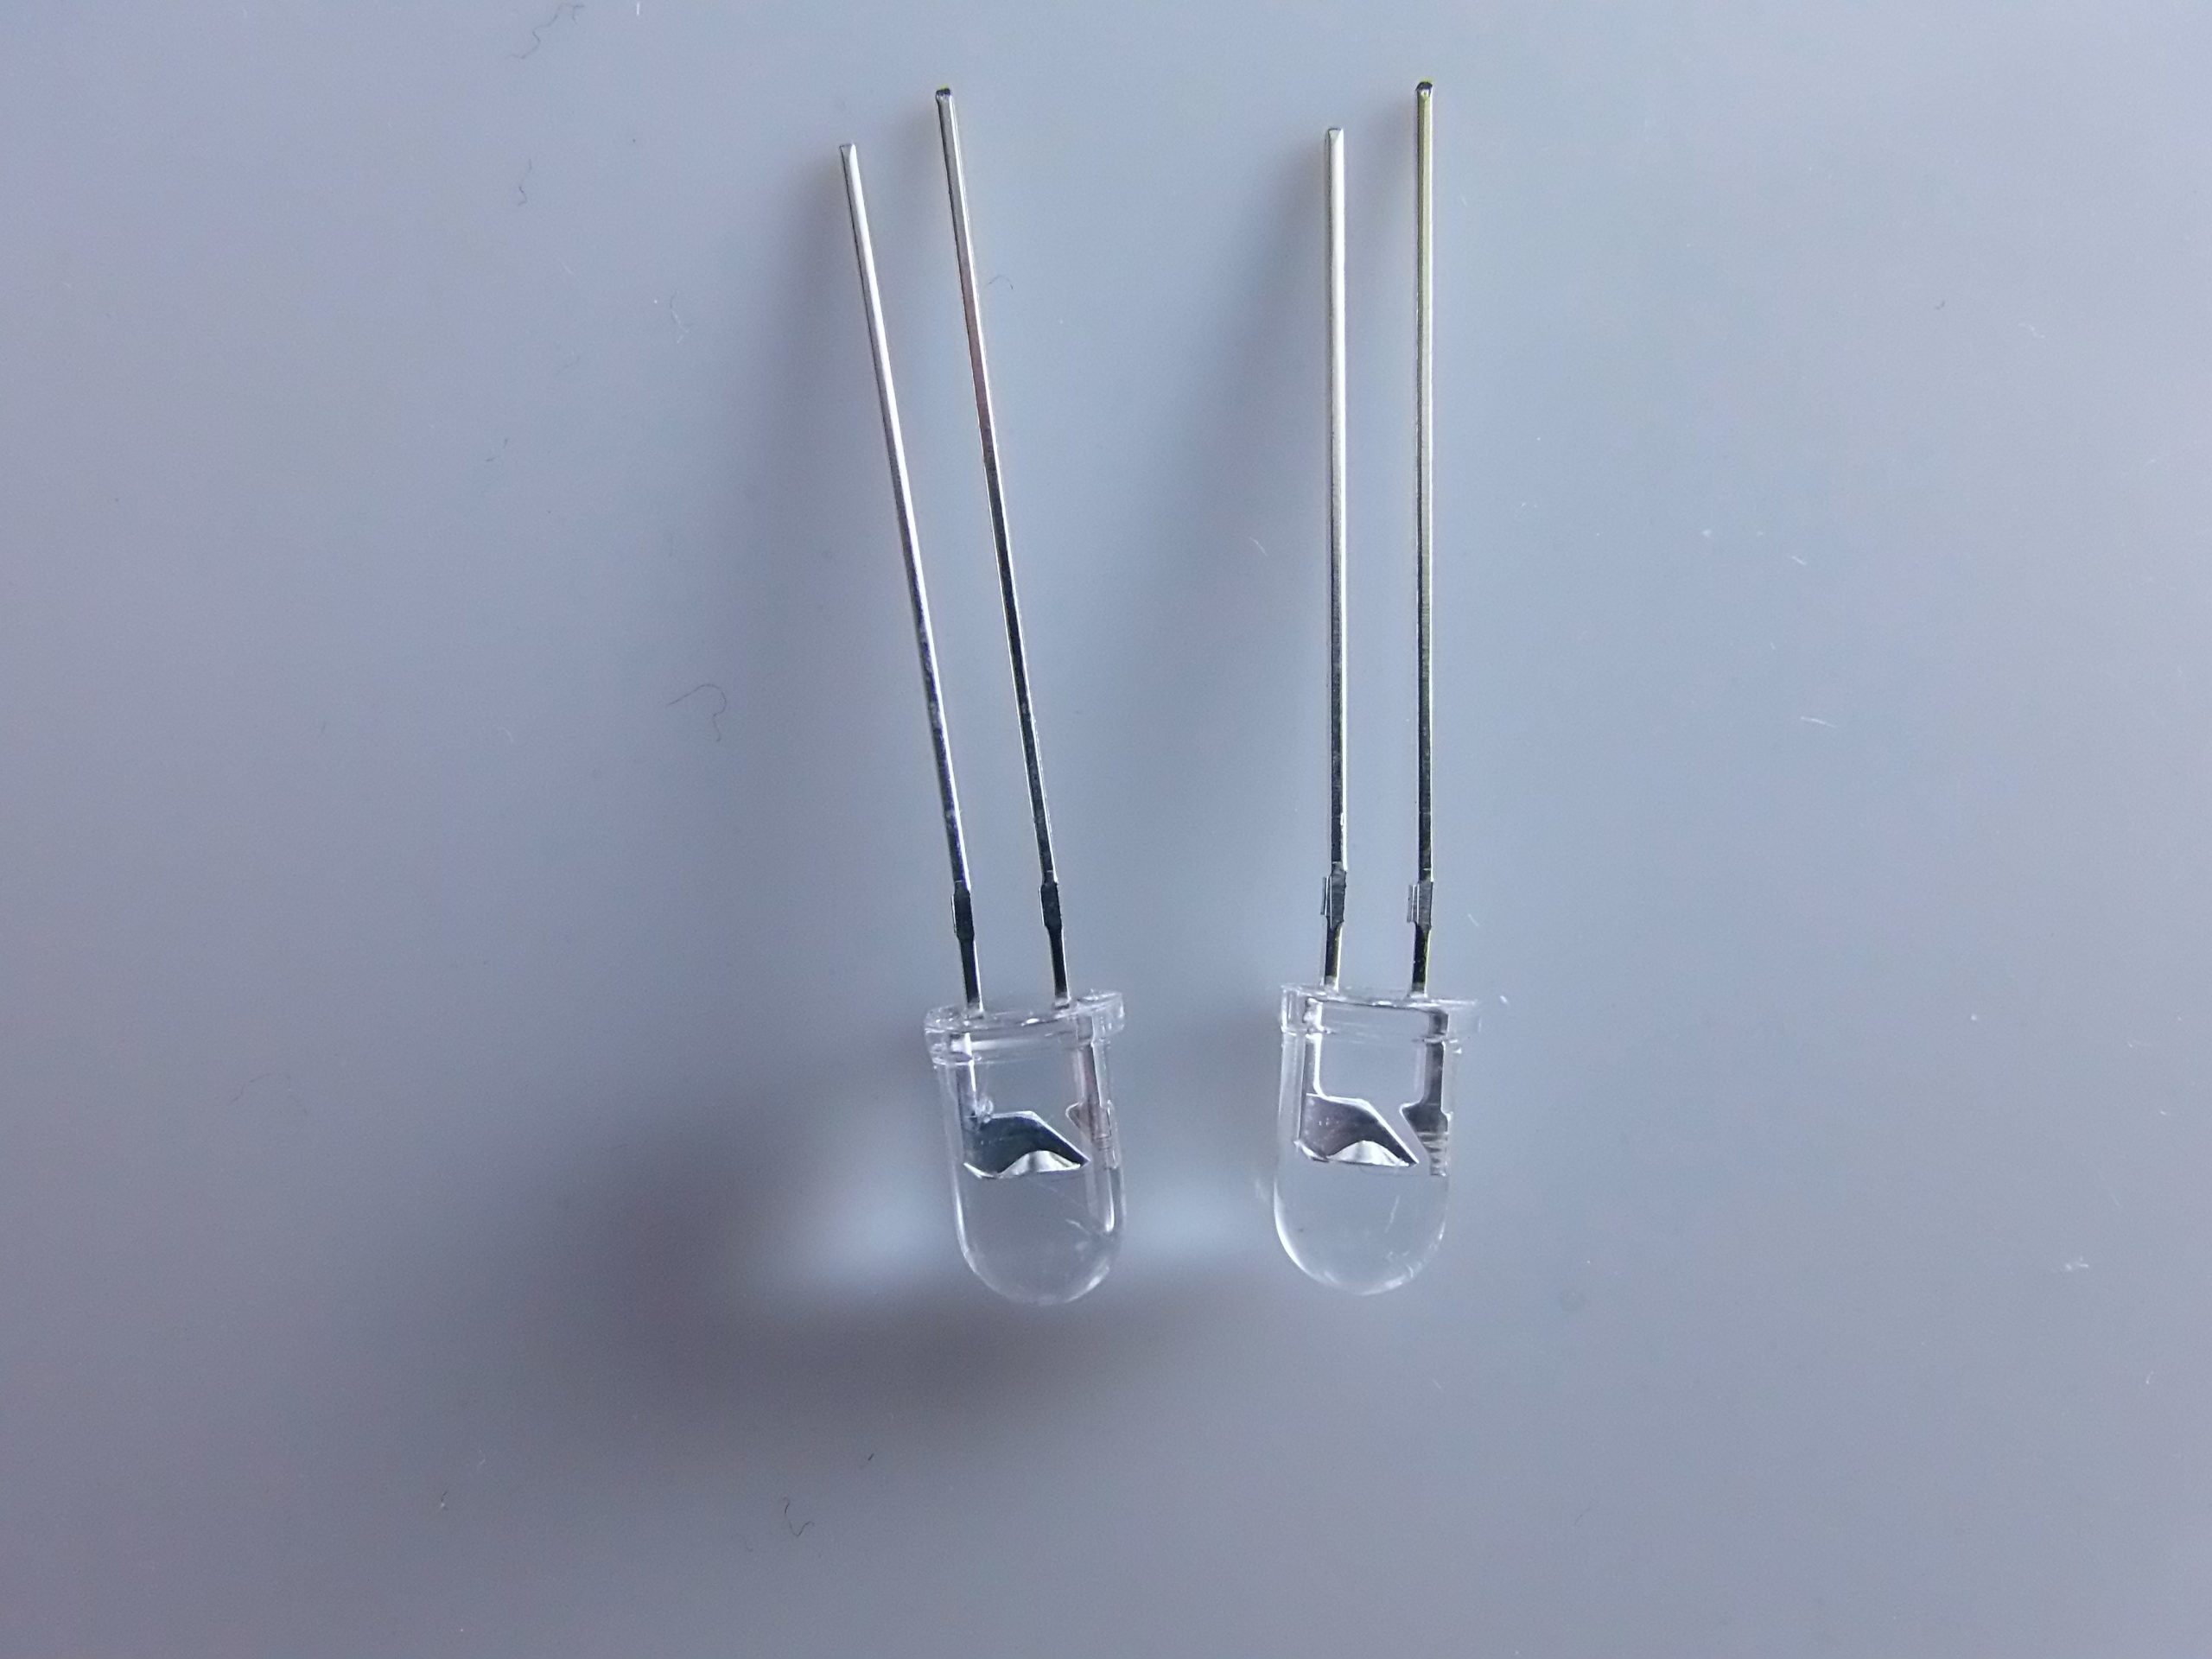
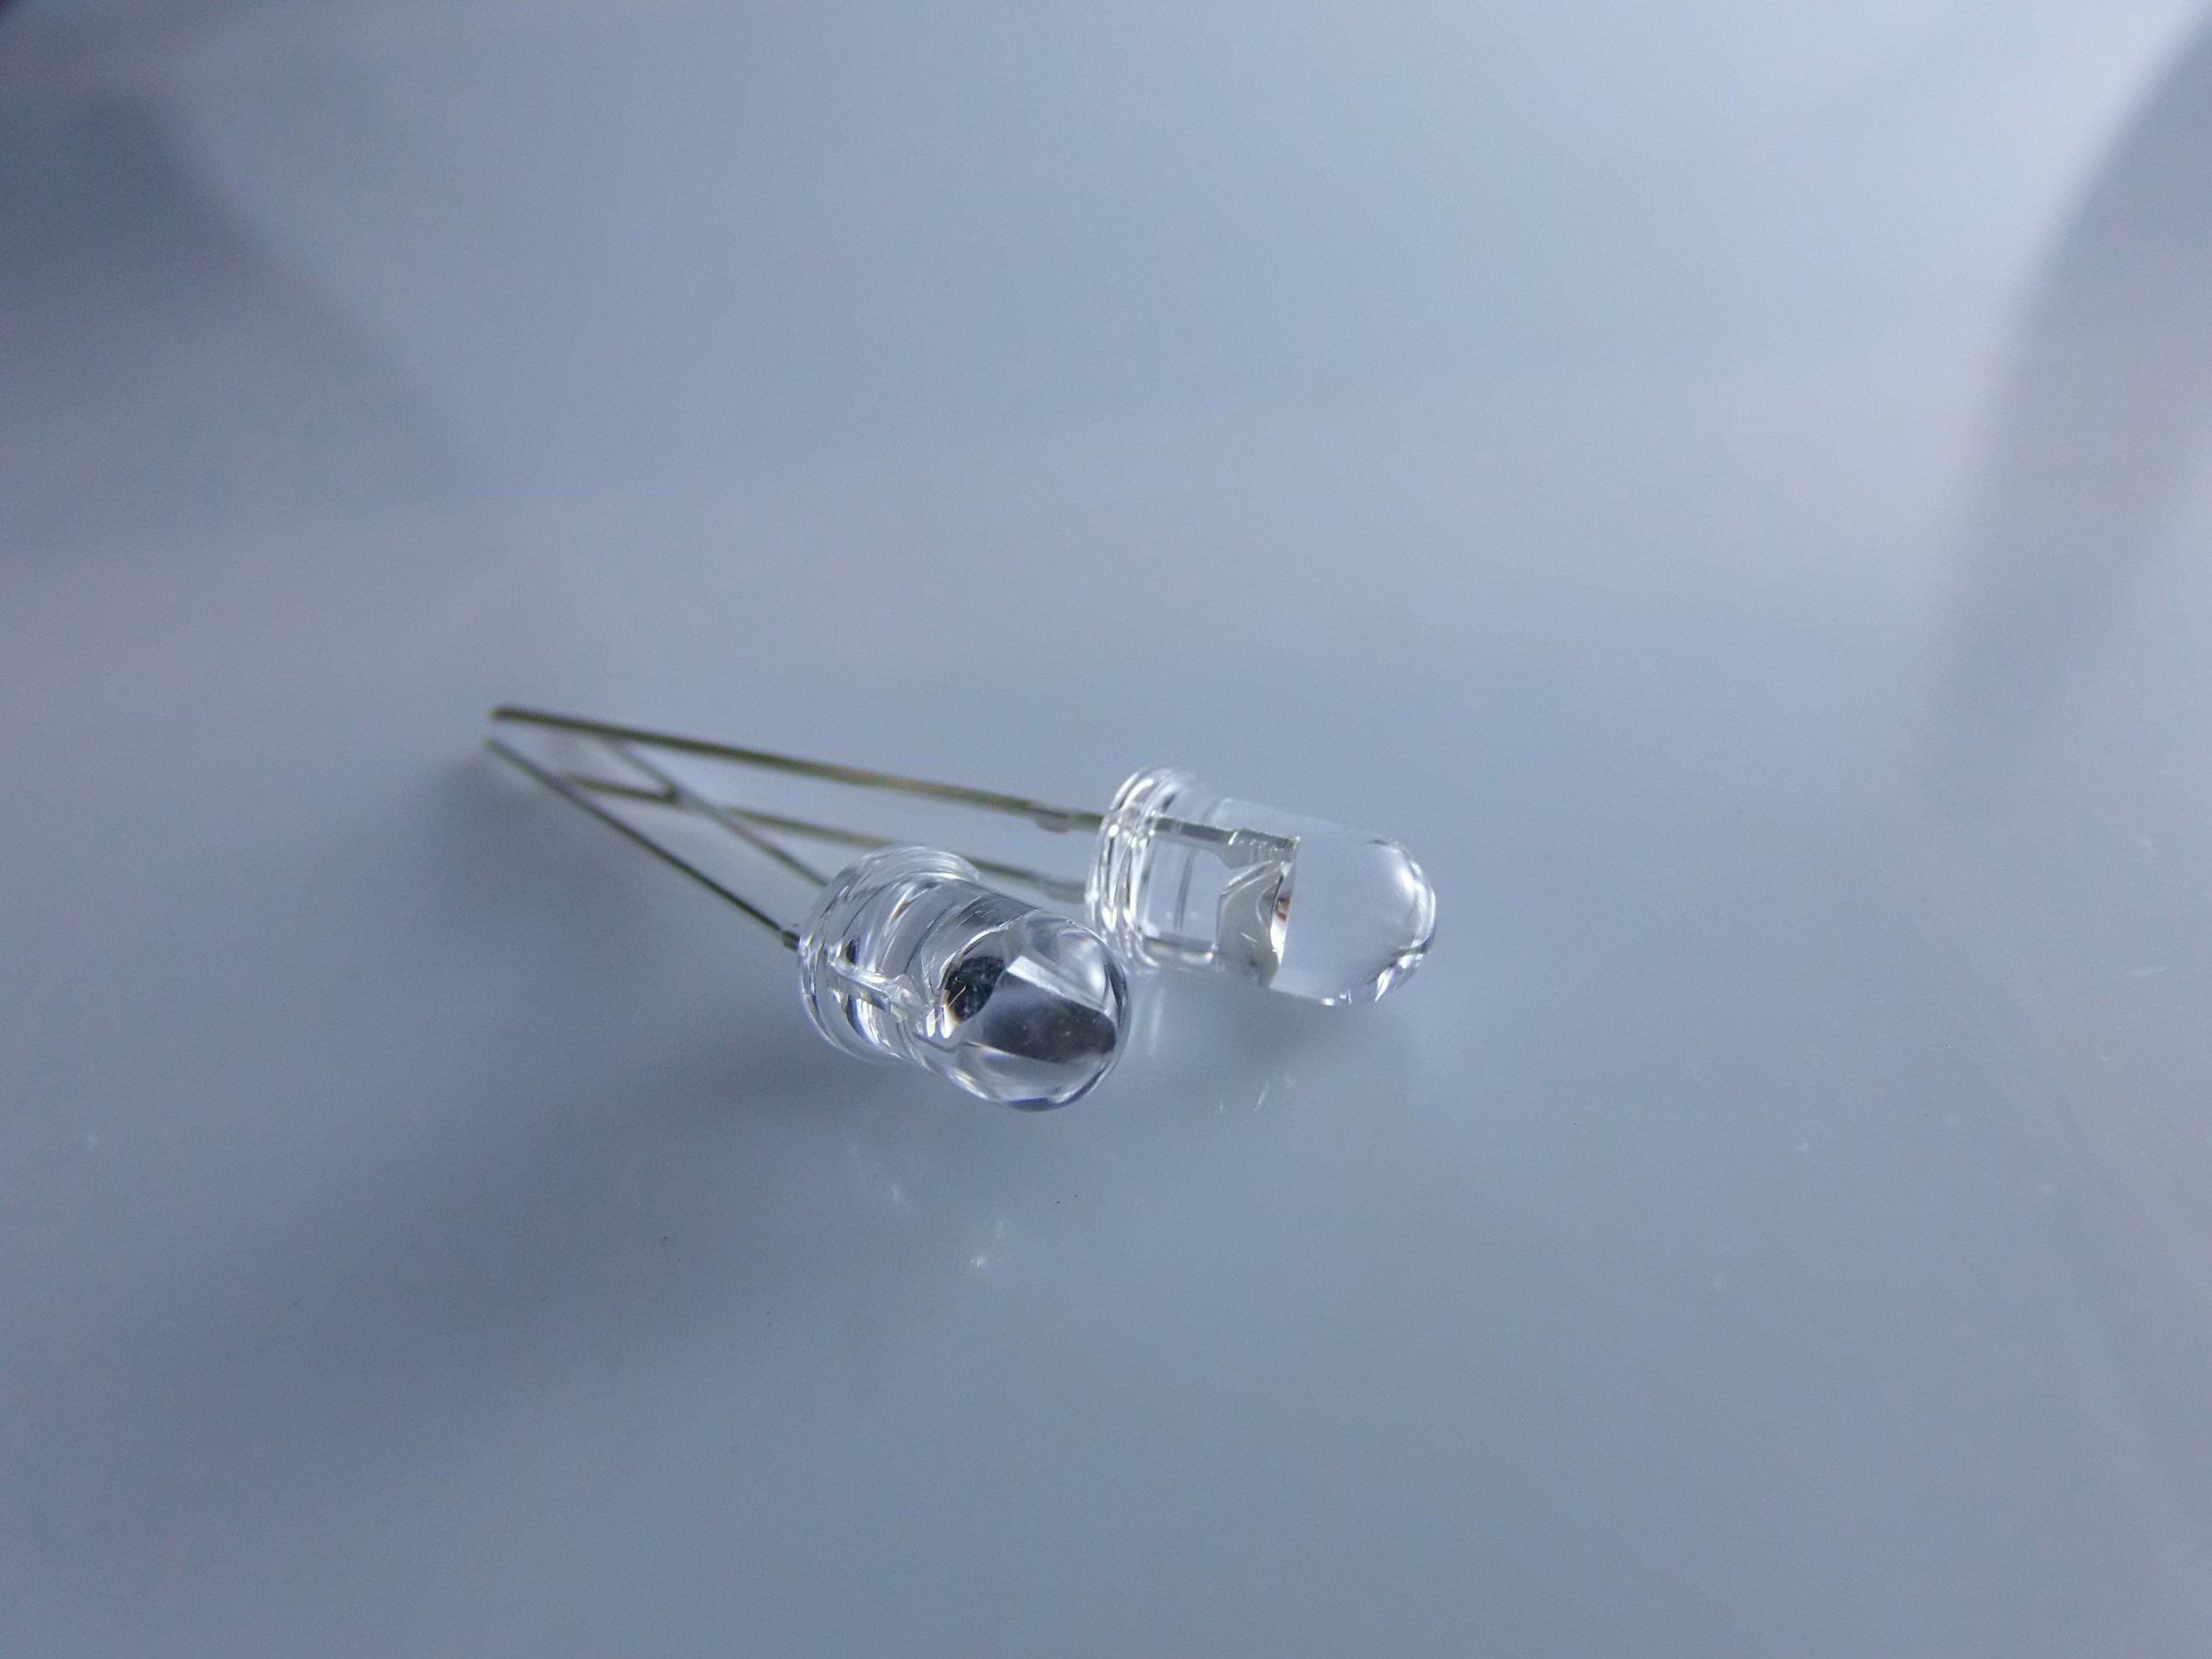
Description
Here is a complete description of the 38kHz IR Transmitter Module (940nm IR LED), a guide to use it with Arduino, and some practical examples.
🔧 38kHz IR LED Transmitter Module Description
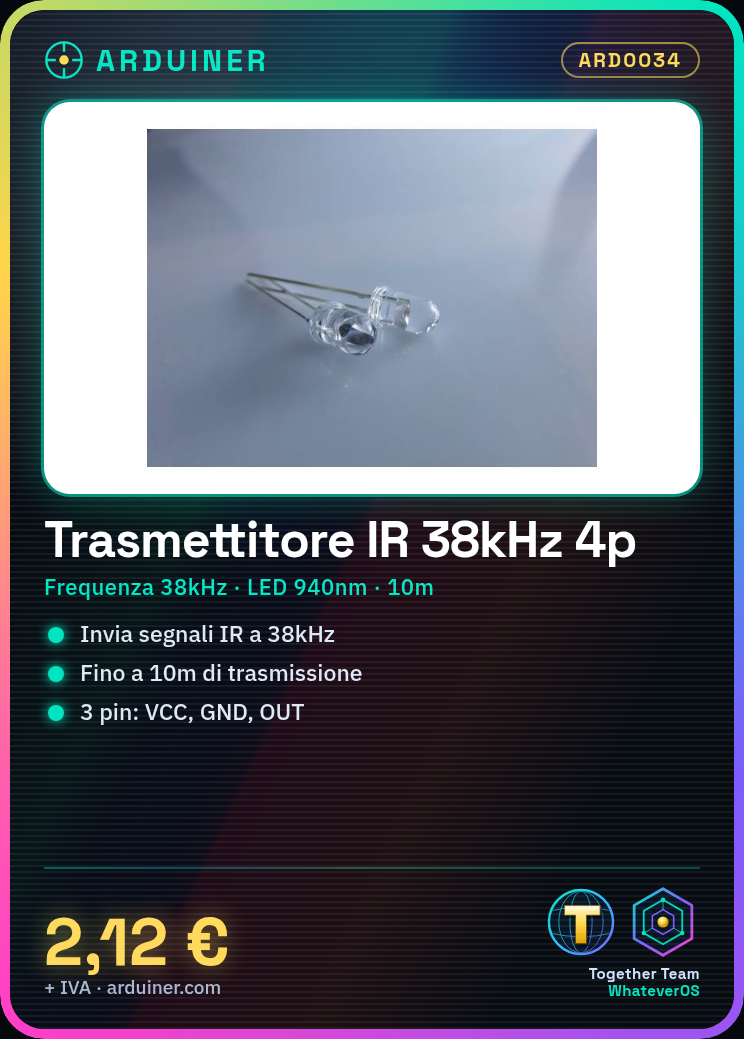
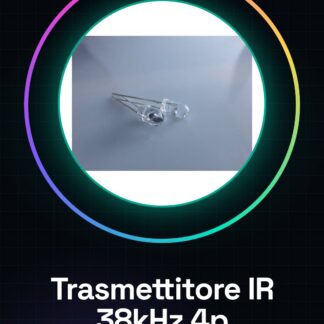
The 38kHz IR Transmitter Module is a simple and economical electronic device designed to send modulated infrared signals at 38kHz, typically used for remote control of electronic devices such as TVs, air conditioners, DVD players, etc.
✅ Main Features:
| Feature | Details |
|---|---|
| IR LED Type | 940nm IR LED |
| Modulated Frequency | 38 kHz |
| Operating Voltage | 3.3V – 5V (compatible with Arduino) |
| Transmission Range | Up to 10 meters (depends on power supply and lens) |
| Interface Type | 3 pin (VCC, GND, OUT/SIGNAL) |
| Applications | IR remote controls, robotics, home automation, IR sensor testing |
🔌 Connecting the module to Arduino
| IR LED Module | Arduino |
|---|---|
| VCC | 5V |
| GND | GND |
| SIGNAL (or OUT) | PIN 3 (or other PWM) |
⚠️ Important: The IR LED does not emit visible light, but it can be seen through a digital camera (e.g., phone camera).
📦 Required Components
- Arduino UNO/Nano/Leonardo
- IR LED Transmitter Module
- Breadboard and jumper wires
- Optional IR remote or receiver for testing
💻 Programming guide with Arduino
To send IR signals, you can use the library IRremote available in the Arduino Library Manager.
1. Install IRremote library
- Go to Sketch → Include Library → Manage Libraries
- Search for “IRremote” by Armin Joachimsmeyer
- Click on Install
2. Sketch base: send predefined IR code
#include <IRremote.h>

// Pin su cui è collegato il modulo IR
const int IR_LED_PIN = 3;

IRsend irsend;

void setup() {
 IrSender.begin(IR_LED_PIN); // Inizializza il pin
 Serial.begin(9600);
}

void loop() {
 Serial.println("Invio segnale IR...");

 // Invia un segnale NEC (usato in molti telecomandi TV) con indirizzo e comando
 IrSender.sendNEC(0x10EF38C7, 32); // Cambia con il tuo codice

 delay(5000); // Ripeti ogni 5 secondi
}
🧪 Advanced example: IR remote control emulation
You can capture an IR signal with an IR receiver (e.g., TSOP1838) and then reproduce it with the IR transmitter module.
Sketch to receive an IR code (with IR receiver):
#include <IRremote.h>

const int RECV_PIN = 2;
IRrecv irrecv(RECV_PIN);
decode_results results;

void setup(){
 Serial.begin(9600);
 irrecv.enableIRIn(); // Start ricezione
}

void loop(){
 if (irrecv.decode(&results)) {
 Serial.print("Codice IR ricevuto: ");
 Serial.println(results.value, HEX);
 irrecv.resume(); // Pronto per il prossimo segnale
 }
}
Once you have the code (e.g., 0x10EF38C7), you can use it in the transmitter code to send the same IR signal.
🔁 Supported signal formats
The IRremote library supports many formats:
- NEC
- Sony
- Panasonic
- RC5 / RC6
- Samsung
- And others…
Example of sending with RC5 format:
IrSender.sendRC5(0x1A3, 12);
⚠️ Useful Notes and Tips
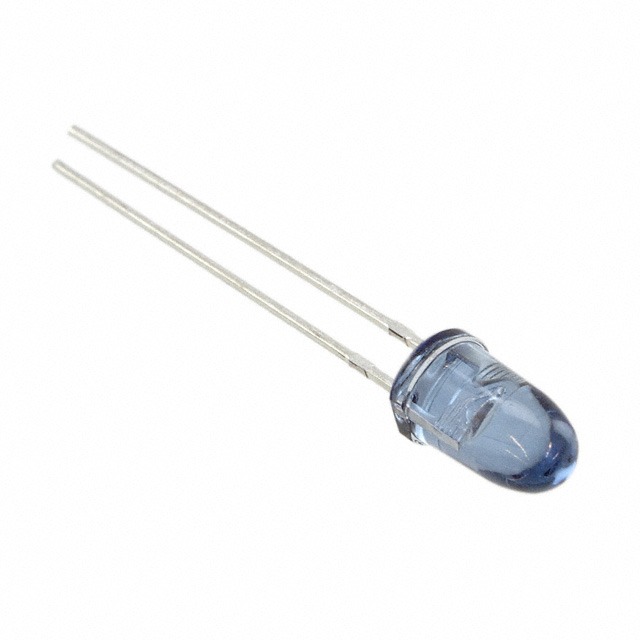
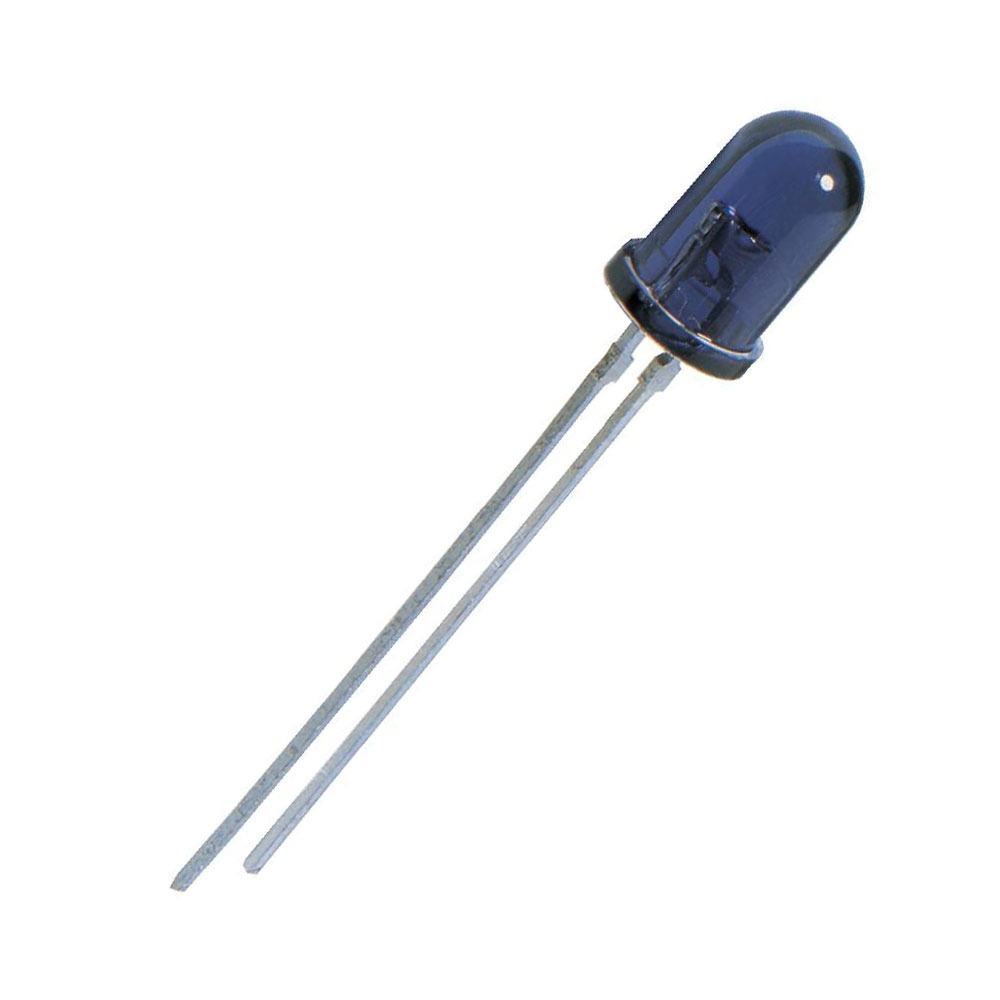
- IR LEDs have polarity: the long pin is the anode (+).
- Avoid powering multiple IR LEDs in parallel directly without resistors.
- For higher power, you can use a transistor (e.g., 2N2222 or IRLZ44N) to drive the IR LED.
- Check with a camera if the IR LED lights up.
🎯 Practical Applications
- Control TVs, air conditioners, and other IR devices
- Build a universal remote control
- Robots that avoid obstacles or communicate via IR
- Home automation systems
- Test IR receivers for compatibility
If you want, I can also create a Fritzing diagram or help you read signals from an IR receiver to build a complete remote control. Do you want to proceed with one of these practical examples?
|
GENERAL |
MODEL |
38 mhz IR Universal Transmitter LED |
|
MATERIALS |
metal + plastic |
|
|
COMPATIBILITY |
ARDUINO |
|
|
ELECTRICAL COMPONENTS |
INPUT VOLTAGE |
3,7 – 5,5 V |
|
WEIGHT AND DIMENSIONS |
PRODUCT WEIGHT |
1g |
|
PACKAGE WEIGHT |
0,085 kg |
|
|
PRODUCT DIMENSIONS (L x W x H) |
0,5 x 3,5 x 1,5 cm |
|
|
PACKAGE DIMENSIONS (L x W x H) |
5 x 7 x 3 cm |
|
|
PACKAGE CONTENT |
PACKAGE CONTENT |
2 x Module |
Technical specifications of all components are available, should they not be present in the product download card, send a message from the contact us module and we will publish the first possible on our website.
Tutorial: How to use IR LED Transmitter 38KHz
This 38kHz infrared transmitter is perfect for beginners and makers who want to control remote devices or create touchless interfaces. It is compatible with Arduino and other microcontrollers.
What you need
- Arduino Uno
- USB A-Micro B cable
- 9V battery (optional)
- Jumpers
Steps
- Connect the IR transmitter to the Arduino’s digital output pin using jumpers.
- Download and install the ‘IRremote’ library from the Arduino IDE library manager.
- Compile and run the provided sketch to send infrared commands.
- Check that the IR transmitter is active during sketch execution (see activation LED).
- Modify remote command codes using a compatible IR receiver and the ‘IRremote’ library.
- Test the transmitter with various devices to verify its universality.
- Try to create a function that sends specific commands based on external inputs such as keyboards or sensors.
- Explore further infrared control projects by integrating the transmitter into larger systems.
Example code
// Includi la libreria IRremote
#include <IRremote.h>
// Definisci i pin utilizzati per l'IR LED
const int RECV_PIN = 3;
const int IR_LED_PIN = 9;
IRsend irsend;
void setup() {
 pinMode(IR_LED_PIN, OUTPUT);
}
void loop() {
 // Invia un comando di esempio al dispositivo target
 irsend.sendNEC(0x12345678, 32);
}
Mini project
Create a home control system with the IR LED to send commands to various electronic devices such as TVs or stereo systems.
Common mistakes
- The transmitter does not emit a signal: check connections and proper installation of the library.
- Commands are not detected by devices: ensure the transmitter is correctly oriented towards the target device.
- The activation LED of the transmitter does not light up: check the electrical voltage supplied to the IR LED pin.
- Interference with infrared signals: ensure there are few obstacles between the transmitter and target devices.
Recommended accessories
- 38KHz IR Receiver Module
- Arduino Prototype Kit
- Breadboard
- Various Resistor Kit
Frequently asked questions
What is the operating frequency of the transmitter?
The standard frequency is 38kHz, but check the datasheet for confirmation.
Can it be used with Raspberry Pi?
Yes, it can be used with Raspberry Pi by installing the appropriate libraries.
Reviews
There are no reviews yet.