 EN
 IT Italiano
 ES Español
 FR Français
 DE Deutsch
Description
Technical Specifications
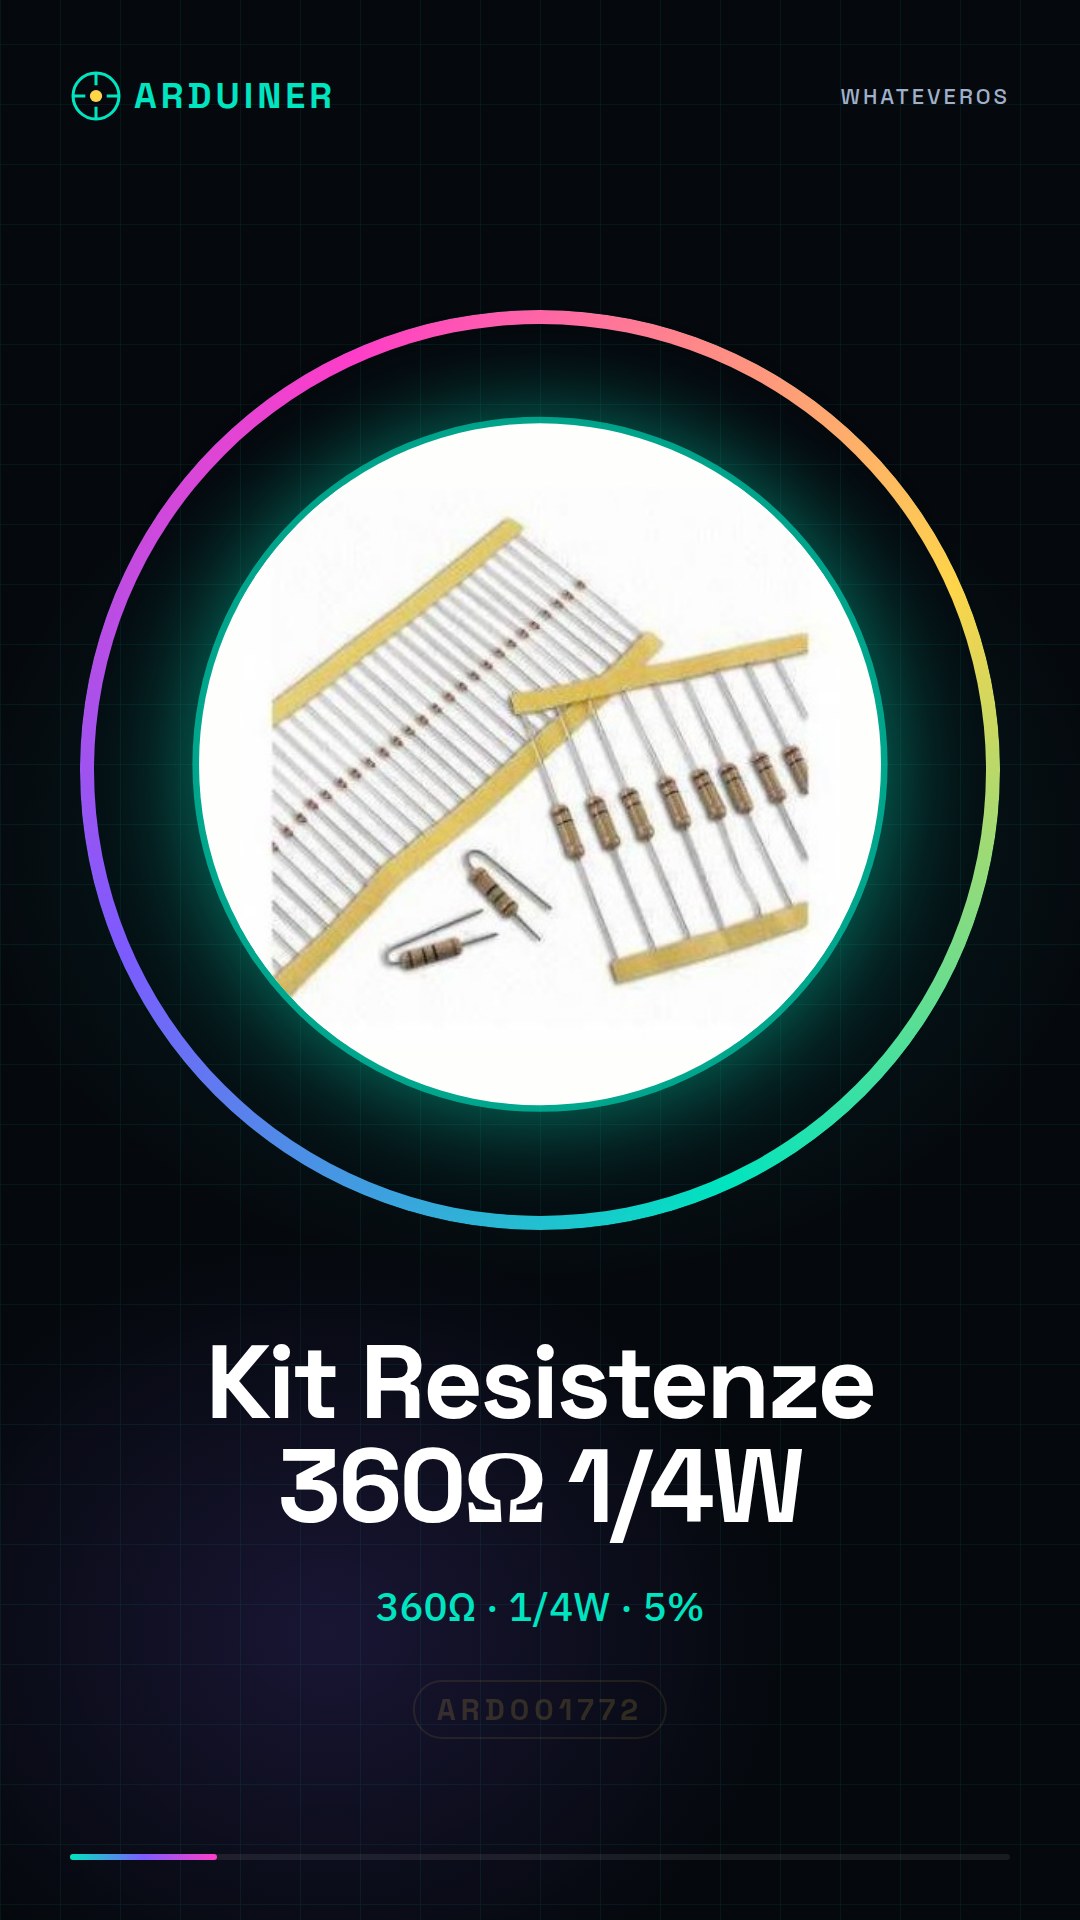
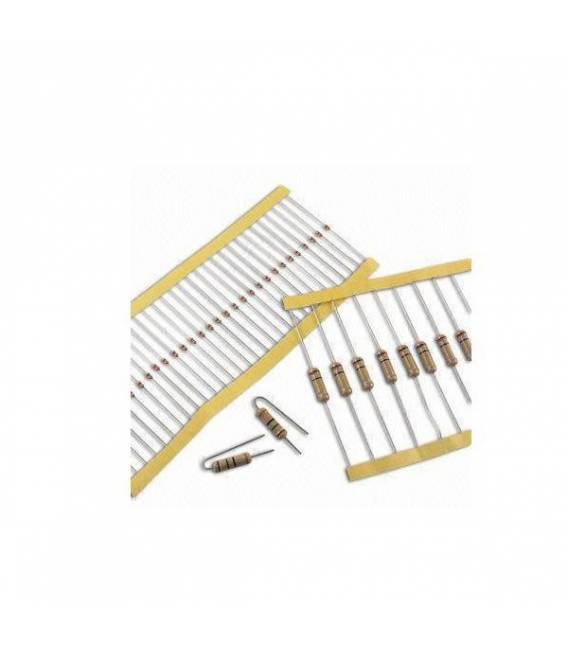
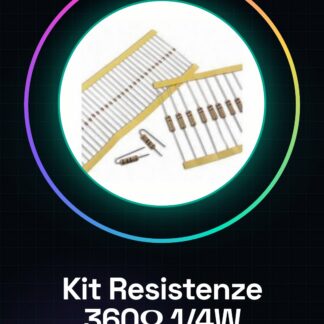
The 360 Ohm 1/4W 5% Resistor Kit contains 50 pieces of resistors with a value of 360 Ohm and a tolerance of 5%. These resistors are designed to dissipate a maximum of 1/4 Watt of power.
This kit is used for electronic projects that require resistors of specific value for current limiting or voltage division. The resistors are suitable for applications that do not require high power dissipation.
To use the resistors, it is necessary to connect them correctly to the electronic circuit, ensuring that the applied voltage does not exceed the component’s thermal dissipation capabilities.
Key Specifications
| Parameter | Value |
| Model | 360 Ohm 1/4W 5% Resistor Kit |
| Quantity | 50 pieces |
| Resistor Value | 360 Ohm |
| Tolerance | 5% |
| Maximum Power | 1/4W |
| Container | Plastic Packaging |
| Dimensions | N/D (see manufacturer’s technical sheet) |
Installation and Usage
- Check the resistance value using a multimeter in ohmmeter mode.
- Connect the resistor between two Arduino pins using jumper cables or a breadboard.
- Write a simple sketch that reads the voltage applied to the resistor and displays the value on an LCD display or through the Serial Monitor.
- Test the circuit to correctly verify the use of the resistor.
- Modify the sketch, for example by adding a control variable that changes the voltage applied to the resistor.
Compatibility and Requirements
- This kit is compatible with Arduino Uno and other microcontroller-based systems.
- A multimeter is required to verify the resistance value.
- An LCD display or a computer with USB connection is required to display the data.
Limitations and Important Notes
- Do not use excessive voltage that exceeds the component’s thermal dissipation capability.
- The resistor does not protect Arduino pins from current overload unless used correctly.
- Not suitable for applications requiring high power dissipation.
Troubleshooting
The LED does not light up.
Probable cause: The resistor is incorrectly connected or the value is incorrect.
Solution: Check the connection and the value of the resistor with a multimeter.
The resistor overheats.
Probable cause: The applied voltage exceeds the component’s thermal dissipation capability.
Solution: Reduce the applied voltage or use a resistor with higher dissipation capability.
The measured resistance value does not match the specified value.
Probable cause: The 5% tolerance can cause variations.
Solution: Check the value with a precise multimeter.
The circuit is not working correctly.
Probable cause: The resistor is not properly connected to the circuit.
Solution: Check the connection and configuration of the circuit.
Use cases
Distance Sensor
Objective: Adjust the brightness of an LED based on the distance detected.
What you need: 360 Ohm Resistance Kit, distance sensors, LED, potentiometer.
Steps: 1) Connect the distance sensor to the microcontroller. 2) Connect the LED through a 360 Ohm resistor. 3) Adjust the LED brightness based on the distance detected.
Expected result: The LED changes its brightness based on the distance detected.
LED Dimmer
Objective: Adjust the brightness of an LED using a potentiometer knob.
What you need: 360 Ohm Resistance Kit, LED, potentiometer.
Steps: 1) Connect the potentiometer to the microcontroller. 2) Connect the LED through a 360 Ohm resistor. 3) Adjust the LED brightness using the potentiometer.
Expected result: The LED brightness can be adjusted using the potentiometer’s knob.
Voltage Regulation
Objective: Adjust the voltage applied to a circuit.
What’s needed: 360 Ohm resistor kit, control variables.
Steps: 1) Connect the resistor between two pins of the microcontroller. 2) Adjust the applied voltage using a control variable.
Expected result: The voltage applied to the circuit can be adjusted using the resistor.
Resistance Test
Objective: Verify the resistance value of a component.
What’s needed: 360 Ohm resistor kit, multimeter.
Steps: 1) Connect the resistor to the circuit. 2) Check the resistance value with a multimeter.
Expected result: The value of the resistance is verified correctly.
Pin Protection
What’s needed: 360 Ohm Resistance Kit.
Steps: 1) Connect the resistance between the microcontroller pin and the external component. 2) Verify that the resistance correctly limits the current flow.
Expected result: The microcontroller pins are protected from overcurrent.
Voltage Divider
Objective: Divide the applied voltage to a circuit.
What’s needed: 360 Ohm Resistance Kit.
Steps: 1) Connect two resistances in series between the power supply and the microcontroller pin. 2) Calculate the voltage division between the resistances.
Expected result: The applied voltage to the circuit is correctly divided between the resistances.
Basic Circuit
What’s needed: 360 Ohm Resistance Kit, LED.
Steps: 1) Connect the LED through a 360 Ohm resistor to the microcontroller pin. 2) Turn the LED on and off with an Arduino sketch.
Expected result: The LED turns on and off correctly.
Thermal dissipation test
What’s needed: 360 Ohm resistor kit, power supply.
Steps: 1) Apply high voltage to the resistor. 2) Measure the temperature of the resistor.
Expected result: The resistor can dissipate power correctly without overheating.
In the package
- 50 pieces
Complete the project
- 50 Pieces Resistance, 10000 ohm, 10k, ohm 1/4w 1/4 w 5%, Compatible with Arduino resistors: Used to verify the value of the resistor in the kit.
Technical FAQs
What is the maximum power I can apply to the resistor?
The resistor can dissipate a maximum of 1/4 Watt of power.
How do I verify the value of the resistor?
Check the resistance value using a multimeter in ohmmeter mode.
What are the usage limits of the resistance?
It is not recommended to use excessive voltage that exceeds the component’s thermal dissipation capability.
What are the components needed to use the resistance?
A multimeter is required to check the resistance value and a display LCD or a computer with USB connection is needed to view the data.
Tutorial: How to use Kit Resistors 1/4W 5% – 360 Ohm
This resistor kit is ideal for electronic projects that require a variety of resistance values. It suits both beginners and more experienced creators.
What you need
- 360 Ohm Resistor Kit
- Arduino Uno or similar
- Electronic test cartridge
Steps
- Check the resistance value using a multimeter in ohmmeter mode. Refer to the datasheet if necessary.
- Connect the resistor between two Arduino pins using jumper wires or a breadboard.
- Write a simple sketch that reads the voltage applied to the resistor and displays the value on an LCD display or through the Serial Monitor.
- Test the circuit to correctly verify the use of the resistor.
- Modify the sketch, for example by adding a control variable that changes the voltage applied to the resistor.
Example code
// Codice Arduino minimale
int ledPin = 13;
void setup() {
pinMode(ledPin, OUTPUT);
}
void loop() {
digitalWrite(ledPin, HIGH); // Accendi il LED collegato a una resistenza
 delay(500);
digitalWrite(ledPin, LOW); // Spegni il LED
delay(500);
}
Mini project
Create a dimmer for an LED using the 360 Ohm resistor. Adjust the LED brightness using a potentiometer knob.
Common mistakes
- Connect the resistor to the circuit incorrectly, causing damage.
- Fail to correctly verify the value of the resistor with a multimeter.
- Use an excessive voltage that exceeds the component’s thermal dissipation capability (1/4W).
- Omit the necessary resistor to protect the Arduino pins from overcurrent.
Recommended accessories
- Electronic test cartridge
- LCD Display 16×2
- Potentiometer Knob 10kOhm
- Set of jumper wires
Frequently asked questions
What is the maximum power I can apply to this resistor?
Check the datasheet for the precise value, but generally do not exceed 250 mW (1/4 Watt).
Can I use these resistors with a 9V power supply?
Yes, but make sure that the combination of voltage and current does not exceed the component specifications.
What is the exact tolerance value of the resistors in this kit?
Check the datasheet for the precise value, but generally it is 5%.
Reviews
There are no reviews yet.