 EN
 IT Italiano
 ES Español
 FR Français
 DE Deutsch
Description
Technical Description
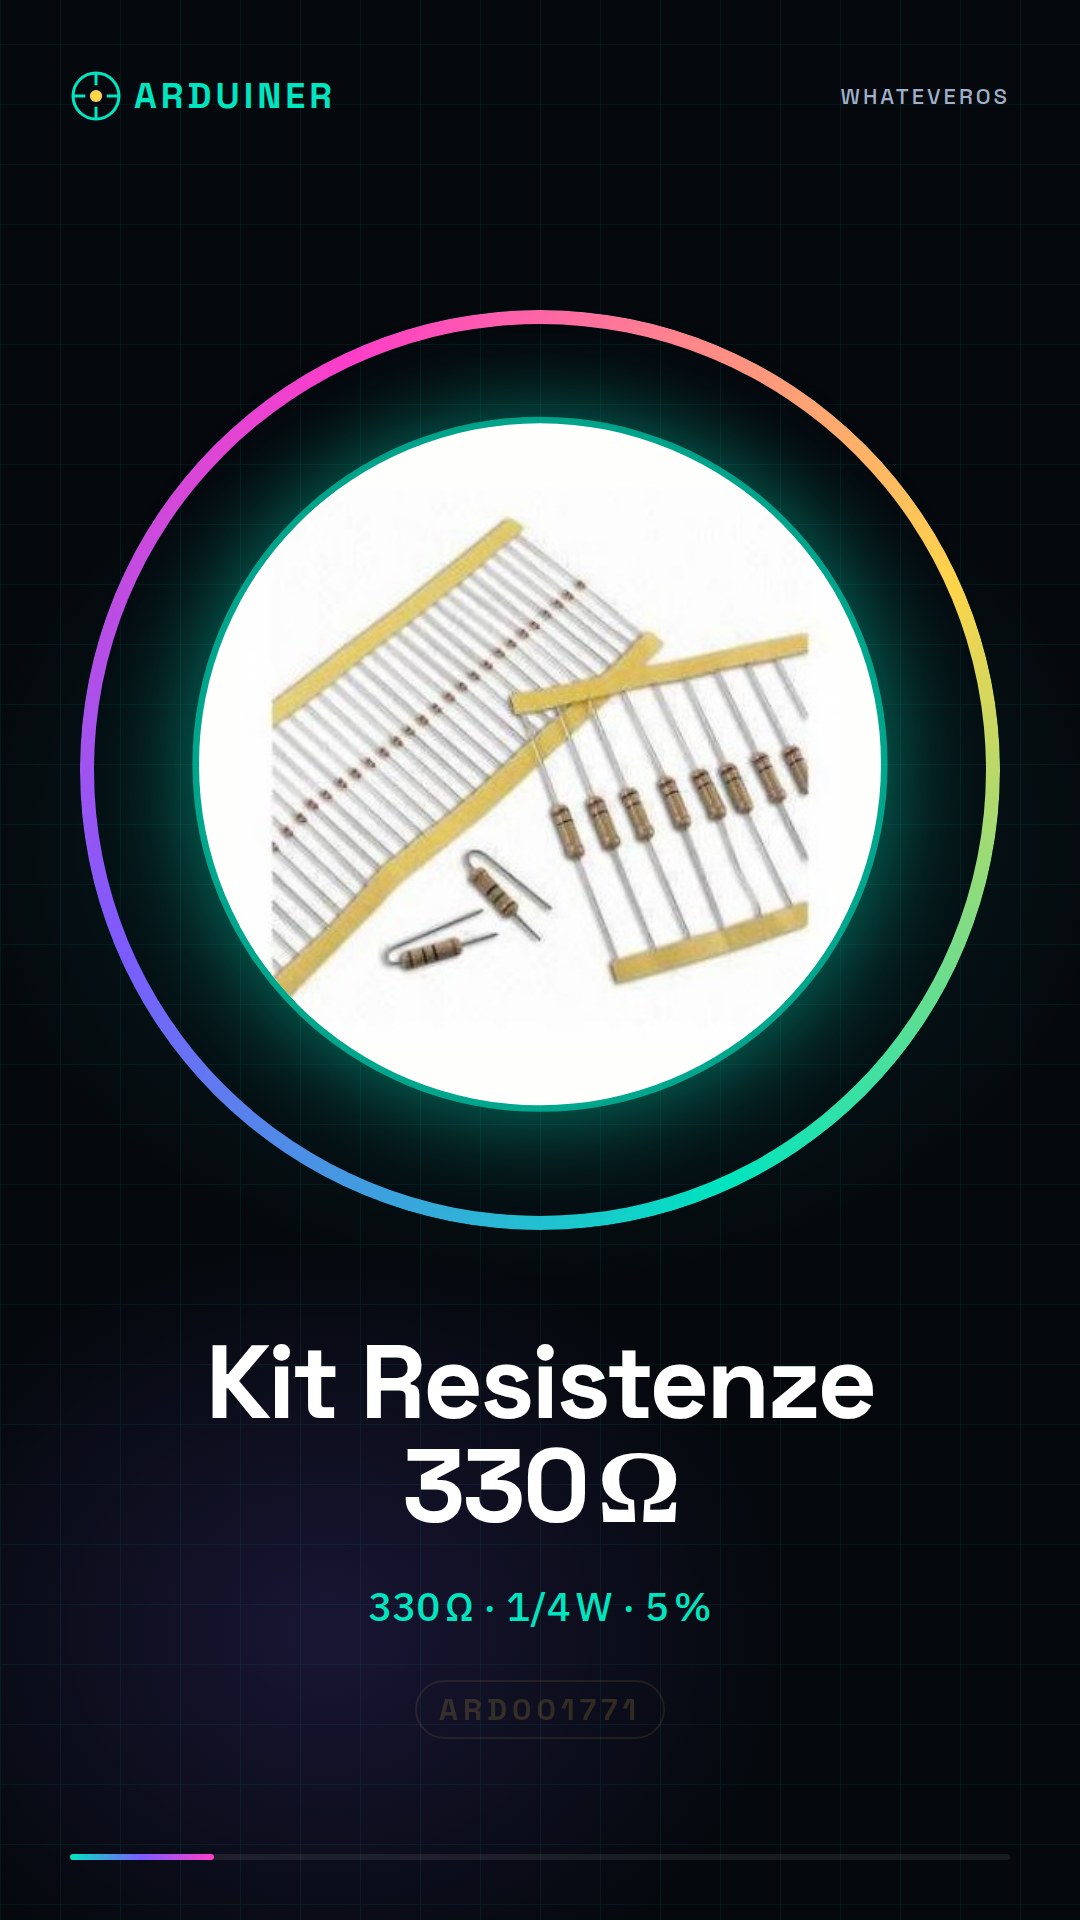
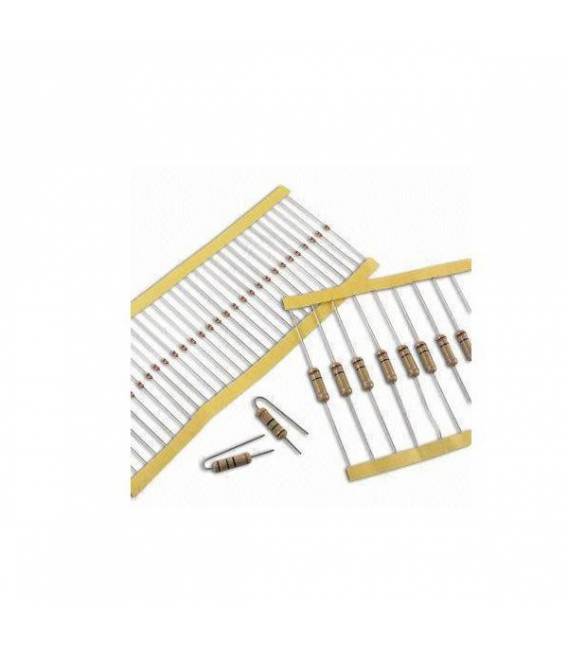
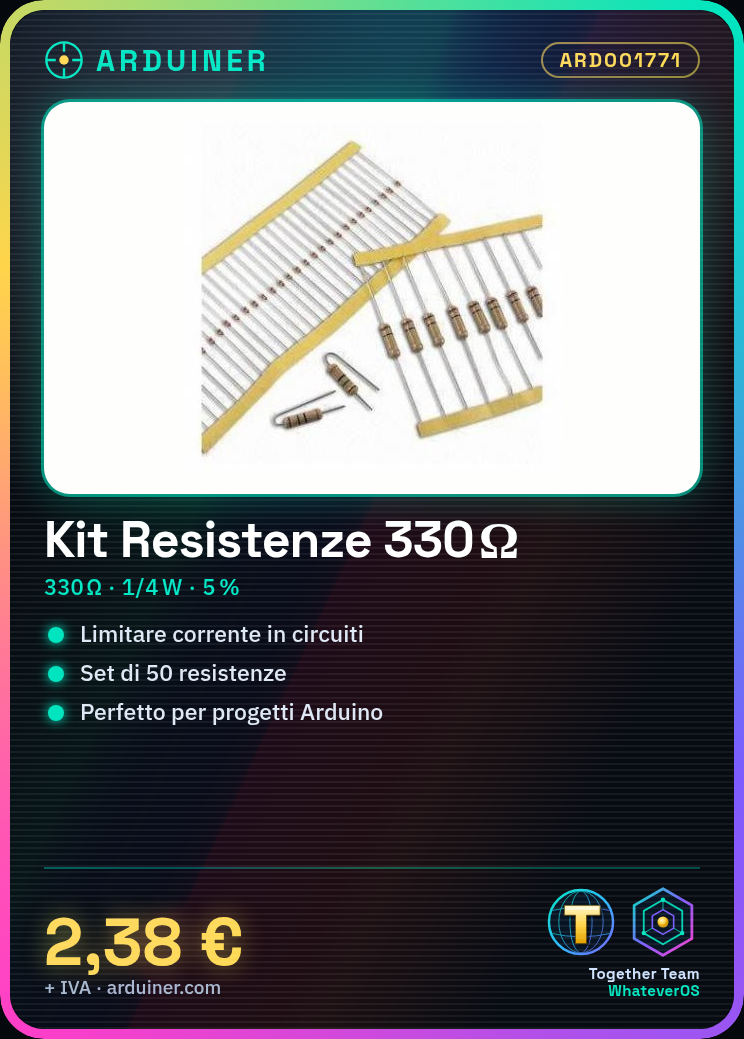
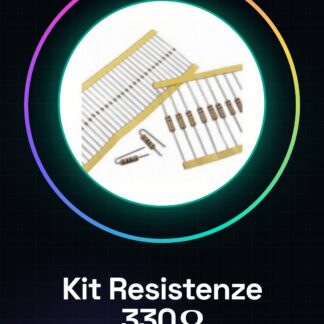
The 330 Ohm 1/4W resistor kit contains 50 pieces of resistors with a 5% tolerance. These resistors are useful for limiting current flow in electronic circuits, protecting sensitive components from overloads. Each resistor has a maximum power rating of 1/4 Watt, ensuring safe operation in various electronic projects.
Resistors can be used in various scenarios, such as protecting LEDs connected to digital pins of microcontrollers like Arduino, creating prototype circuits, and limiting current in analog circuits. Using appropriate resistors for the project is crucial for ensuring the proper functioning of the circuit and the safety of the components.
To use these resistors, it is necessary to check the circuit specifications and choose the appropriate resistance value. The resistor must be correctly connected to the circuit, with one end connected to the input or output pin of the device and the other end connected to ground or the GND pin.
Key Specifications
| Parameter | Value |
| Model | 330 Ohm 1/4W 5% Resistor Kit |
| Quantity | 50 pieces |
| Resistance Value | 330 Ohm |
| Tolerance | 5% |
| Maximum Power | 1/4 Watt |
| Dimensions | N/D (see manufacturer’s datasheet) |
| Container | N/D (see manufacturer’s datasheet) |
Installation and Usage
- Check the datasheet for the resistor specifications (resistance value, maximum power).
- Select a 330 Ohm resistor from the kit.
- Connect one end of the metal ring to ground or the GND pin of the circuit.
- Connect the other end to the input or output port of the required electronic device.
- Verify that the resistor is correctly connected and that the circuit functions as expected.
Compatibility and Requirements
- This resistor kit is compatible with various microcontrollers such as Arduino Uno R3 and prototyping circuits.
- It is used to limit current in electronic circuits and protect sensitive components.
- To use this kit, you need an electronic measurement tool kit to verify the circuit specifications.
Limitations and Important Notes
- This kit does not include electronic measurement tools.
- The value of the resistance depends on the specific project and the circuit requirements.
- It is important to check the power rating of the resistor before connecting it to the circuit.
- Do not use resistors of incorrect value.
Troubleshooting
The LED does not light up.
Probable cause: The resistor may have an incorrect value or may not be properly connected.
Solution: Check the value of the resistor and the circuit connection.
The circuit does not work as expected.
Probable cause: The resistor may not have enough power rating for the project.
Solution: Check the power rating of the resistor and choose a resistor with a higher power rating if necessary.
The component connected to the resistor overheats.
Probable cause: The resistor may not have enough power rating for the project.
Solution: Check the power rating of the resistor and choose a resistor with a higher power rating if necessary.
The circuit is drawing too much current.
Probable cause: The resistor might have an incorrect value.
Solution: Check the value of the resistor and choose a resistor with an appropriate value.
Use cases
Arduino Project with LED
Objective: Limit the current to protect the LED.
What you need: 330 Ohm 1/4W 5% Resistor Kit
Steps: 1) Check the datasheet for the resistor specifications. 2) Select a 330 Ohm resistor from the kit. 3) Connect the resistor between the Arduino digital pin and the LED anode. 4) Connect the LED cathode to ground. 5) Write the code to turn on the LED.
Expected result: The LED lights up correctly.
Prototype Circuit
Objective: Limit the current in a prototype circuit.
What you need: 330 Ohm 1/4W 5% Resistor Kit
Steps: 1) Check the datasheet for the resistor specifications. 2) Select a 330 Ohm resistor from the kit. 3) Connect the resistor between the input pin of the circuit and the electronic component. 4) Connect the electronic component to ground. 5) Verify the circuit operation.
Expected result: The circuit works correctly.
Home Automation Project
Objective: Limit the current to protect a relay.
Required: 330 Ohm Resistors Kit 1/4W 5%
Steps: 1) Check the datasheet for the resistor specifications. 2) Select a 330 Ohm resistor from the kit. 3) Connect the resistor between the control pin of the relay and the relay. 4) Connect the relay to the automation circuit. 5) Verify the relay operation.
Expected result: The relay works correctly.
Electronic Testing Project
Objective: Limit the current to protect a sensor.
What’s needed: 330 Ohm 1/4W 5% Resistor Kit
Steps: 1) Check the datasheet for the resistor specifications. 2) Select a 330 Ohm resistor from the kit. 3) Connect the resistor between the sensor input pin and the sensor. 4) Connect the sensor to the test circuit. 5) Verify the sensor’s functionality.
Expected result: The sensor functions correctly.
Analog circuit prototyping project
Objective: Limit the current to protect a transistor.
What’s needed: 330 Ohm 1/4W 5% Resistor Kit
Steps: 1) Check the datasheet for the resistor specifications. 2) Select a 330 Ohm resistor from the kit. 3) Connect the resistor between the transistor control pin and the transistor. 4) Connect the transistor to the analog circuit. 5) Verify the circuit’s functionality.
Expected result: The analog circuit functions correctly.
Digital Circuit Prototyping Project
Objective: Limit the current to protect a MOSFET.
What’s needed: 330 Ohm 1/4W 5% Resistor Kit
Steps: 1) Check the datasheet for the resistor specifications. 2) Select a 330 Ohm resistor from the kit. 3) Connect the resistor between the MOSFET’s control pin and the MOSFET. 4) Connect the MOSFET to the digital circuit. 5) Verify the circuit’s operation.
Expected Result: The digital circuit functions correctly.
Digital Power Supply Circuit Prototyping Project
Objective: Limit the current to protect a voltage regulator.
What’s needed: 330 Ohm 1/4W 5% Resistor Kit
Steps: 1) Check the datasheet for the resistor specifications. 2) Select a 330 Ohm resistor from the kit. 3) Connect the resistor between the control pin of the voltage regulator and the voltage regulator. 4) Connect the voltage regulator to the power supply circuit. 5) Verify the circuit operation.
Expected result: The power supply circuit works correctly.
Communication circuit prototyping project
Objective: Limit the current to protect a transmitter.
Required: 330 Ohm 1/4W 5% Resistor Kit
Steps: 1) Check the datasheet for the resistor specifications. 2) Select a 330 Ohm resistor from the kit. 3) Connect the resistor between the control pin of the transmitter and the transmitter. 4) Connect the transmitter to the communication circuit. 5) Verify the circuit operation.
Expected Result: The communication circuit works correctly.
In the package
- 50 pieces
Complete the project
- 50 Pieces Resistance, 10000 ohm, 10k, ohm 1/4w 1/4 w 5%, Resistor arduino compatible: Needed to complete the project with other resistance values.
- Kit Resistor 470 Ohm 1/4W 5% – 50 Pieces
Technical FAQs
What is the purpose of a resistor?
A resistor limits the flow of current in a circuit, protecting sensitive components from overloads.
How do you choose the right value for a resistor?
The value of the resistor depends on the specific project and the needs of the circuit. Check the datasheet to find the most suitable resistor for your project.
Why doesn’t the LED light up?
The resistor might have the wrong value or not be properly connected. Check the value of the resistor and the circuit connection.
Why is the circuit not working as expected?
The resistor might not have enough power for the project. Check the power rating of the resistor and choose a resistor with a higher power rating if necessary.
Tutorial: How to Use 330 Ohm Resistor Kit
The 330 Ohm resistor kit is a fundamental component for electronic projects that require current limiting. This kit, with 50 pieces, is ideal for beginners and intermediate makers.
What you need
- Arduino Projects
- Prototype Circuits
- Limiting Electrical Current
Steps
- Check the datasheet for the resistor specifications (resistance value, maximum power).
- Select a 330 Ohm resistor from the kit.
- Connect one end of the metal ring to ground or the GND pin of the circuit.
- Connect the other end to the input or output port of the required electronic device.
Mini project
Create a simple project with a 330 Ohm resistor to limit the current flowing through an LED connected to a digital pin of an Arduino. Turn on the LED using the provided code.
Common mistakes
- Using a resistor of the wrong value.
- Connecting the resistor to the circuit without first checking the specifications on the datasheet.
- Not checking if the power rating of the resistor is sufficient for the project.
Recommended accessories
- Various LED kits
- Arduino Uno R3
- Electronic measurement tools
Frequently asked questions
What is the purpose of a resistor?
A resistor limits the current flowing through a circuit, protecting sensitive components from damage due to overcurrent.
How do you choose the right value for a resistor?
The value of the resistor depends on the specific project and the requirements of the circuit. Check the datasheet to find the most suitable resistor for your project.
Reviews
There are no reviews yet.